Lemon Poppy Seed Cookies

[wprm-recipe-jump]
*Disclaimer: This post contains affiliate links. To learn more, please go here.These lemon poppy seed cookies are soft, chewy and even a tad crunchy. But mostly they are packed with a lovely lemon flavor that comes from the cookies that also really pops from the icing! It's a nice summer treat to have at your table for that little sweet tooth kick you may have in the afternoon. You could even skip the icing on the cookies and enjoy it with a cup of tea!
[mailerlite_form form_id=1]

edible printing
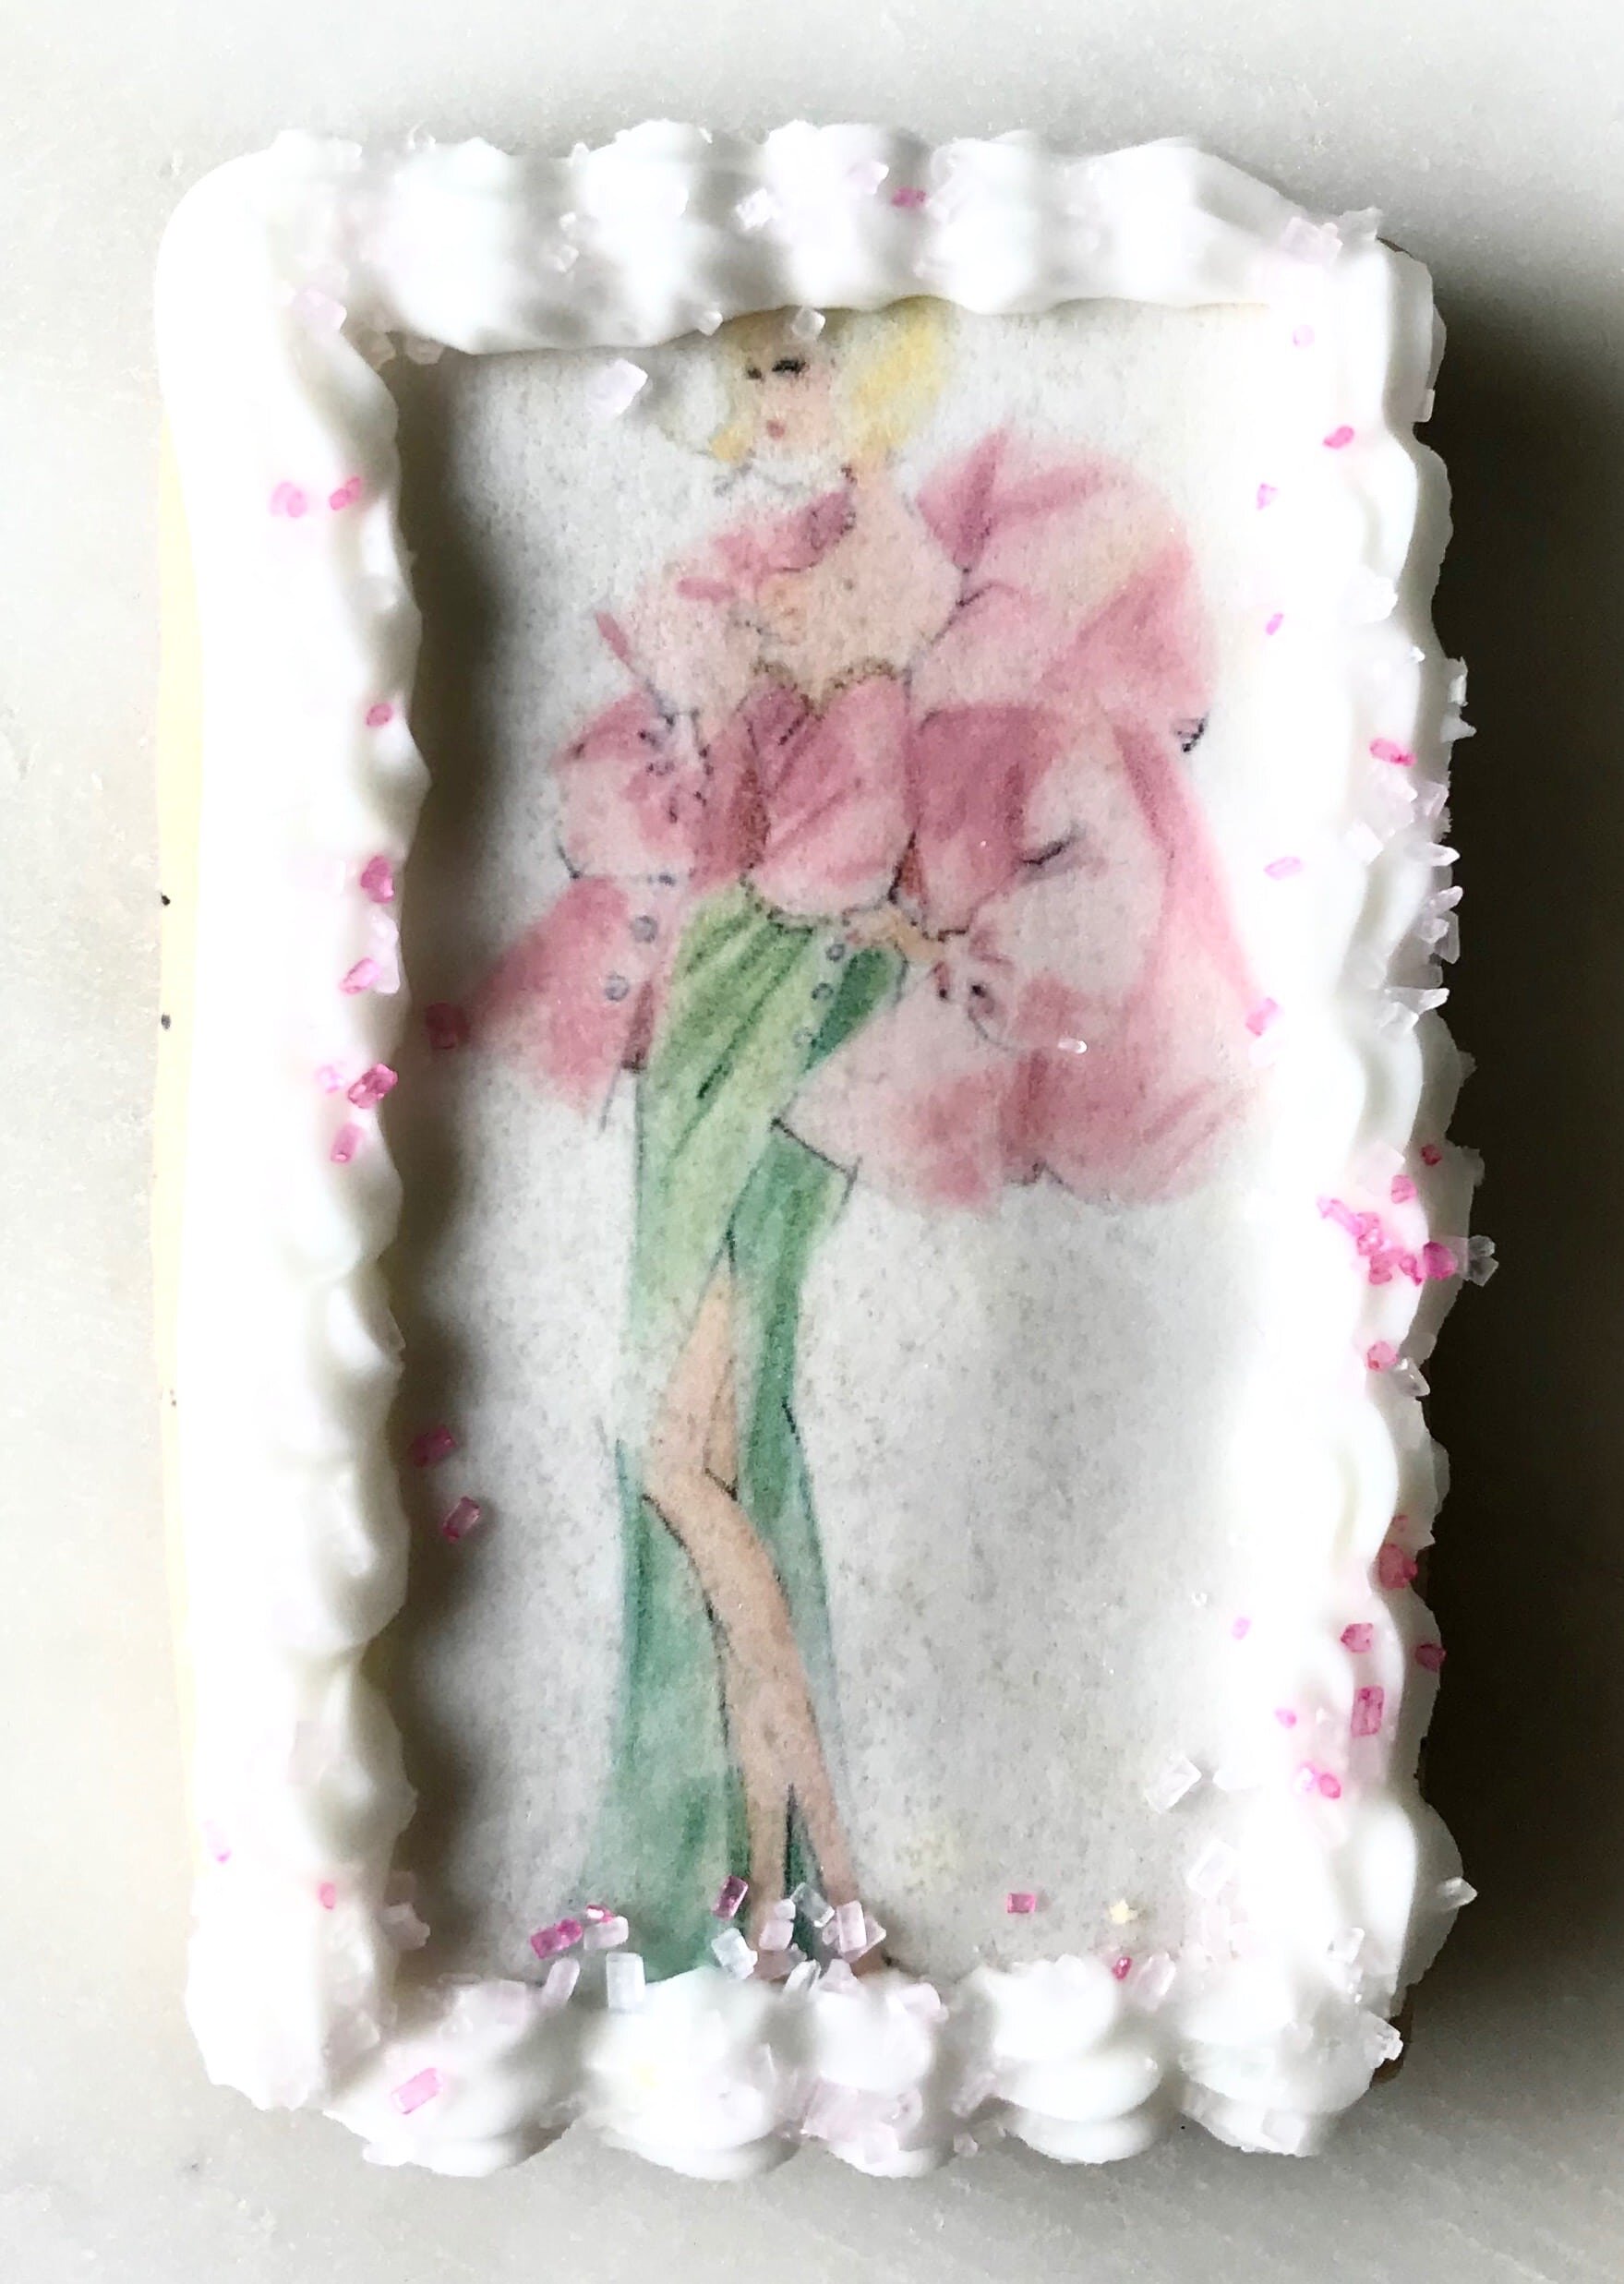
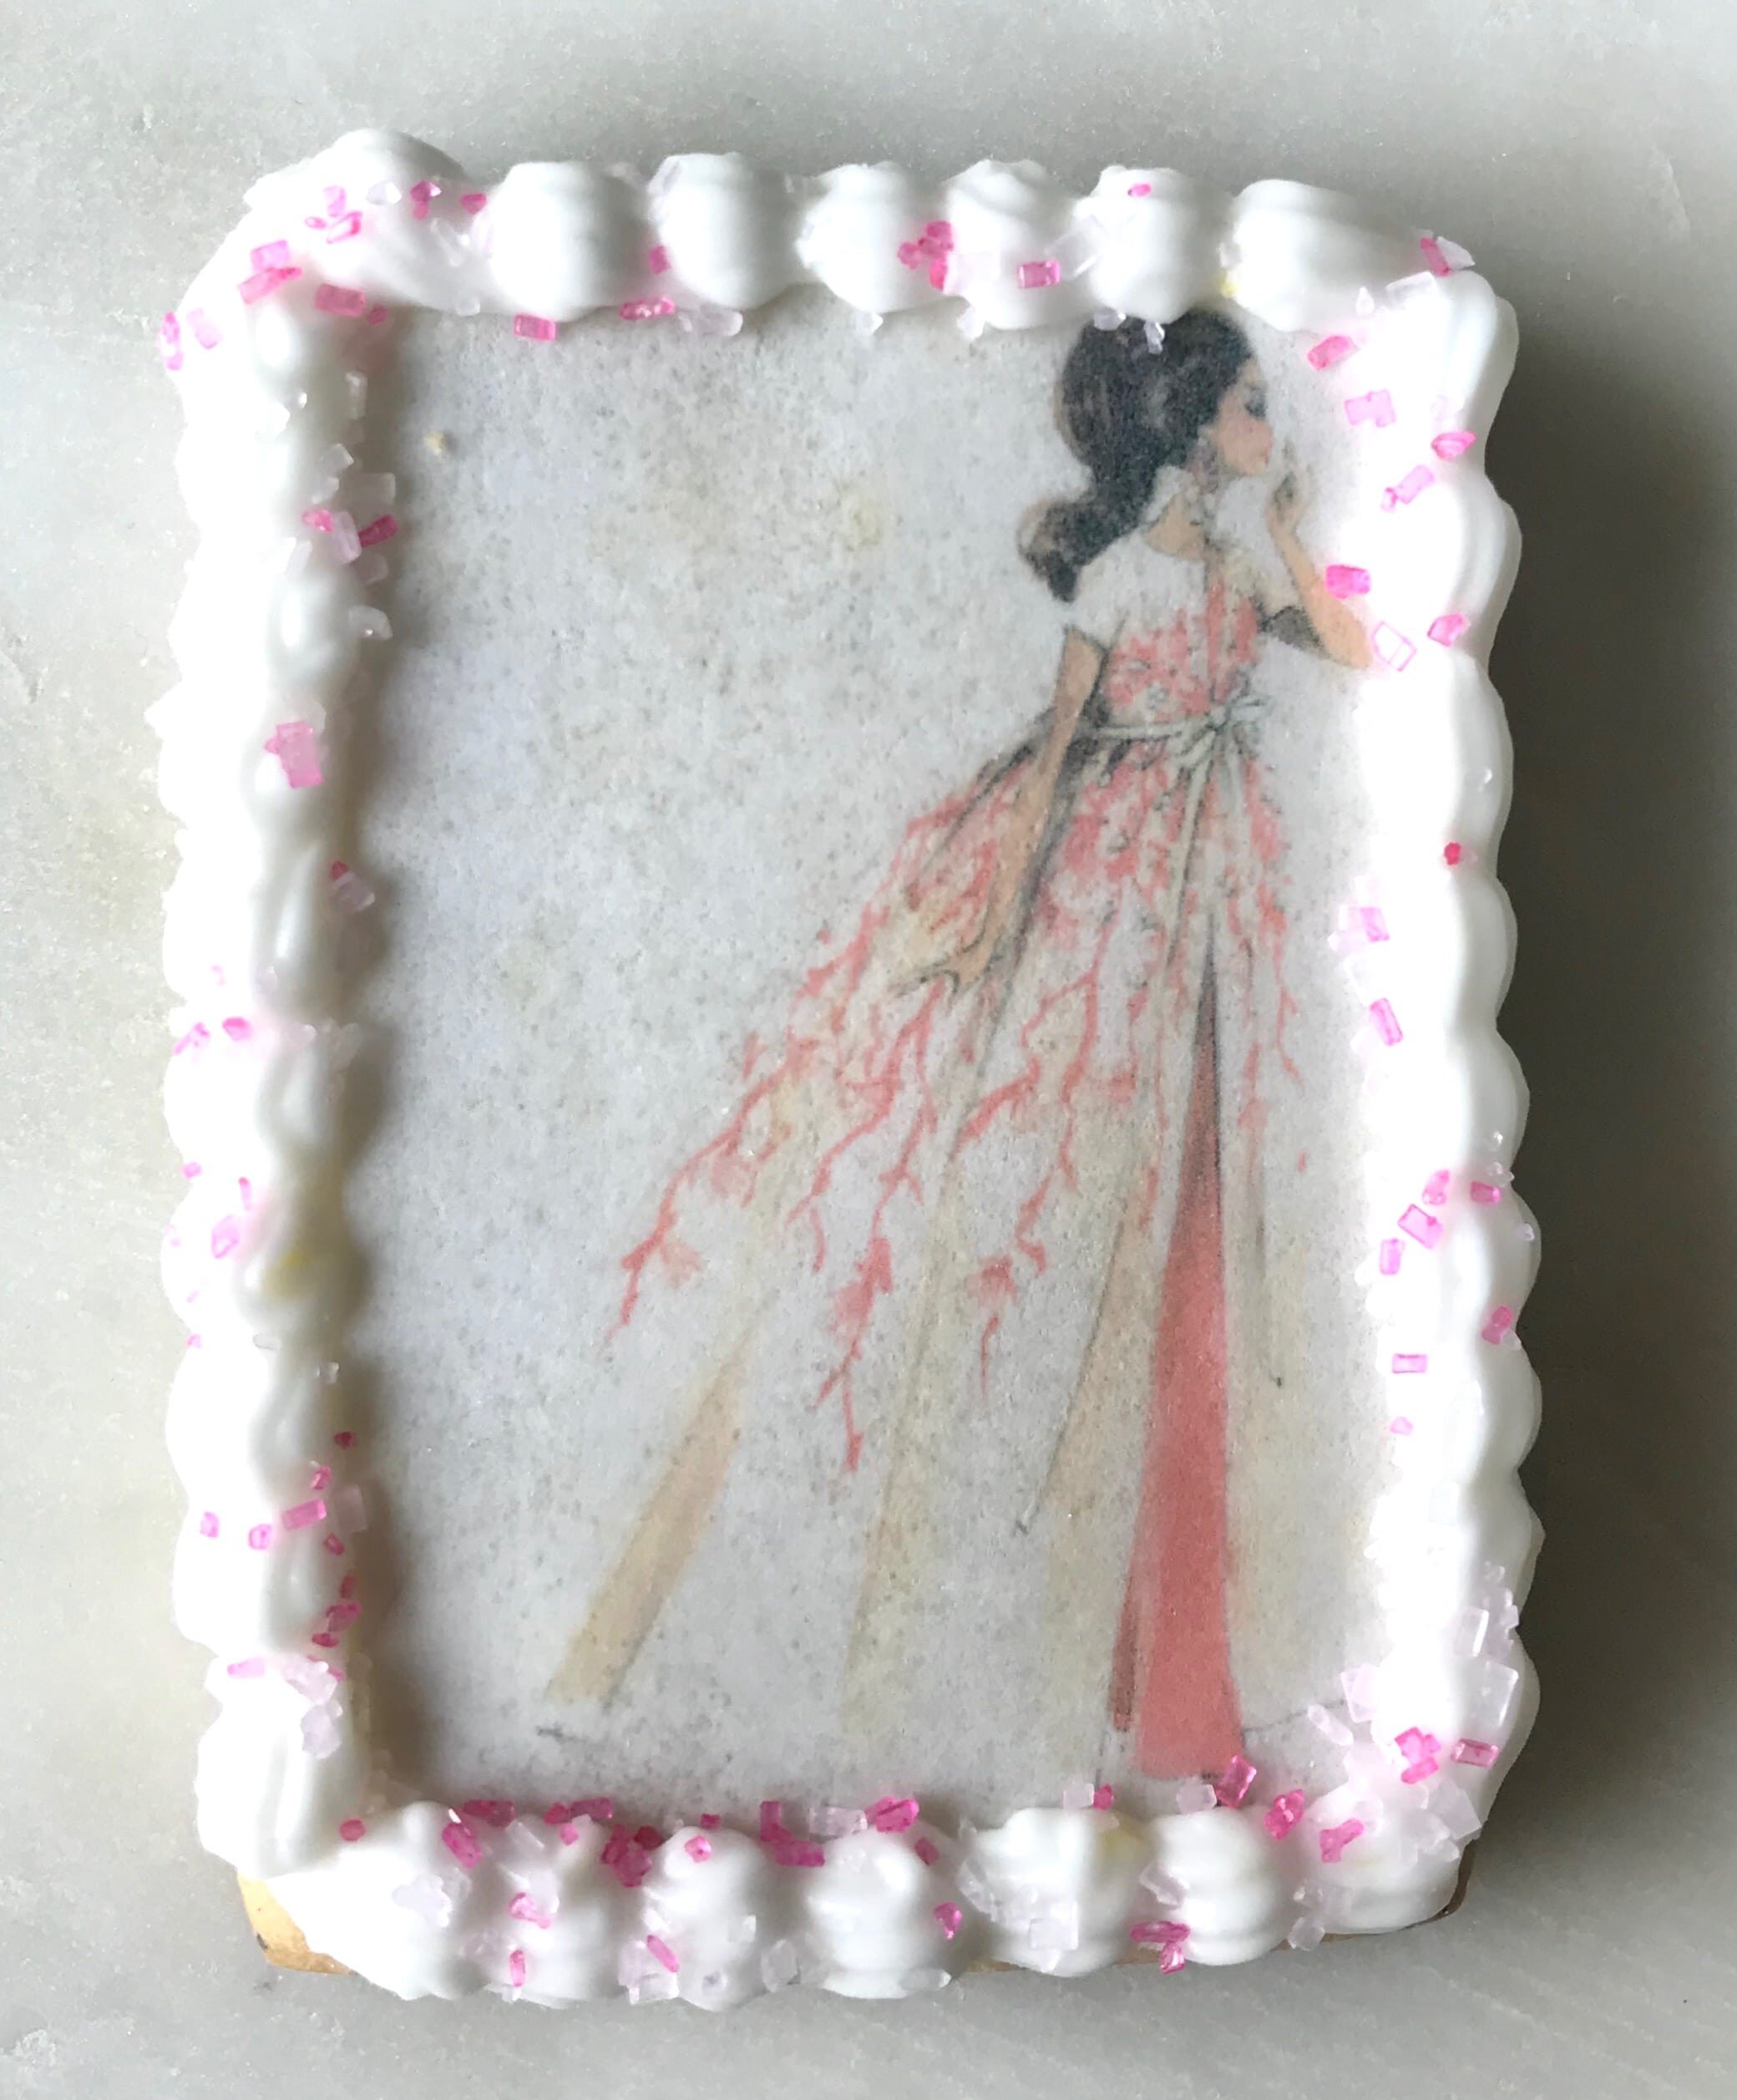
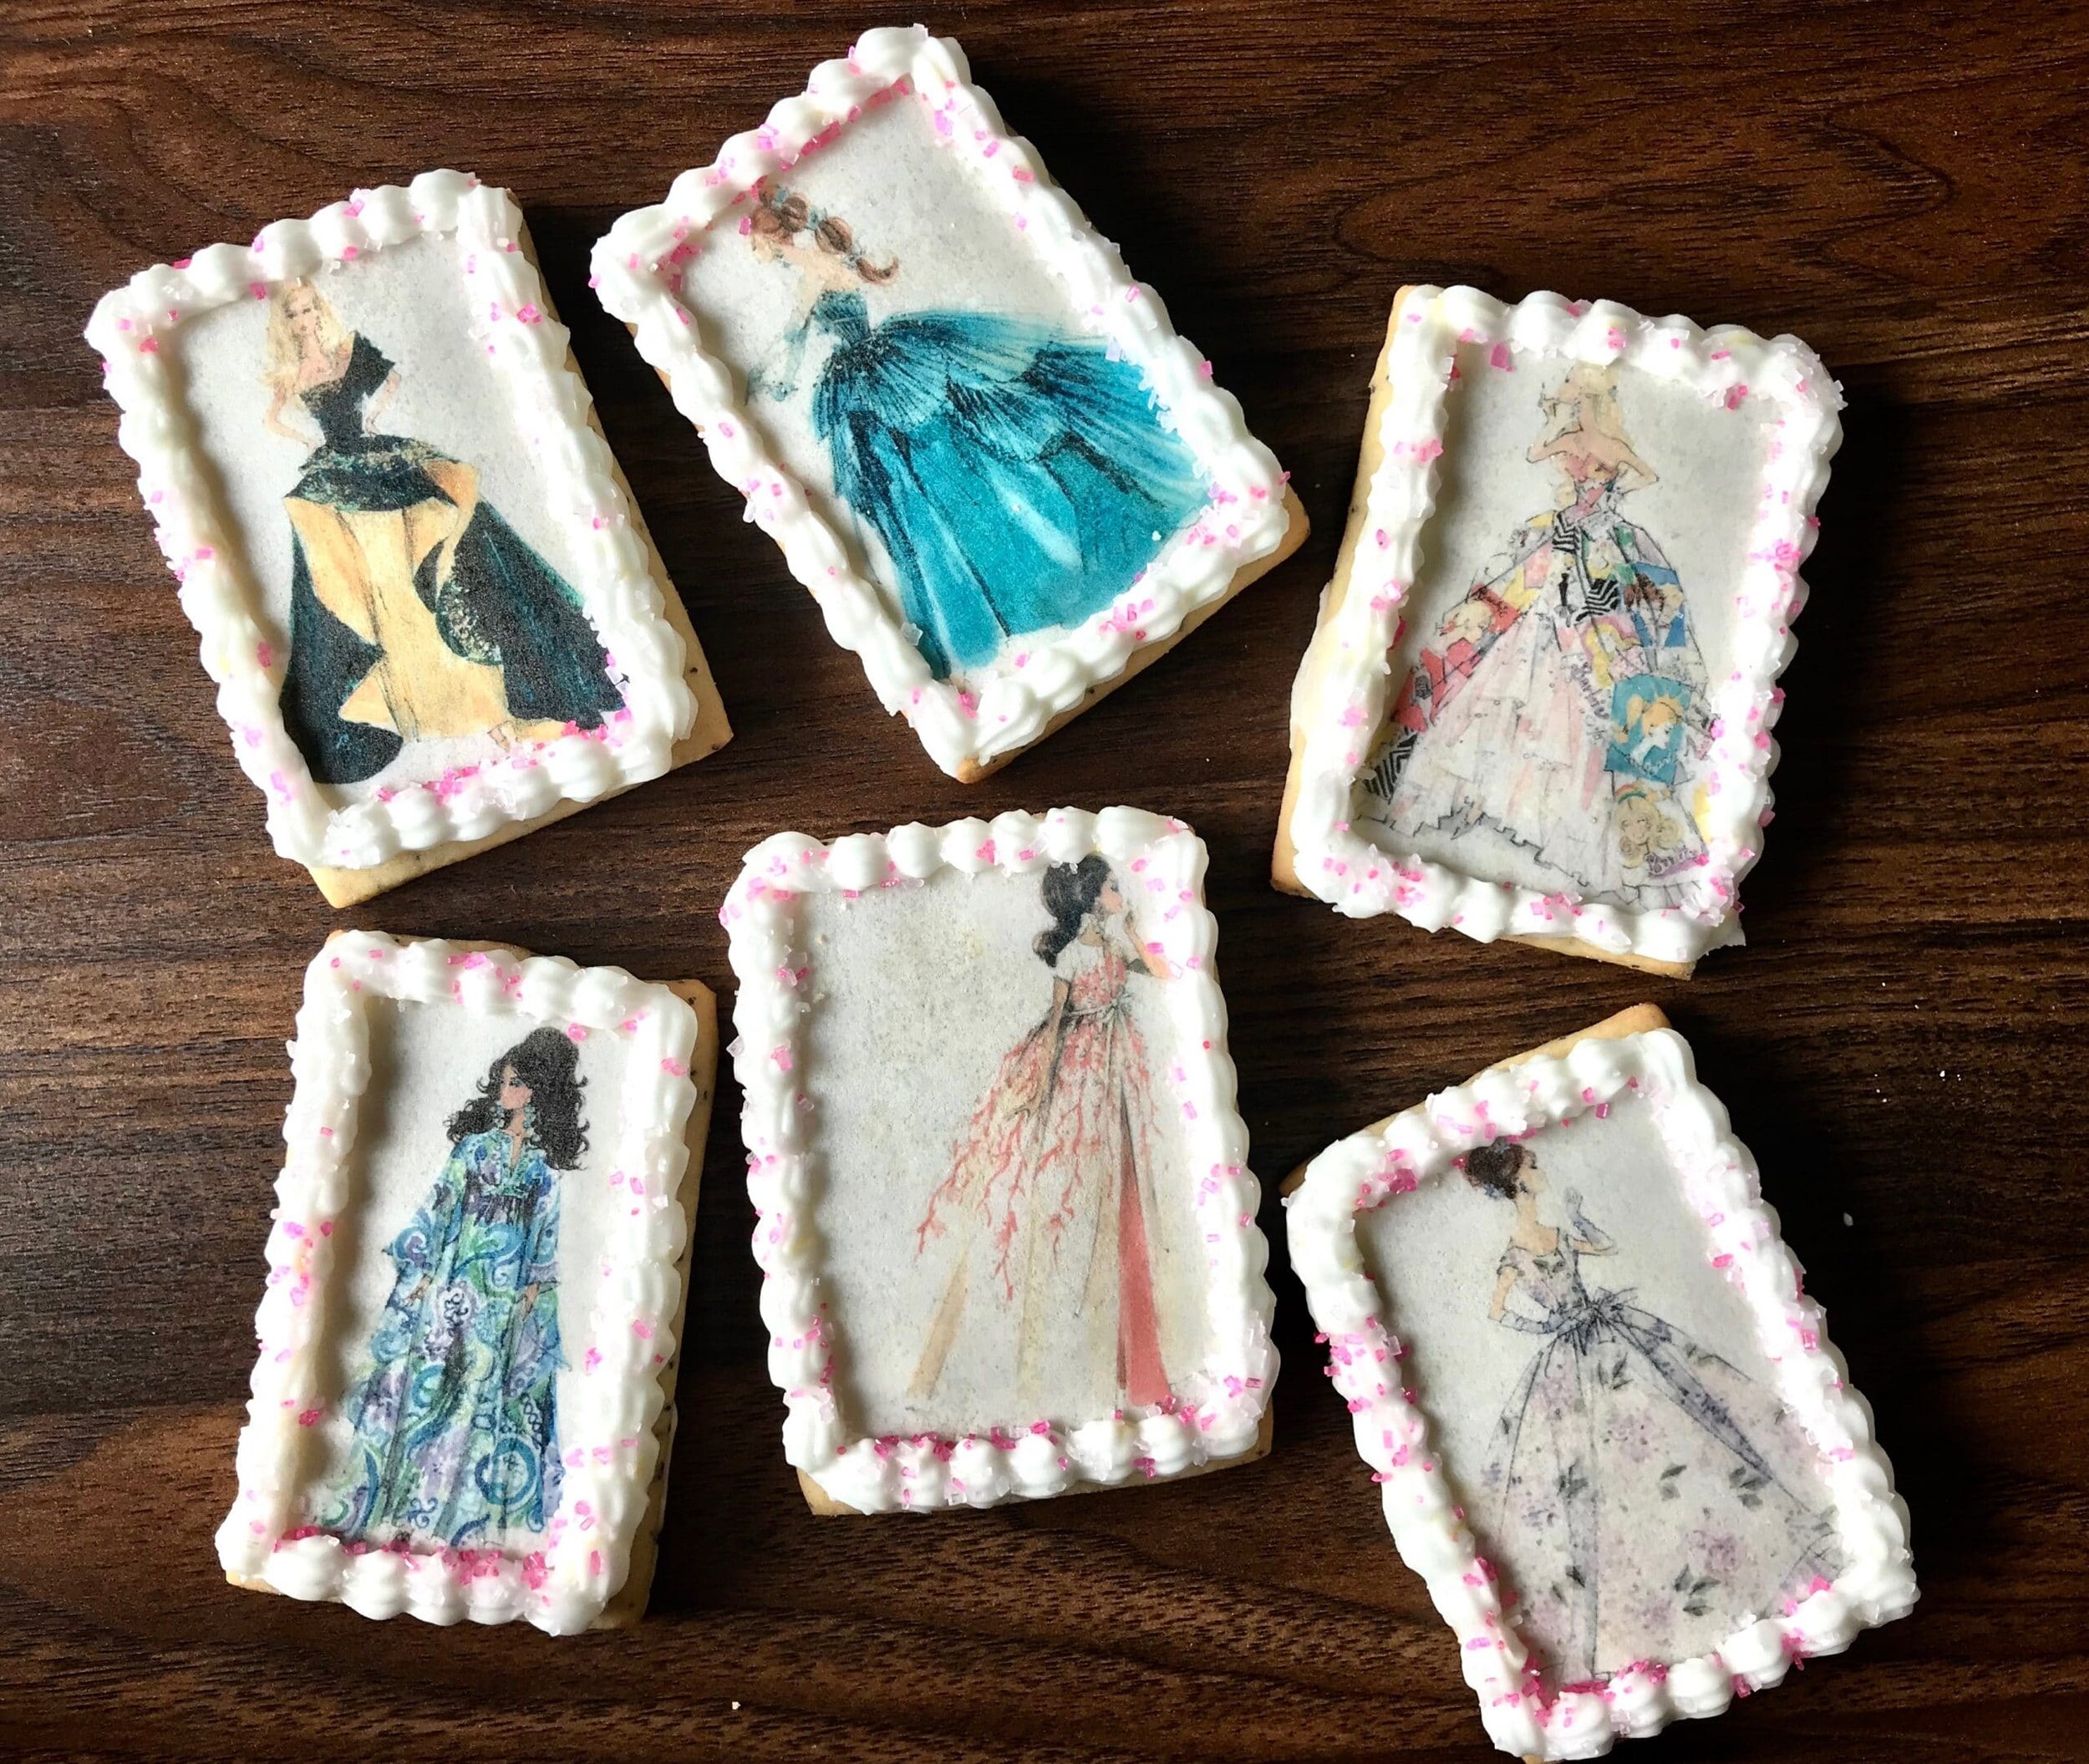
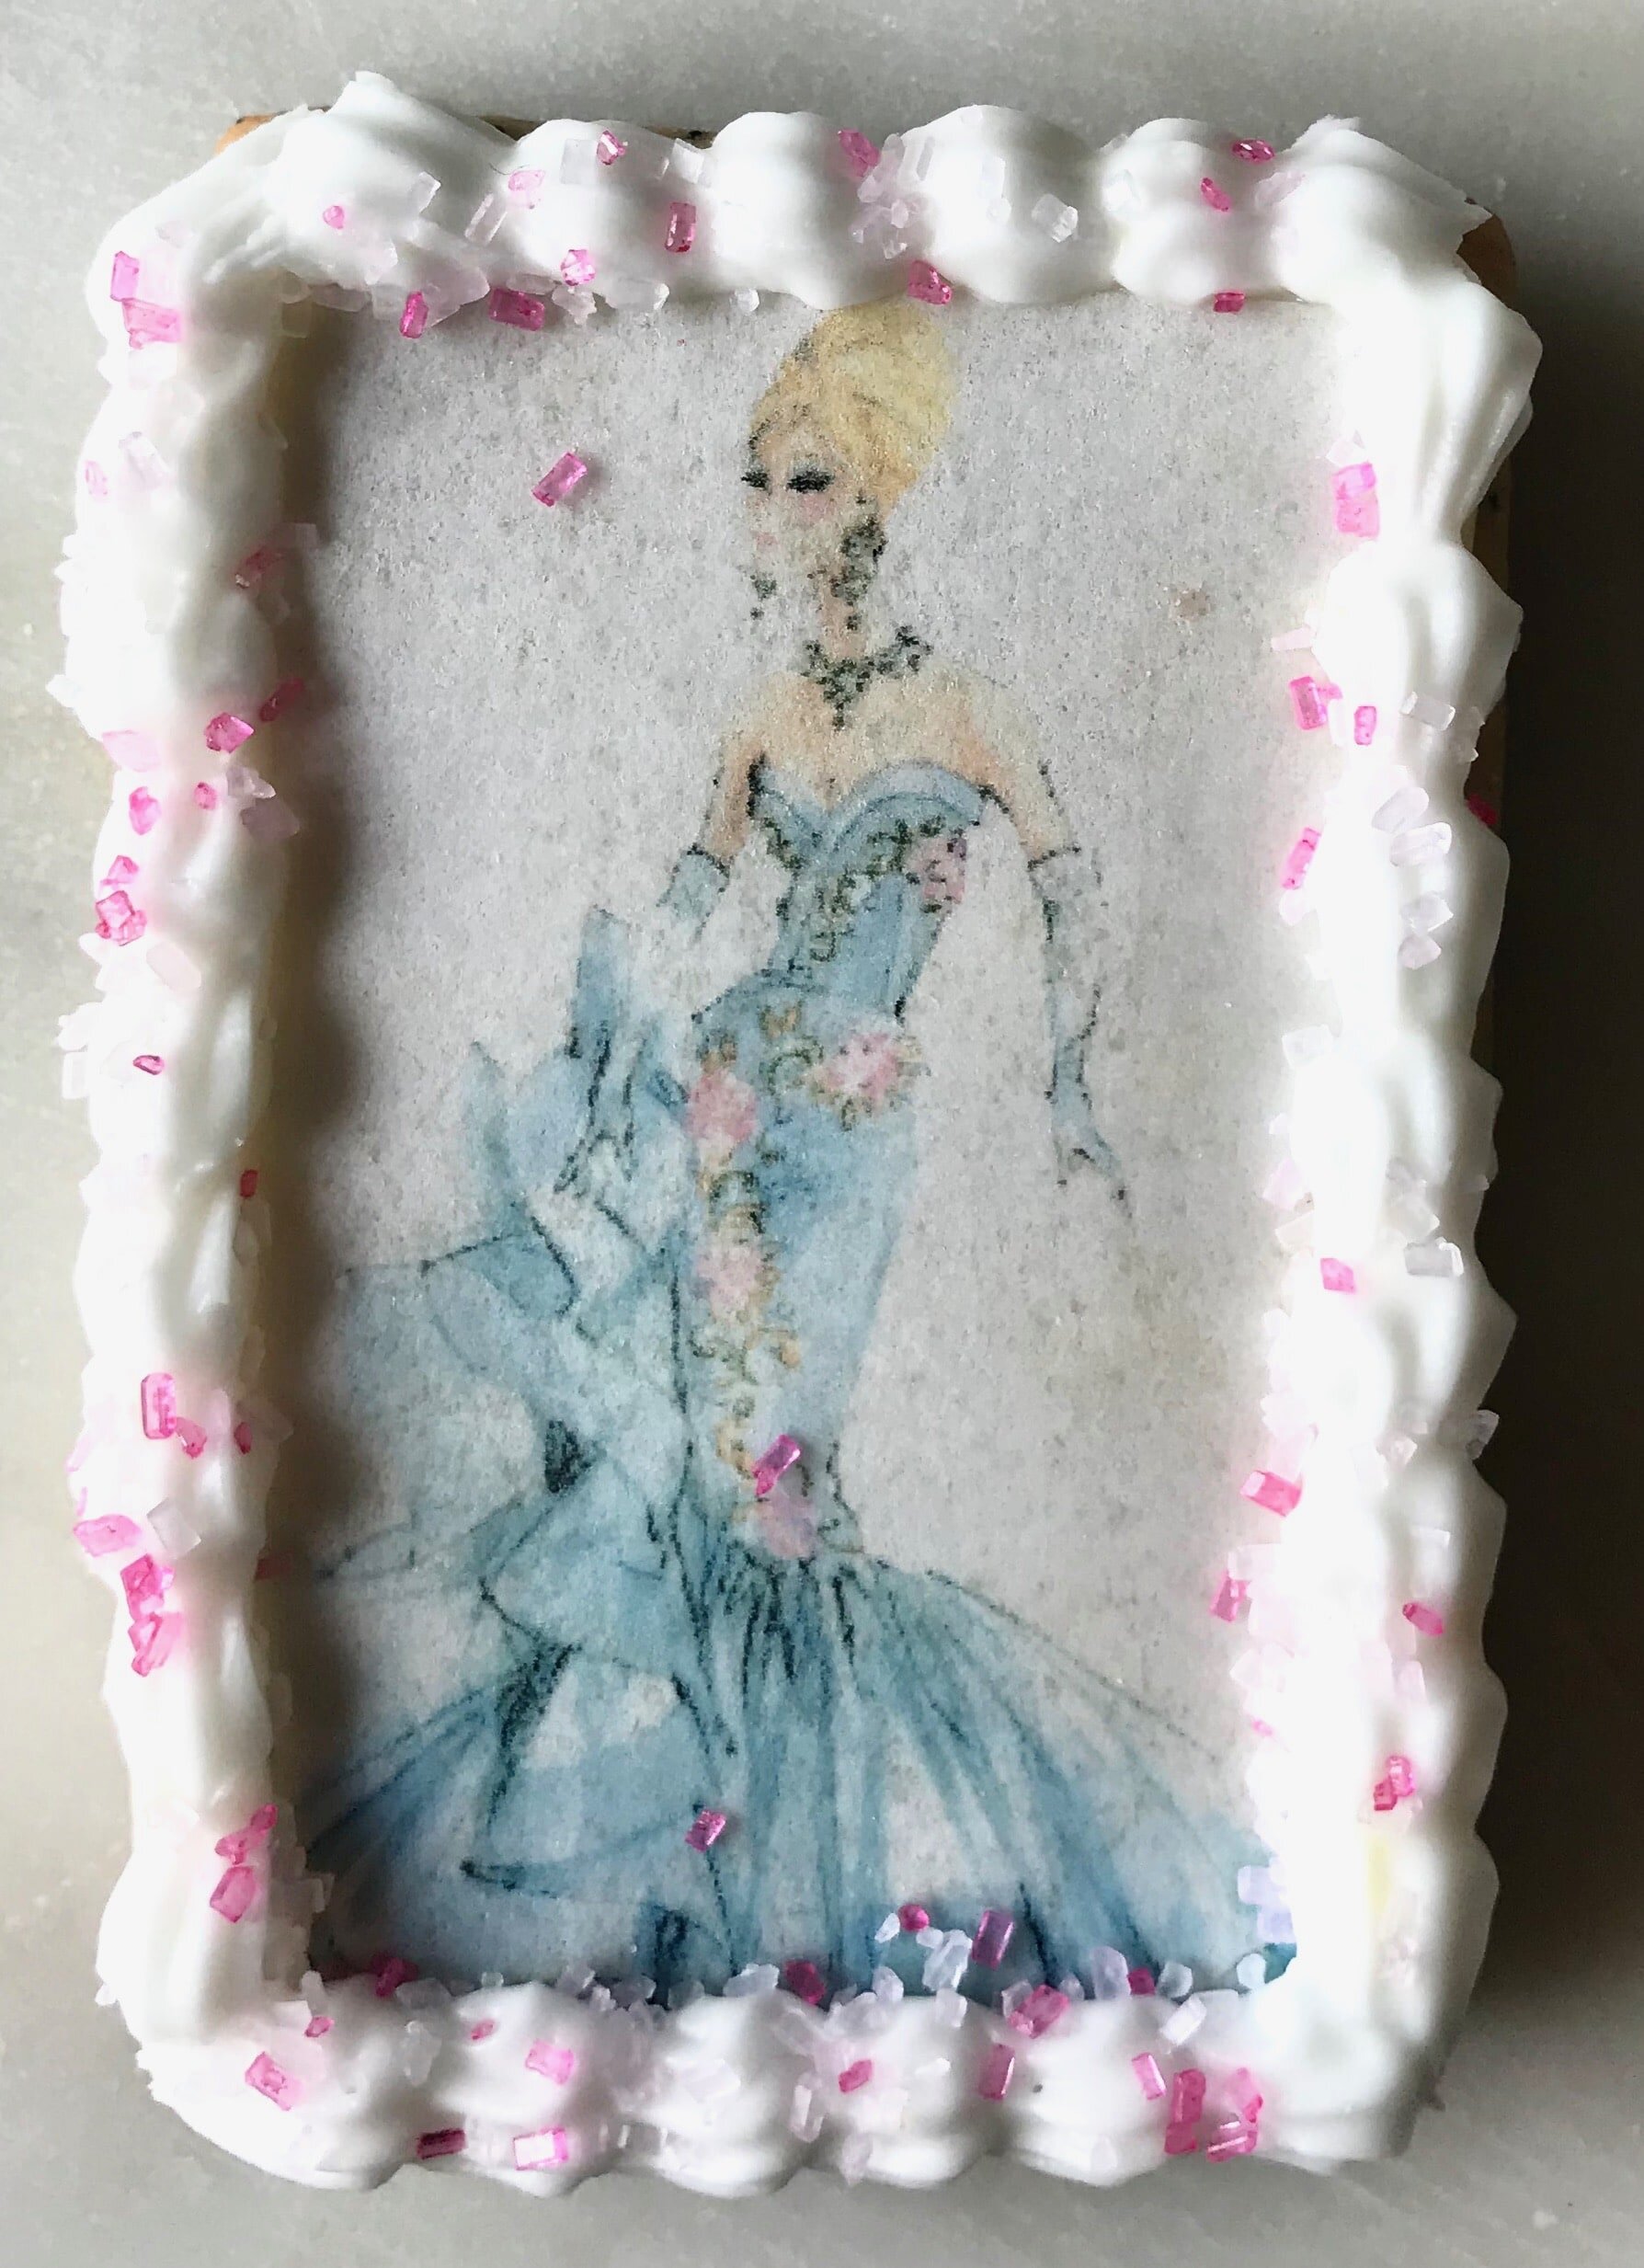
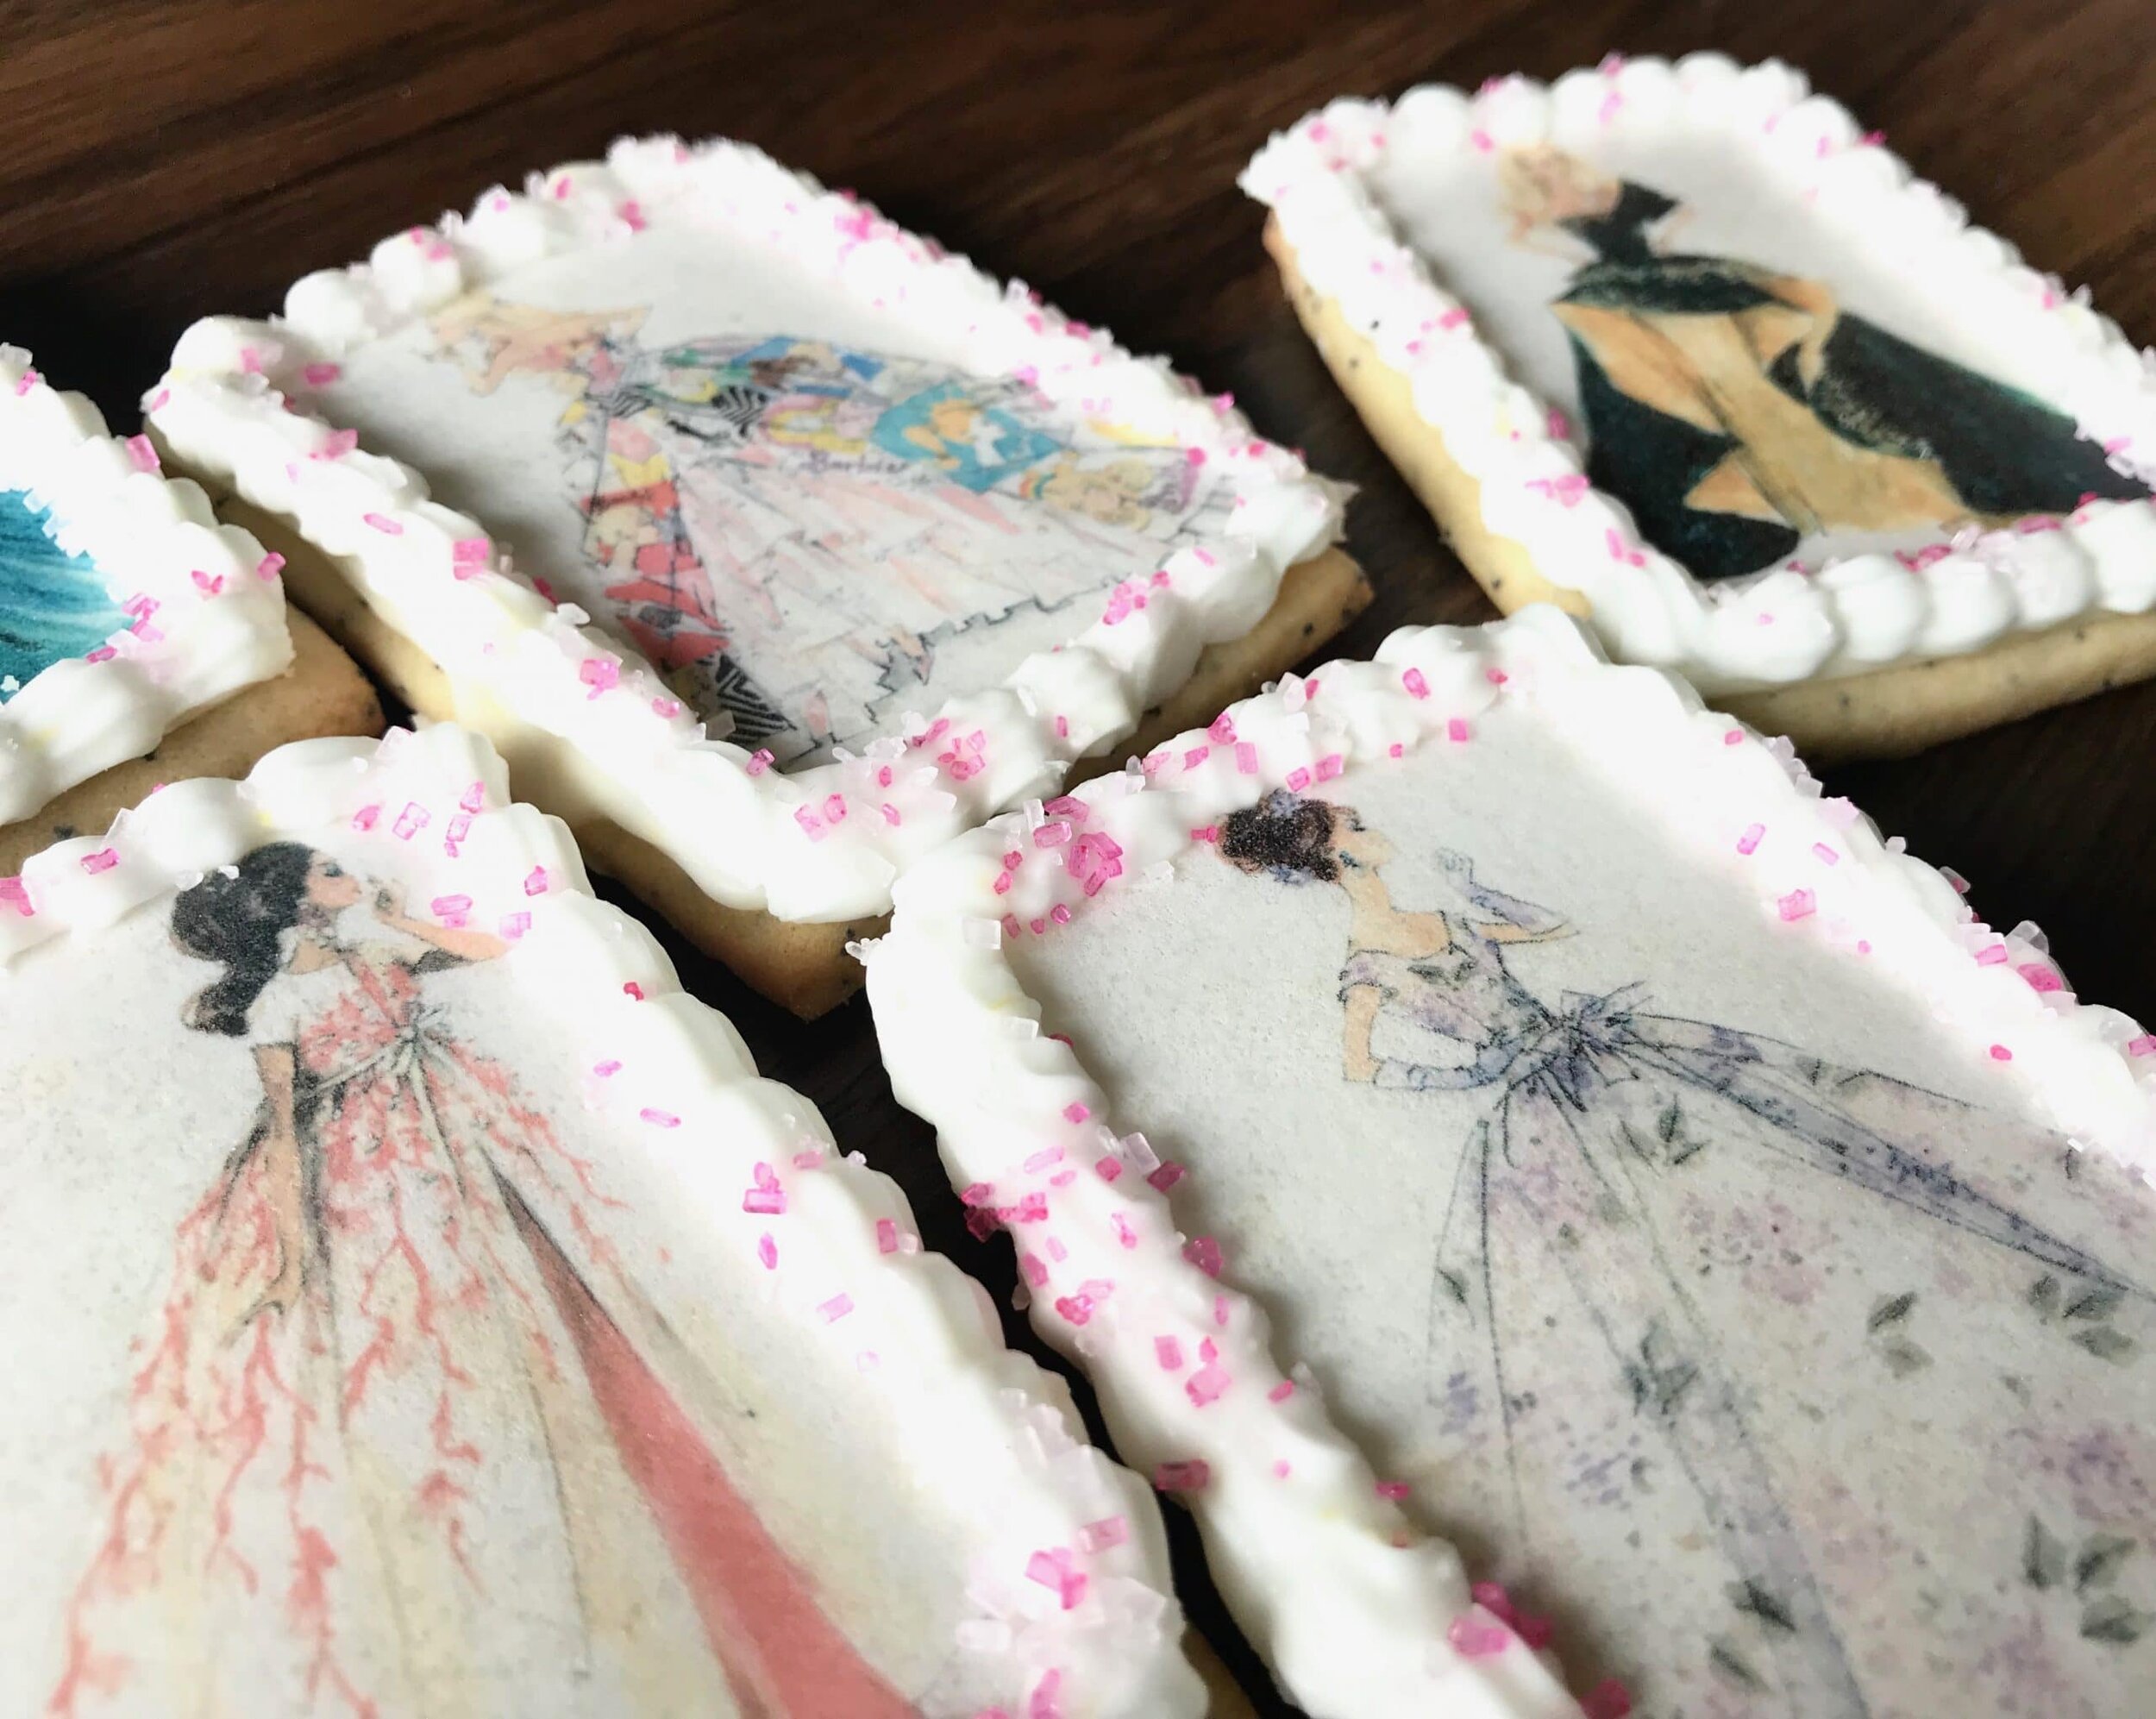
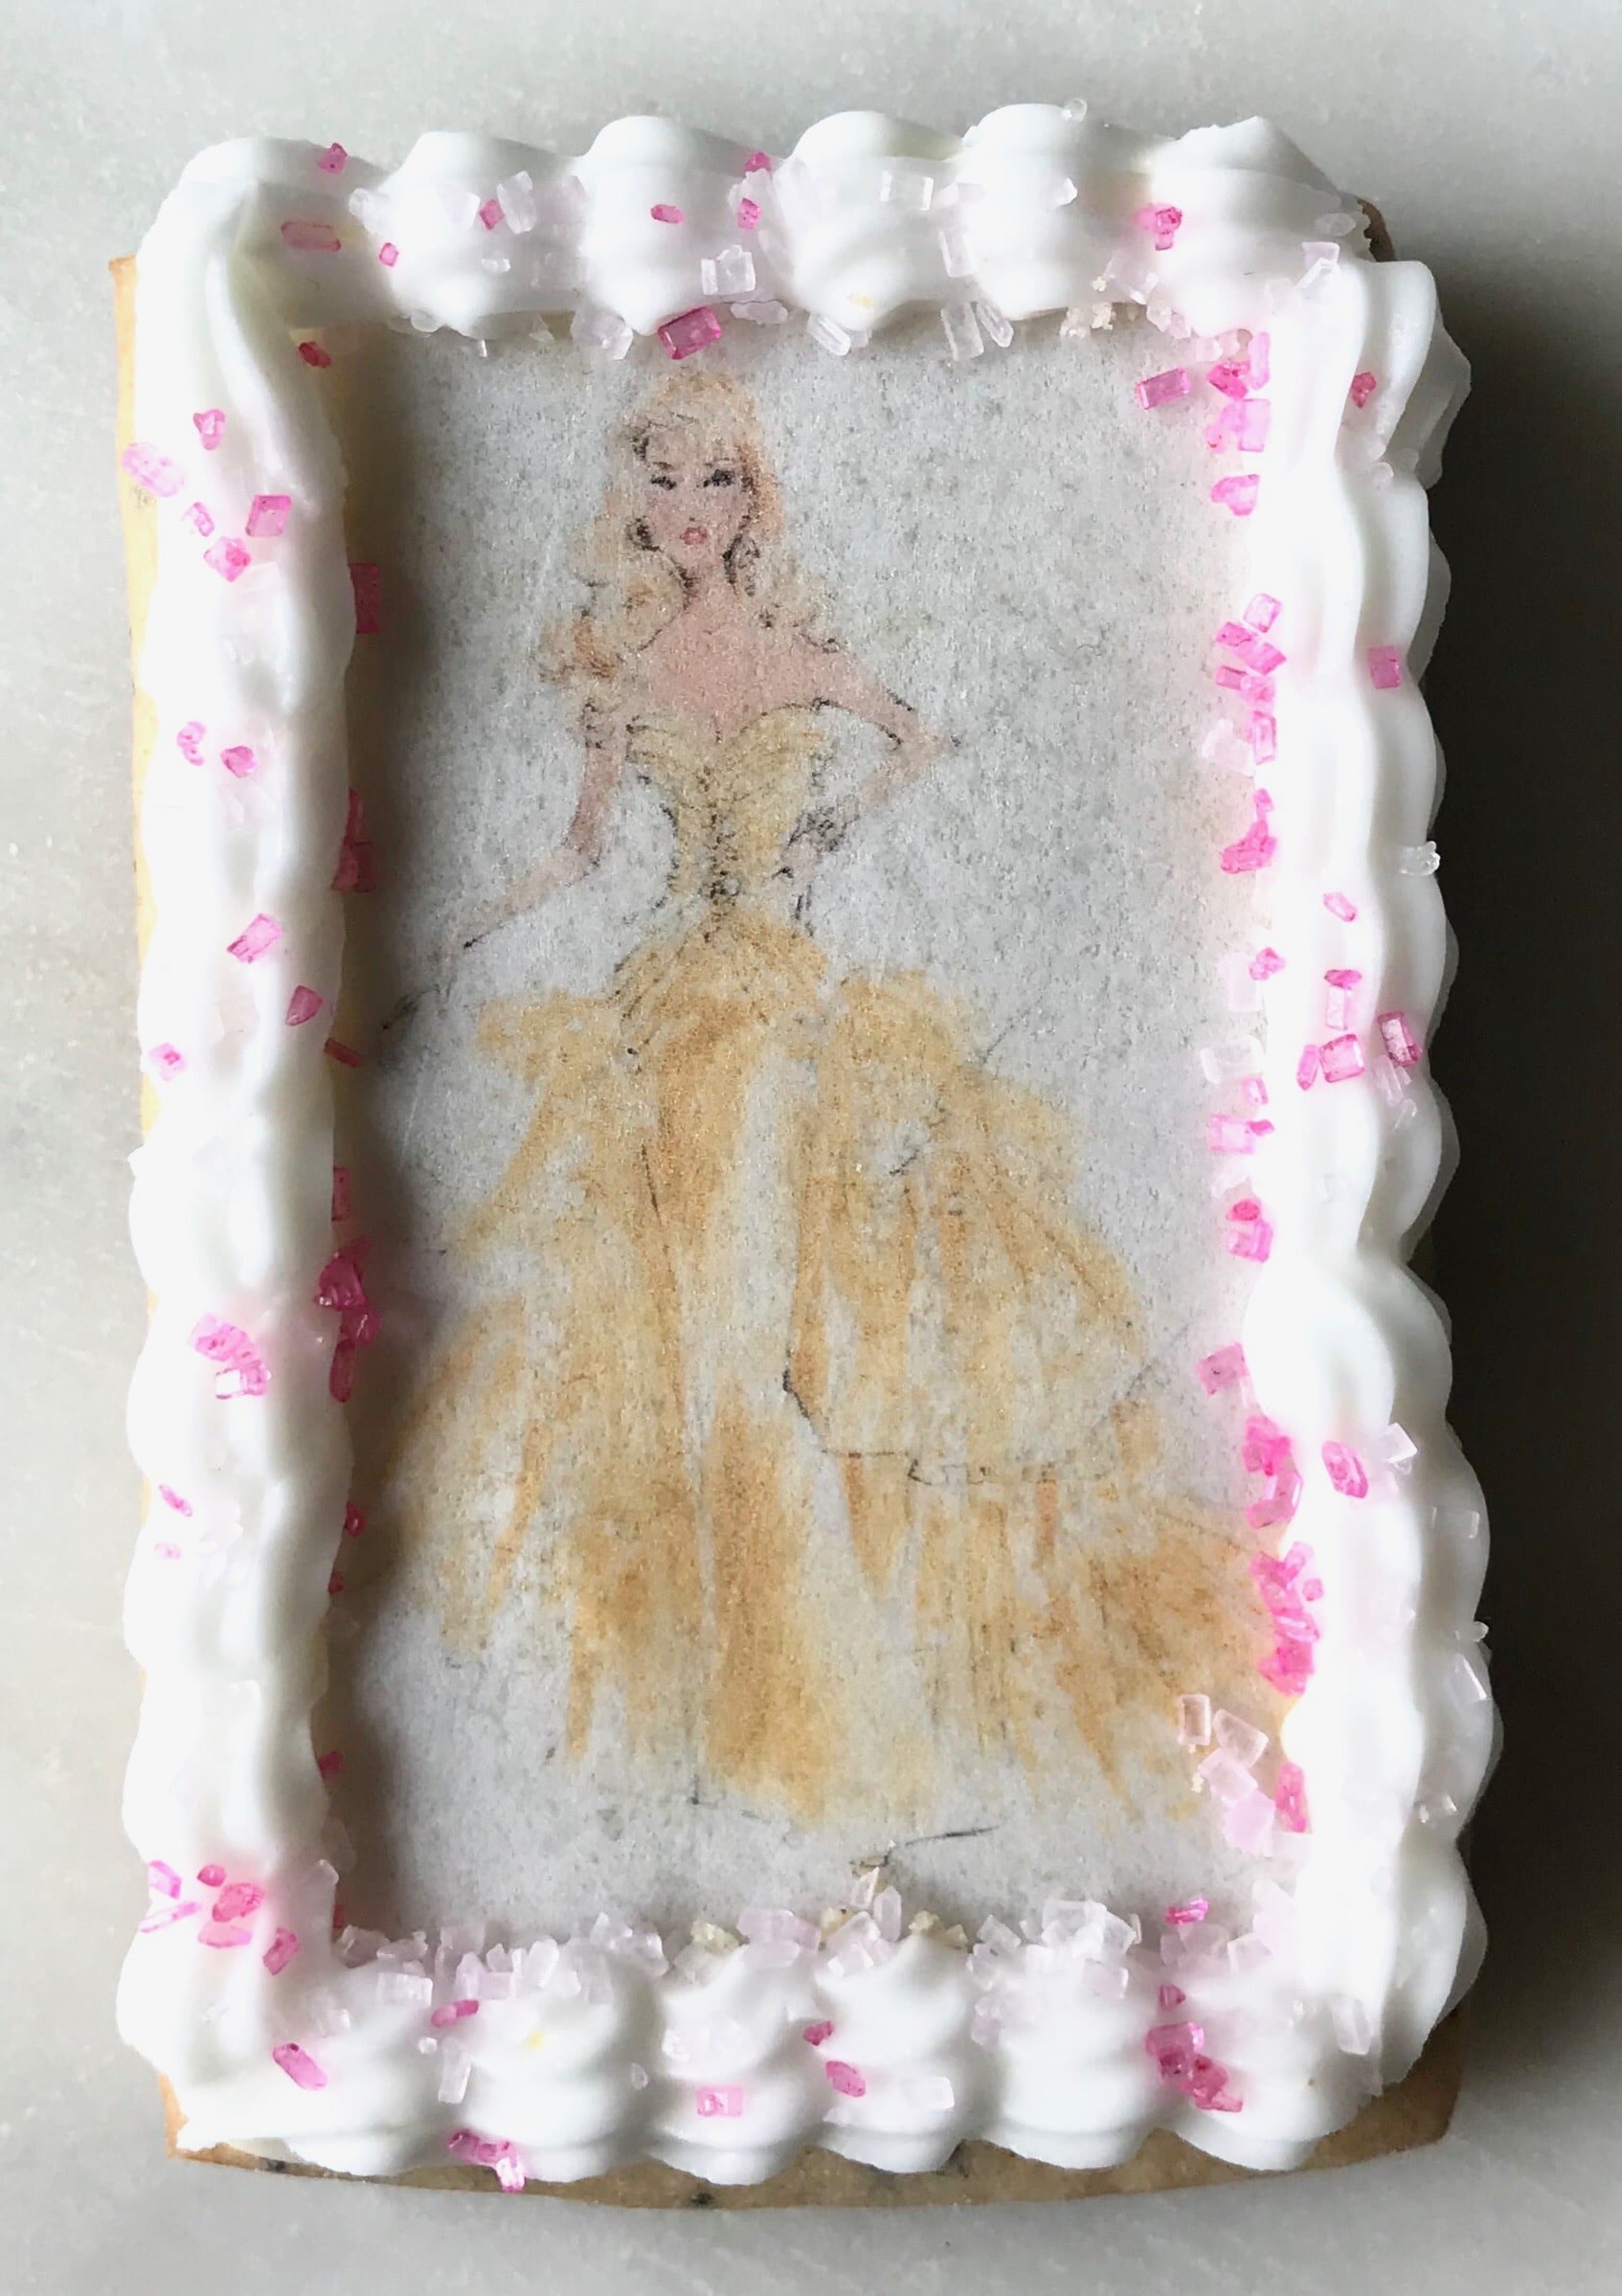
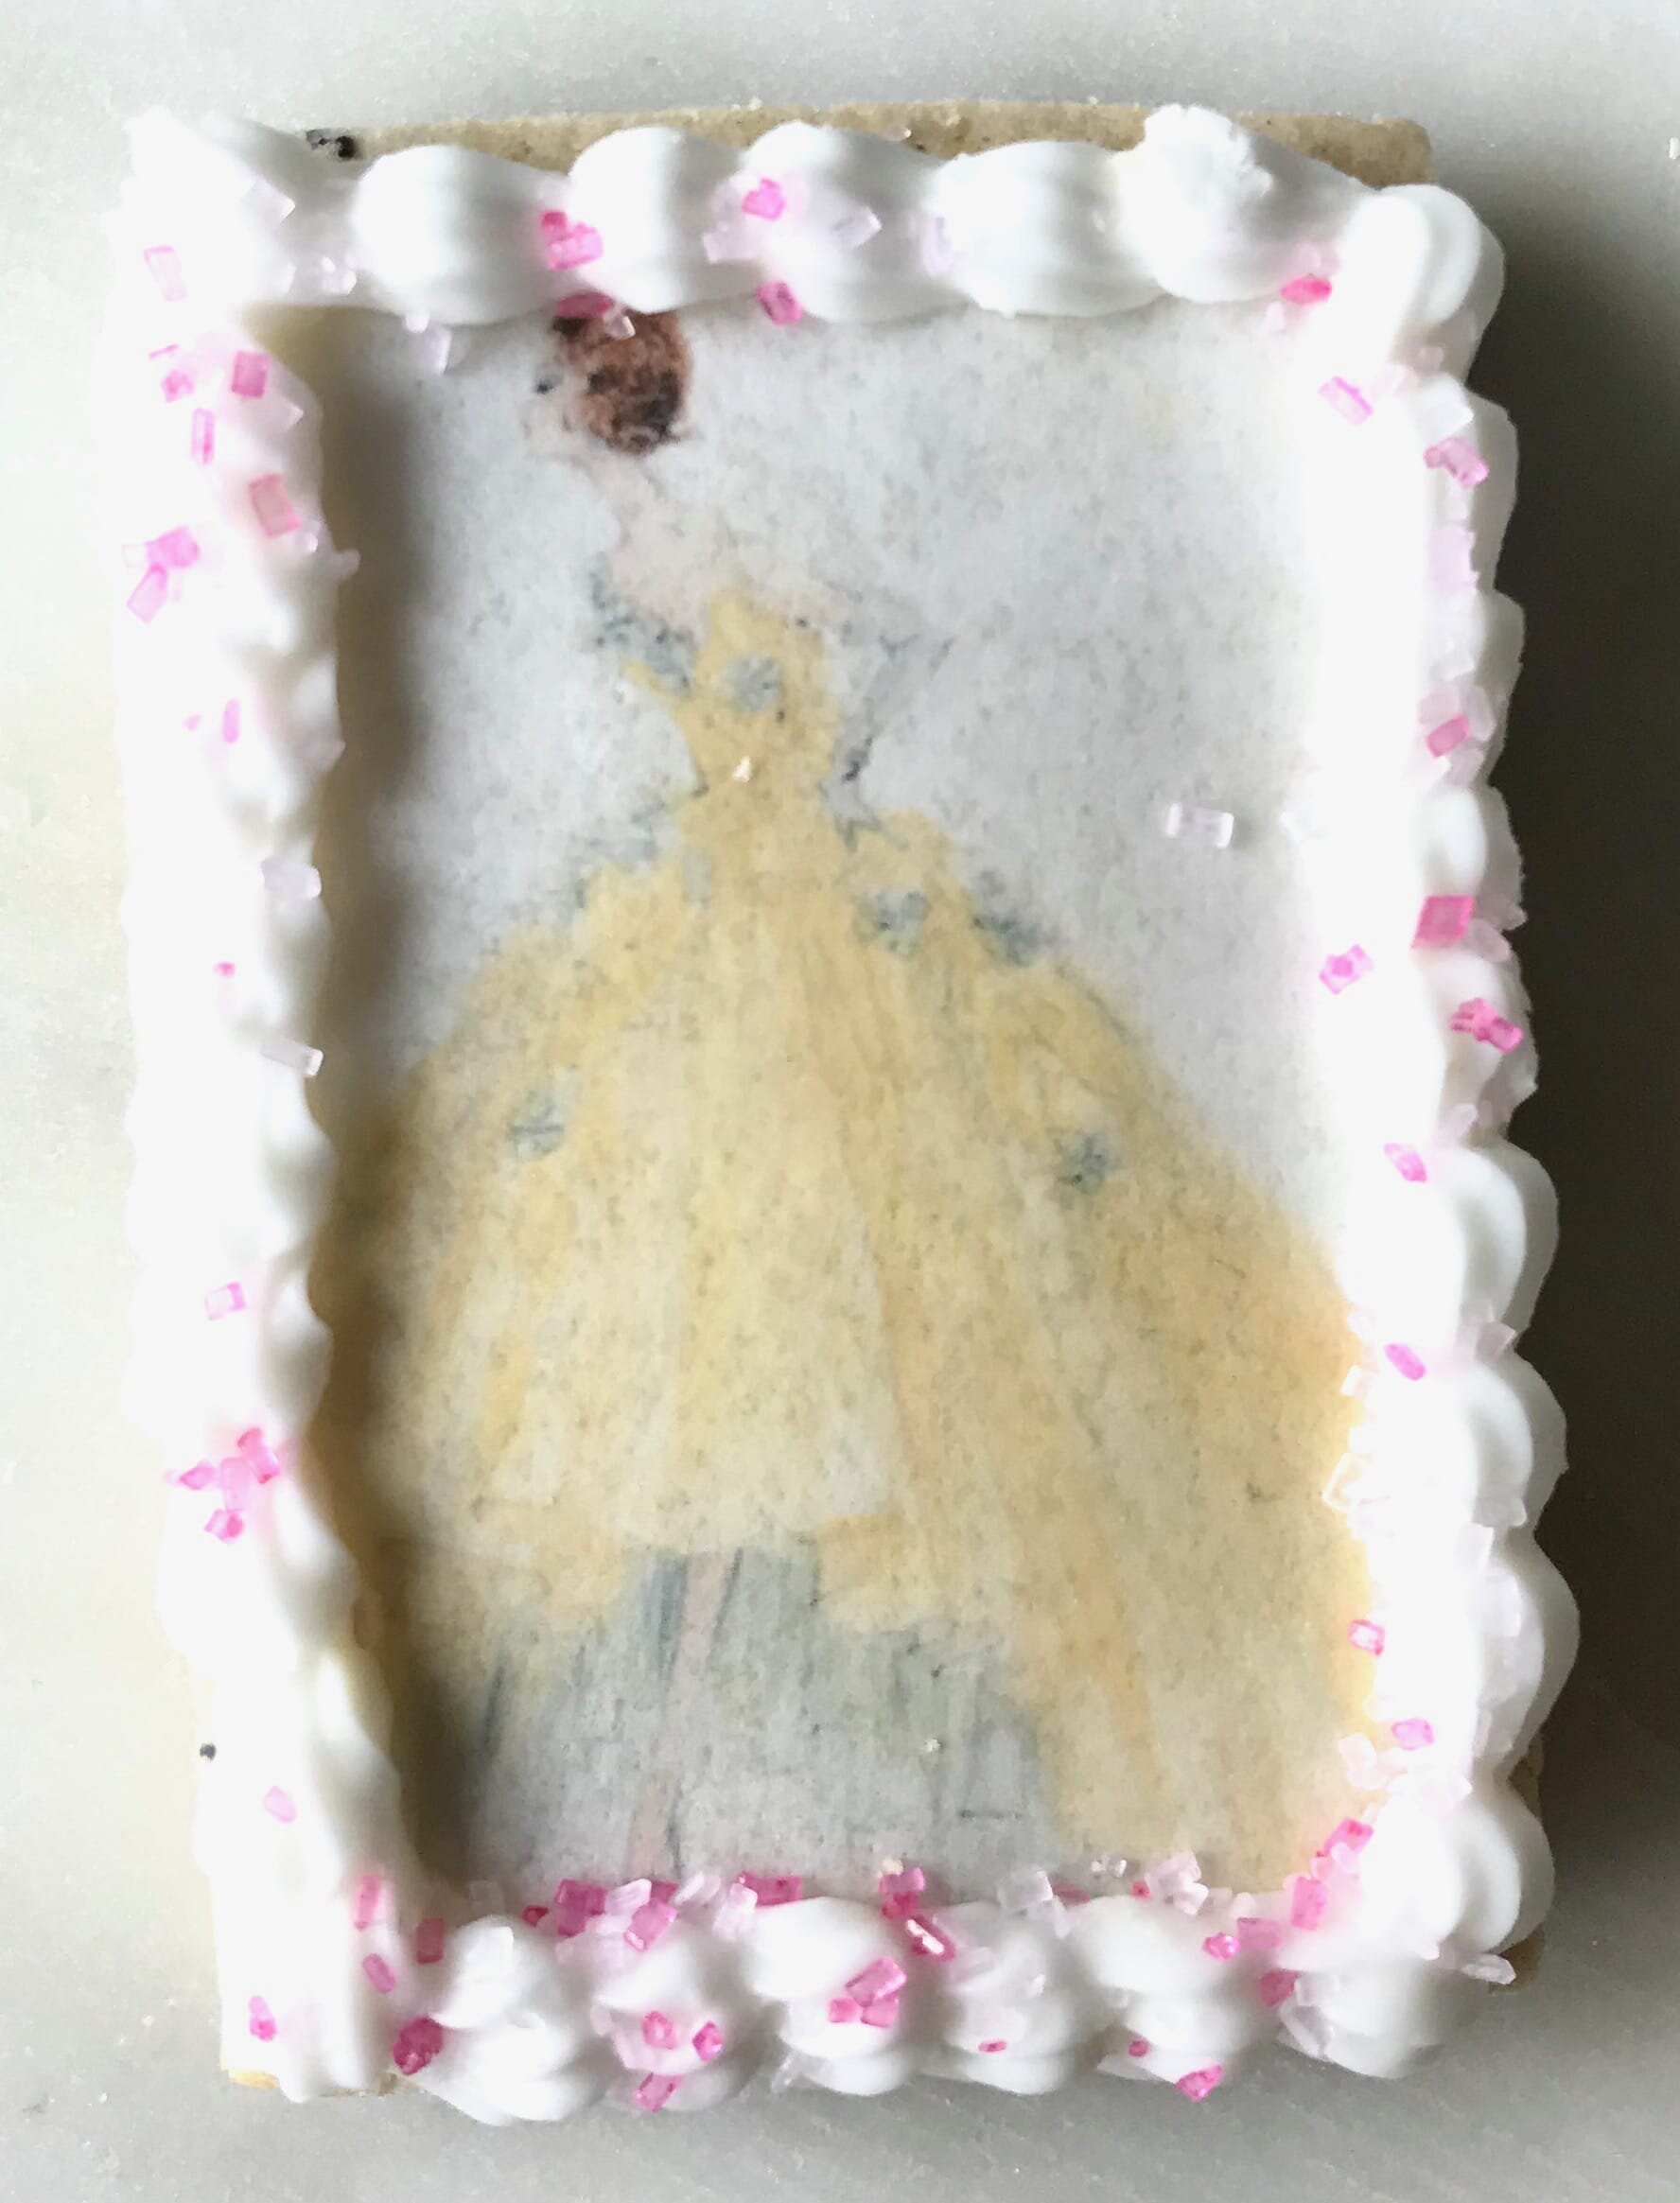
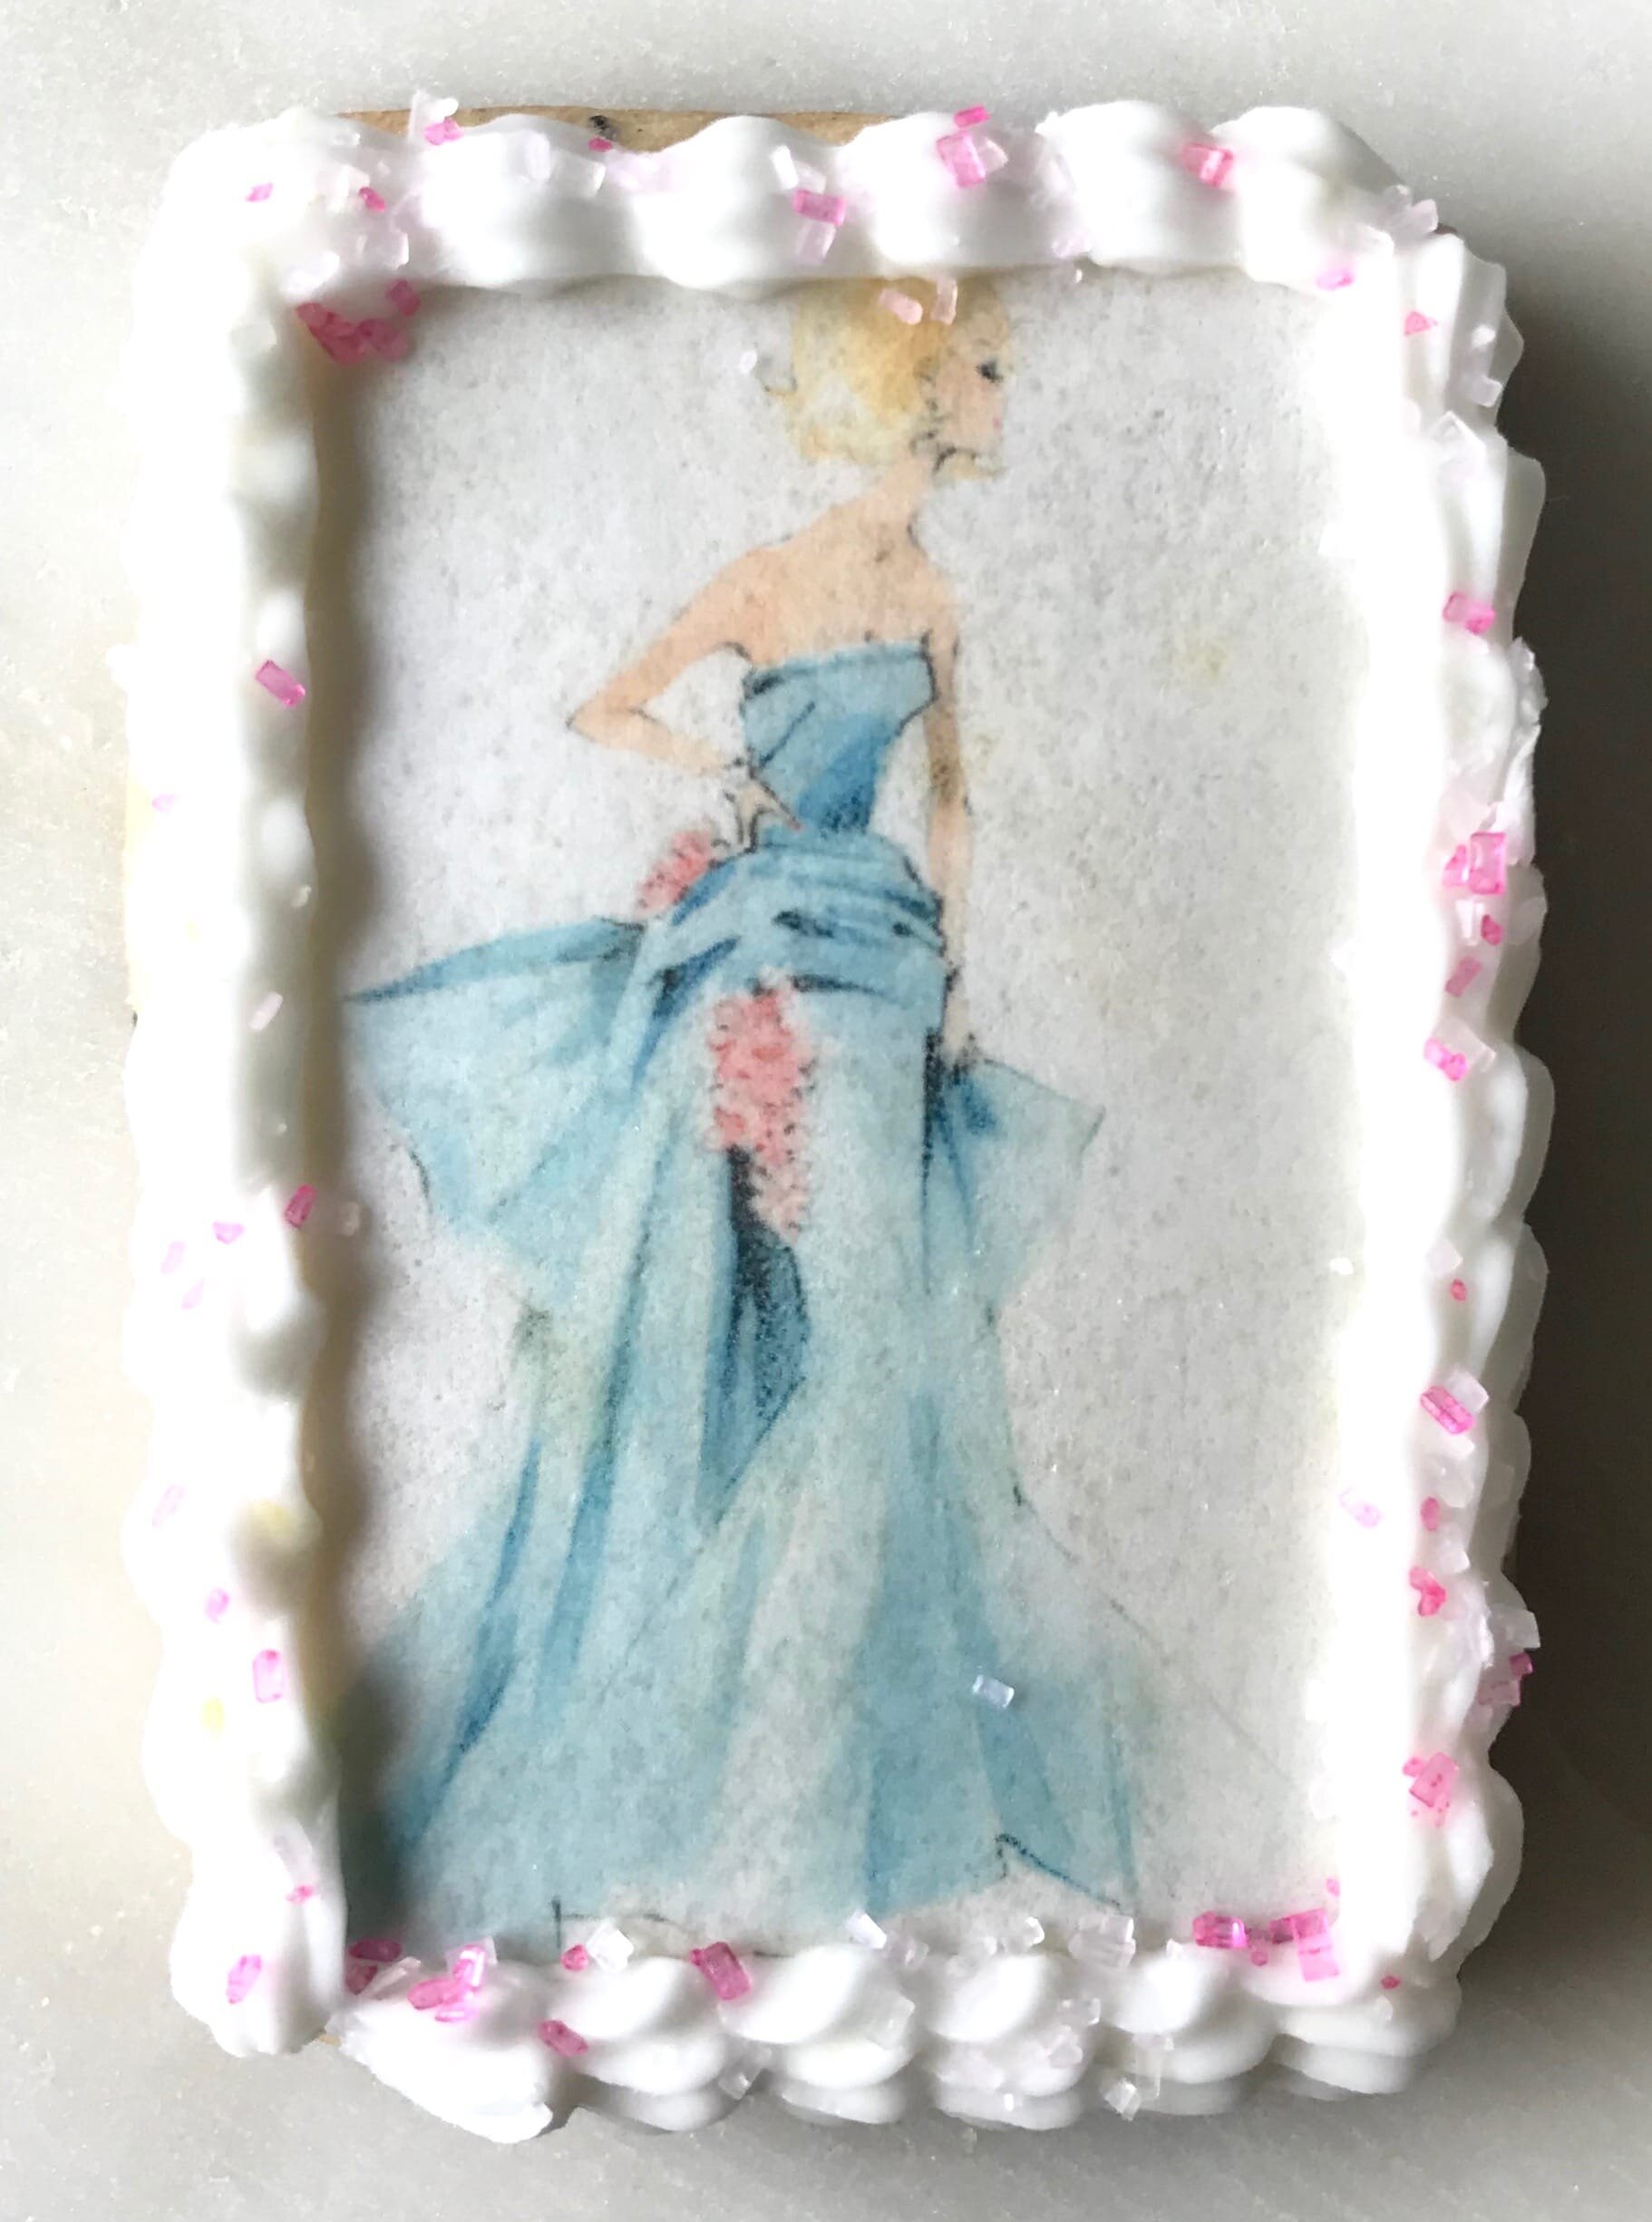
Originally I wasn't going to use these fashion wafer papers on these lemon poppy seed cookies but actually on funfetti cookies! I mistakenly cut out the funfetti cookies way to big so I opted to put these pretty edible images on these cookies instead. If you absolutely love these images and want to use them yourself for your own cookies I'm selling them in my shop! Any little girl, boy or fashionista would love these for a birthday or even just because! I also have a series that explains everything on edible printing as well! It's a detailed step by step guide on how you can get images on your cakes and cookies too! I'm also working on a new part to the series on how to print for chocolate! How fun is that!Want to learn how to get images onto cookies and even cakes and chocolates? Then check out my new online edible printing course that will guide you through everything you need to know about edible printing, from start to finish! You won't regret it! Not too sure if you want to buy something so pricey if you aren't sure you'd like it? Then you can certainly check out my array of edible paper images you buy and try out before making such a huge purchase. You can even buy these images here in my shop!
Above are some products that I personally use and recommend for this recipe and to have for everyday use. When making royal icing you can go one of two ways. You can use meringue powder for a more safe route or you can use egg whites. I try to stick with using meringue powder mainly because I would rather save the egg whites for something else. This is completely optional but the recipe for these cookies uses meringue powder.
______________________________________________________________________
lemon poppy seed cookies

these cookies are popping with lemon flavor and poppy seeds too!
cookies
- 2 sticks unsalted butter (room-temp)
- 3/4 cup granulated sugar
- 1 egg
- 1/2 tsp vanilla extract
- 1/4 cup lemon juice
- 1 tbsp lemon zest
- 1 tsp baking soda
- 1/2 tsp salt
- 1 1/2 tbsp poppy seeds
- 2 1/2 cup all-purpose flour
royal icing
- zest of 1 lemon
- 3 tbsp lemon juice
- 2 cup powdered sugar
- 2 tbsp meringue powder
cookies
- preheat the oven to 350 degrees F. line a sheet pan with parchment paper. place the butter and the sugar into a bowl of an electric mixer fitted with a paddle attachment and cream until light and fluffy, about 3 minutes. scrape the sides of the bowl and add in the vanilla, lemon juice, lemon zest and egg and mix until incorporated. place the flour, salt, and baking soda, and poppy seeds in another bowl and whisk together. gradually add the flour mixture to the butter mixture. wrap the dough in cling wrap and refrigerate the dough for about 30 minutes. roll the cookies out to 1/4 inch thickness and cut out desired shapes. place on the sheet pan and bake for 10-12 minutes or until the edges are golden brown.
royal icing
- combine all of the ingredients in the bowl of an electric mixer fitter with a whisk attachment. gradually add in water, a teaspoon at a time, until a thick yet pipable consistency forms. once you are done with the thicker icing for piping a boarder on the cookies add in a little more water gradually until the icing becomes slightly looser to flood the cookies.
Guava Cupcakes with Cream Cheese Frosting
[wprm-recipe-jump]
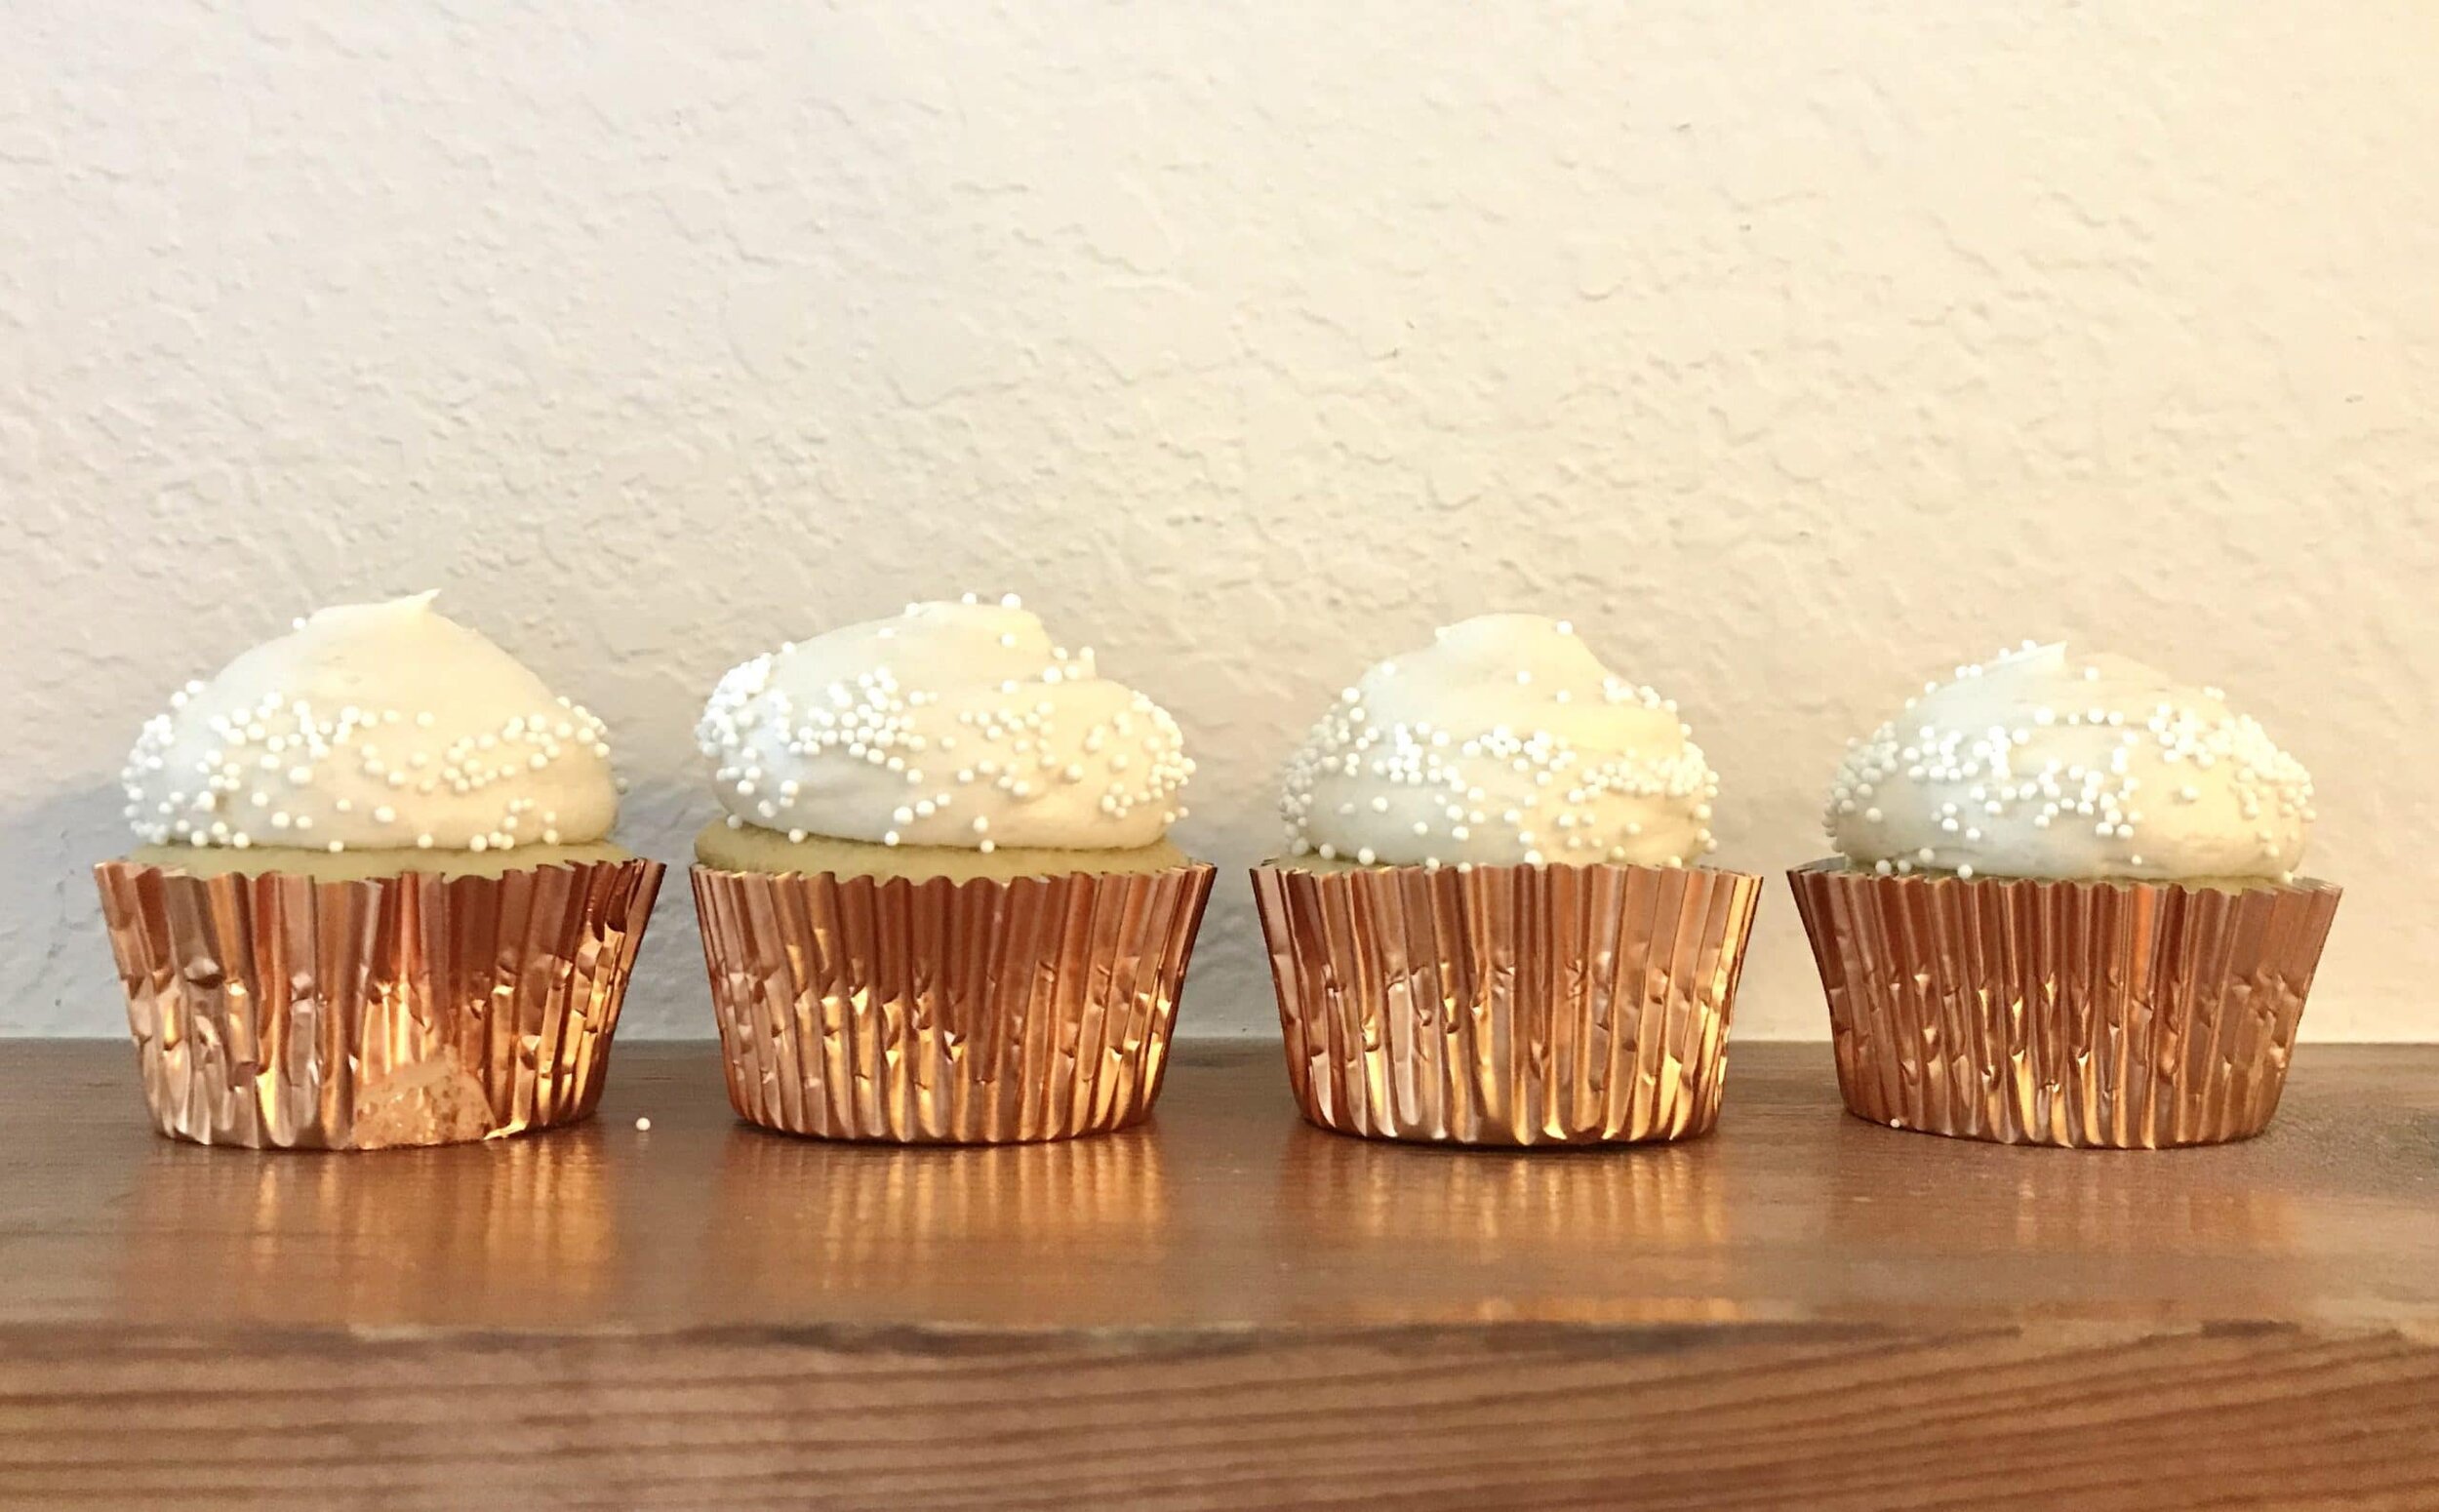
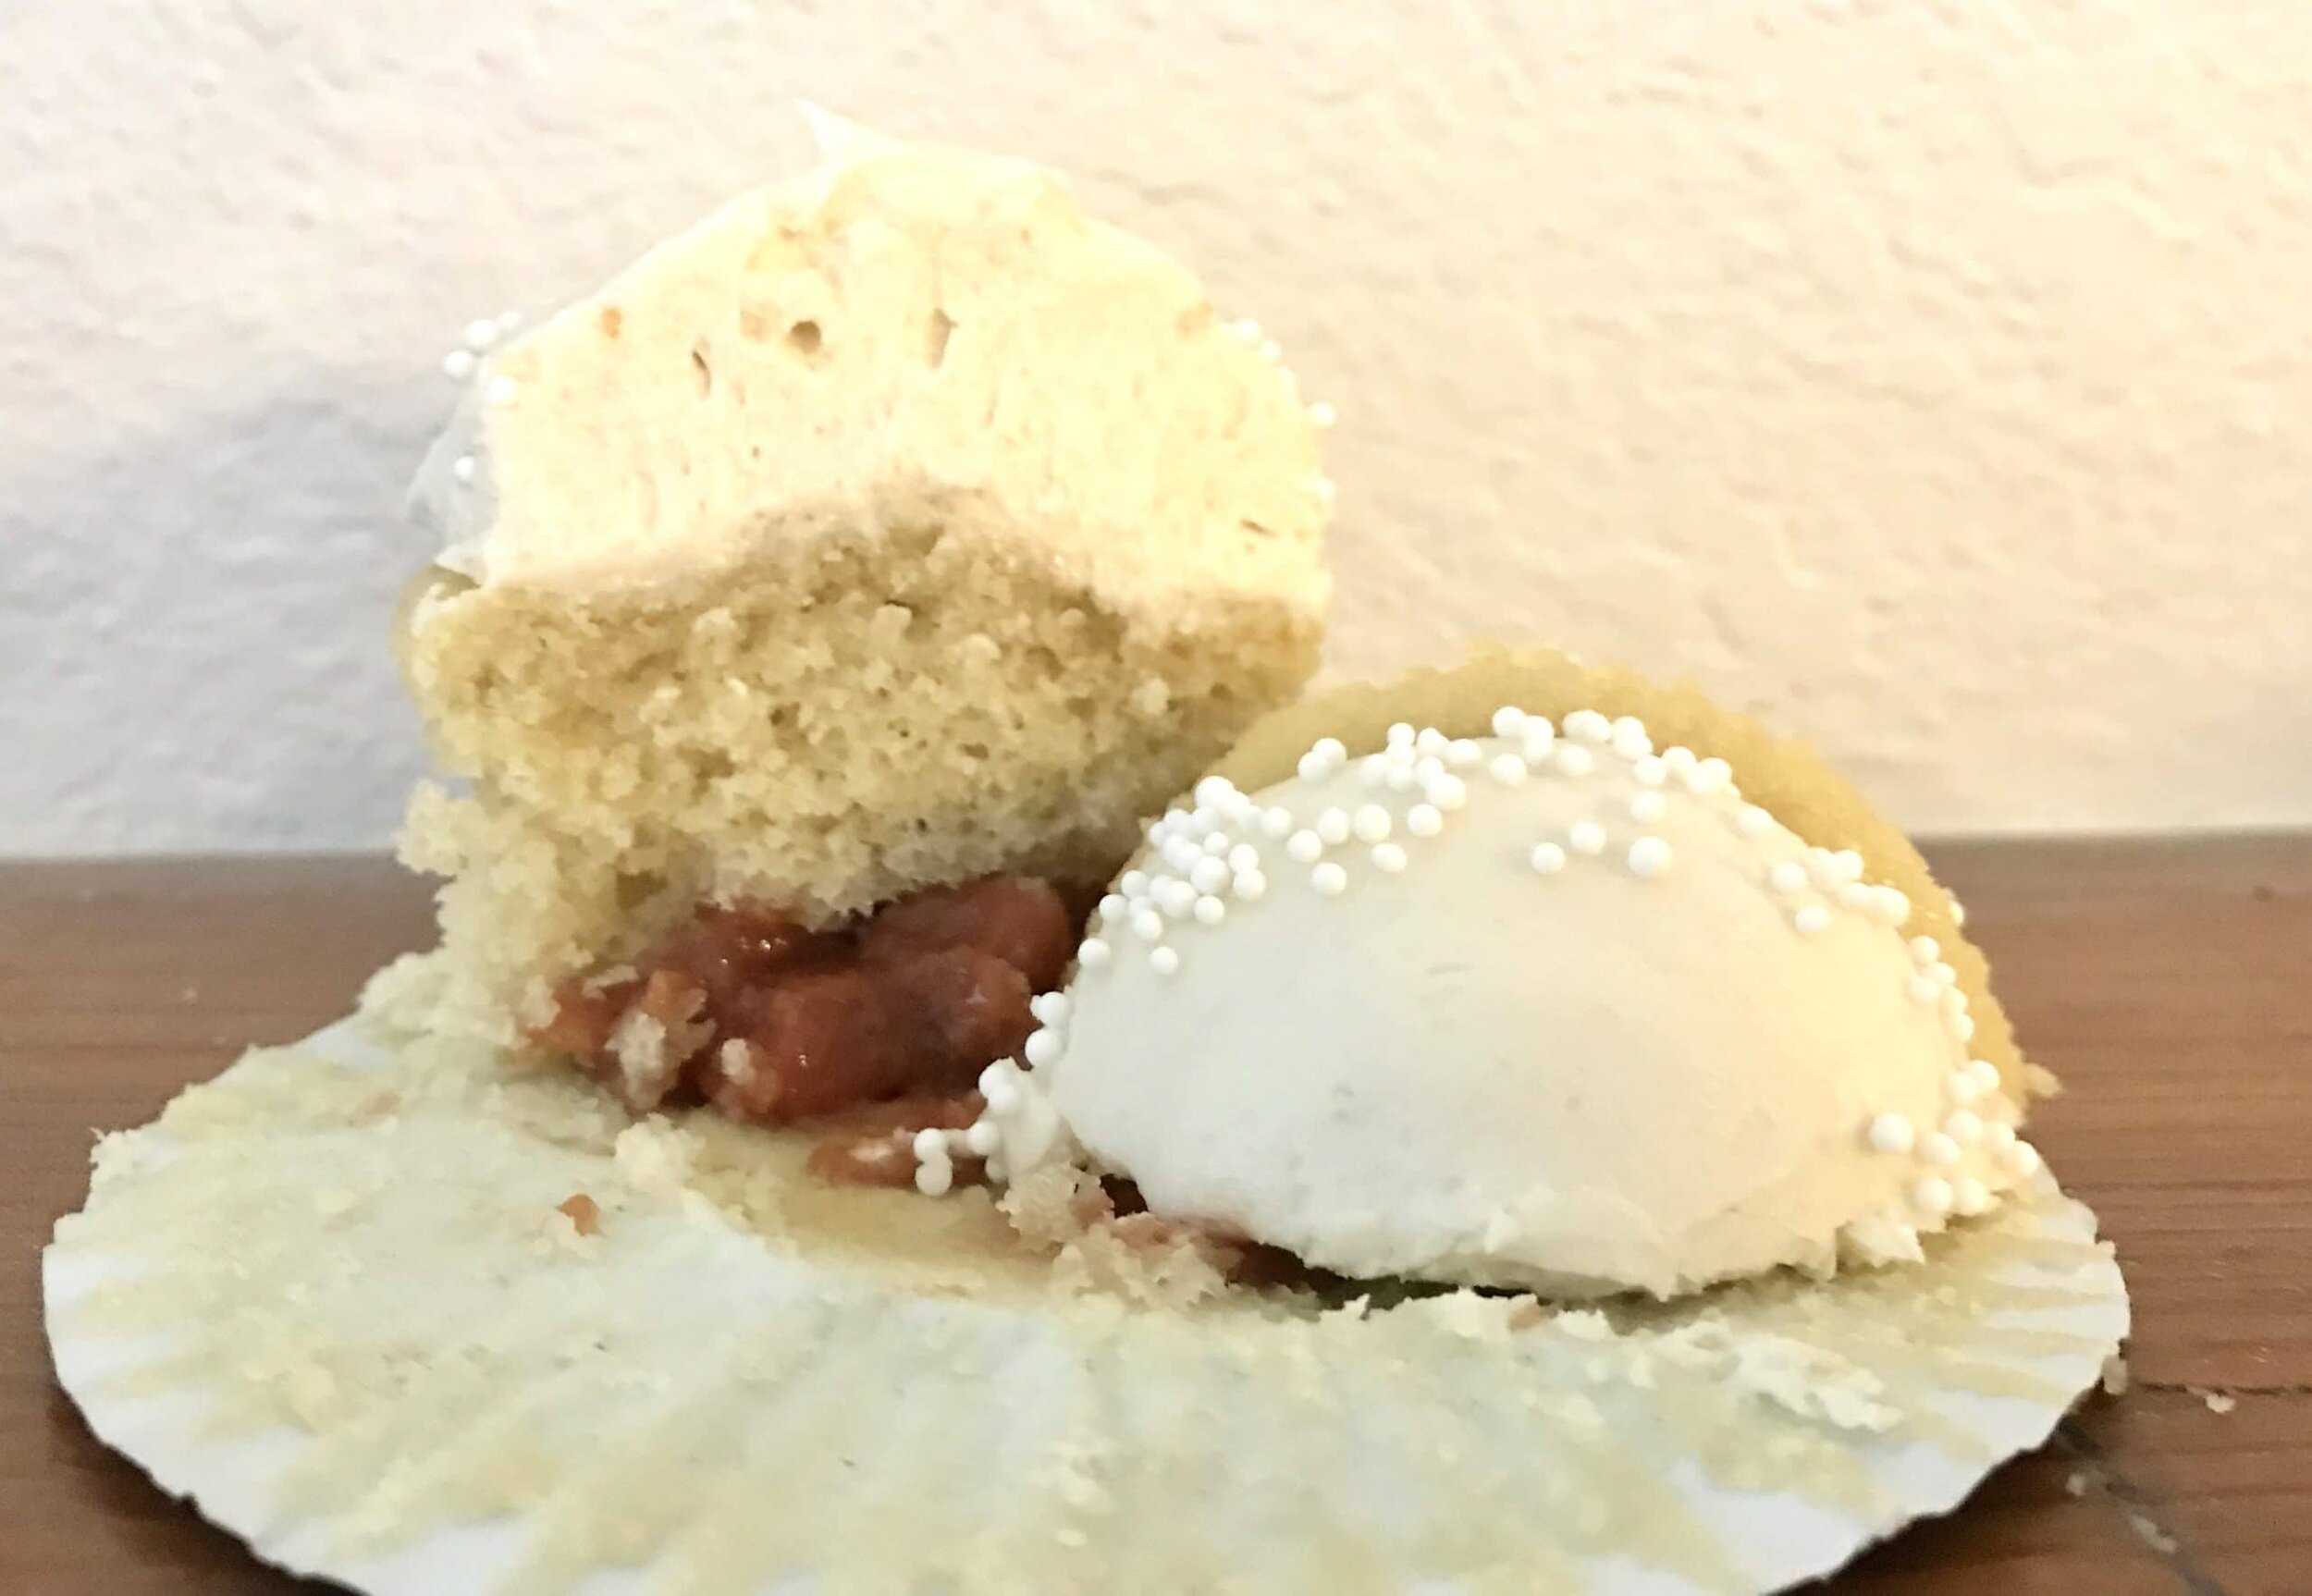
*Disclaimer: This post contains affiliate links. To learn more, please go here.At my brand new job they have these little puff pastries filled with guava paste and cream cheese. It was one of the best things that I had tried in a long time. I wanted to use those flavors and make them into a cupcake and they sure did not disappoint! So I found some guava paste at a grocery store I use to go to when I was in college and I was surprised at how much you got in a box for a good price! Being from a very small town in North Dakota that not all stores (or any) will carry guava paste, but you can always get it from amazon! Is there anything you can't buy online these days?Now I took the easy route when it came to adding the guava paste into the cupcake. That was just by cutting it into small cubes and putting it in the center of the batter before baking. If you don't want it to sink, coat it with a little flour to prevent it from sinking. (That was something I forgot to do). If you don't want it in a big chunk, then combine it with a 1/4 cup of water and boil it down into a smooth paste. Then put it into a piping bag and swirl it into the batter.
[mailerlite_form form_id=1]

Above are some products that I personally use and recommend for this recipe and to have for everyday use. For these cupcakes you need the guava paste!! If you can't find it in your local grocery store, which you should be able to find it in the ethnic aisle, than get it off of amazon.
_____________________________________________________________________________________
guava cupcakes

these cupcakes have a guava filling that compliments the cream cheese buttercream perfectly.
cupcakes
- 2/3 cup granulated sugar
- 1 1/2 cup cake flour
- 1 tsp baking powder
- 1/2 tsp baking soda
- 3/4 tsp salt
- 1/2 cup vegetable oil
- 2 eggs
- 1 tsp vanilla extract
- 1/2 tsp almond extract
- 1 cup buttermilk
- 8 oz guava paste
buttercream
- 8 oz cream cheese
- 2 sticks unsalted butter
- 5 cups powdered sugar
- 1 tsp vanilla extract
- 2-3 tbsp heavy cream
cupcakes
- preheat the oven to 350 degrees F and line cupcake pans with liners. in a large bowl, combine the cake flour, sugar, baking soda, baking powder, and salt and mix until incorporated. in another bowl, combine the oil, eggs, almond extract, vanilla, and buttermilk and whisk together. pour the wet ingredients into the dry and mix until fully combined. take the guava paste and cut into small cubes and then coat in a tablespoon of flour. scoop the batter in the cupcake pan and place a cube of the guava paste in the center and bake for 12-15 minutes or until a toothpick comes out clean. let the cake cool for 10 minutes before frosting.
buttercream
- in the bowl of an electric mixer fitted with a paddle attachment, combine the cream cheese and butter and beat until smooth, about 2 minutes. scrap down the sides of the bowl and then add the vanilla and powdered sugar and continue mixing until fully combined. gradually add in the heavy cream until it is a spreadable consistency.
Passion Fruit Sorbet

[wprm-recipe-jump]
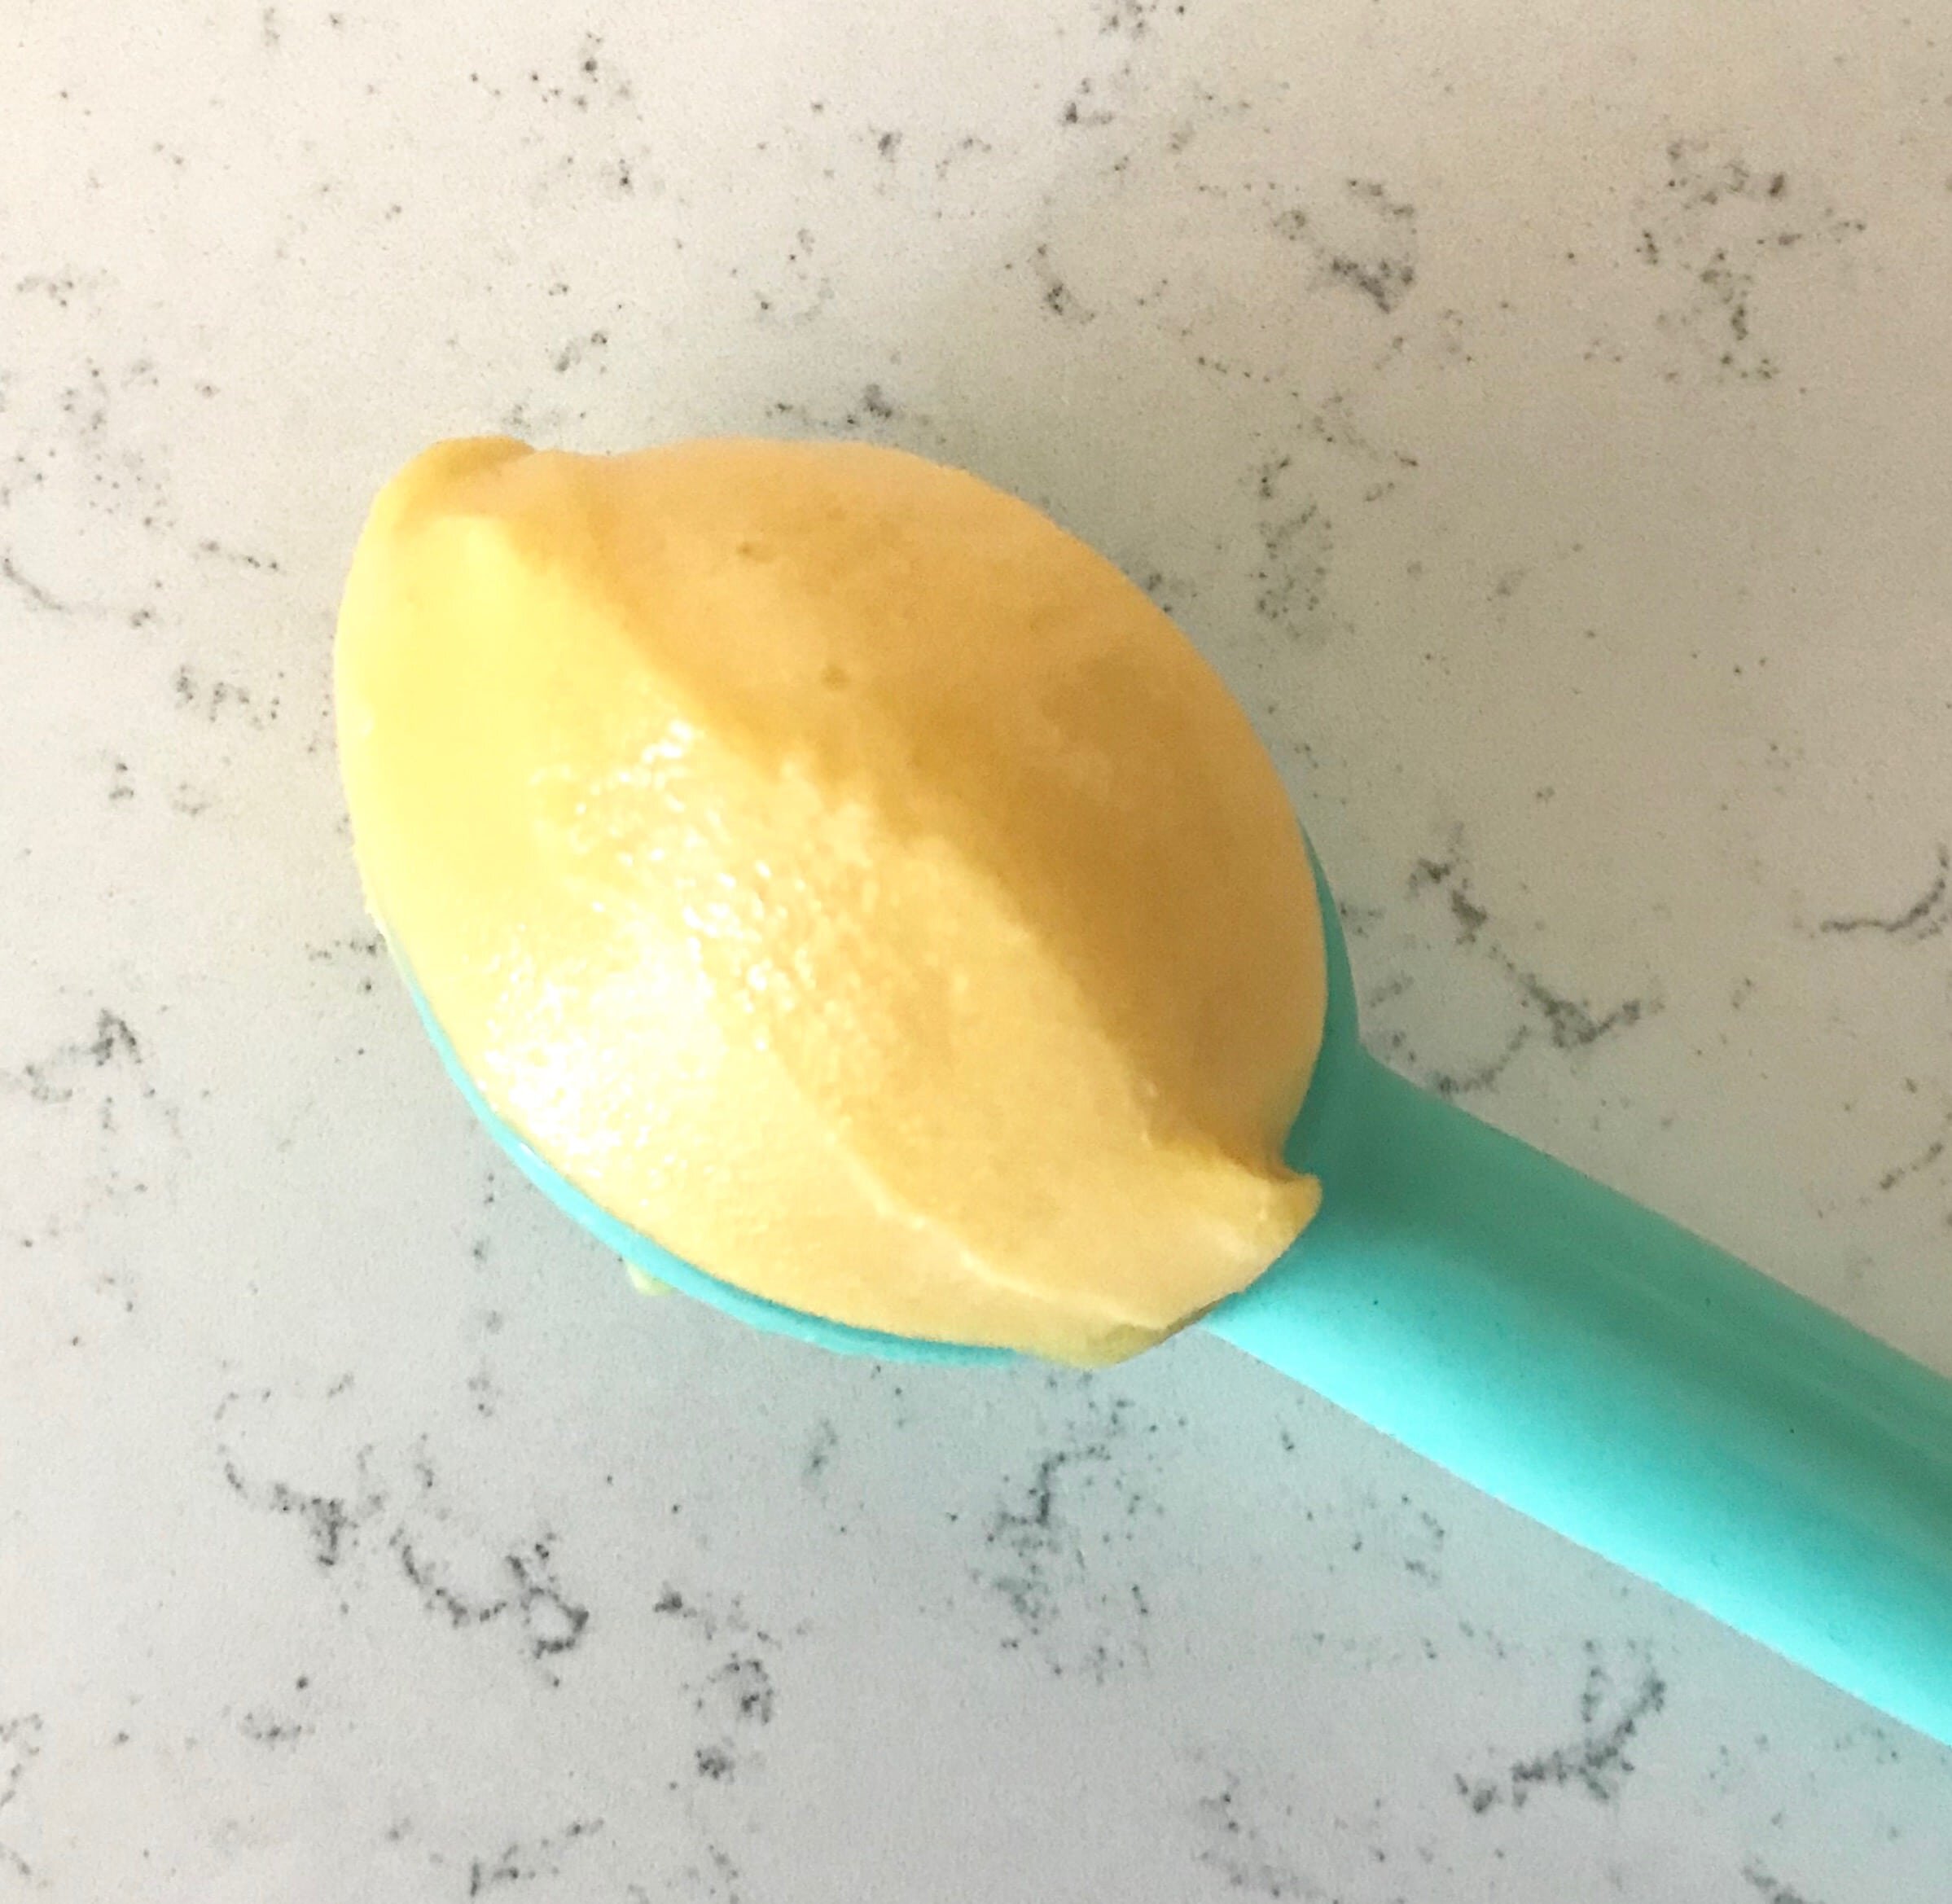
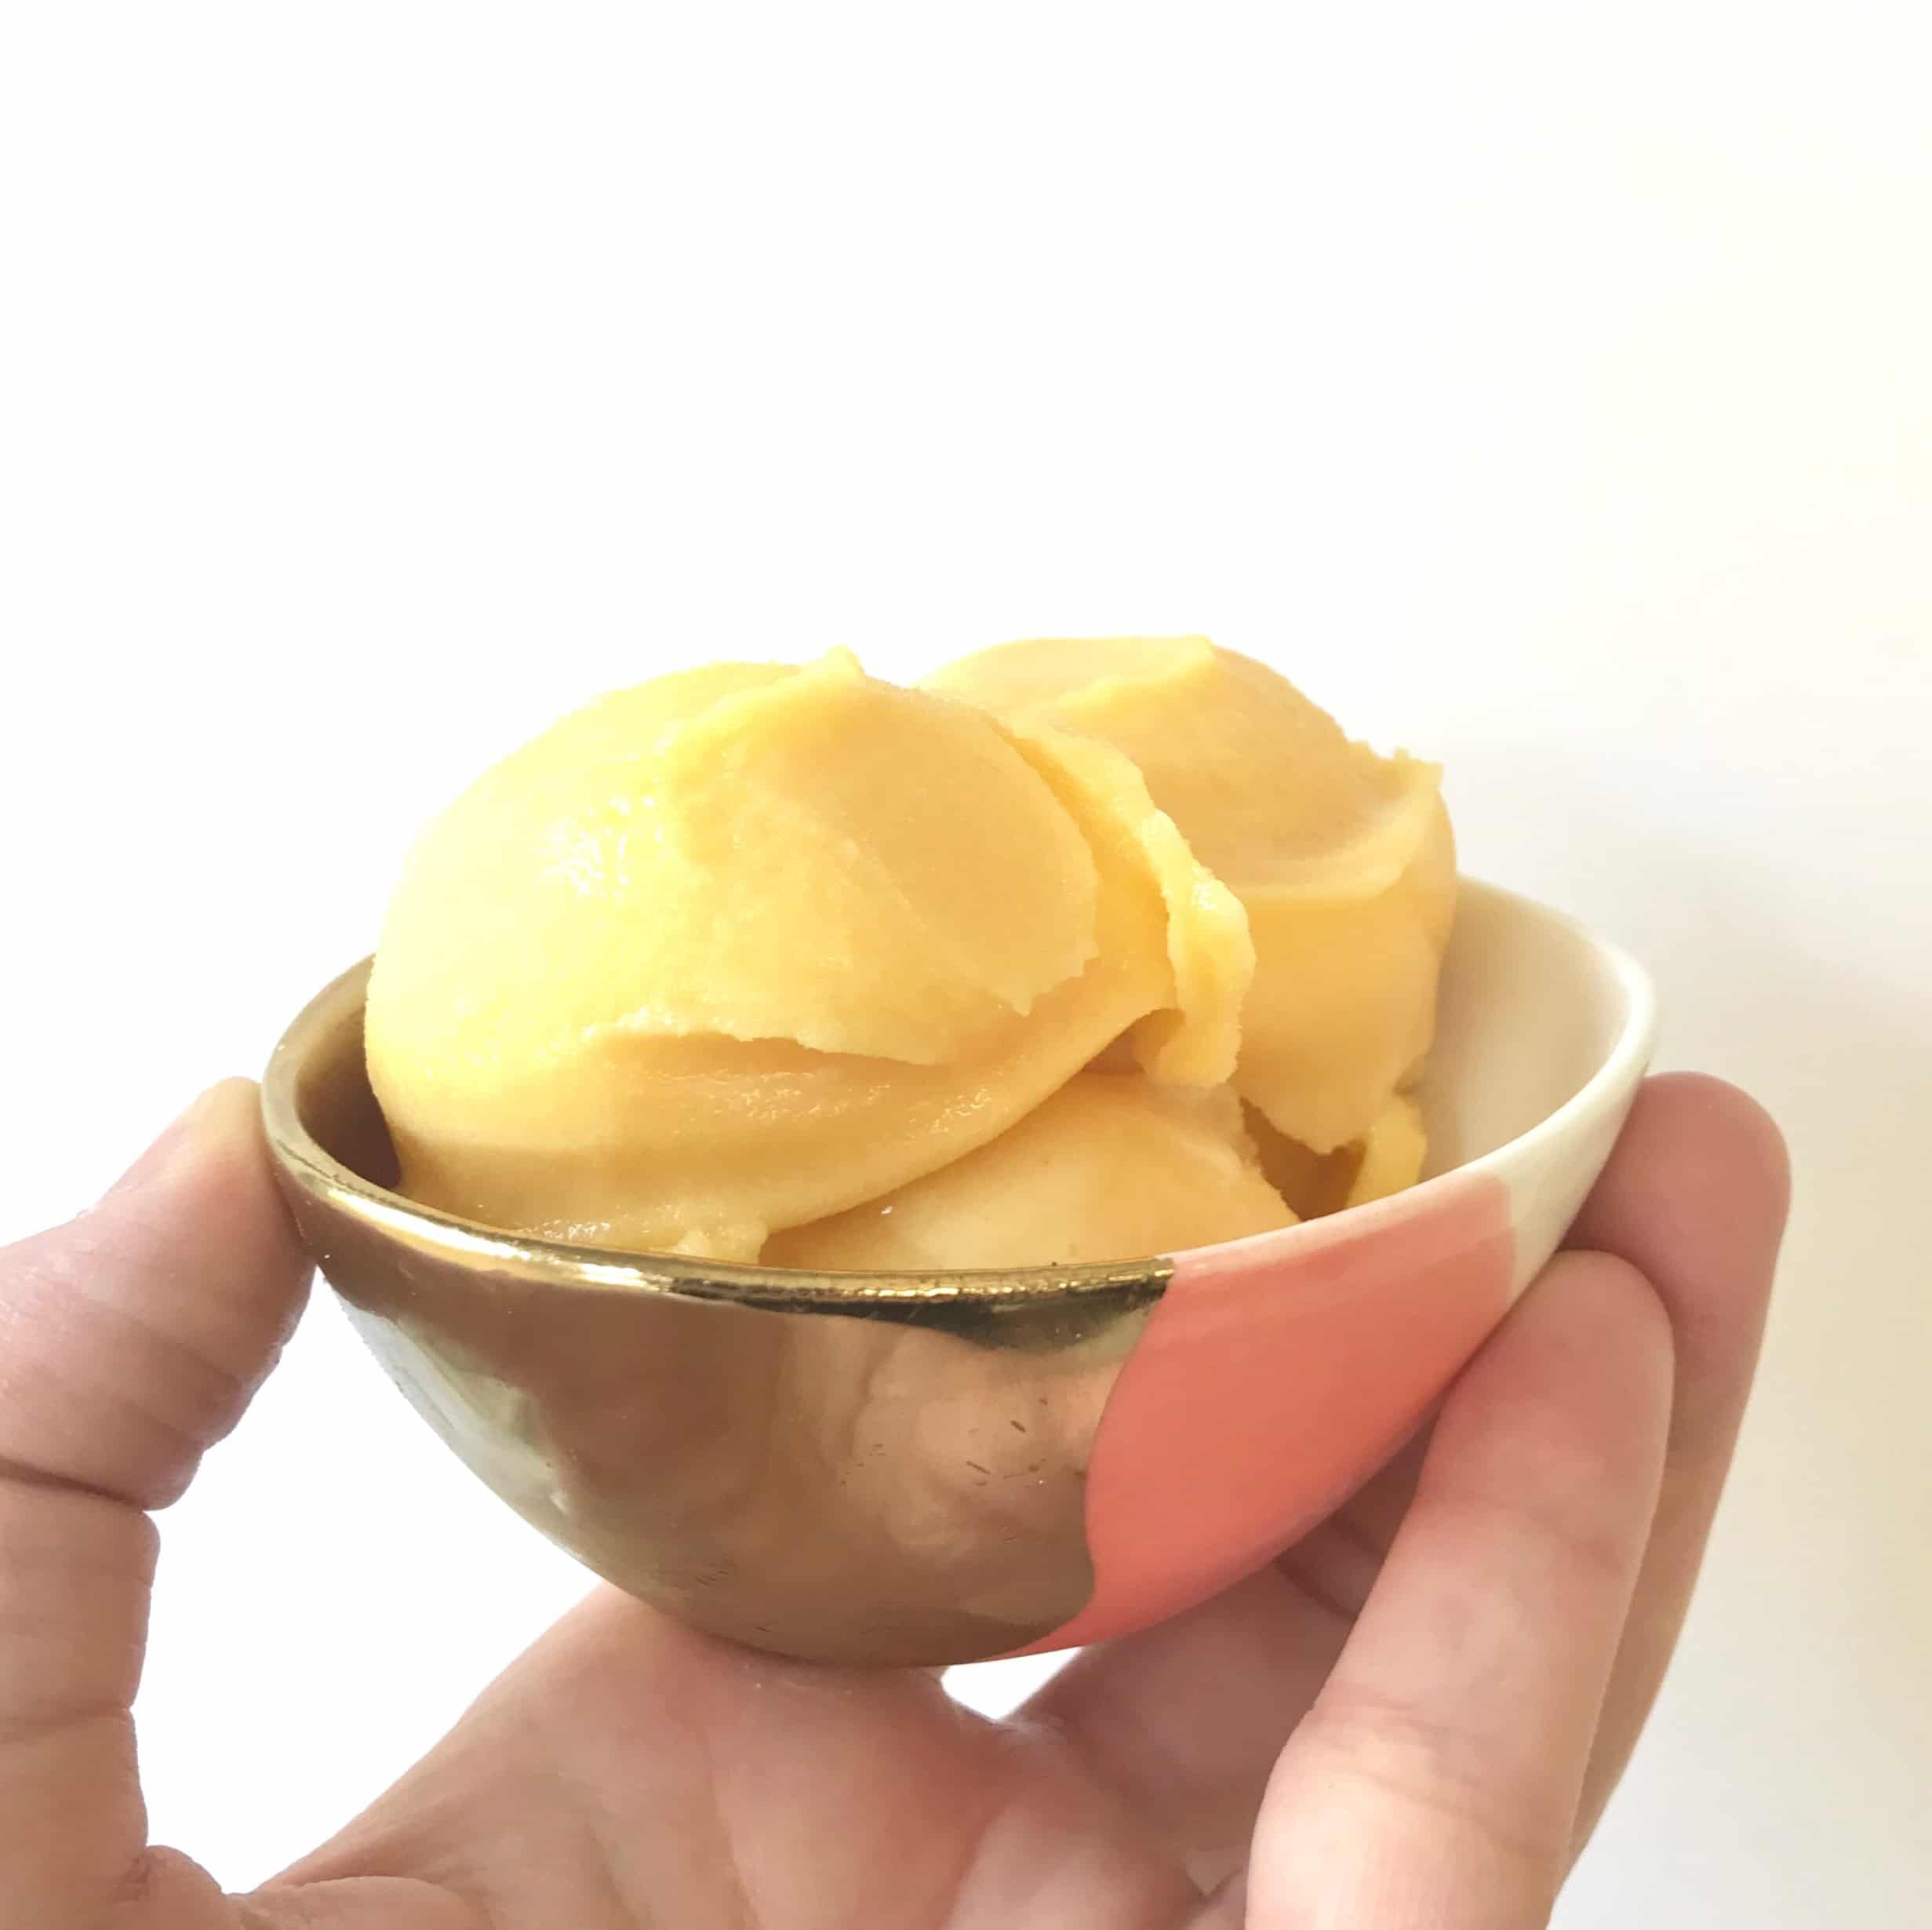
*Disclaimer: This post contains affiliate links. To learn more, please go here.I had some leftover passion fruit puree sitting in the fridge and since I'm getting ready to move across the country I had to think of a way to use it up. I figured that since it's summer and it's going to be so hot out down here in Tennessee that sorbet sounded just right! Now this passion fruit sorbet is a bit tart but sweet at the same time. It is so addicting that I couldn't keep my hands off the ice cream container and just kept spooning this stuff into my mouth. It's that good and perfect for a hot day to cool off.I used frozen passion fruit puree; if you happen to be able to find fresh passion fruit, then use that! Just add it into a food processor and puree it really well and then strain it through a fine mesh sieve. You can use any fruit puree you want instead of making it a passion fruit sorbet. Sorbet is so versatile and easy that it doesn't require a lot of ingredients to make.
[mailerlite_form form_id=1]
Above are some products that I personally use and recommend for this recipe and to have for everyday use. I highly recommend starting off with the cuisinart ice cream machine as your first ice cream maker. It's the cheapest one on amazon and I personally use it and love it! I also suggest getting a reusable ice cream container as well, it's dishwasher safe and you can use it over and over again!
____________________________________________________________________
passion fruit sorbet
this sorbet is tart yet sweet thanks to the passion fruit puree!
- 1/2 cup passion fruit puree
- 1/4 cup lemon juice
- 2 cup water
- 1 1/2 cup granulated sugar
- in a small pot, combine the water and sugar and bring to a boil until the sugar dissolves, about 5 minutes. add in the lemon juice and passion fruit puree and let chill in the fridge overnight. following the manufacturer's instructions of your ice cream machine, turn the base for 20-25 minutes. place the ice cream into a freezer safe container and freeze overnight to firm up.
Strawberry Rhubarb Deep Dish Pie

[wprm-recipe-jump]
*Disclaimer: This post contains affiliate links. To learn more, please go here.
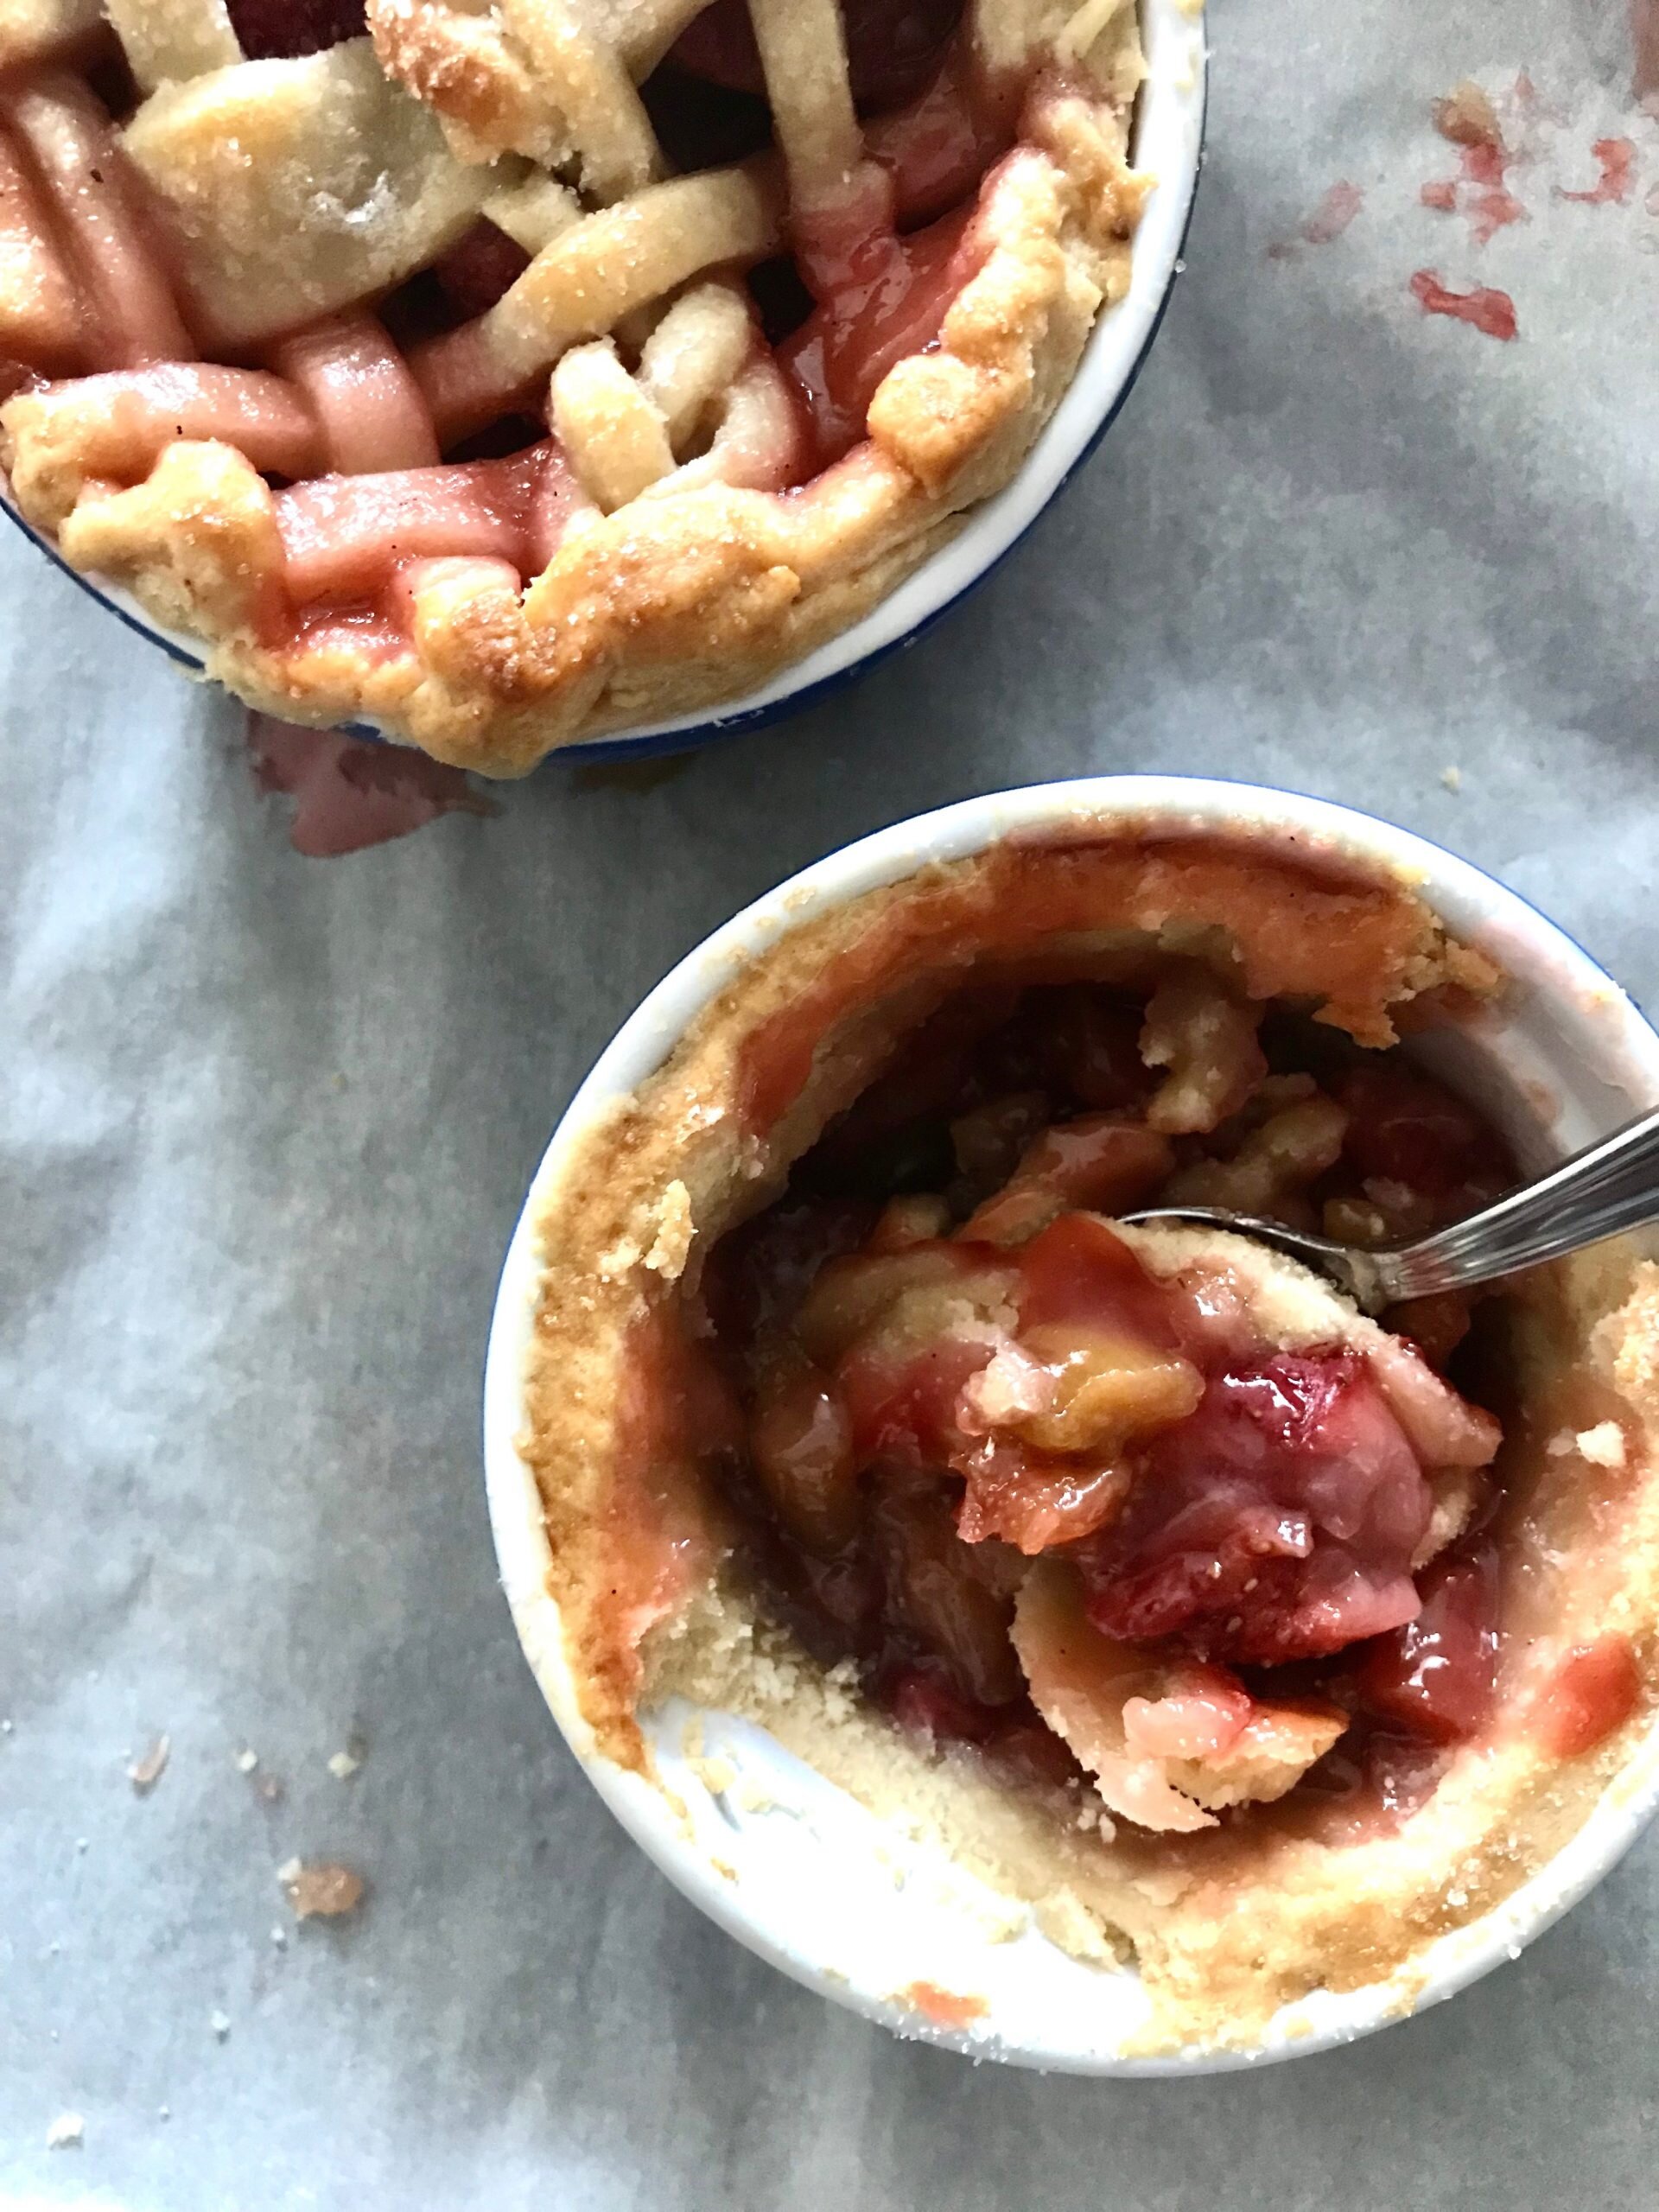
To be honest, i'm not a fan of pie. I don't like to make it and i'm not very big into eating it either. That is until I had tried the hand pies at a place I worked at. The dough was crisp and sweet and the filling was amazing. I had to make these hand pies about once a week, and since I was the only one who made them. So of course, I ended up memorizing the recipe for the pie dough. Since I had it memorized by making it so much, I of course had to make myself a strawberry rhubarb pie!
I won't lie. I ate all four of these pies. And I do not feel guilty about it whatsoever.
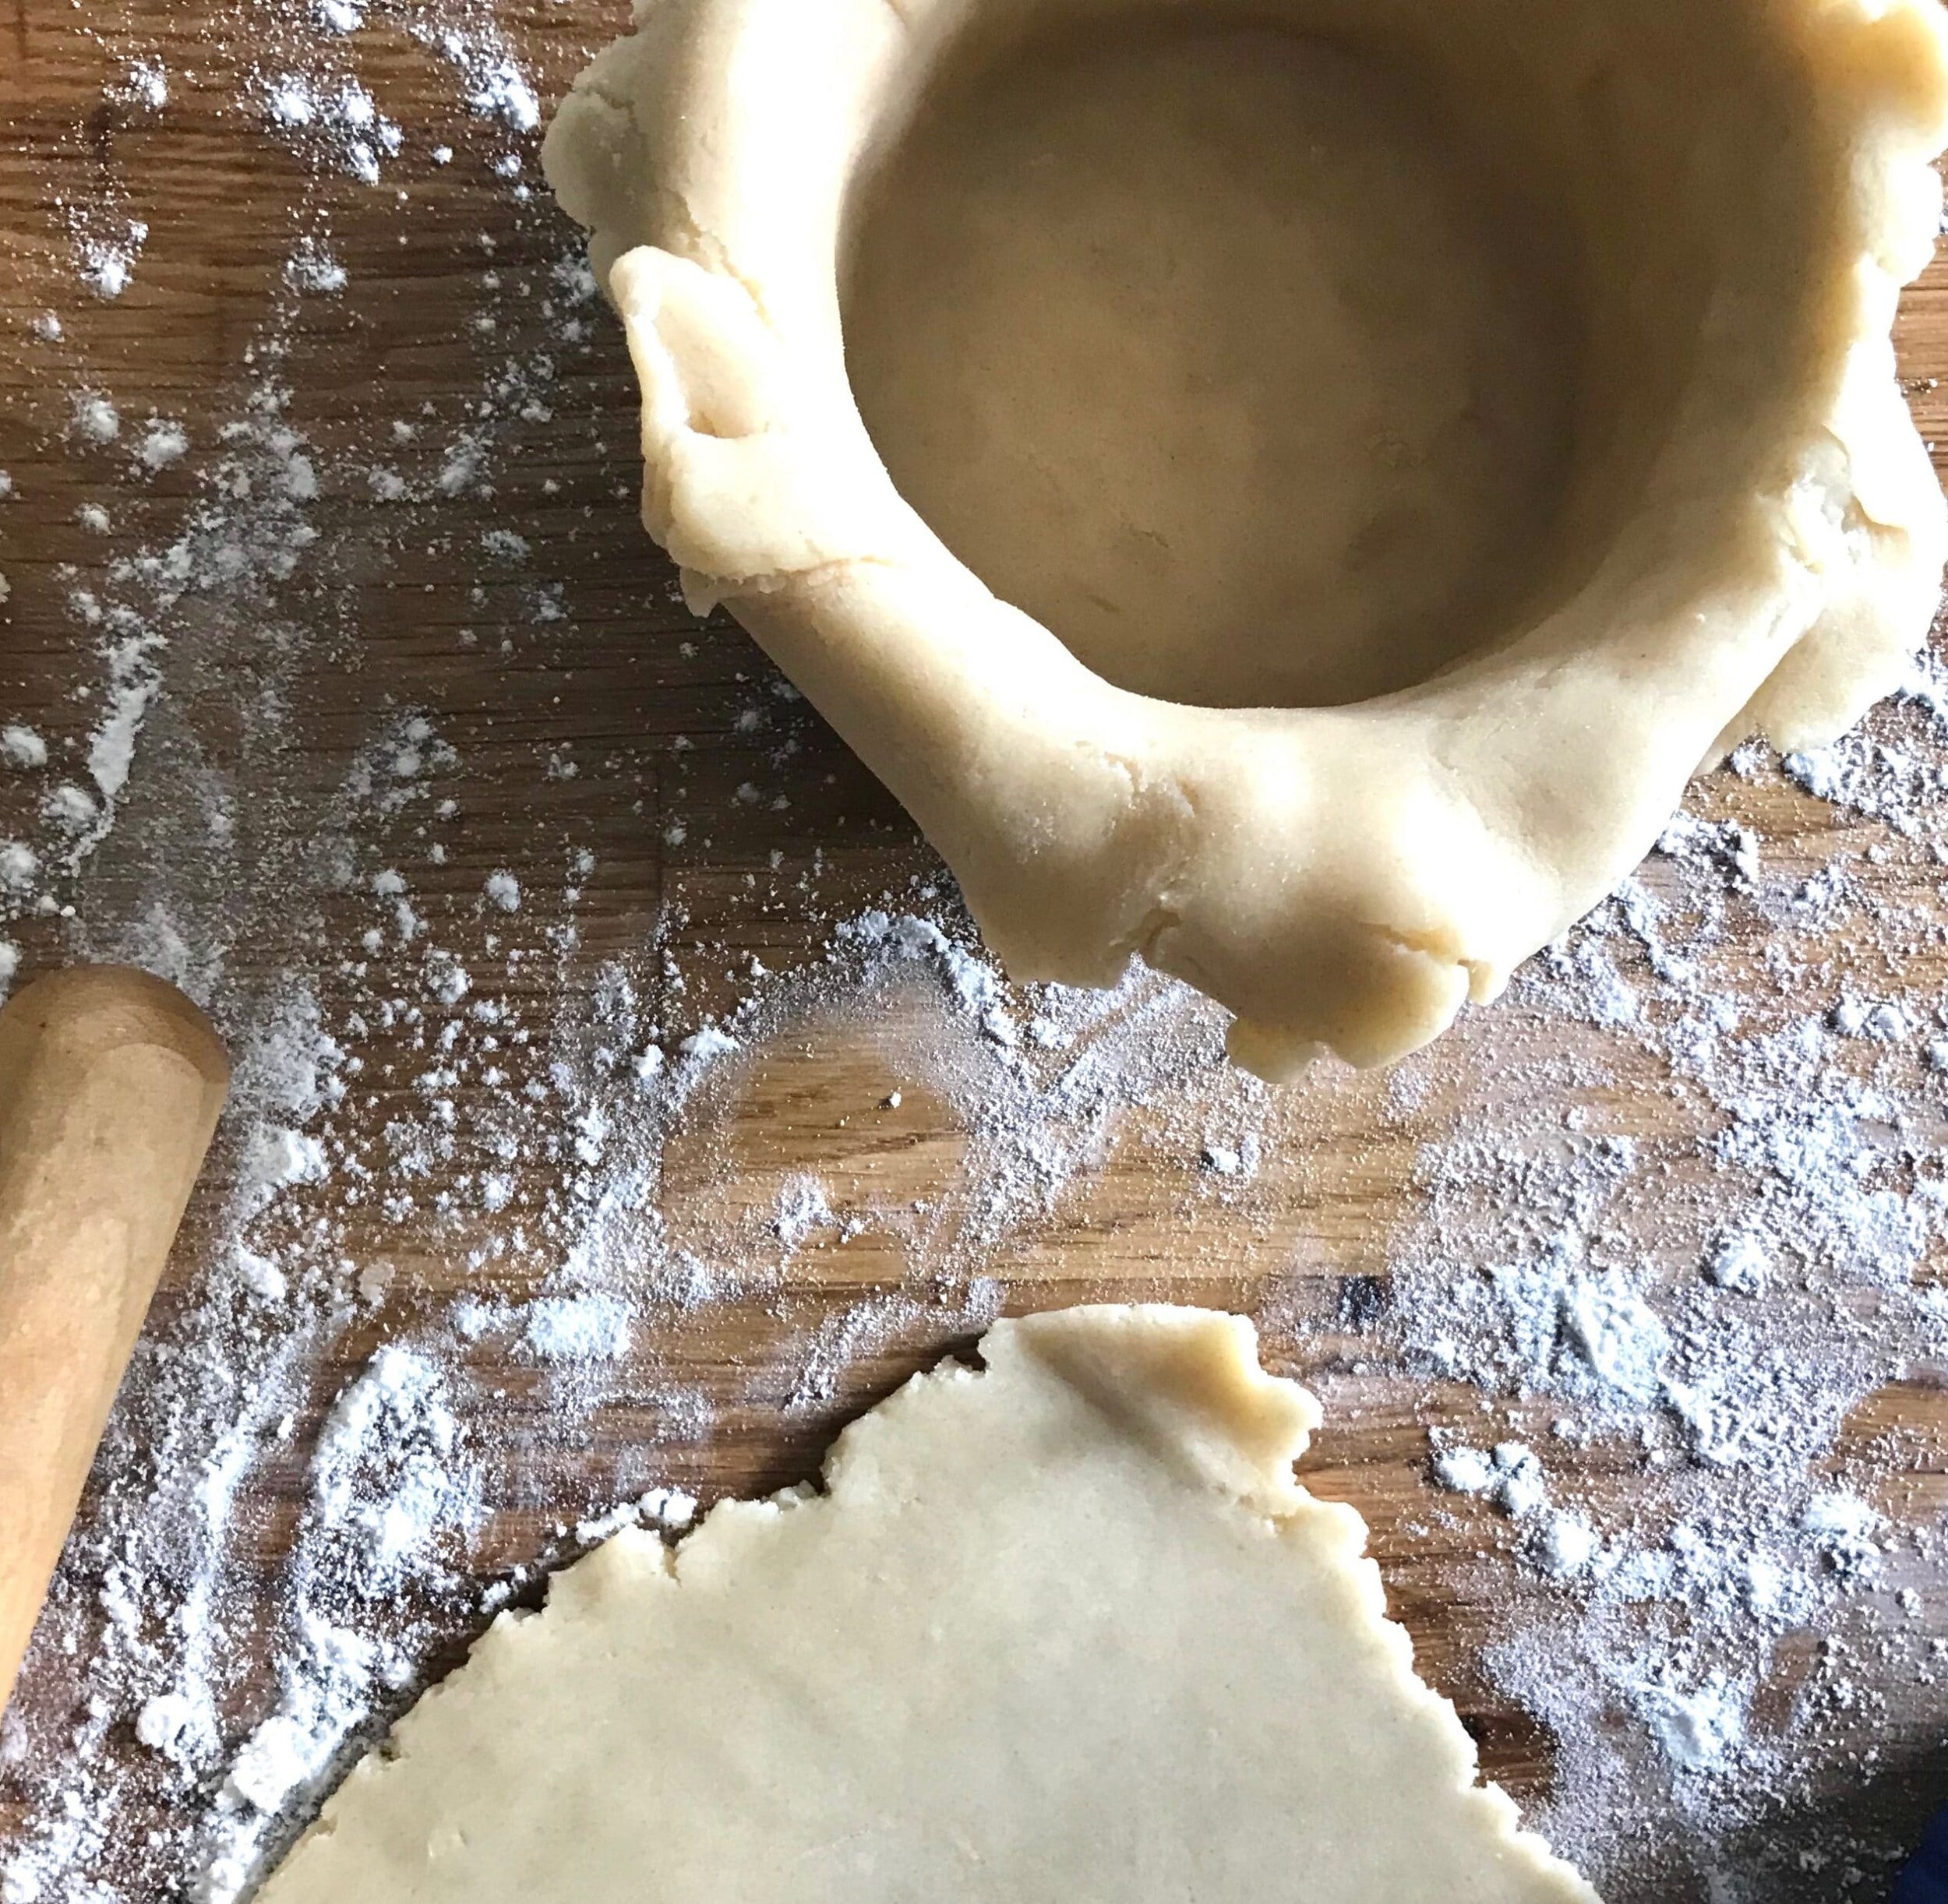
The best pie dough.
What makes this pie dough so good is the little bit of sugar in the dough and the heavy cream and extra sugar sprinkled on top right before baking. It gives it a great crunch to the crust which just elevates the whole thing to a new level. Not to mention that strawberry rhubarb is my new favorite kind of pie to treat myself to.
Now pie is super easy to make and very versatile. You can make this into whatever flavor you want. Use your favorite fruit. Or just use the crust and make it into a pecan or pumpkin pie instead. It doesn't need to be fancy. But make sure you use this crust recipe. You can thank me later.
[mailerlite_form form_id=1]


Above are some products that I personally use and recommend for this recipe and to have for everyday use. My absolute favorite is the BlueQ oven mitts. I have a collection of them and I love them! They are great quality and it’s nice to have a kitchen item with a sense of humor.
_____________________________________________________________________
strawberry rhubarb pie

Four individual deep dish pies filled with a sweet and tart strawberry rhubarb filling
crust
- 2 1/4 cup all-purpose flour
- 1 tbsp granulated sugar
- pinch salt
- 1 stick unsalted butter (cold and cubed)
- 1/2 tsp apple cider vinegar
- 4 tbsp ice cold water
- heavy cream (for topping)
- granulated sugar (for topping)
filling
- 2 cup strawberries (quartered)
- 1 1/2 cup rhubarb (cut into 1 inch pieces)
- 3/4 cup granulated sugar
- 3 tbsp cornstarch
- juice of half a lemon
- pinch salt
- 1 tsp vanilla extract
crust
- preheat the oven to 350 degrees F. in the bowl of an electric mixer fitted with a paddle attachment, combine the flour, sugar and salt and mix to combine. add in the cold butter and mix on low until the butter is broken down to pea size. once the butter is mixed in, add in the apple cider vinegar and cold water and mix until fully combined. divide the dough into 8 equal portions. roll 4 of the portions out and mold into your ramekins. take the remaining 4 portions of dough, roll out and cut into strips for a lattice topper of your pies. add in the filling into the ramekins and then top with the lattice toppers. trim the excess dough off of the sides. brush heavy cream on top of the dough and sprinkle with sugar. bake for 30-35 minutes or until the filling starts to bubble and the crust is slightly golden.
filling
- in a small bowl, whisk together the sugar, cornstarch, and salt. place the strawberries, rhubarb, lemon juice and vanilla into another bowl and toss together. add the dry ingredients into the fruit and toss to coat.
Strawberry Buttermilk Ice Cream

[wprm-recipe-jump]
*Disclaimer: This post contains affiliate links. To learn more, please go here.
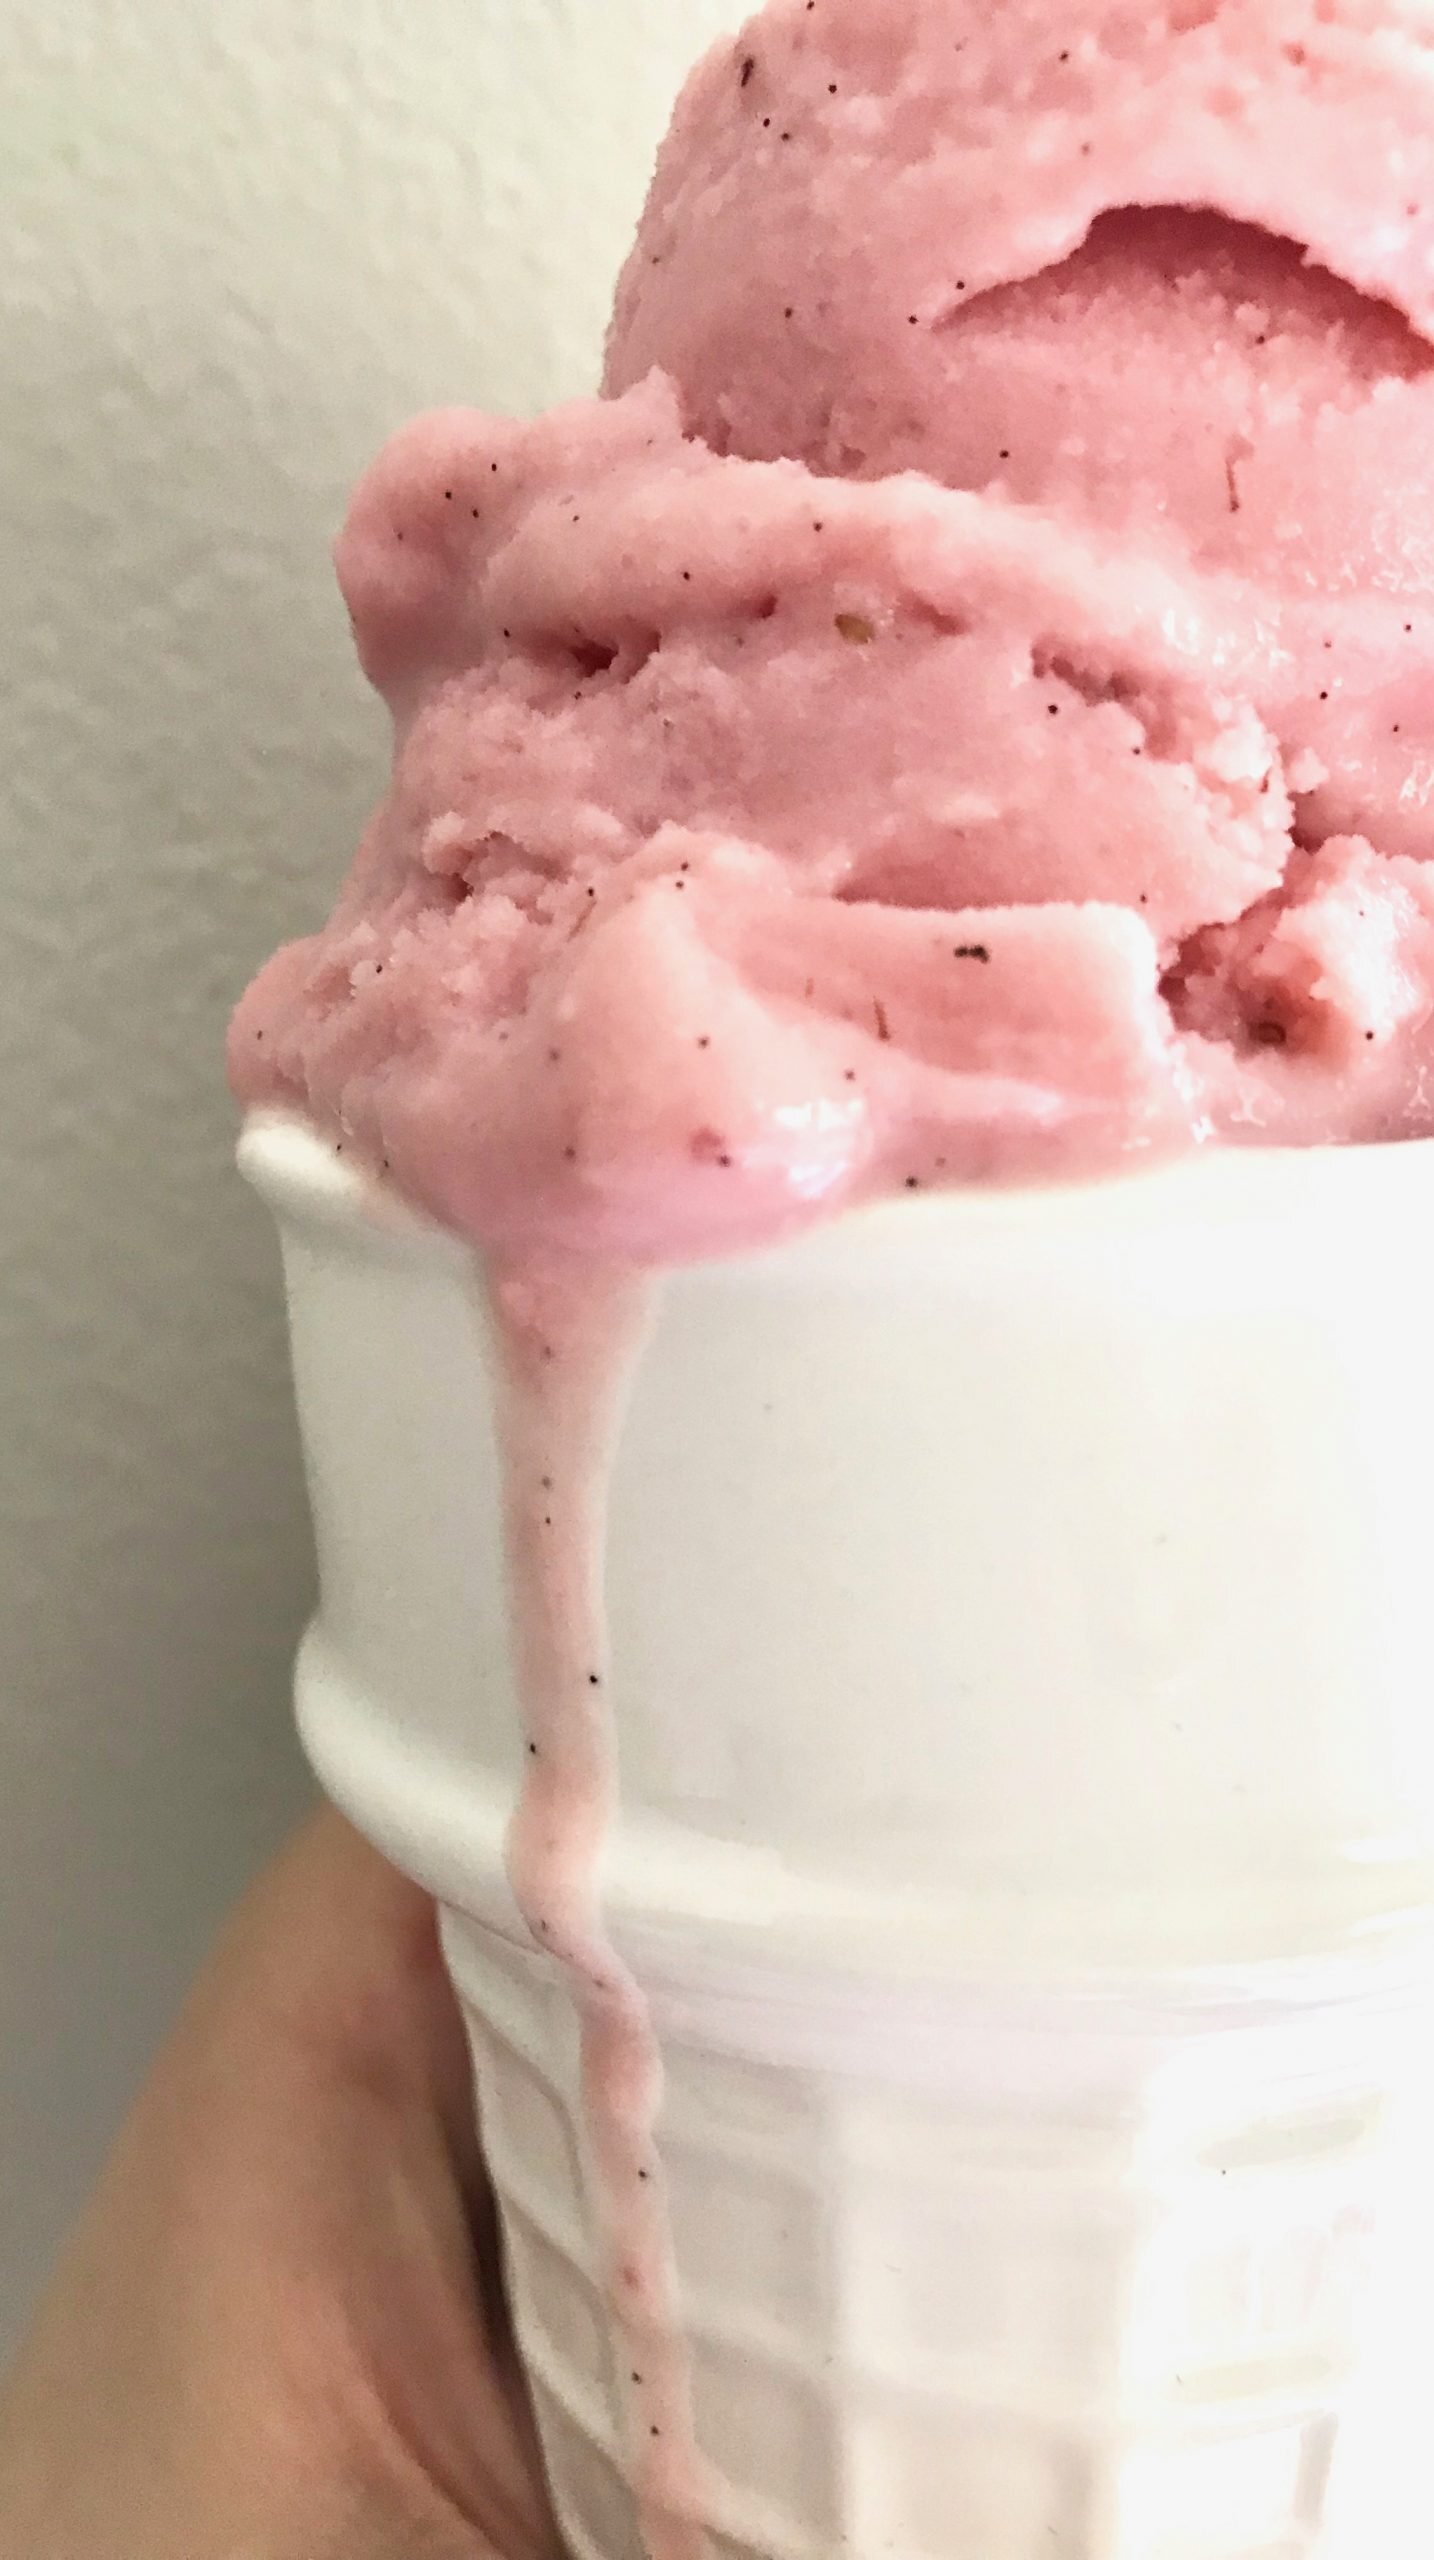
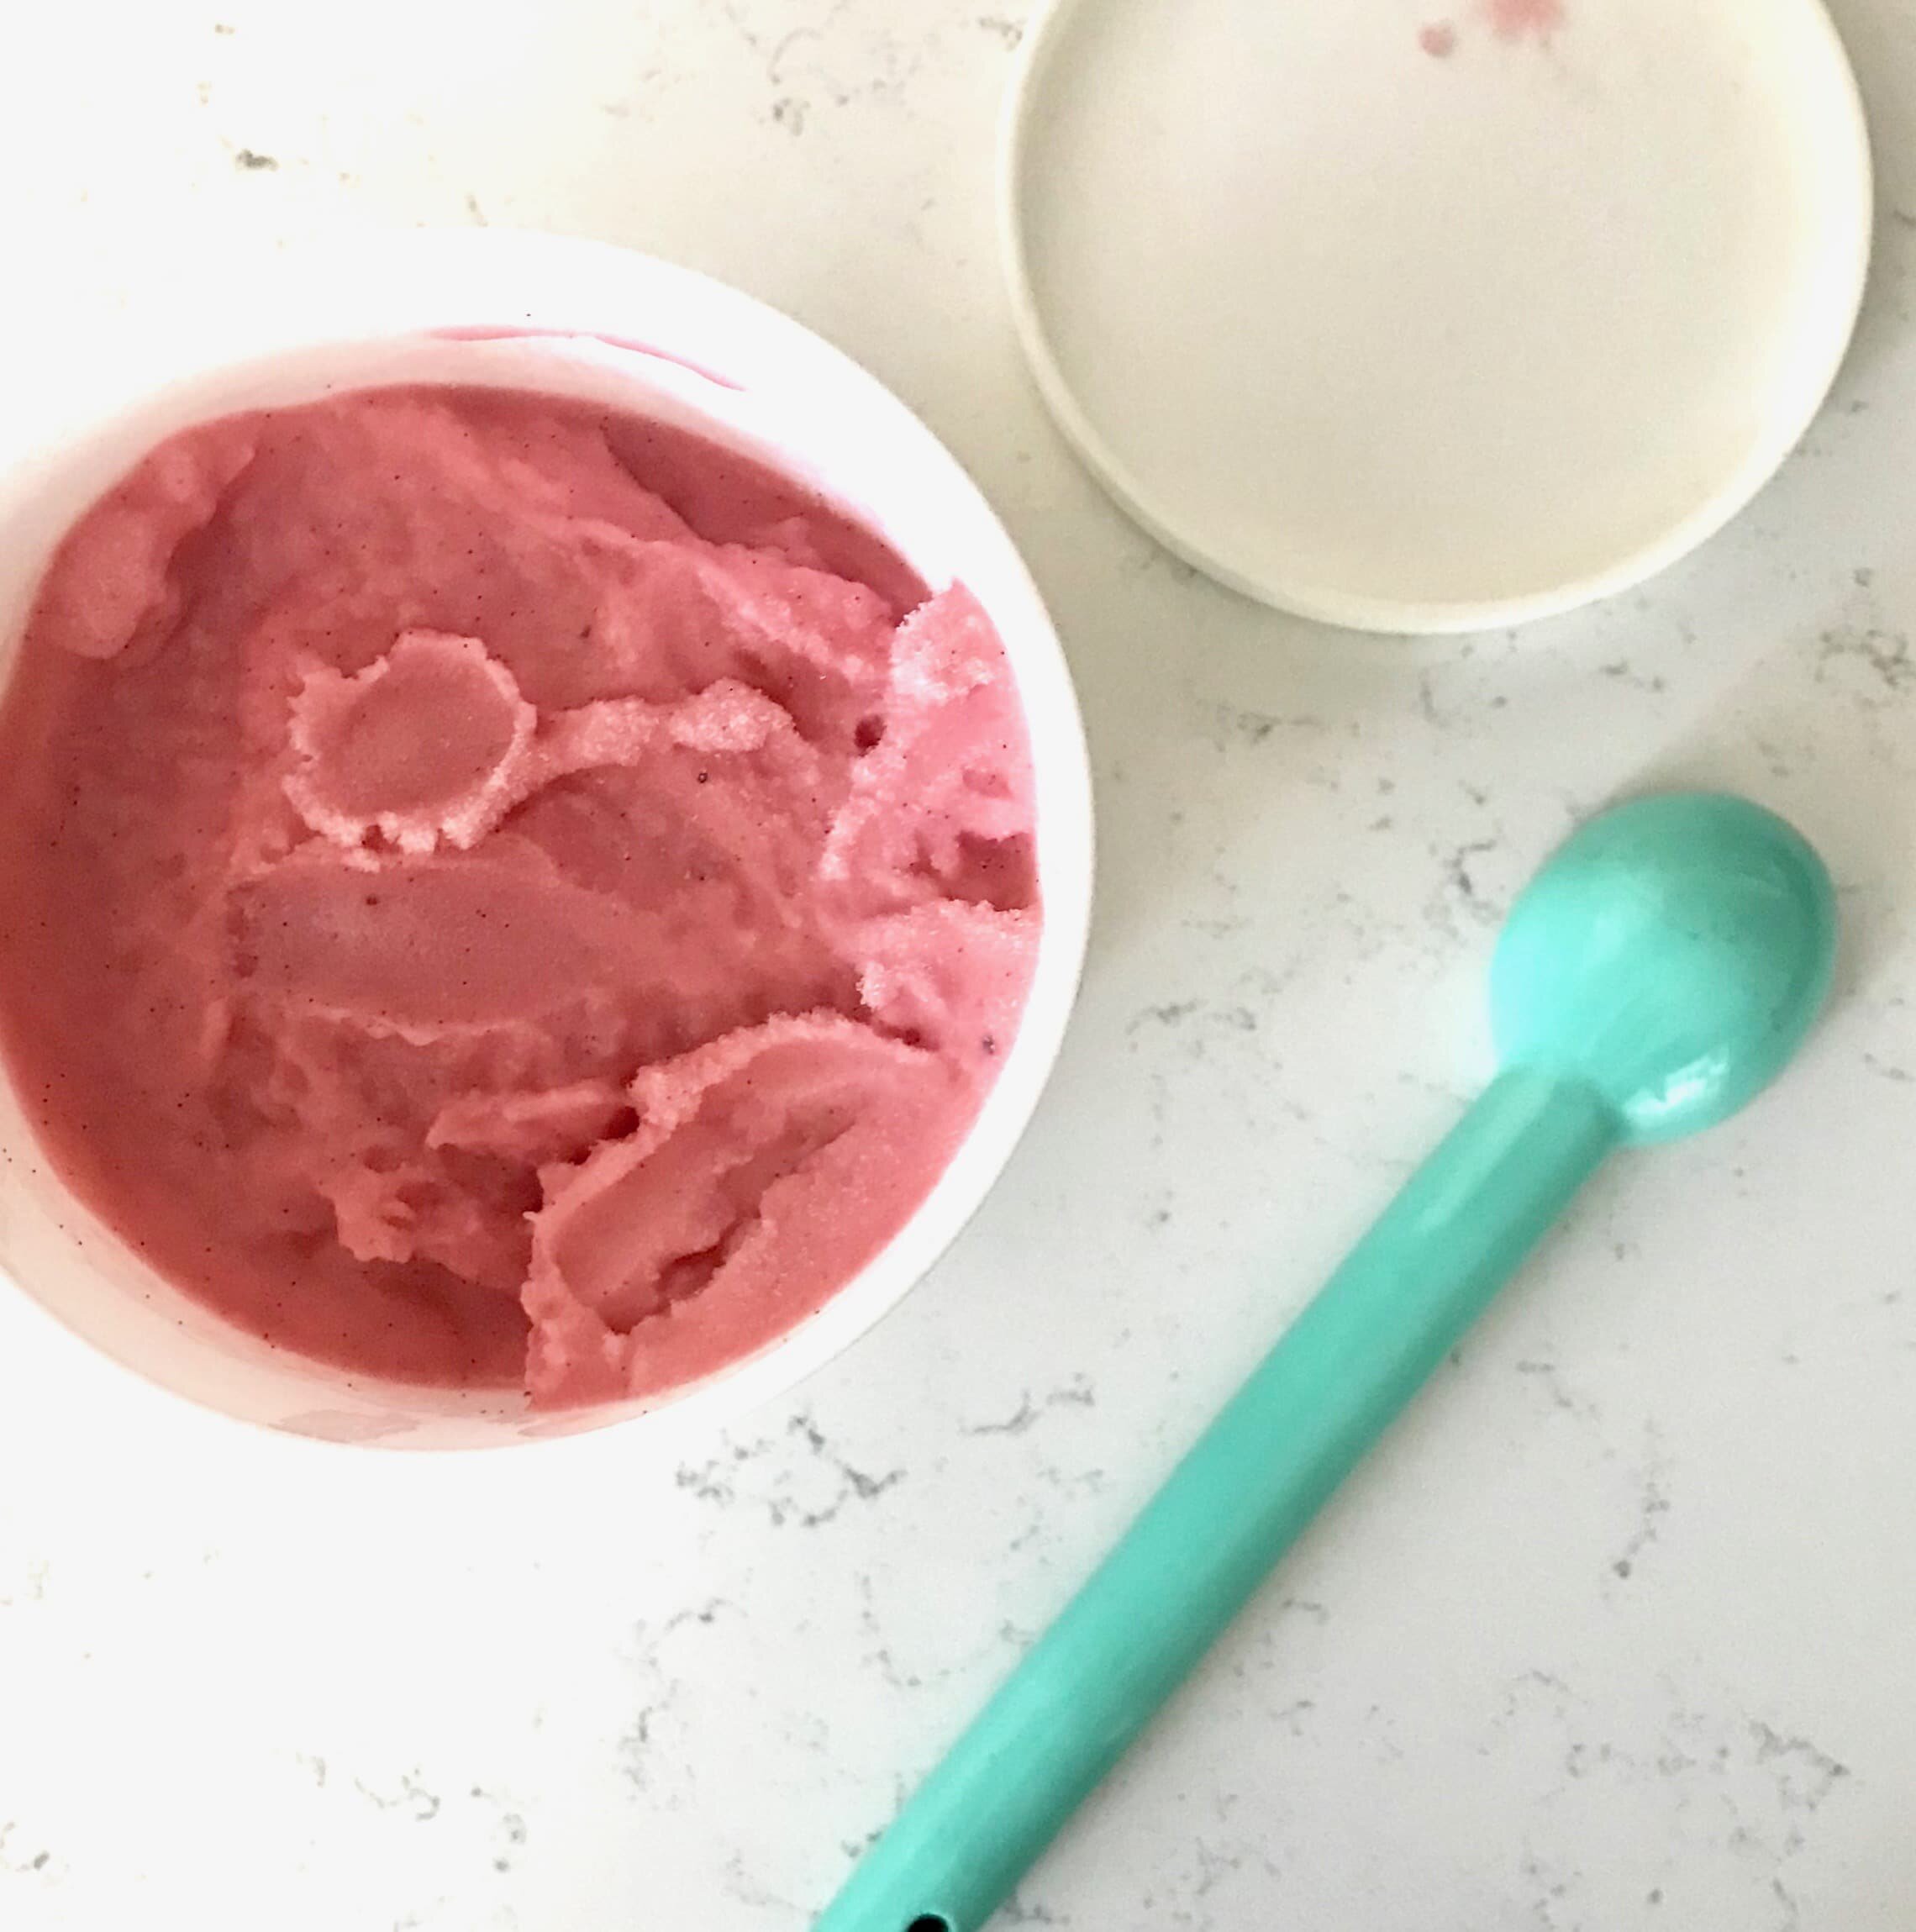
Summertime means lots and lots of fresh strawberries from the garden. The best way to use those strawberries? By putting them into homemade ice cream! This strawberry buttermilk ice cream is made with lots of buttermilk, so it has a nice tang to it and the strawberries balance it out with the natural sweetness they contain. There's also a lot of little flecks of vanilla bean throughout the ice cream too! Just scoop a generous amount of this fruit goodness onto a cone or just enjoy by the spoonful straight out of the container. No judgments here.
Change it up!
Not sure if strawberry buttermilk ice cream is your thing? You can always replace the strawberries with blueberries. That would be incredibly delicious too! Or you can use regular whole milk instead of buttermilk but I can't promise you that it will have the same consistency or turn out well in general.
[mailerlite_form form_id=1]

You can see this ice cream being made in a video here!
Products I recommend for making this dessert.
Above are some products that I personally use and recommend for this recipe and to have for everyday use. I highly recommend starting off with the cuisinart ice cream machine as your first ice cream maker. It's the cheapest one on amazon and I personally use it and love it! I also suggest getting a reusable ice cream container as well, it's dishwasher safe and you can use it over and over again!
_______________________________________________________________
strawberry buttermilk ice cream

creamy ice cream made with fresh strawberries and buttermilk to give it some tartness
- 2 cup strawberries (fresh or frozen)
- 3/4 cup granulated sugar
- juice of half a lemon
- pinch salt
- 1 vanilla bean or 1 tbsp vanilla extract
- 1 1/2 cup buttermilk
- 1/2 cup heavy cream
- in a small pot combine the strawberries and sugar and cook over medium heat until the strawberries become soft and start to break down, about 10 minutes. place the cooked strawberries into a food processor and puree. strain the strawberries through a fine mesh sieve to remove the seeds. place the buttermilk, heavy cream, salt and vanilla bean into a large bowl. add in the strawberry puree and then place the ice cream base into the fridge overnight to let the flavor increase. following the manufacturer's instructions of your ice cream machine, turn the base for 20-25 minutes. place the ice cream into a freezer safe container and freeze overnight to firm up.
Meringue with Lemon Curd & Berries
[wprm-recipe-jump]
*Disclaimer: This post contains affiliate links. To learn more, please go here.
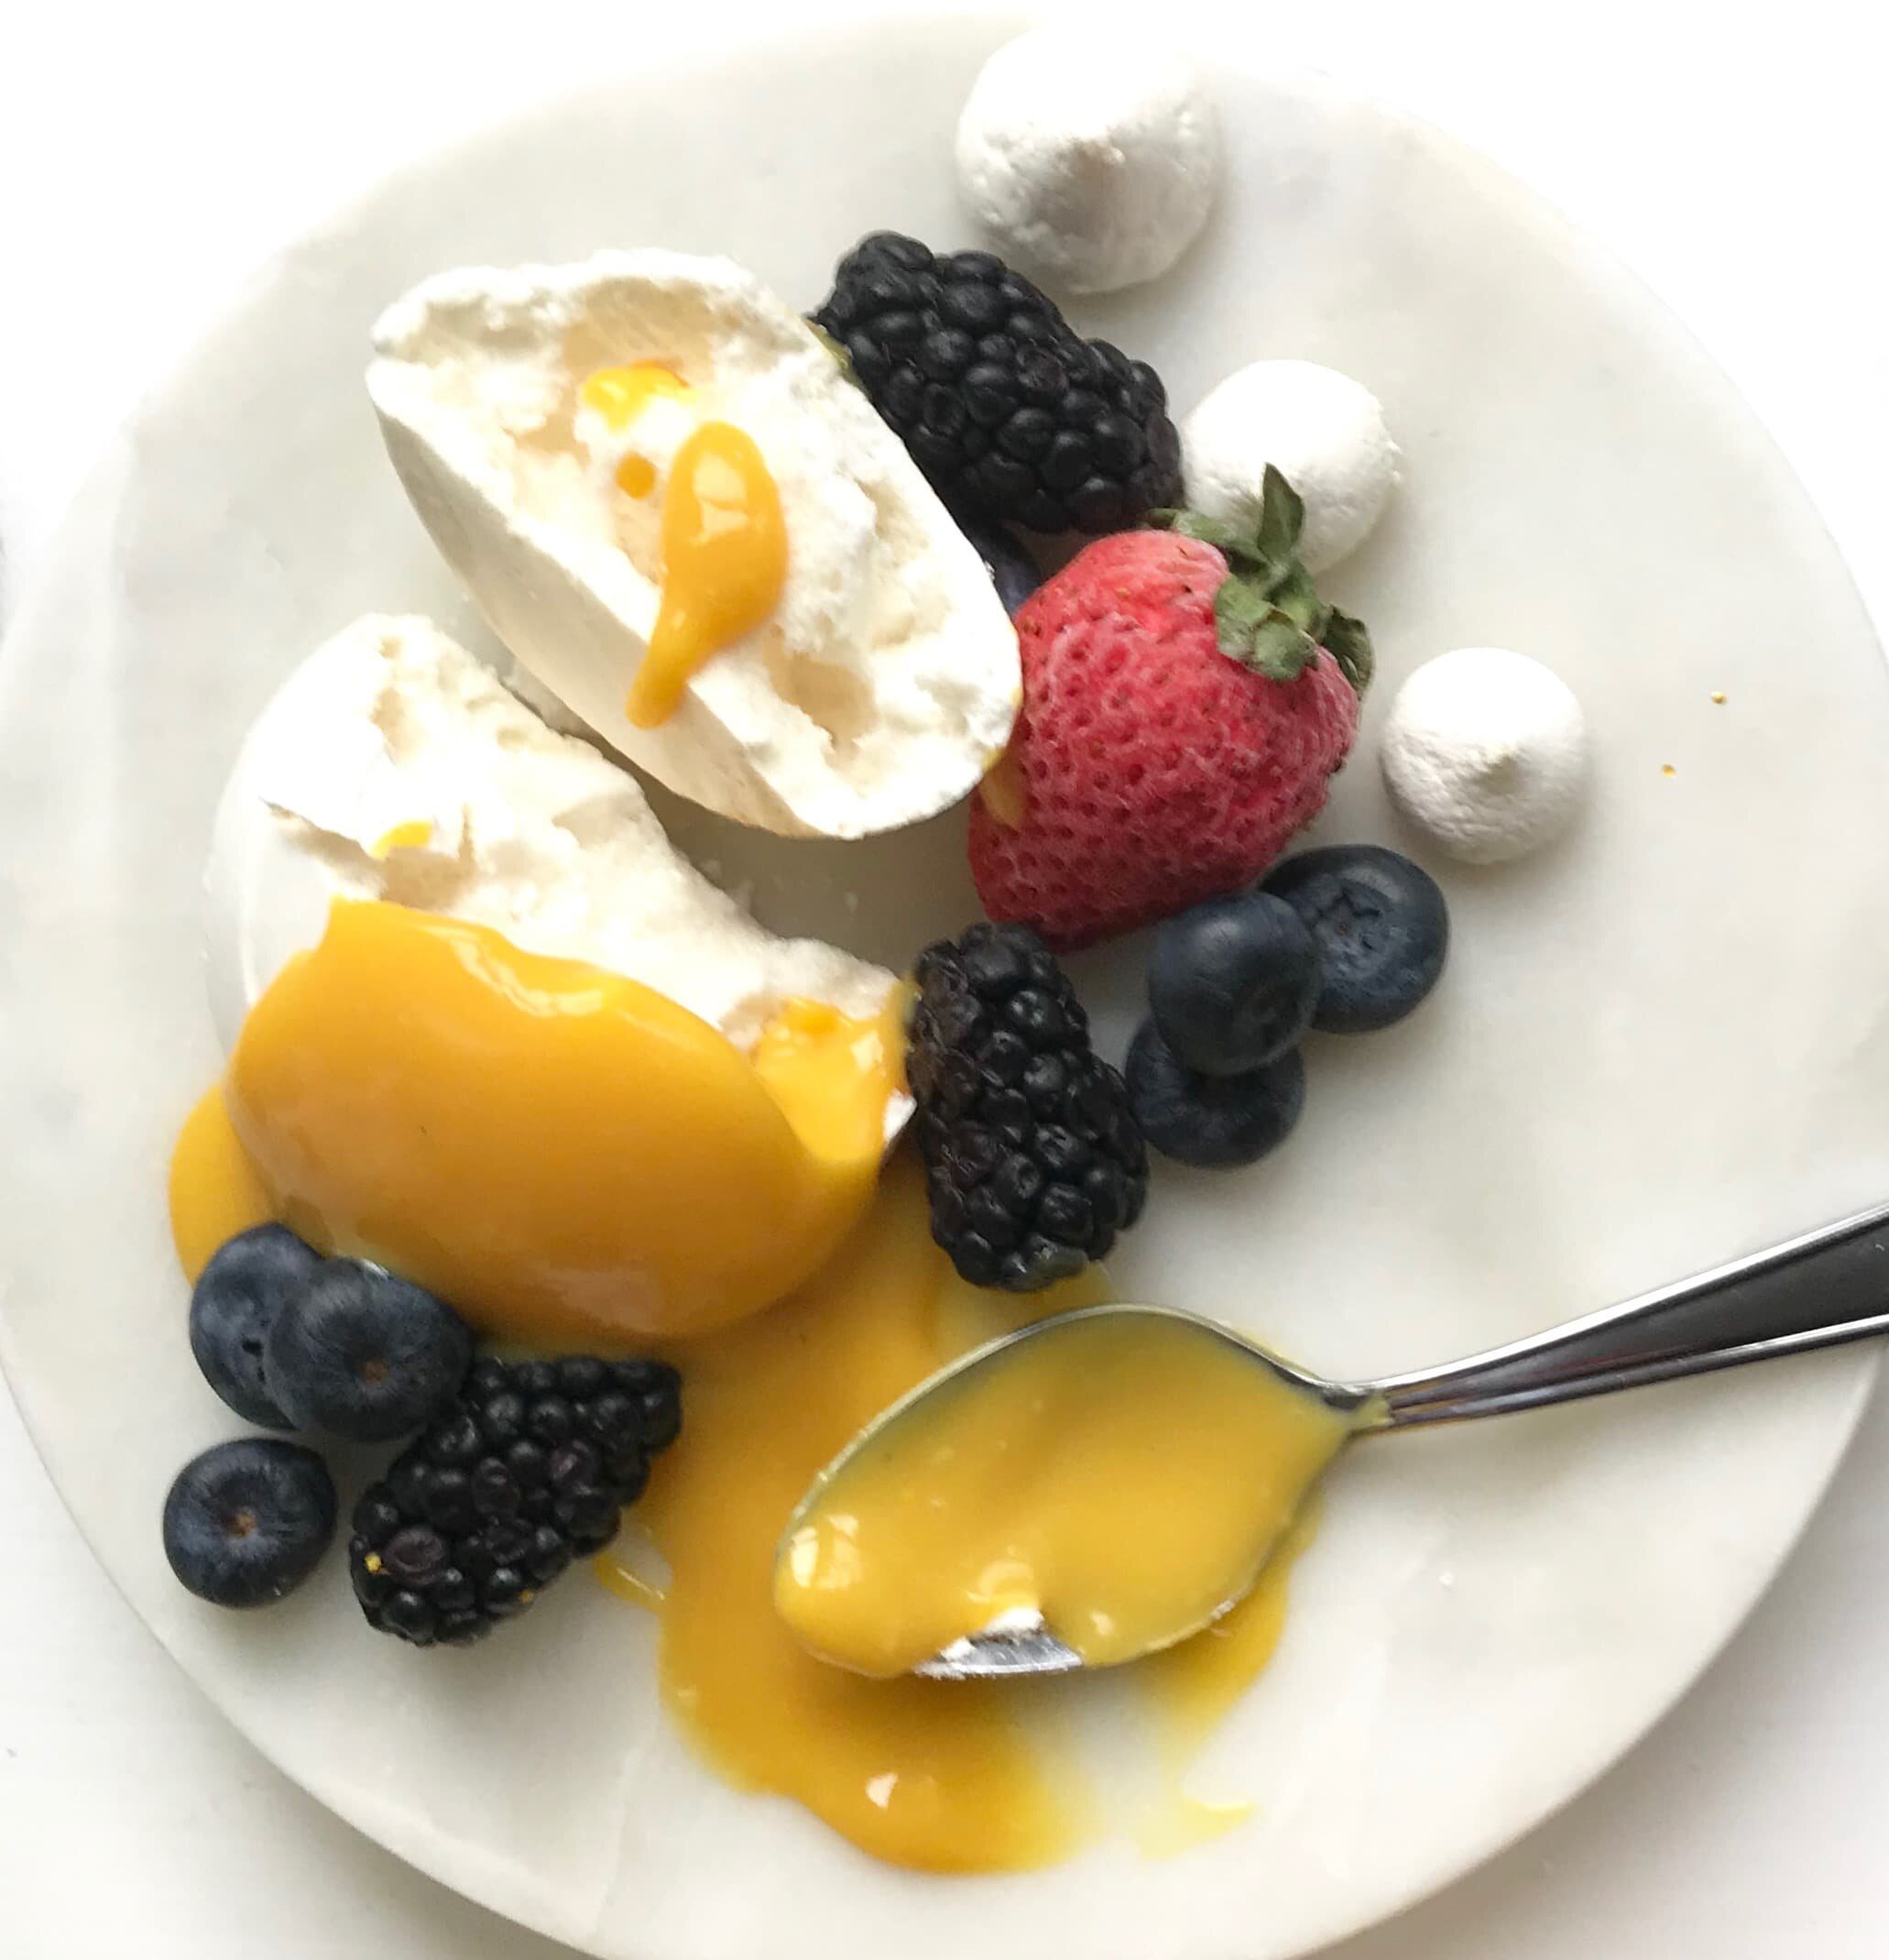
This was the Easter dessert that was made a couple weeks ago. I've been MIA the past couple months; both being super busy and just really not in the mood to bake anything at all. Well, I have finally found my mojo back and have been baking up a storm the past few weeks.
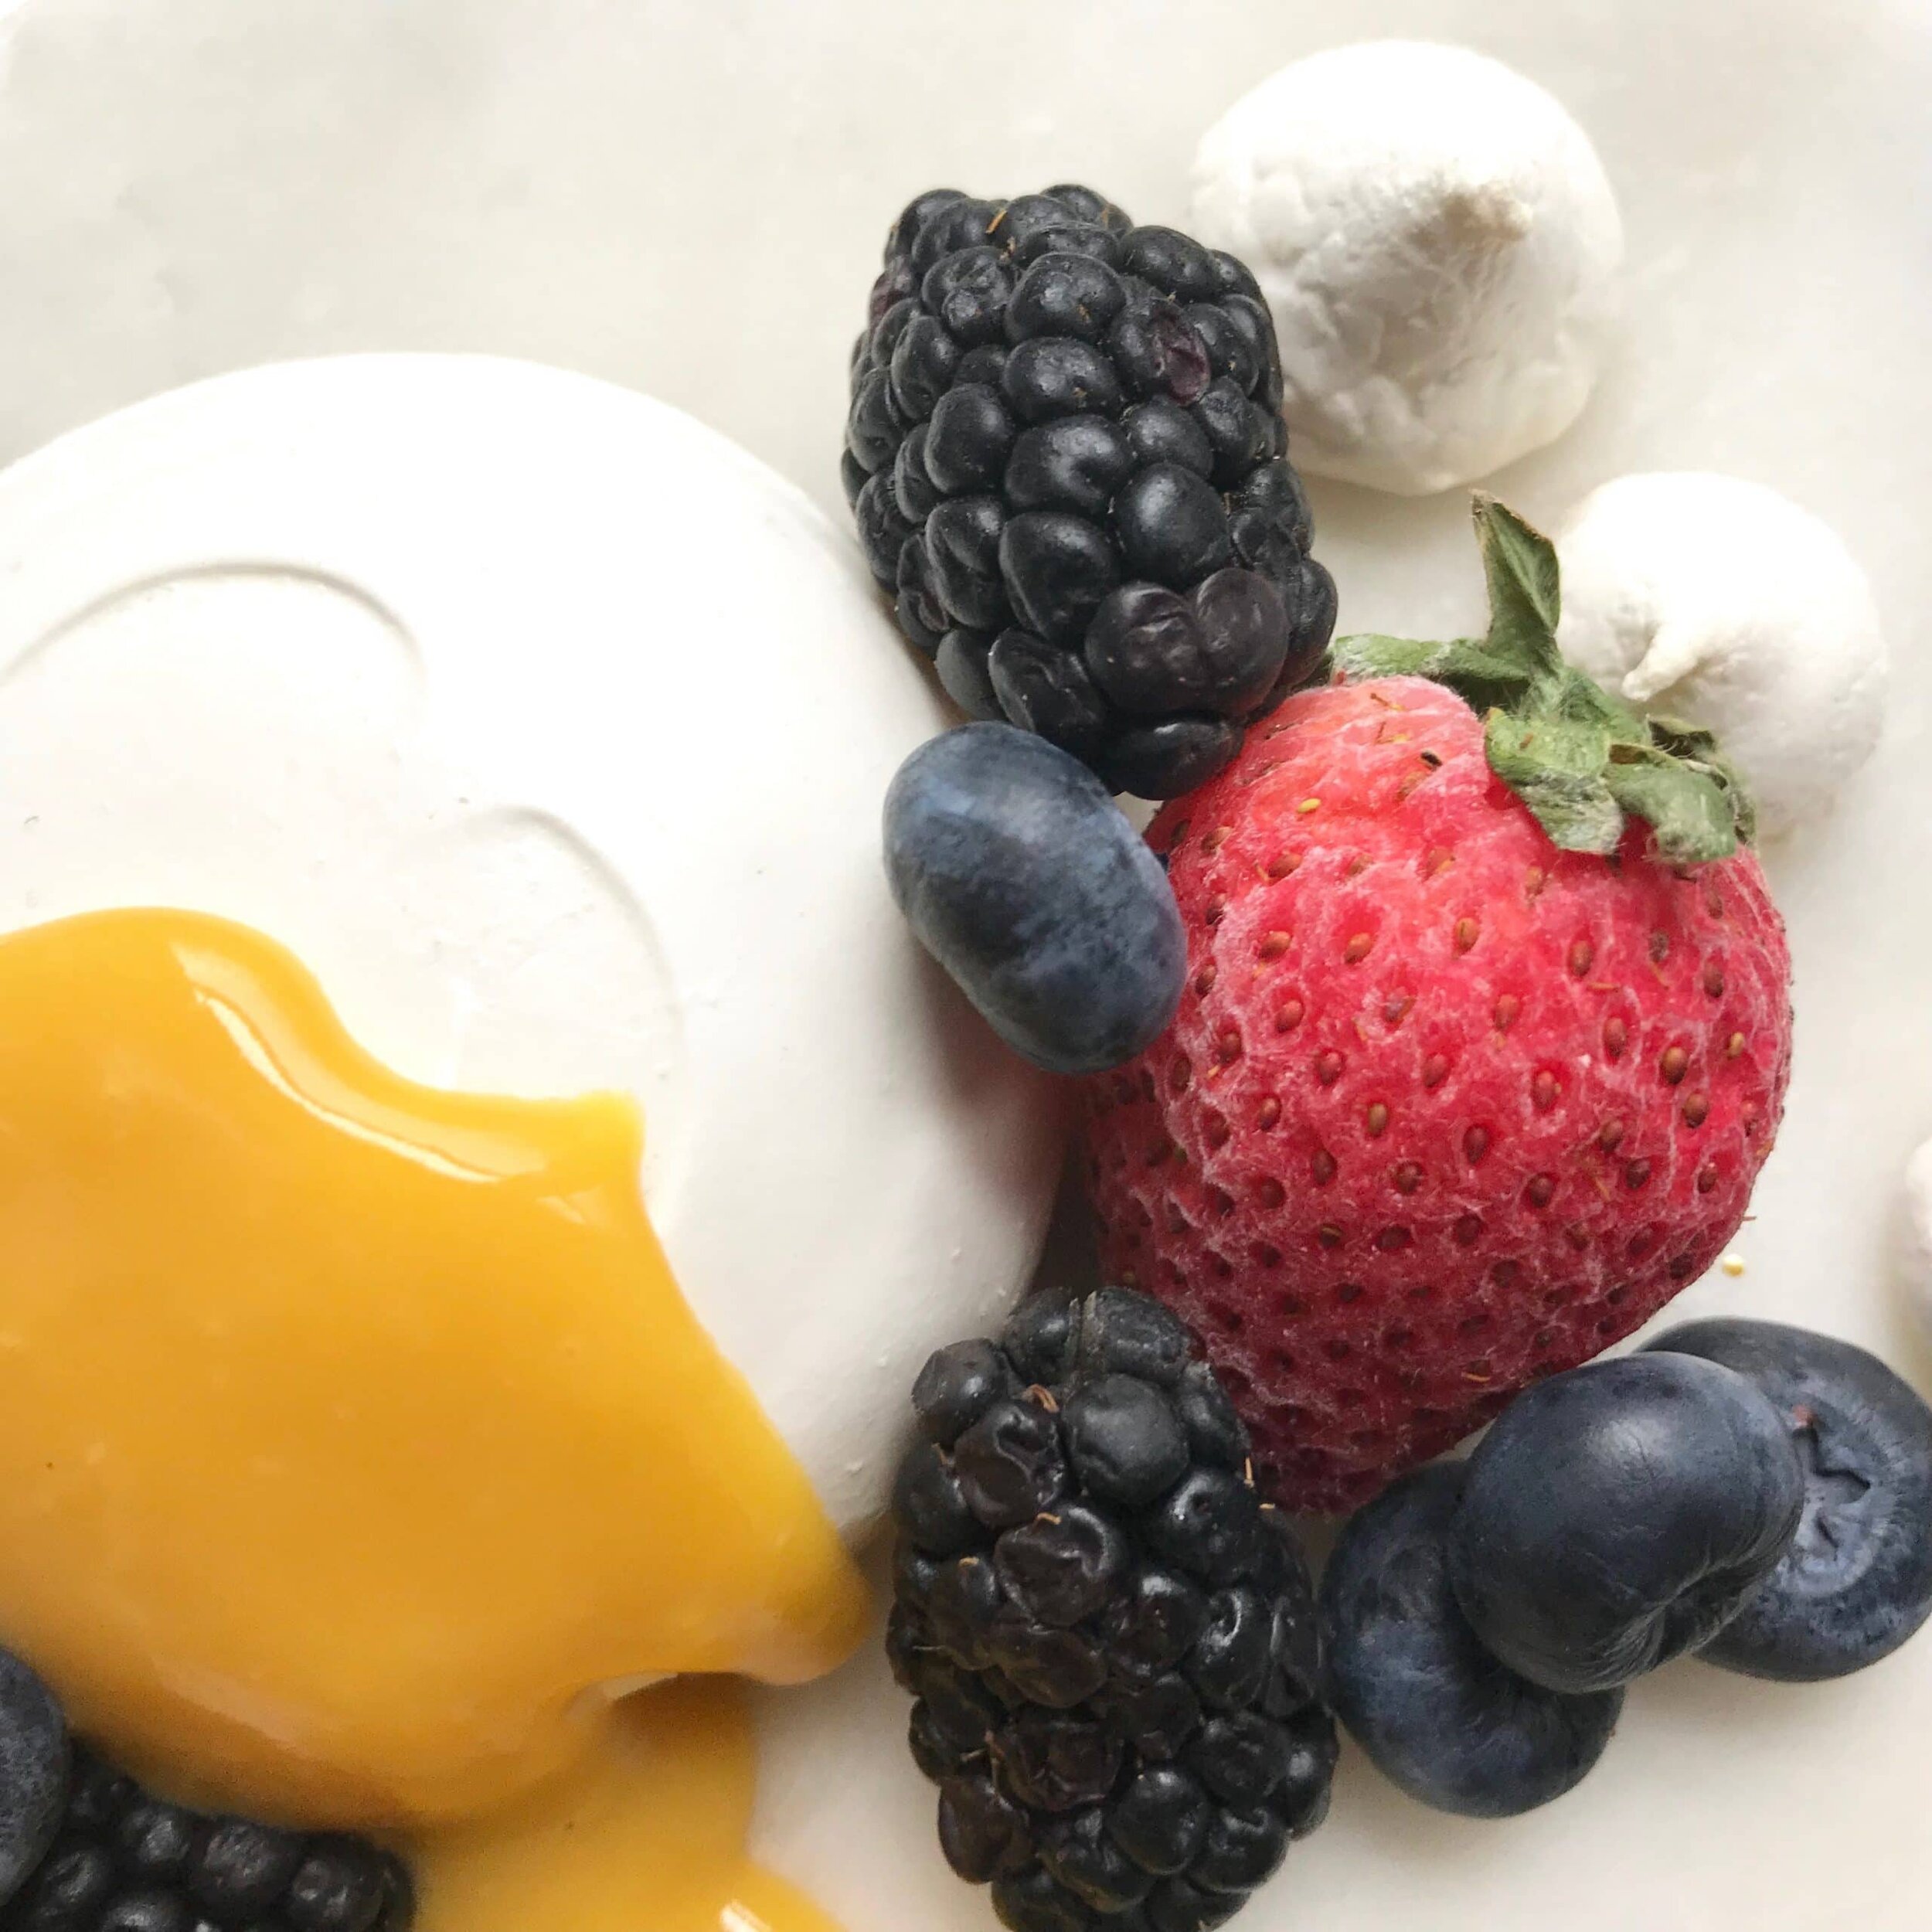
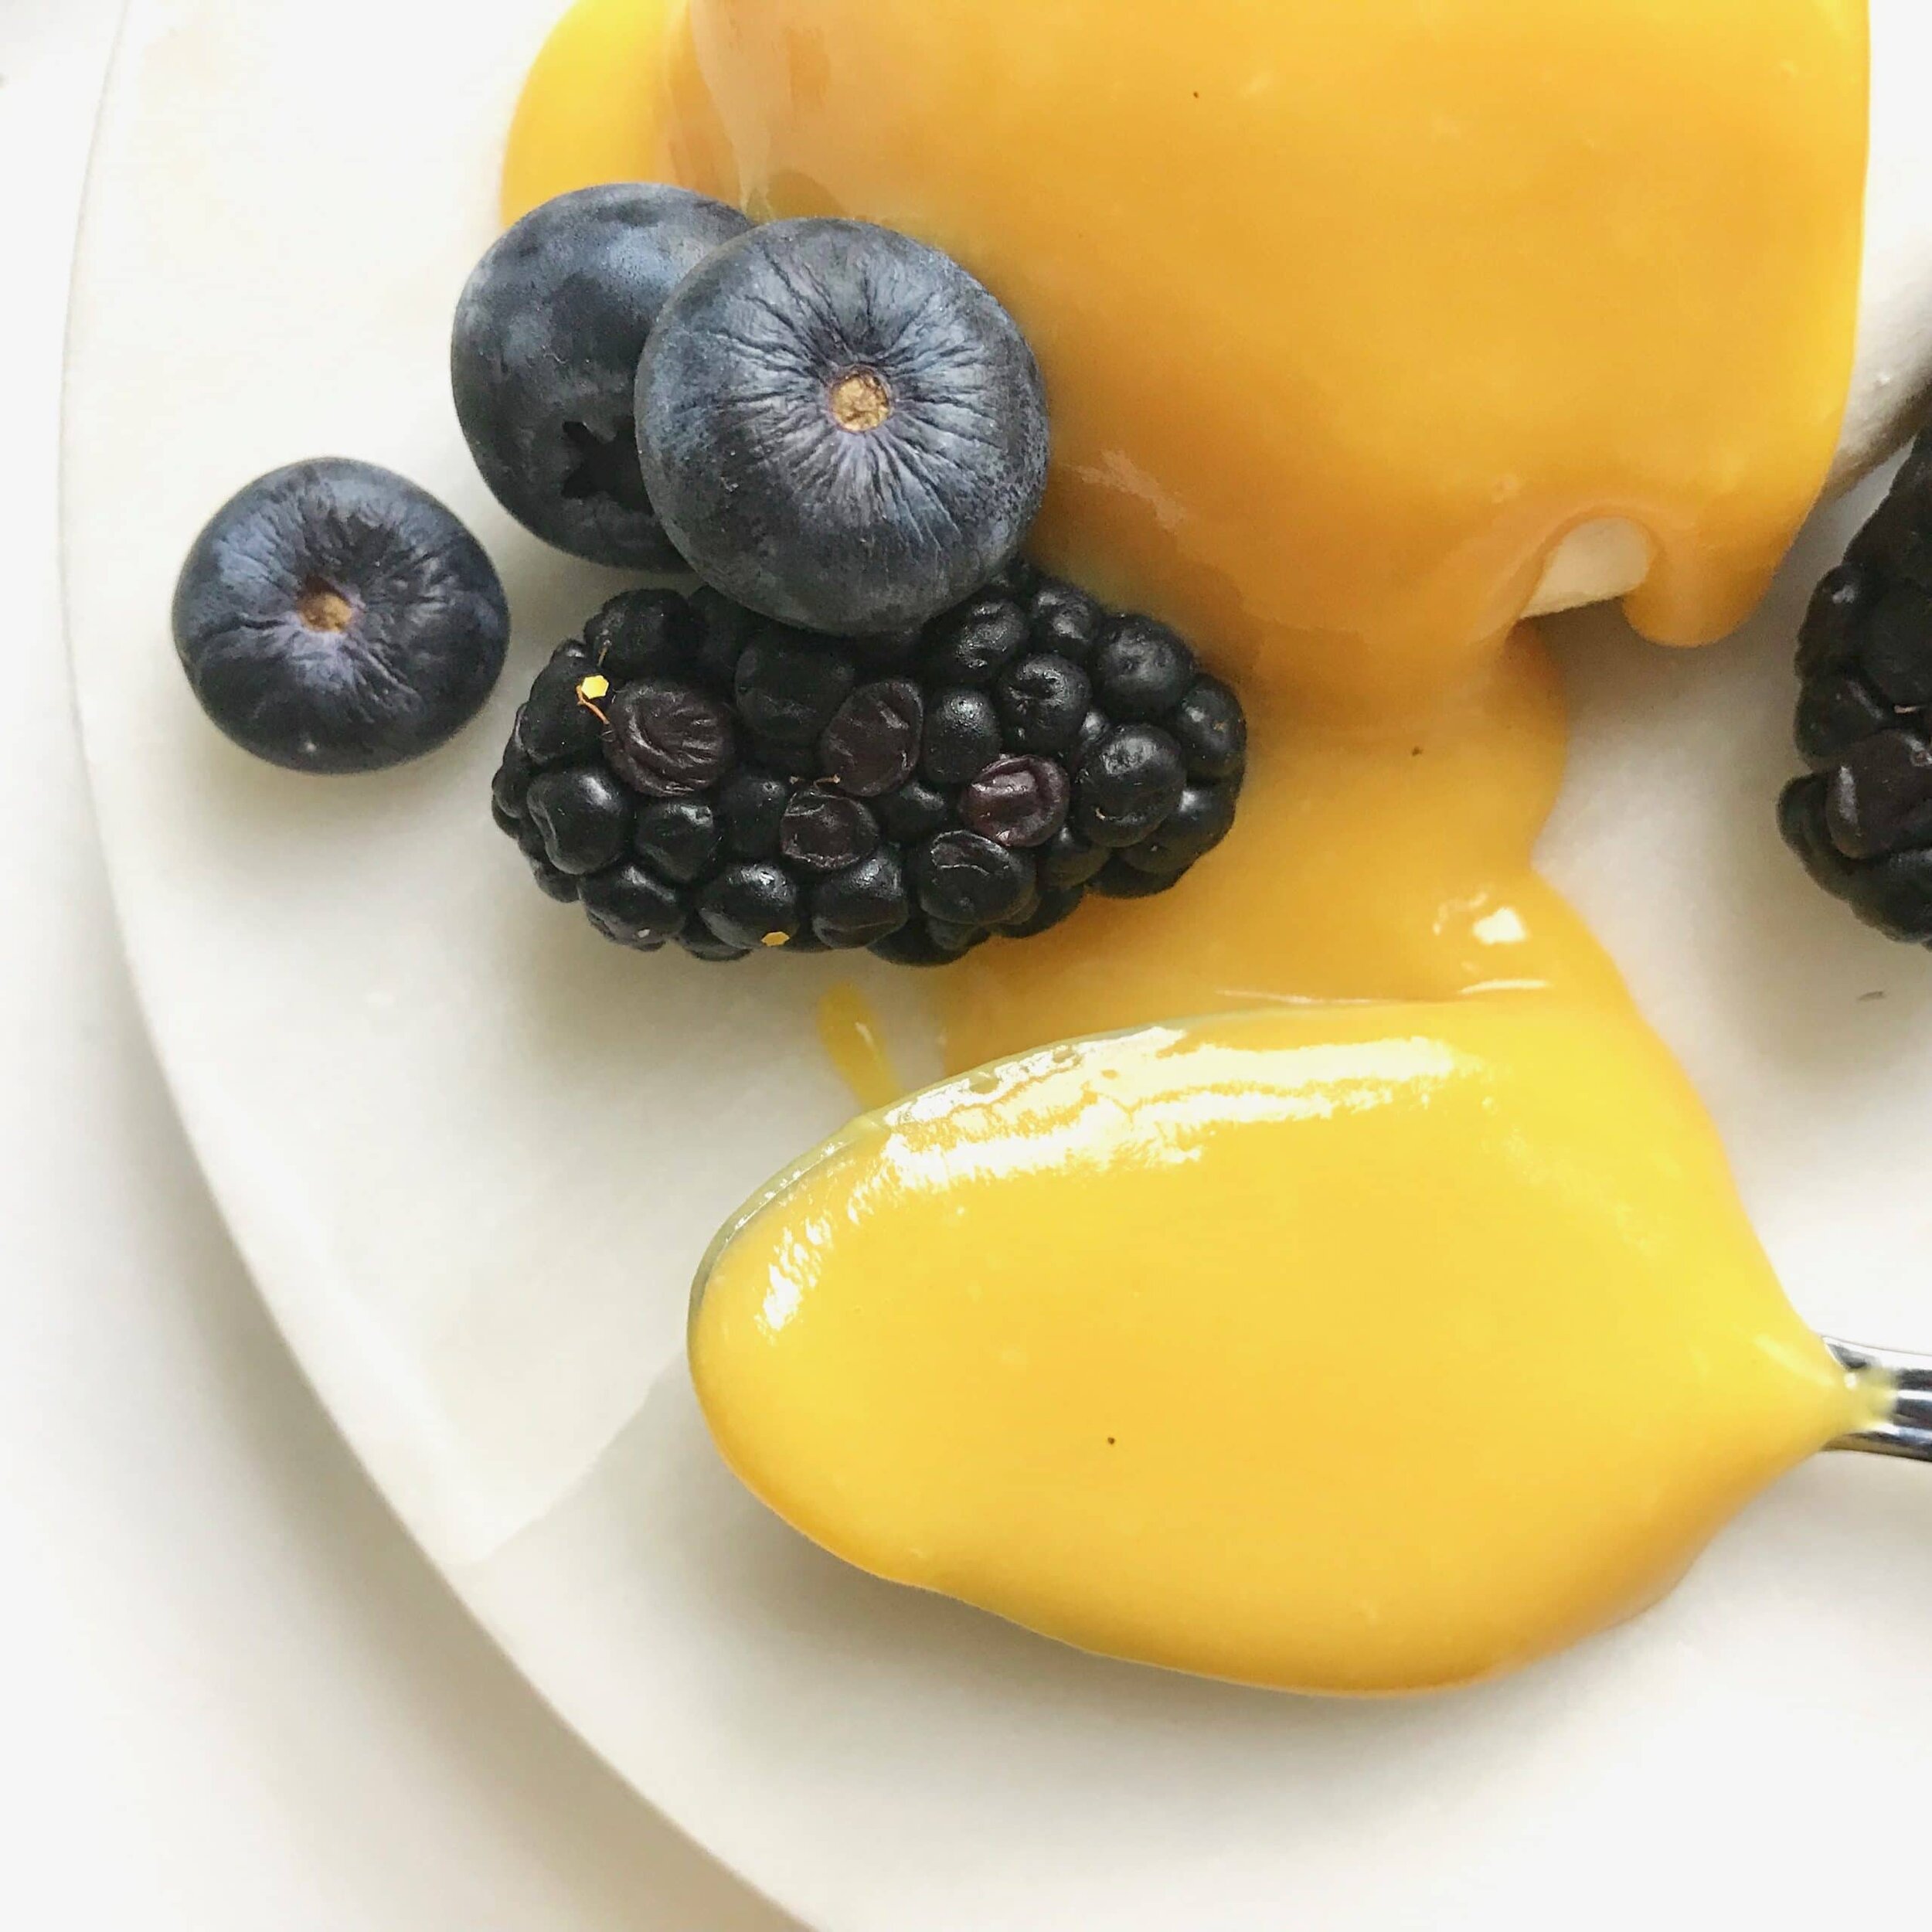
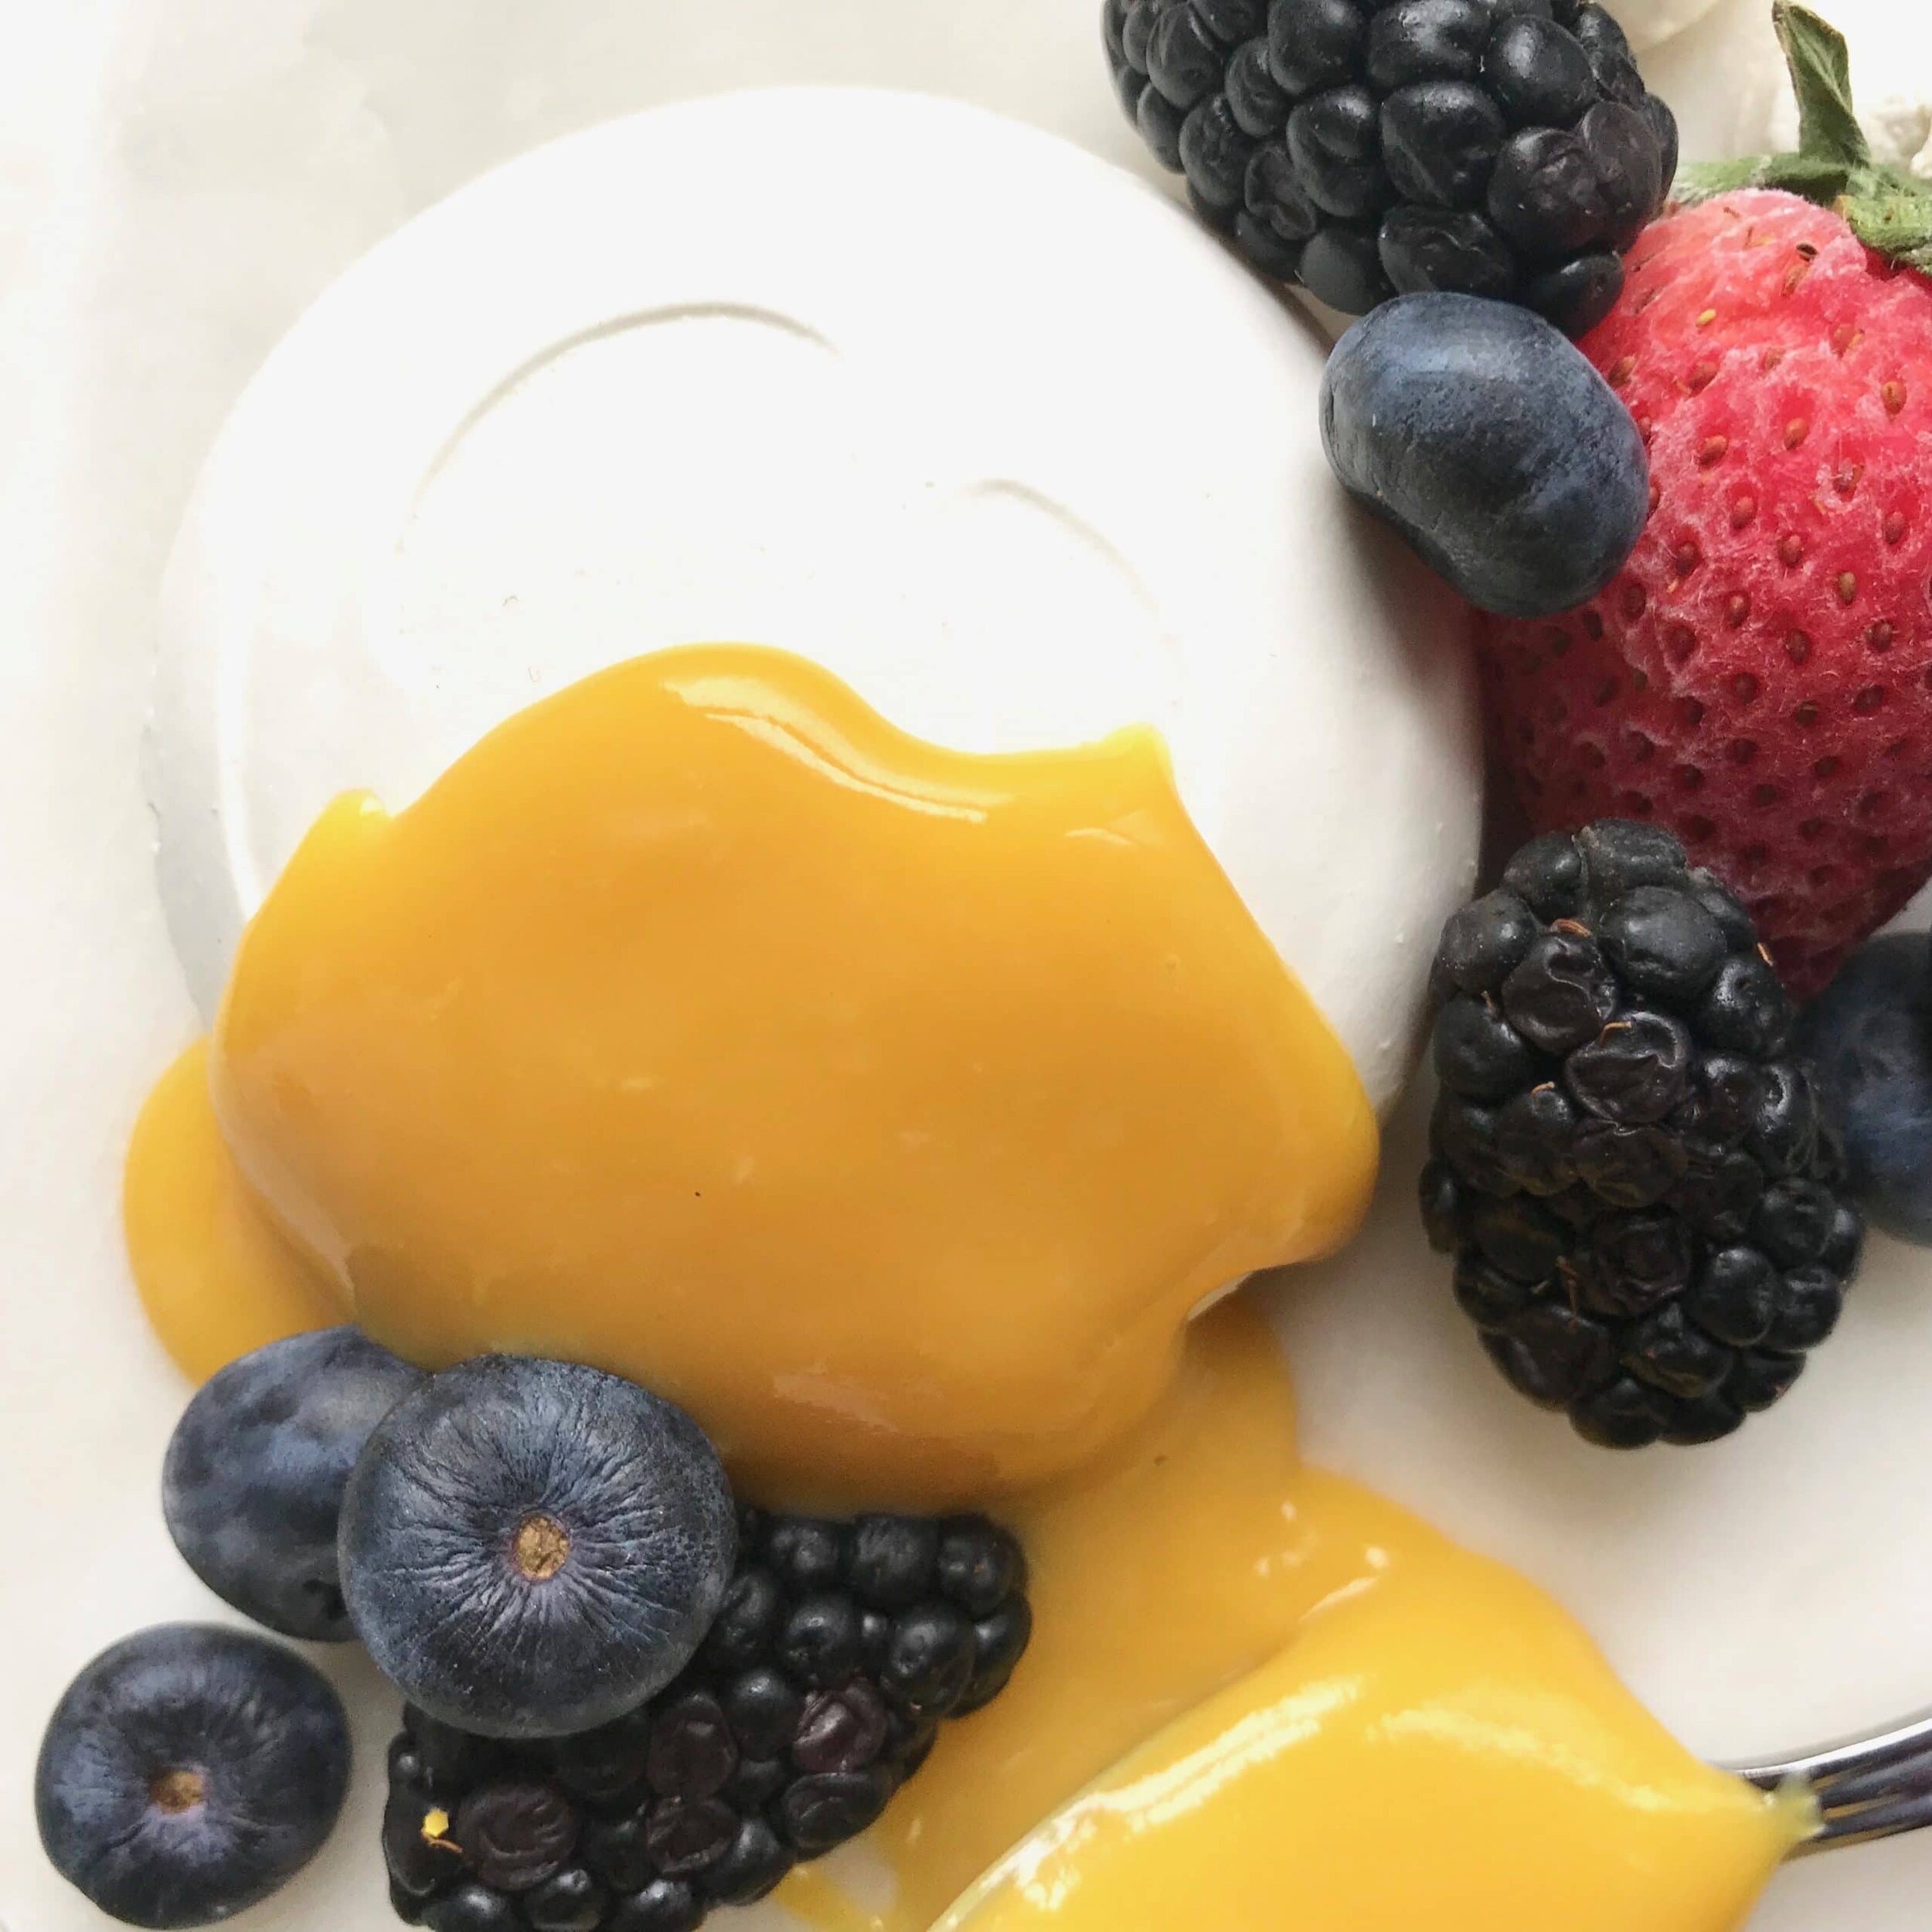
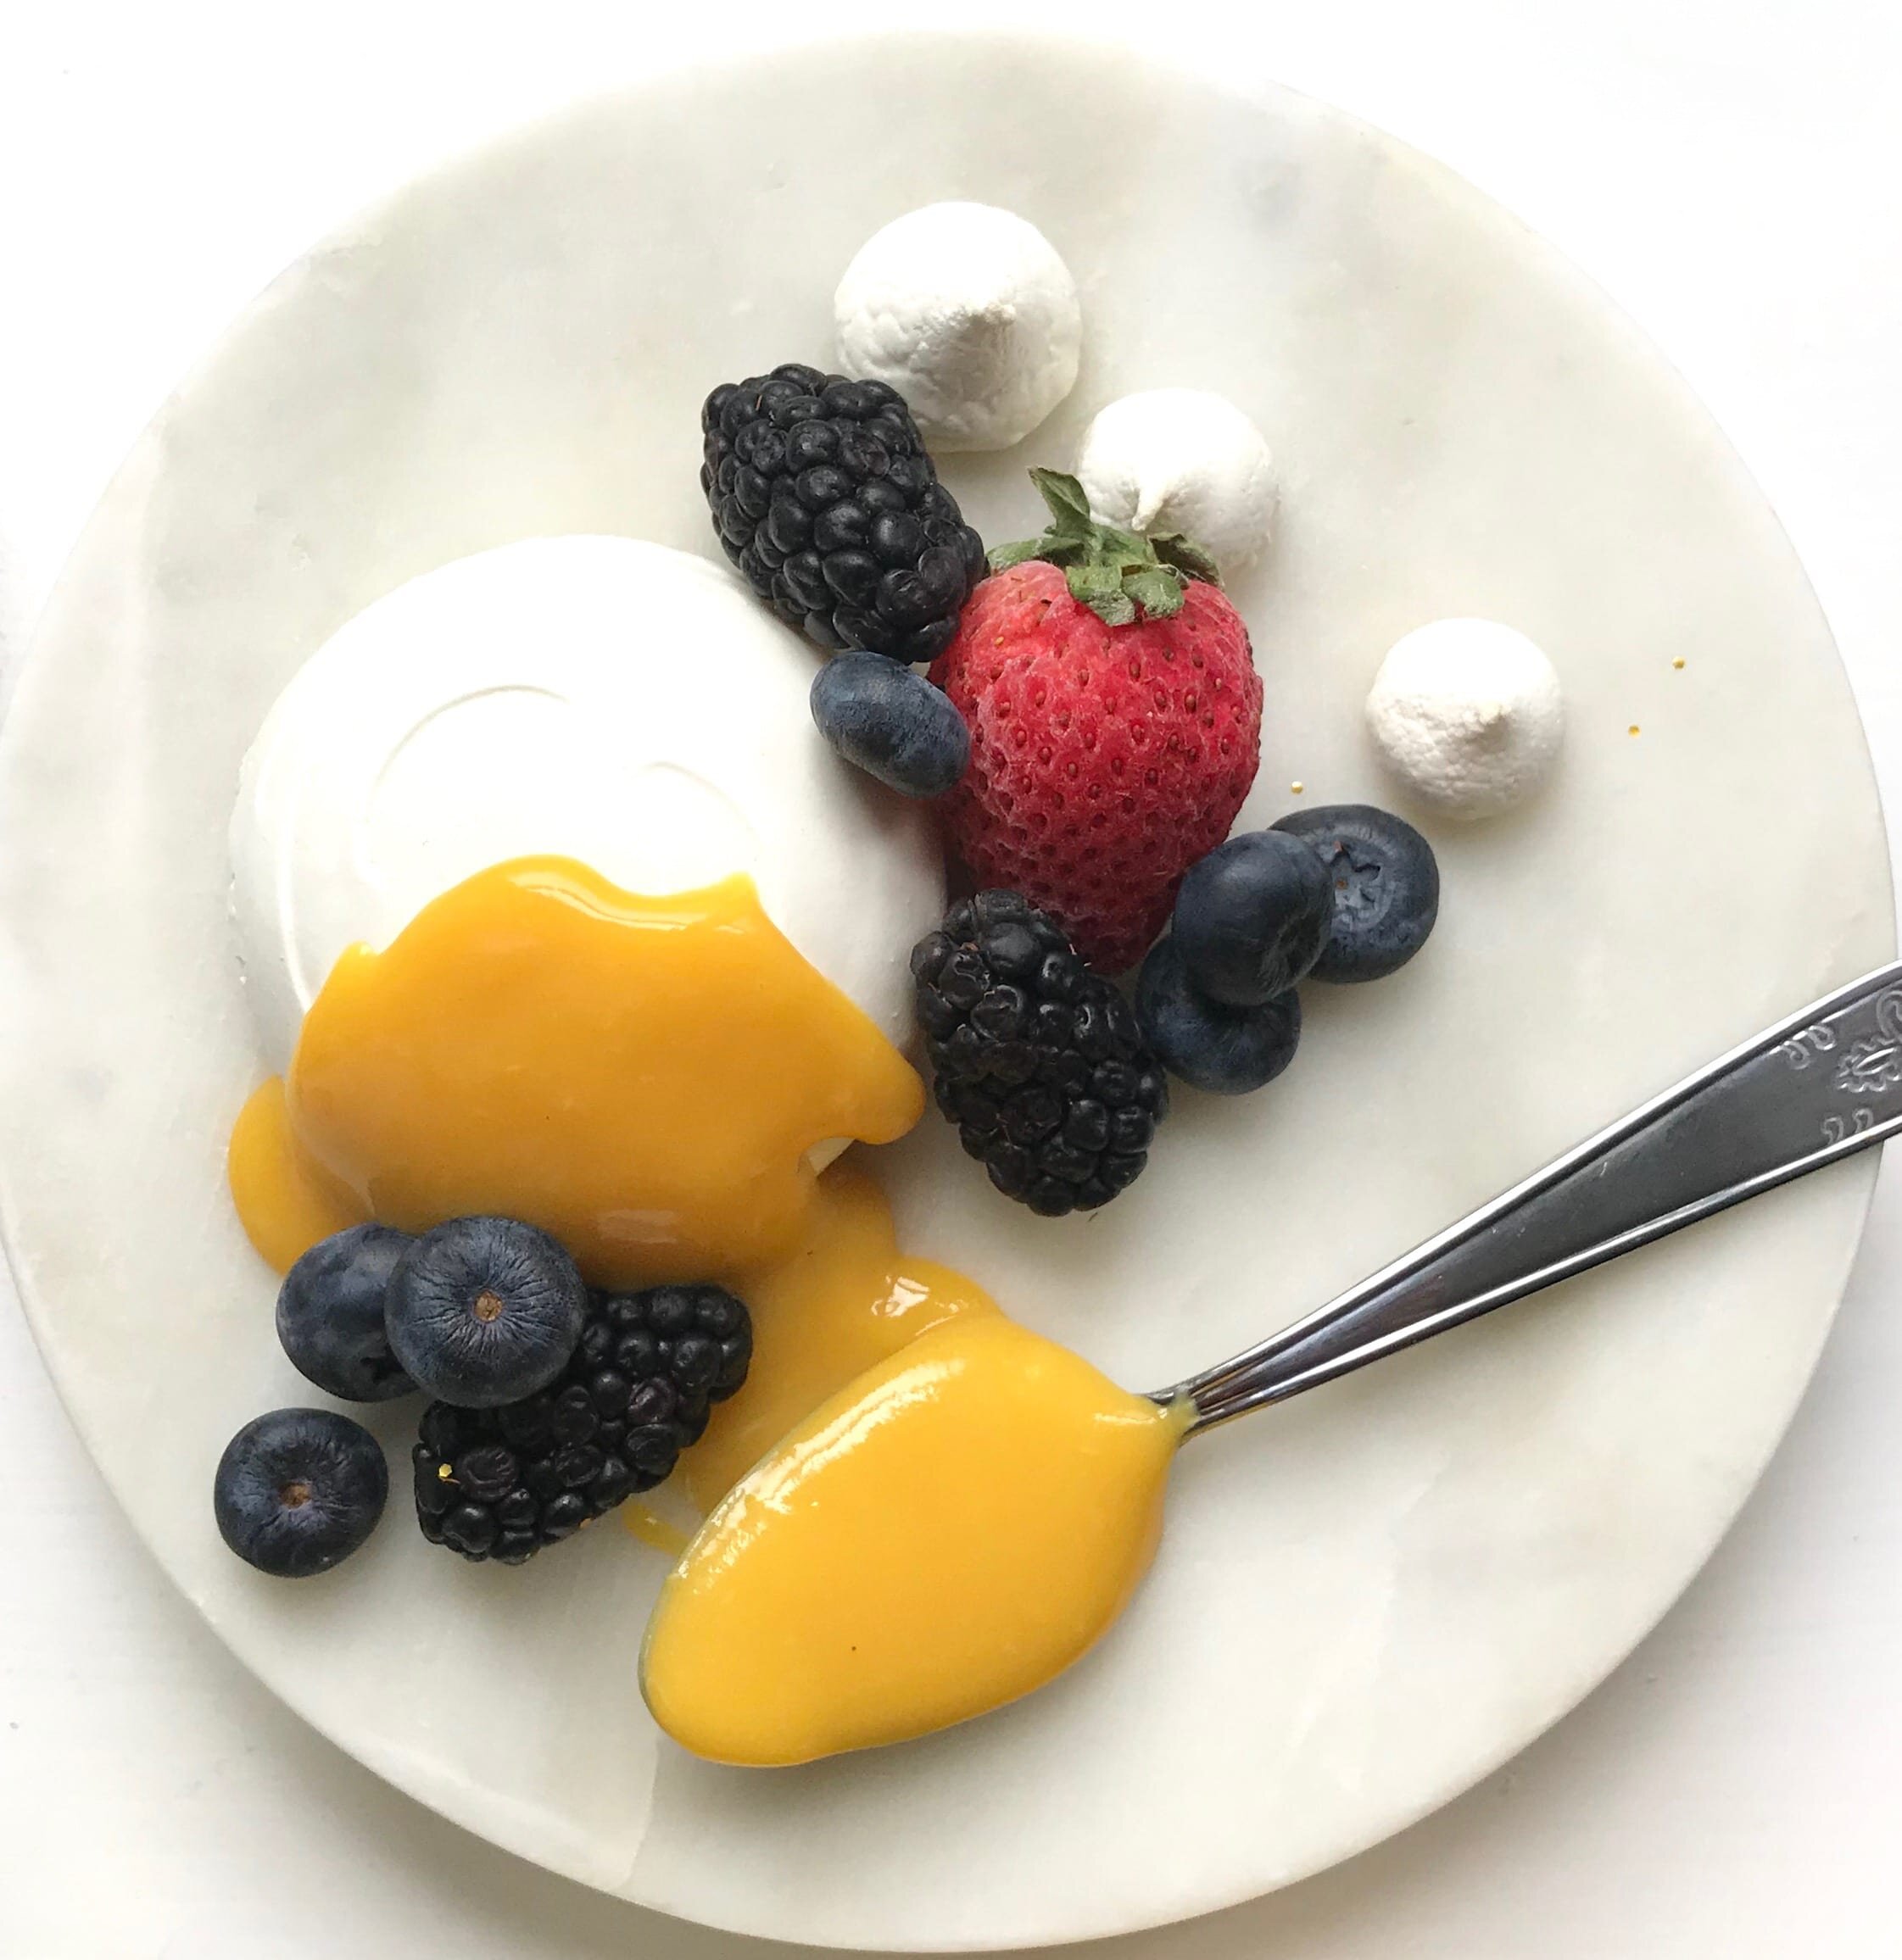
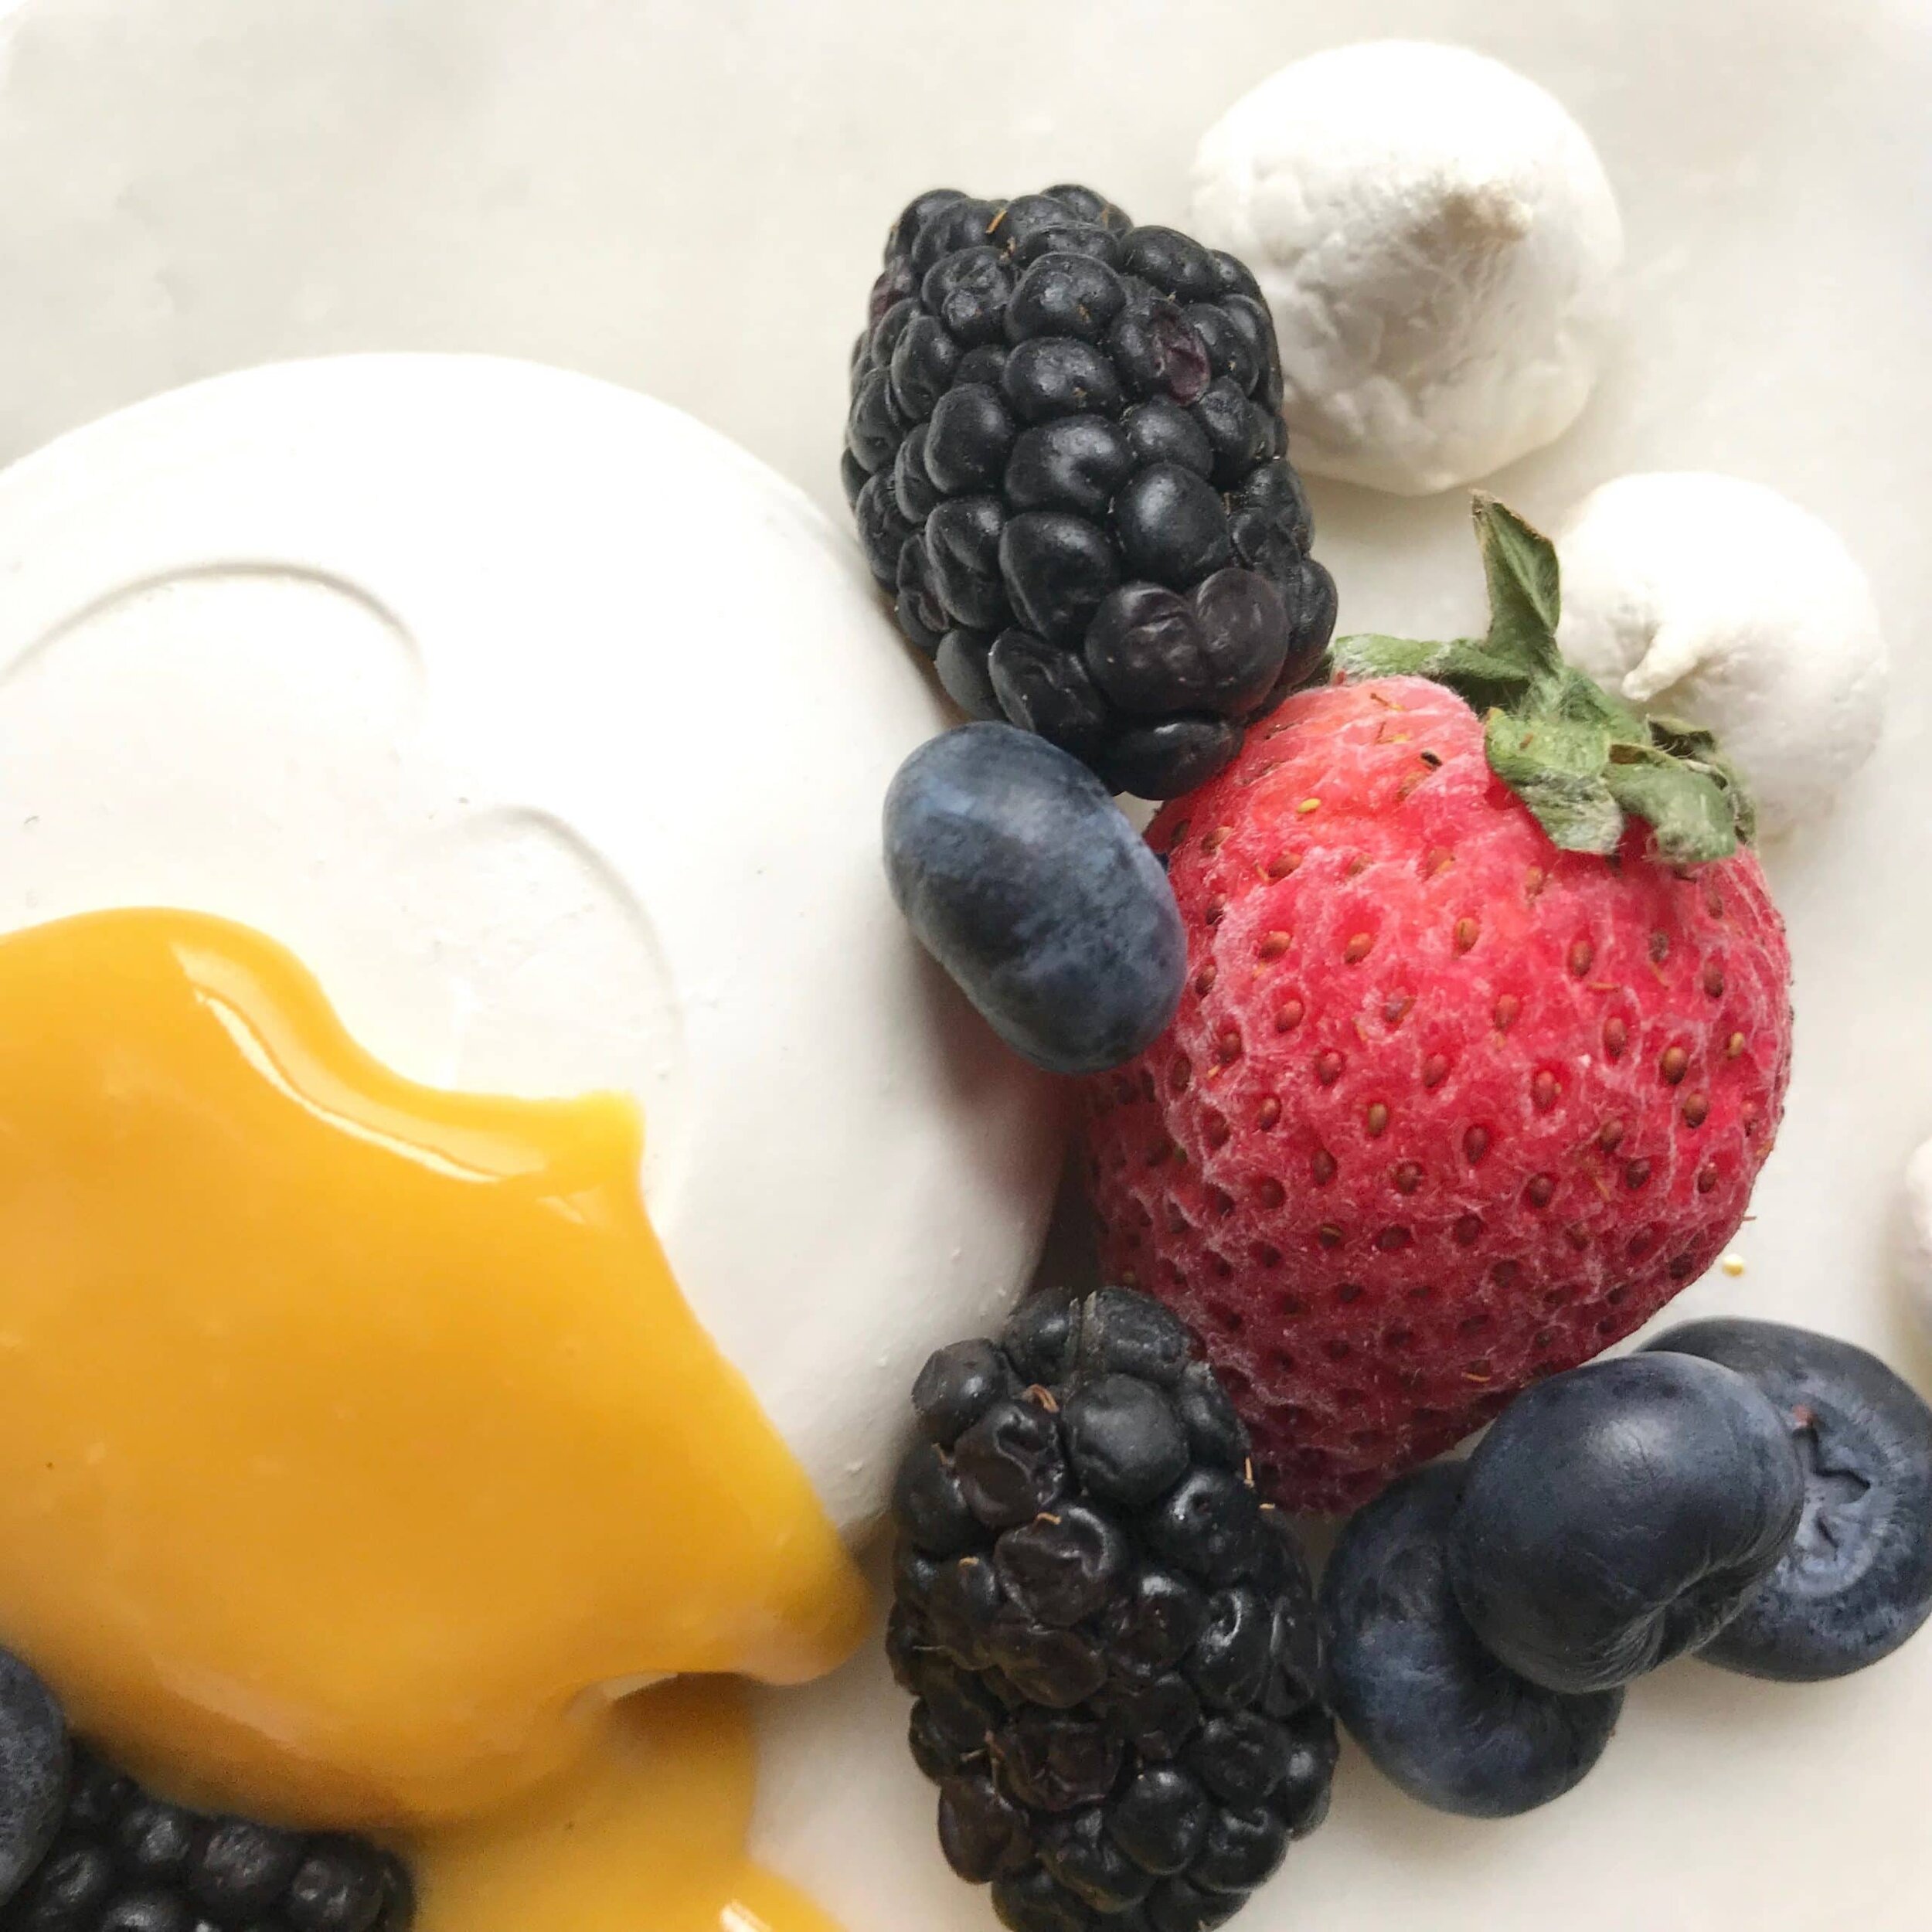
This meringue with lemon curd and berries dessert is really light and simple. It contains a good sized meringue cookie that is topped with a sweet lemon curd that is so smooth, and topped with any kind of berries or fruit that you enjoy eating!
Change it up!
You can change it up too! Not a fan of lemon? Use lime or orange juice instead and give it a different flavor profile. If you would rather make a orange (grapefruit, or even blood orange) curd, then I recommend segmenting a bunch of oranges, grapefruit, clementines and adding some strawberries in too. That would give it a refreshing flavor profile.
[mailerlite_form form_id=1]

Products I recommend for making this dessert.
Above are some products that I personally use and recommend for this recipe and to have for everyday use. My absolute favorite is the BlueQ oven mitts. I have a collection of them and I love them! They are great quality and it’s nice to have a kitchen item with a sense of humor.
______________________________________________________________________________
meringue with lemon curd & berries
cute little individual meringues topped with a tart lemon curd and macerated berries
meringue
- 3 egg whites
- 1 cup granulated sugar
- pinch cream of tartar
- 1 tsp vanilla extract
- food color (optional)
lemon curd
- 1/2 cup lemon juice
- 1 tbsp lemon zest
- 4 egg yolks
- 1 egg
- 1/2 cup sugar
- 4 tbsp butter
berries
- 1 lemon (juice and zest)
- 1/2 cup water
- 1/2 cup granulated sugar
- fresh berries (strawberries, blueberries, raspberries, blackberries)
meringue
- preheat the oven to 200 degrees F and line a sheet pan with parchment paper. in the bowl of an electric mixer, whip the egg whites until foamy and then add the cream of tartar. continue whipping on high until soft peaks start to form and then gradually add in the sugar and whip until stiff peaks form and the meringue is nice and glossy. add in the vanilla and food coloring if desired. put the meringue into a piping bag fitted with a large round tip. pipe large rounds of the meringue, about 3 inches in diameter. bake for 2 hours and let cool.
lemon curd
- in a small pot, combine the lemon juice and zest, egg yolks, egg, and sugar and whisk constantly over medium heat. make sure to continuously whisk to prevent the eggs from curdling. continue whisking until it starts to thicken. remove from the heat and add in the butter. strain through a fine mesh sieve and place cling wrap directly on top of the curd to prevent a skin from forming. place in the fridge until cool.
berries
- put all of the ingredients into a small pot and bring to a boil. let boil until the syrup reduces by half and starts to thicken. once cool, pour over the berries and gently toss to coat.
Passion Fruit French Macarons

[wprm-recipe-jump]
*Disclaimer: This post contains affiliate links. To learn more, please go here.
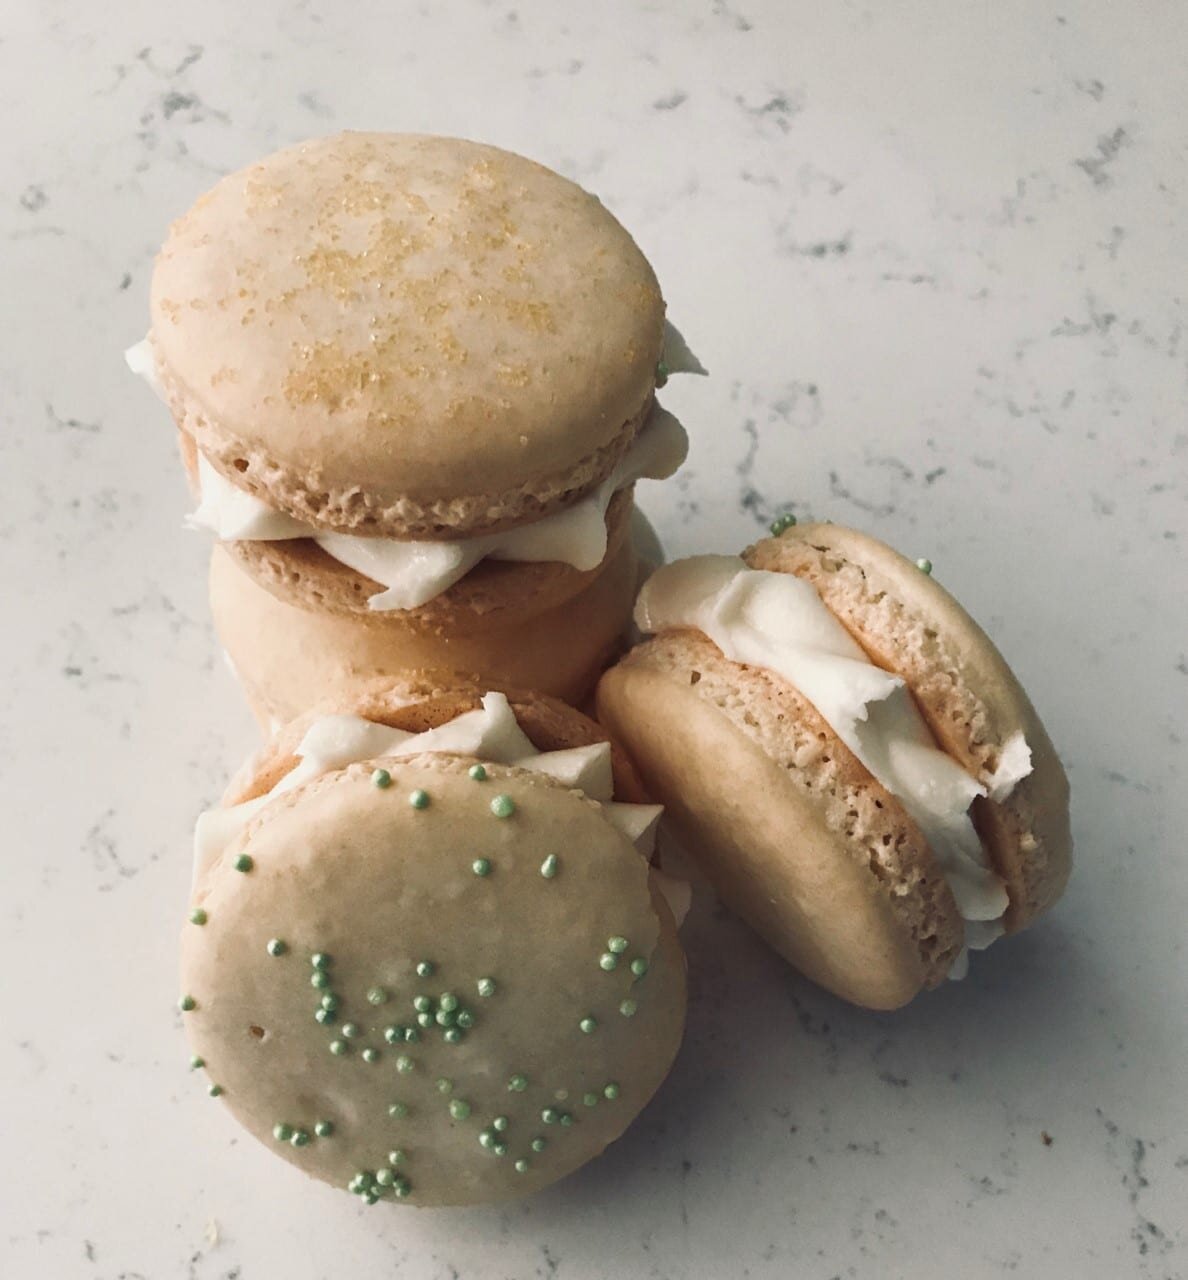
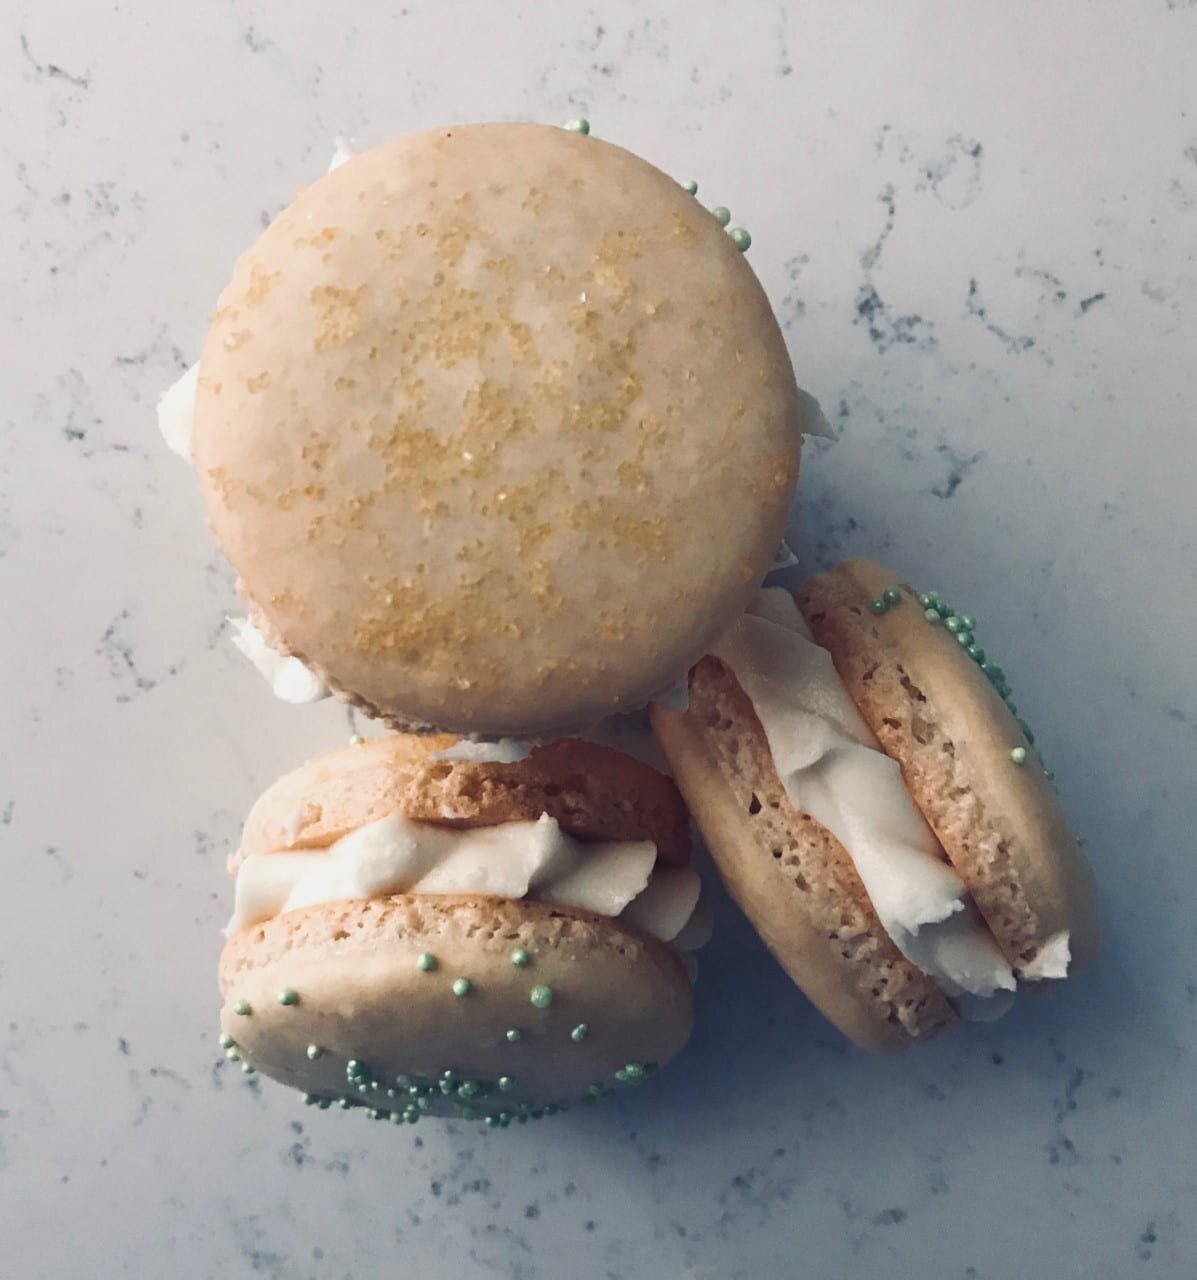
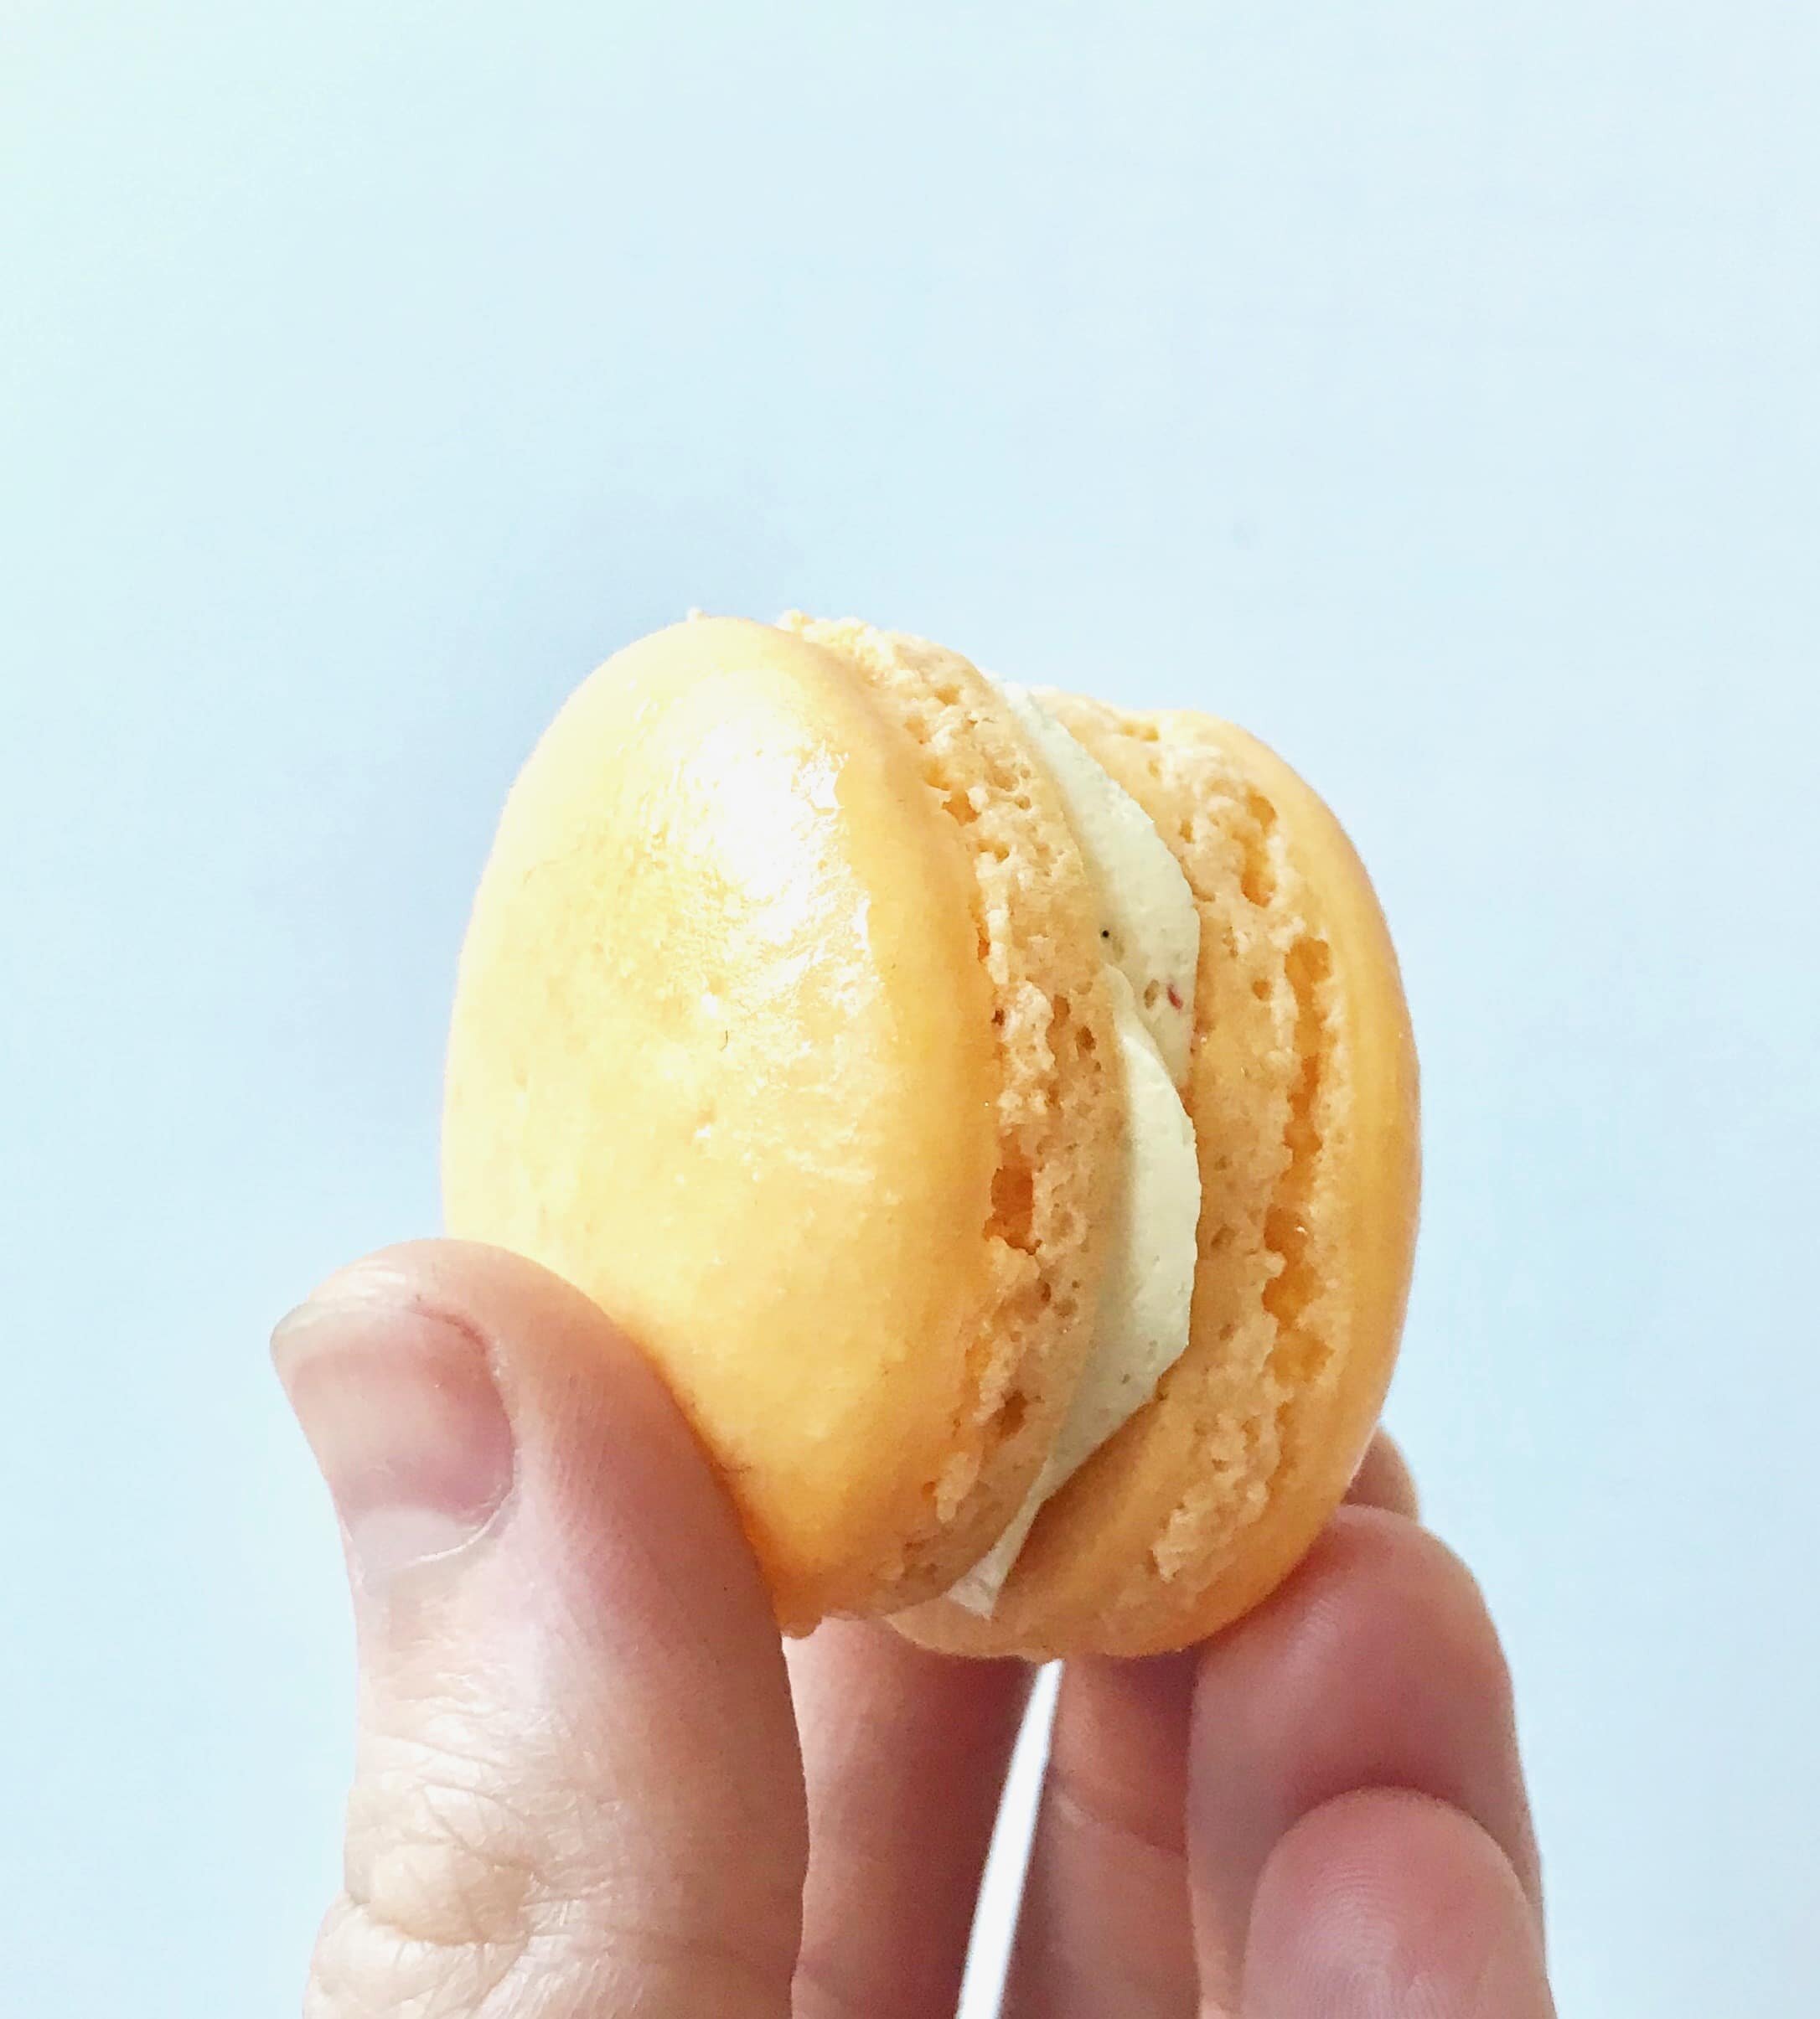
These little passion fruit french macarons are so cute! But they are also tangy and pack a punch. The buttercream is full of passion fruit puree which gives it such a freshness to these cookies.
Just know that making french macarons can be temperamental. They don't like humidity and you have to whip the egg whites just right. Another important part is to make sure that you let the batter dry before baking. This is a crucial step! If you don't follow it than the macarons will end up as pancakes.
Change it up!
Use whatever food coloring you like when you make french macarons. I chose orange for these passion fruit french macarons, but you can coordinate the color to the fruit you choose. Want to try something fun with these cookies? If you can't find passion fruit puree anywhere but you can find the fruit in your local grocery store, than I think a fun way would be to make a plain swiss buttercream and then add in a small spoonful of the fresh passion fruit right into the center before you sandwich the cookie together. Now that sounds delicious!
[mailerlite_form form_id=1]
Products I recommend for making this dessert.
Above are some products that I personally use and recommend for this recipe and to have for everyday use. One thing that I highly suggest getting when making french macarons is a silpat. A silpat is a reusable parchment paper and it's such a great investment. I find it easier to use a silpat versus parchment paper when making french macarons because it doesn't move around but it also makes it easier to remove the cookies too.
______________________________________________________________________________
passion fruit french macarons

french macaron cookies with a creamy passion fruit swiss buttercream in the middle
french macaron
- 3/4 cup almond flour
- 1 1/2 cup powdered sugar
- 3 fresh egg whites
- 1/3 cup granulated sugar
- pinch cream of tartar
- food coloring (optional)
- sprinkles (optional)
swiss buttercream
- 5 egg whites
- 1 cup granulated sugar
- 3 sticks unsalted butter
- 2 tsp vanilla extract
- passion fruit puree (to taste)
french macaron
- preheat the oven to 300 degrees F. whip the egg whites and cream of tartar until foamy and gradually add in the granulated sugar. whip until stiff peaks form then add in the food coloring. in a large bowl, sift together the almond flour and powdered sugar. gradually fold the egg whites into the dry ingredients. put the batter into a piping bag and pipe onto a sheet pan that is lined with a silpat (parchment works fine). bang the pan really good on the counter to release any air bubbles and then let the macarons sit to dry, about 30 minutes, or until it doesn't stick to your finger. you can test by lightly patting the tops, if it sticks then let it sit a little longer. once dry, bake for 16-20 minutes or until the bottoms of the macarons don't stick and come off the silpat clean.
swiss buttercream
- over a double boiler, combine the sugar and egg whites. whisk together until the sugar is fully dissolved. you can check this by rubbing some of the mixture together between your finger and thumb. if smooth, then it is ready. place the egg mixture into a bowl of an electric mixer fitter with a whisk attachment. whip on high for about 2 minutes and the mixture has cooled slightly. gradually add in the butter, about a tablespoon at a time. once all of the butter is added continue whipping until fully combined. add in the vanilla and passion fruit.
Bailey's Ice Cream
[wprm-recipe-jump]
*Disclaimer: This post contains affiliate links. To learn more, please go here.
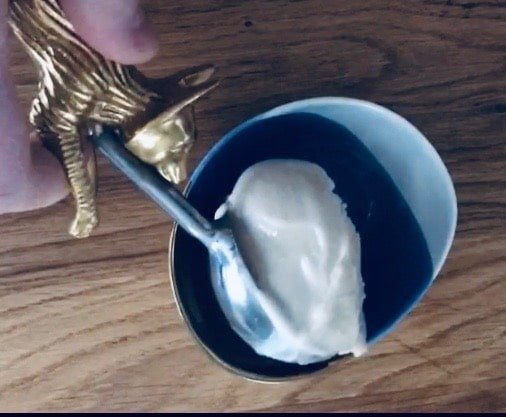
This bailey's ice cream is soooo good. I literally ate all of it before I even realized that I didn't take any pictures! I did get a good video though so hopefully that makes up for it. Now this ice cream is a bit strong if you have it by itself, so I have a small list of ways you can enjoy it without actually getting drunk off of ice cream. Although that is definitely a fun way to go and get a buzz!
[mailerlite_form form_id=1]
Ways to enjoy bailey's ice cream.
- Enjoy with a nice warm hot fudge sauce and make a sundae out of it.
- Make a float with hot chocolate or coffee and top it off with some whipped cream and chocolate shavings.
- Have a scoop of it on top of a warm brownie.
- Make some chocolate chips cookies and make a fun ice cream sandwich!
This is a good way to enjoy a cozy Friday or Saturday night either watching Christmas movies or a quiet new years at home.
Above are some products that I personally use and recommend for this recipe and to have for everyday use. I highly recommend starting off with the cuisinart ice cream machine as your first ice cream maker. It's the cheapest one on amazon and I personally use it and love it! I also suggest getting a reusable ice cream container as well, it's dishwasher safe and you can use it over and over again!
______________________________________________________________________________
Baileys ice cream

this ice cream is a strong treat. its filled with all the baileys and would make an amazing sundae!
- 3/4 cup milk
- 1 1/4 cup heavy cream
- 2/3 cup bailey's liquor
- 3/4 cup granulated sugar
- 1 1/2 tsp vanilla extract
- pinch salt
- place all of the ingredients into a pot and bring to a boil, whisking to make sure the sugar dissolves. place the ice cream base into the fridge overnight to cool and to let the flavor increase. following the manufacturer's instructions of your ice cream machine, turn the base for 20-25 minutes. place the ice cream into a freezer safe container and freeze overnight to firm up.
Lime Orange Blossom French Macarons
[wprm-recipe-jump]
*Disclaimer: This post contains affiliate links. To learn more, please go here.
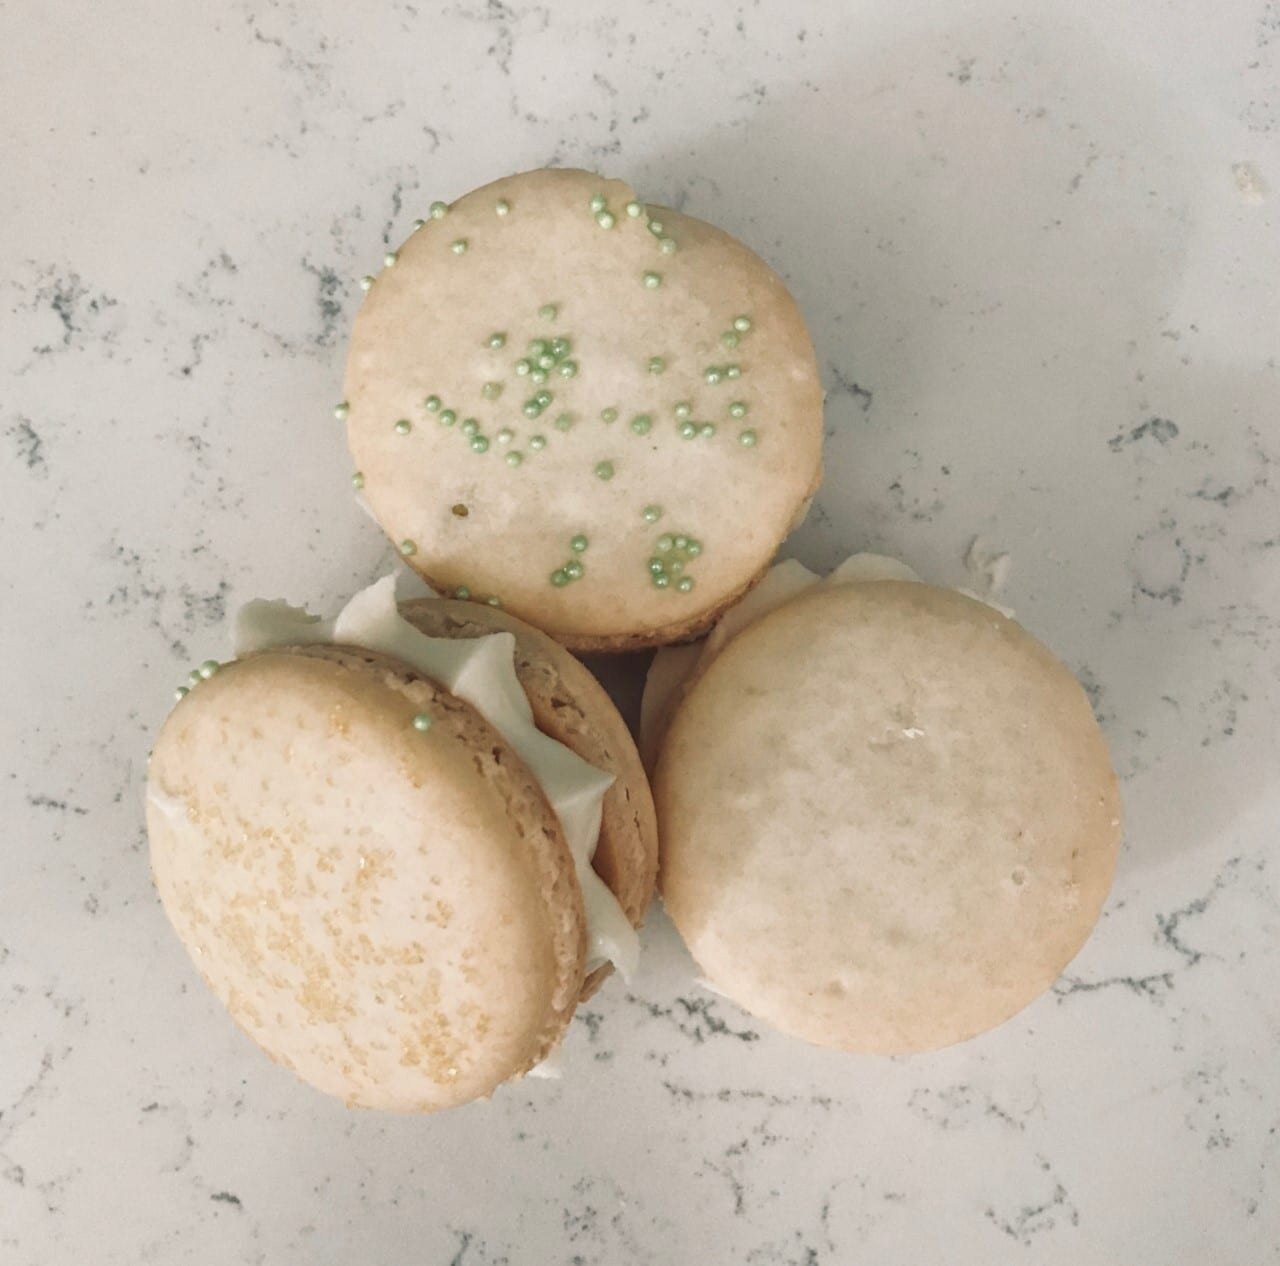
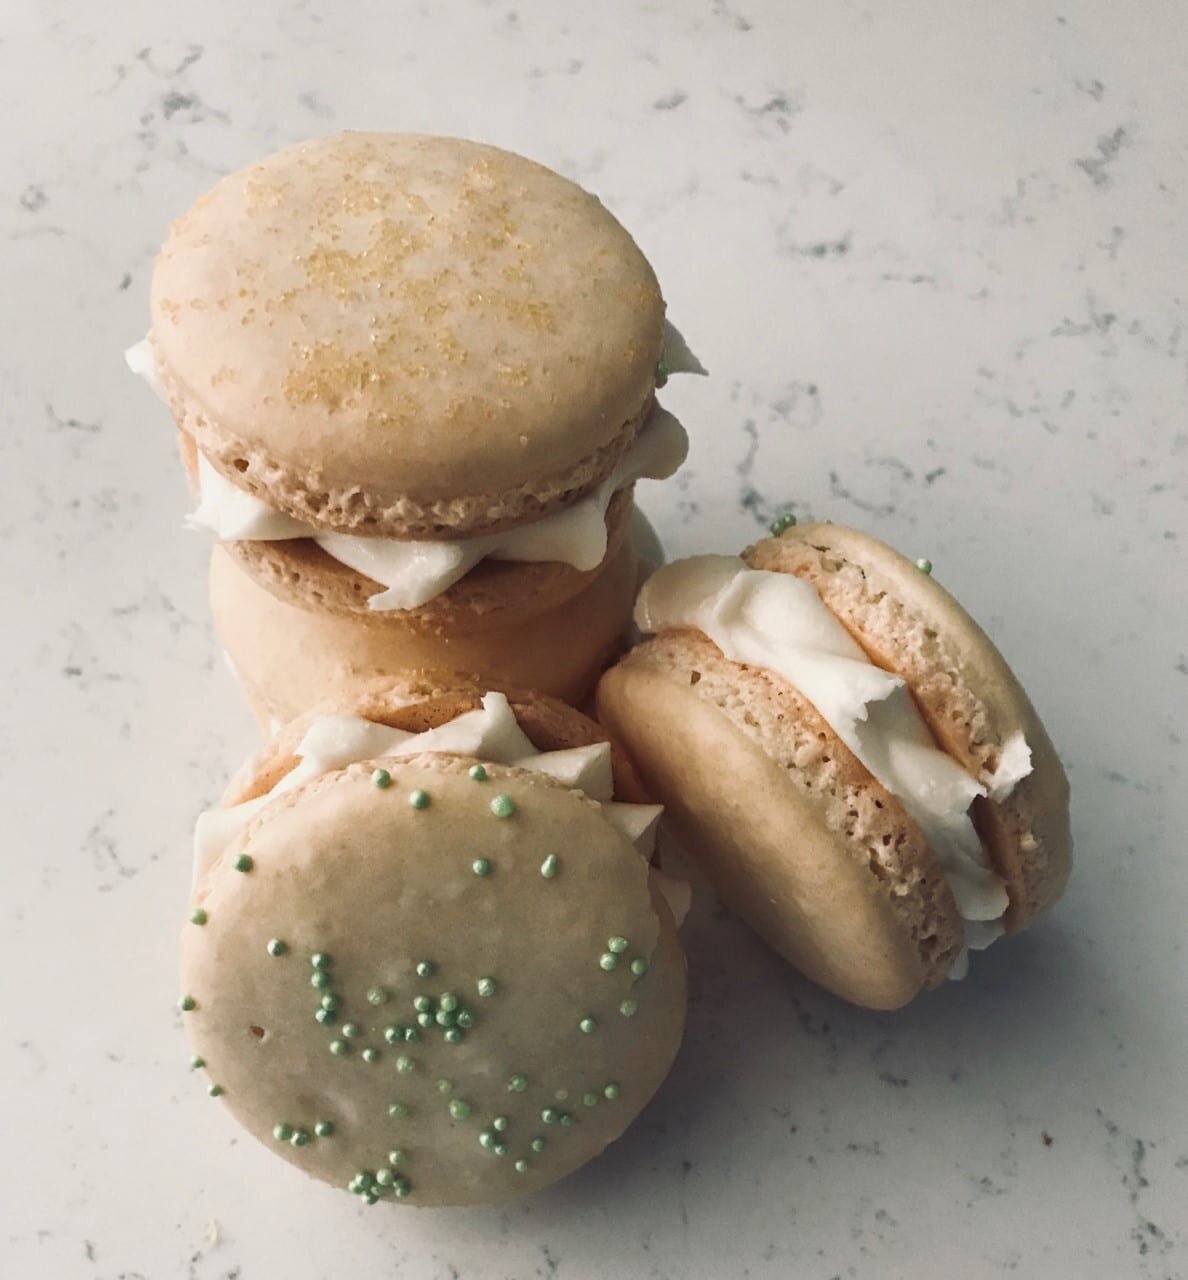
I absolutely love french macarons. Especially these lime orange blossom French macarons. It's such a lovely little sandwich cookie that is so delectable and delicious to eat. Making them isn't so easy though. They come with so many challenges that makes you wonder if it's worth the effort in making them. Well, it is worth it if the results come out great! Some problems that you can have though include:
- Humidity
- Egg whites not whipping
- Dirty bowl and utensils
- A skin doesn't form when drying
- A foot doesn't grow
- The tops crack
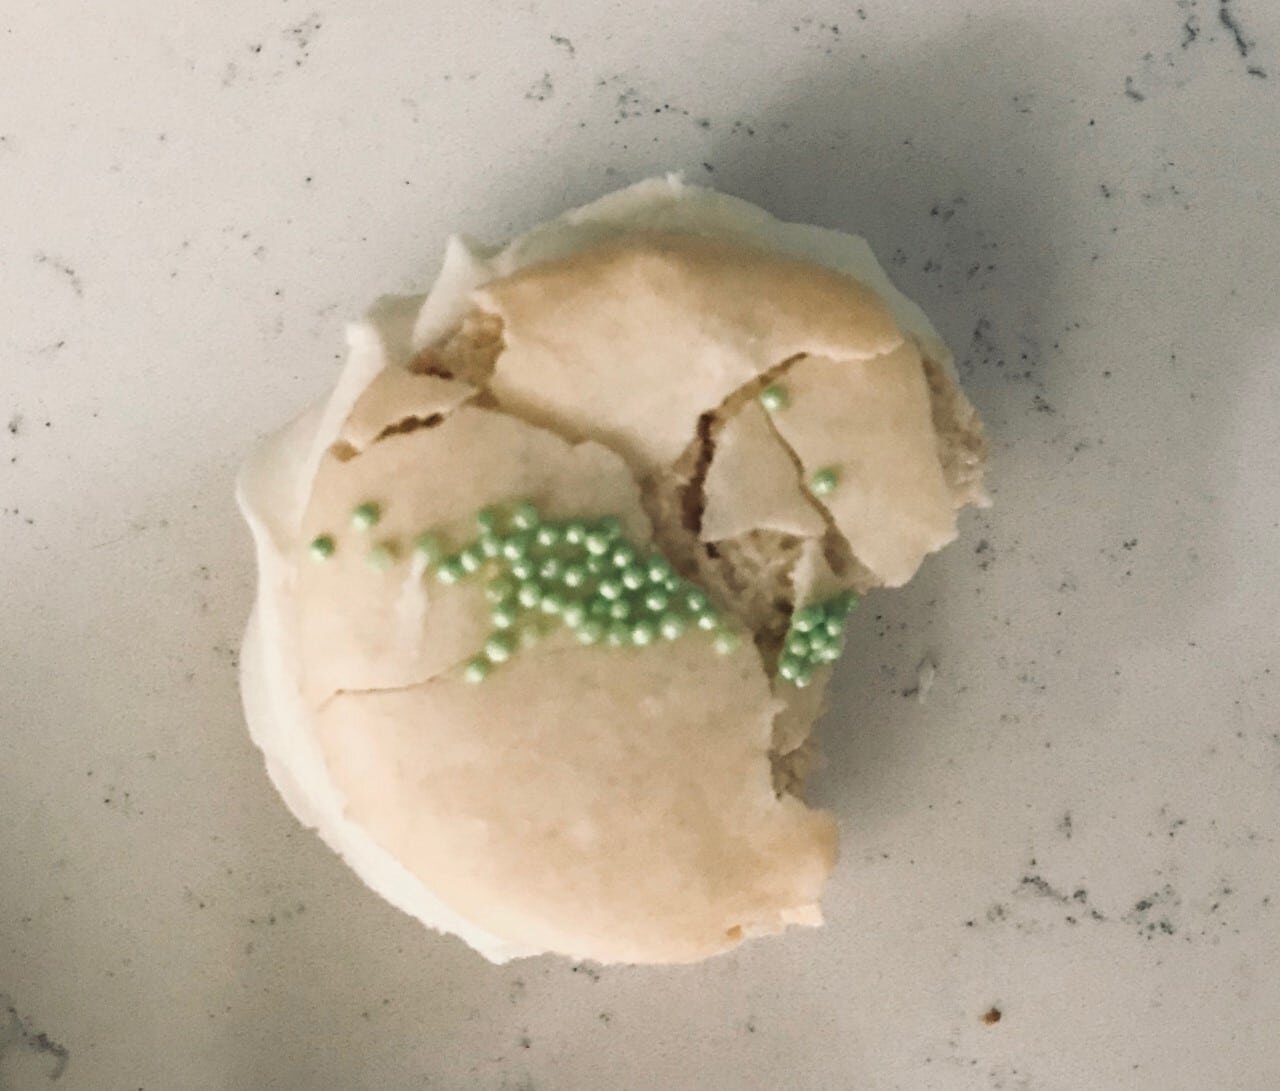
The list really goes on and on; but to me it's worth it. Here's a small tip: Always use fresh egg whites! Always!! You have no idea how many times I had to throw away egg whites that just wouldn't whip because it came from a carton. Sometimes it works out and sometimes it doesn't, but using fresh egg whites will most likely guarantee a good result. Especially if you want to make these lime orange blossom french macarons. Which is something you definitely should be doing.
[mailerlite_form form_id=1]
Products I recommend
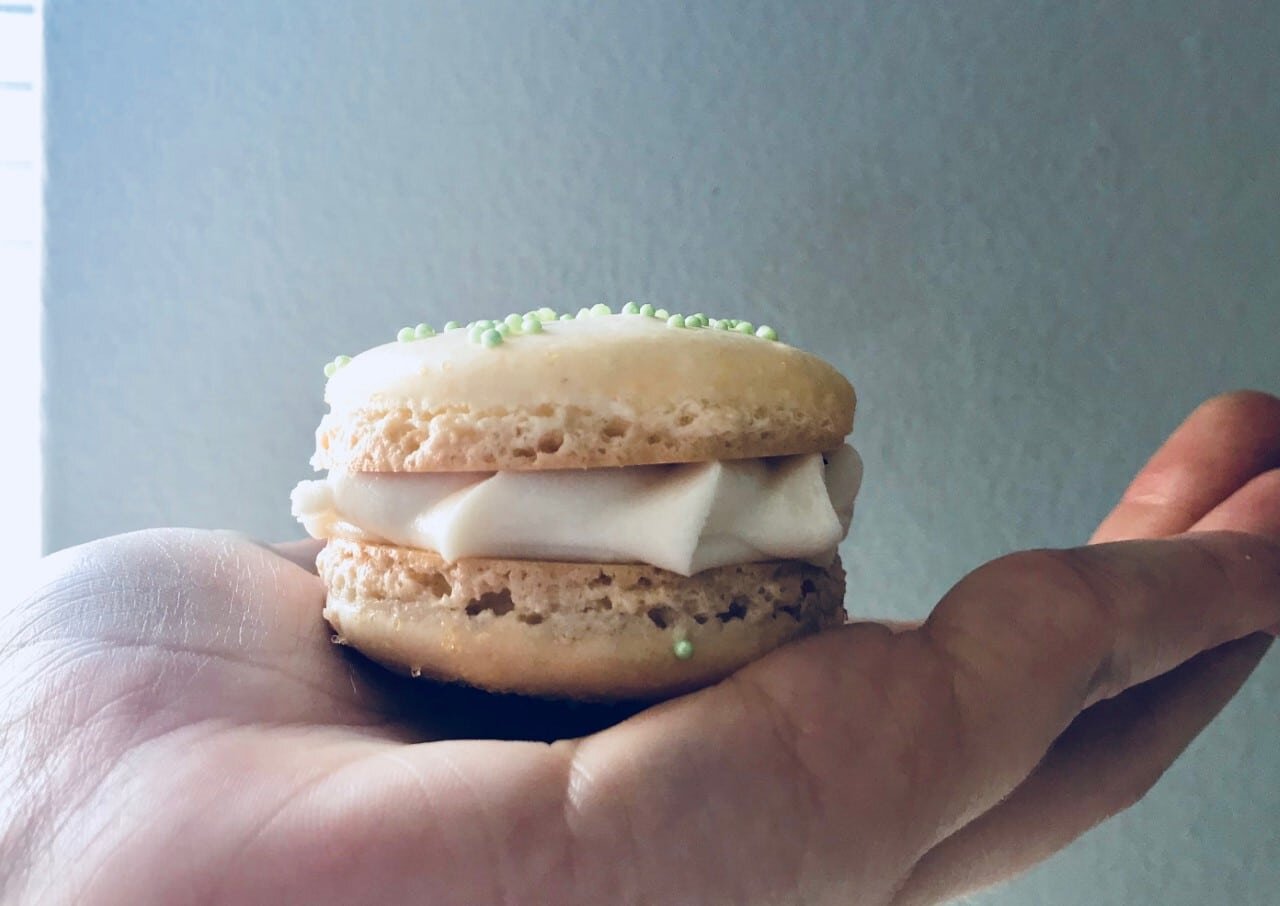
Now these french macarons are just so light in flavor and orange blossom tastes so fresh and amazing. If you haven't tried it before I highly suggest you do!
_______________________________________________________________________
lime orange blossom french macarons

these french macarons are refreshing with the light taste of orange blossom and a little tang from lime.
cookies
- 3/4 cup almond flour
- 1 1/2 cup powdered sugar
- 3 fresh egg whites
- 1/3 cup granulated sugar
- pinch cream of tartar
- 1/2 tsp lime zest
- 1 tsp lime juice
- food coloring (optional)
- sprinkles (optional)
buttercream
- 1 stick salted butter
- 2 cup powdered sugar
- 1/2 tsp orange blossom extract
- 1/4 tsp vanilla extract
- 1/2 tsp orange zest
- 1-2 tbsp water
cookies
- preheat the oven to 300 degrees F. whip the egg whites and cream of tartar until foamy and gradually add in the granulated sugar. whip until stiff peaks form then add in the lime zest, juice, and food coloring. in a large bowl, sift together the almond flour and powdered sugar. gradually fold the egg whites into the dry ingredients. put the batter into a piping bag and pipe onto a sheet pan that is lined with a silpat (parchment works fine). bang the pan really good on the counter to release any air bubbles and then let the macarons sit to dry, about 30 minutes, or until it doesn't stick to your finger. add sprinkles before drying. you can test by lightly patting the tops, if it sticks then let it sit a little longer. once dry, bake for 16-20 minutes or until the bottoms of the macarons don't stick and come off the silpat clean.
buttercream
- place all of the ingredients into a bowl of an electric mixer fitted with a whisk attachment and whip until light and fluffy, about 2 minutes.
White Chocolate Ice Cream with Roasted Strawberries
[wprm-recipe-jump]
*disclaimer: this post contains affiliate links. to learn more, please go here.
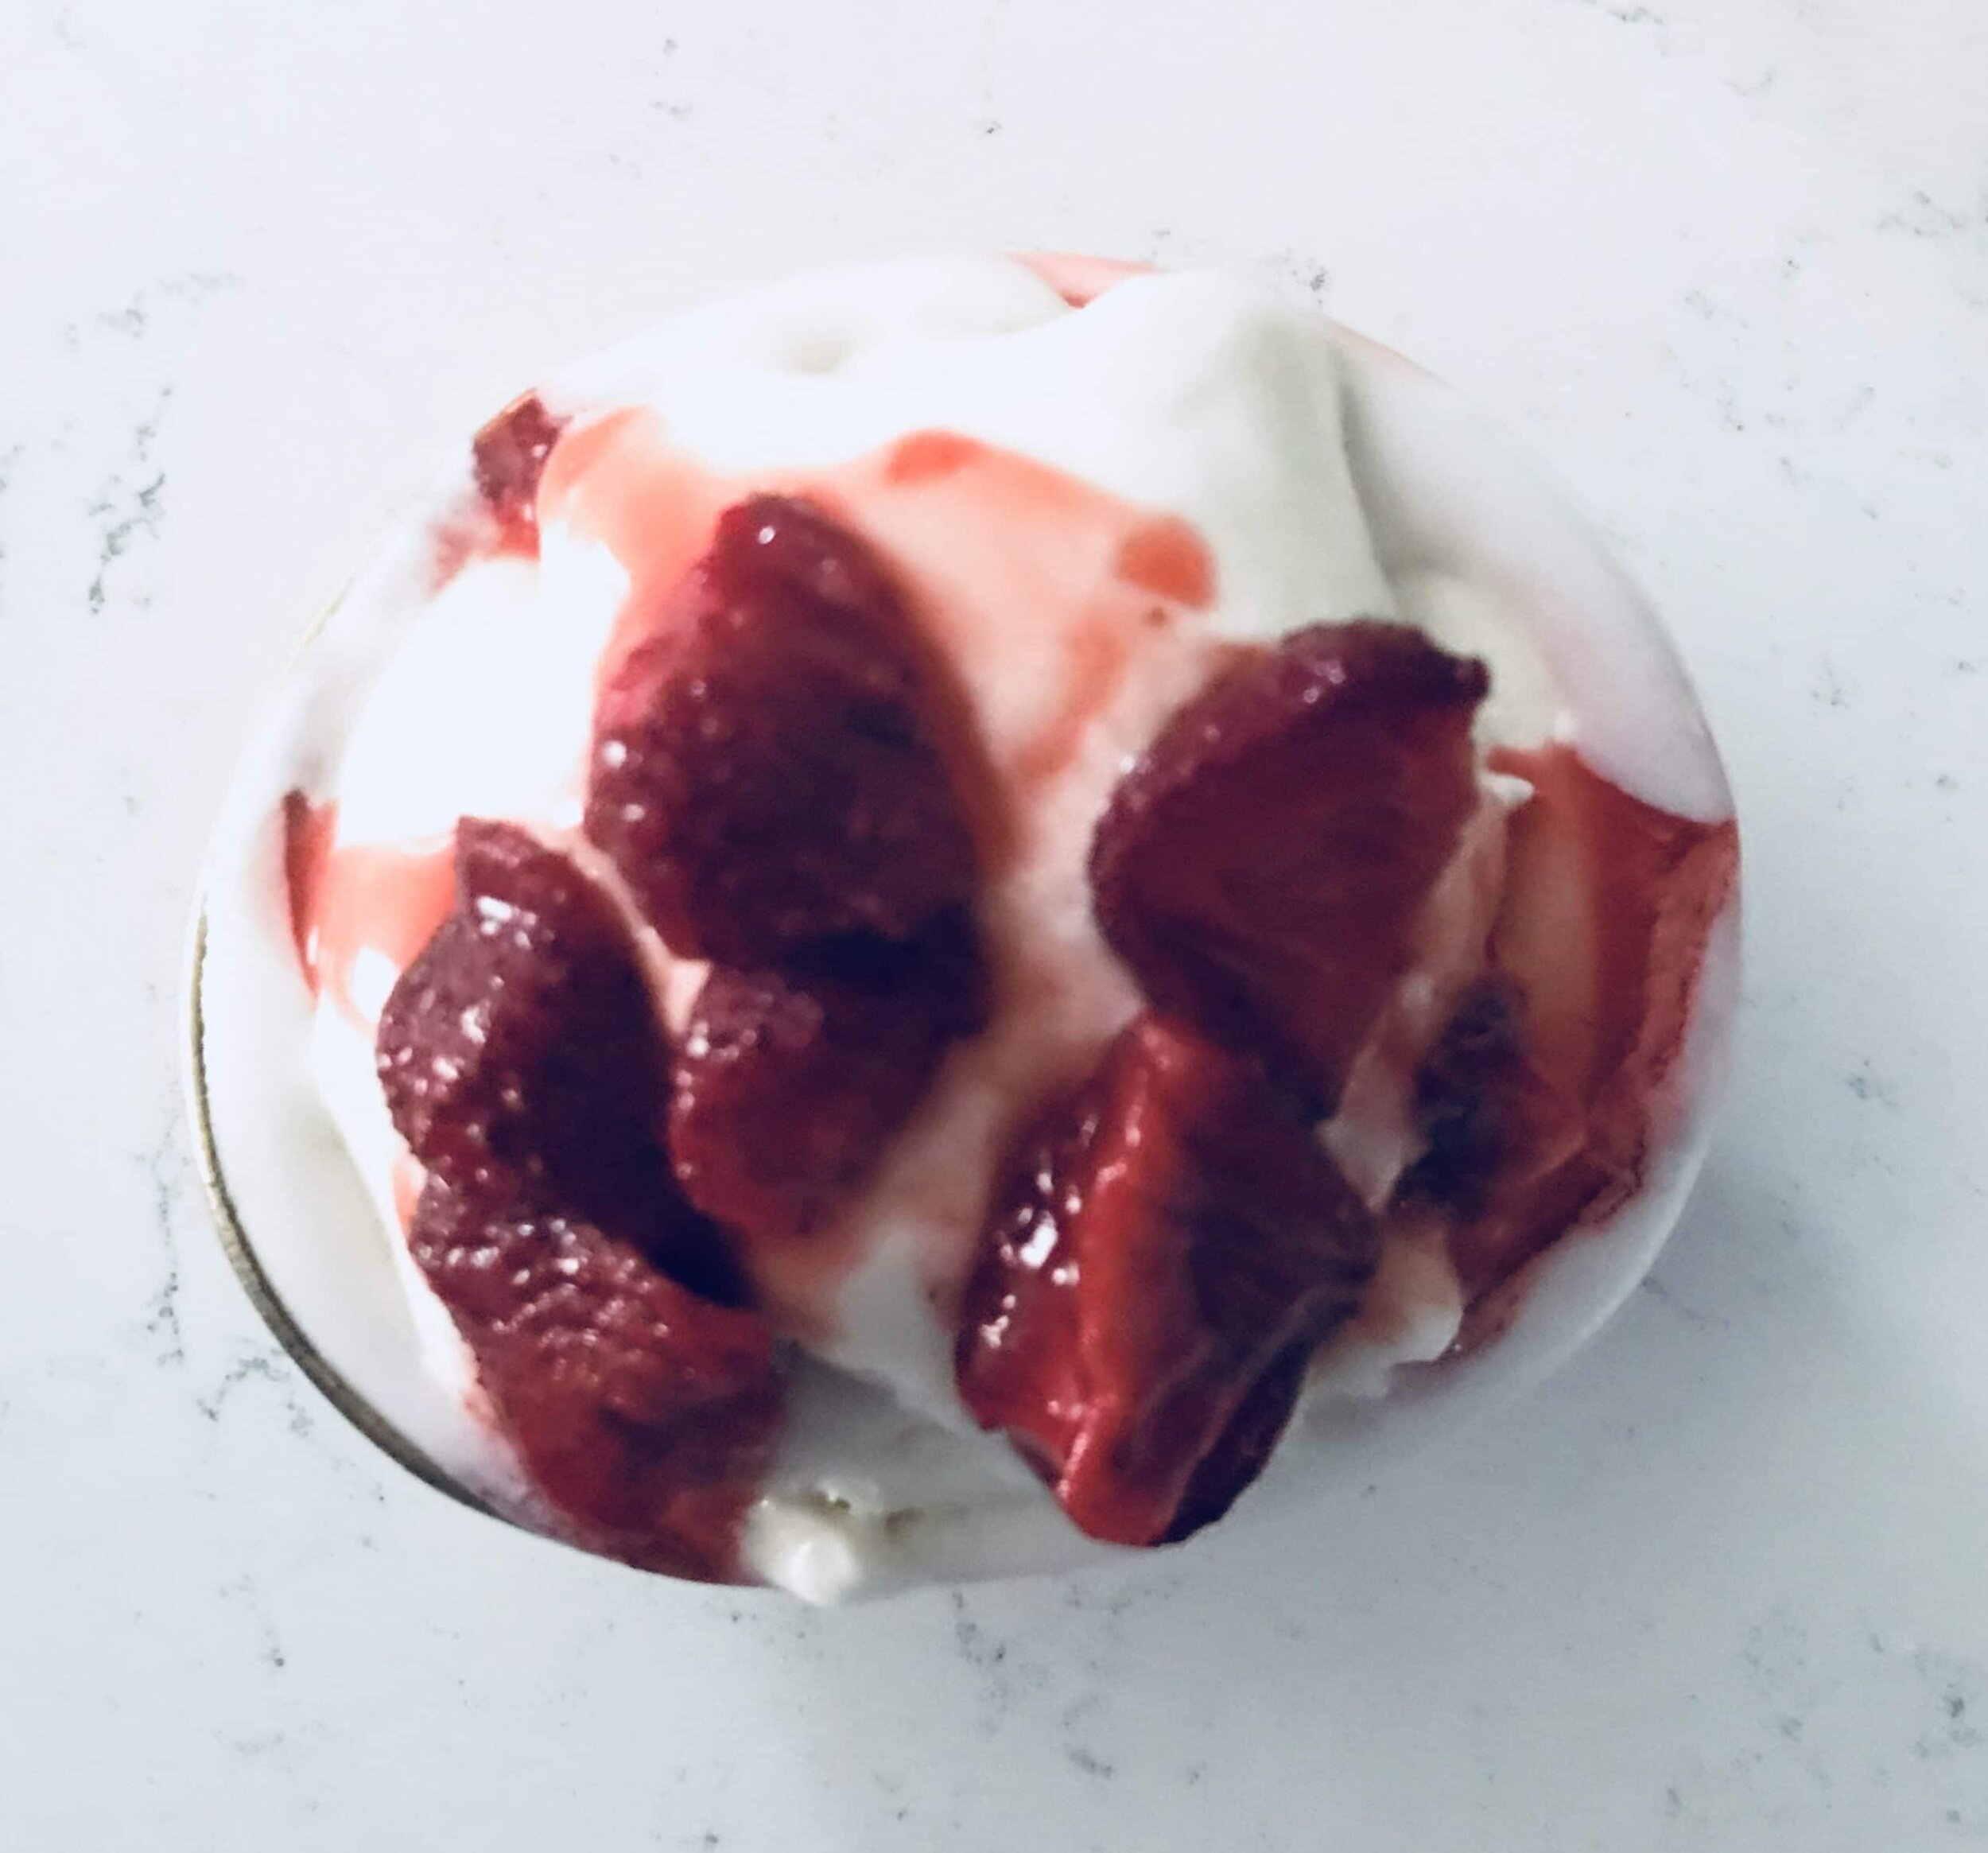
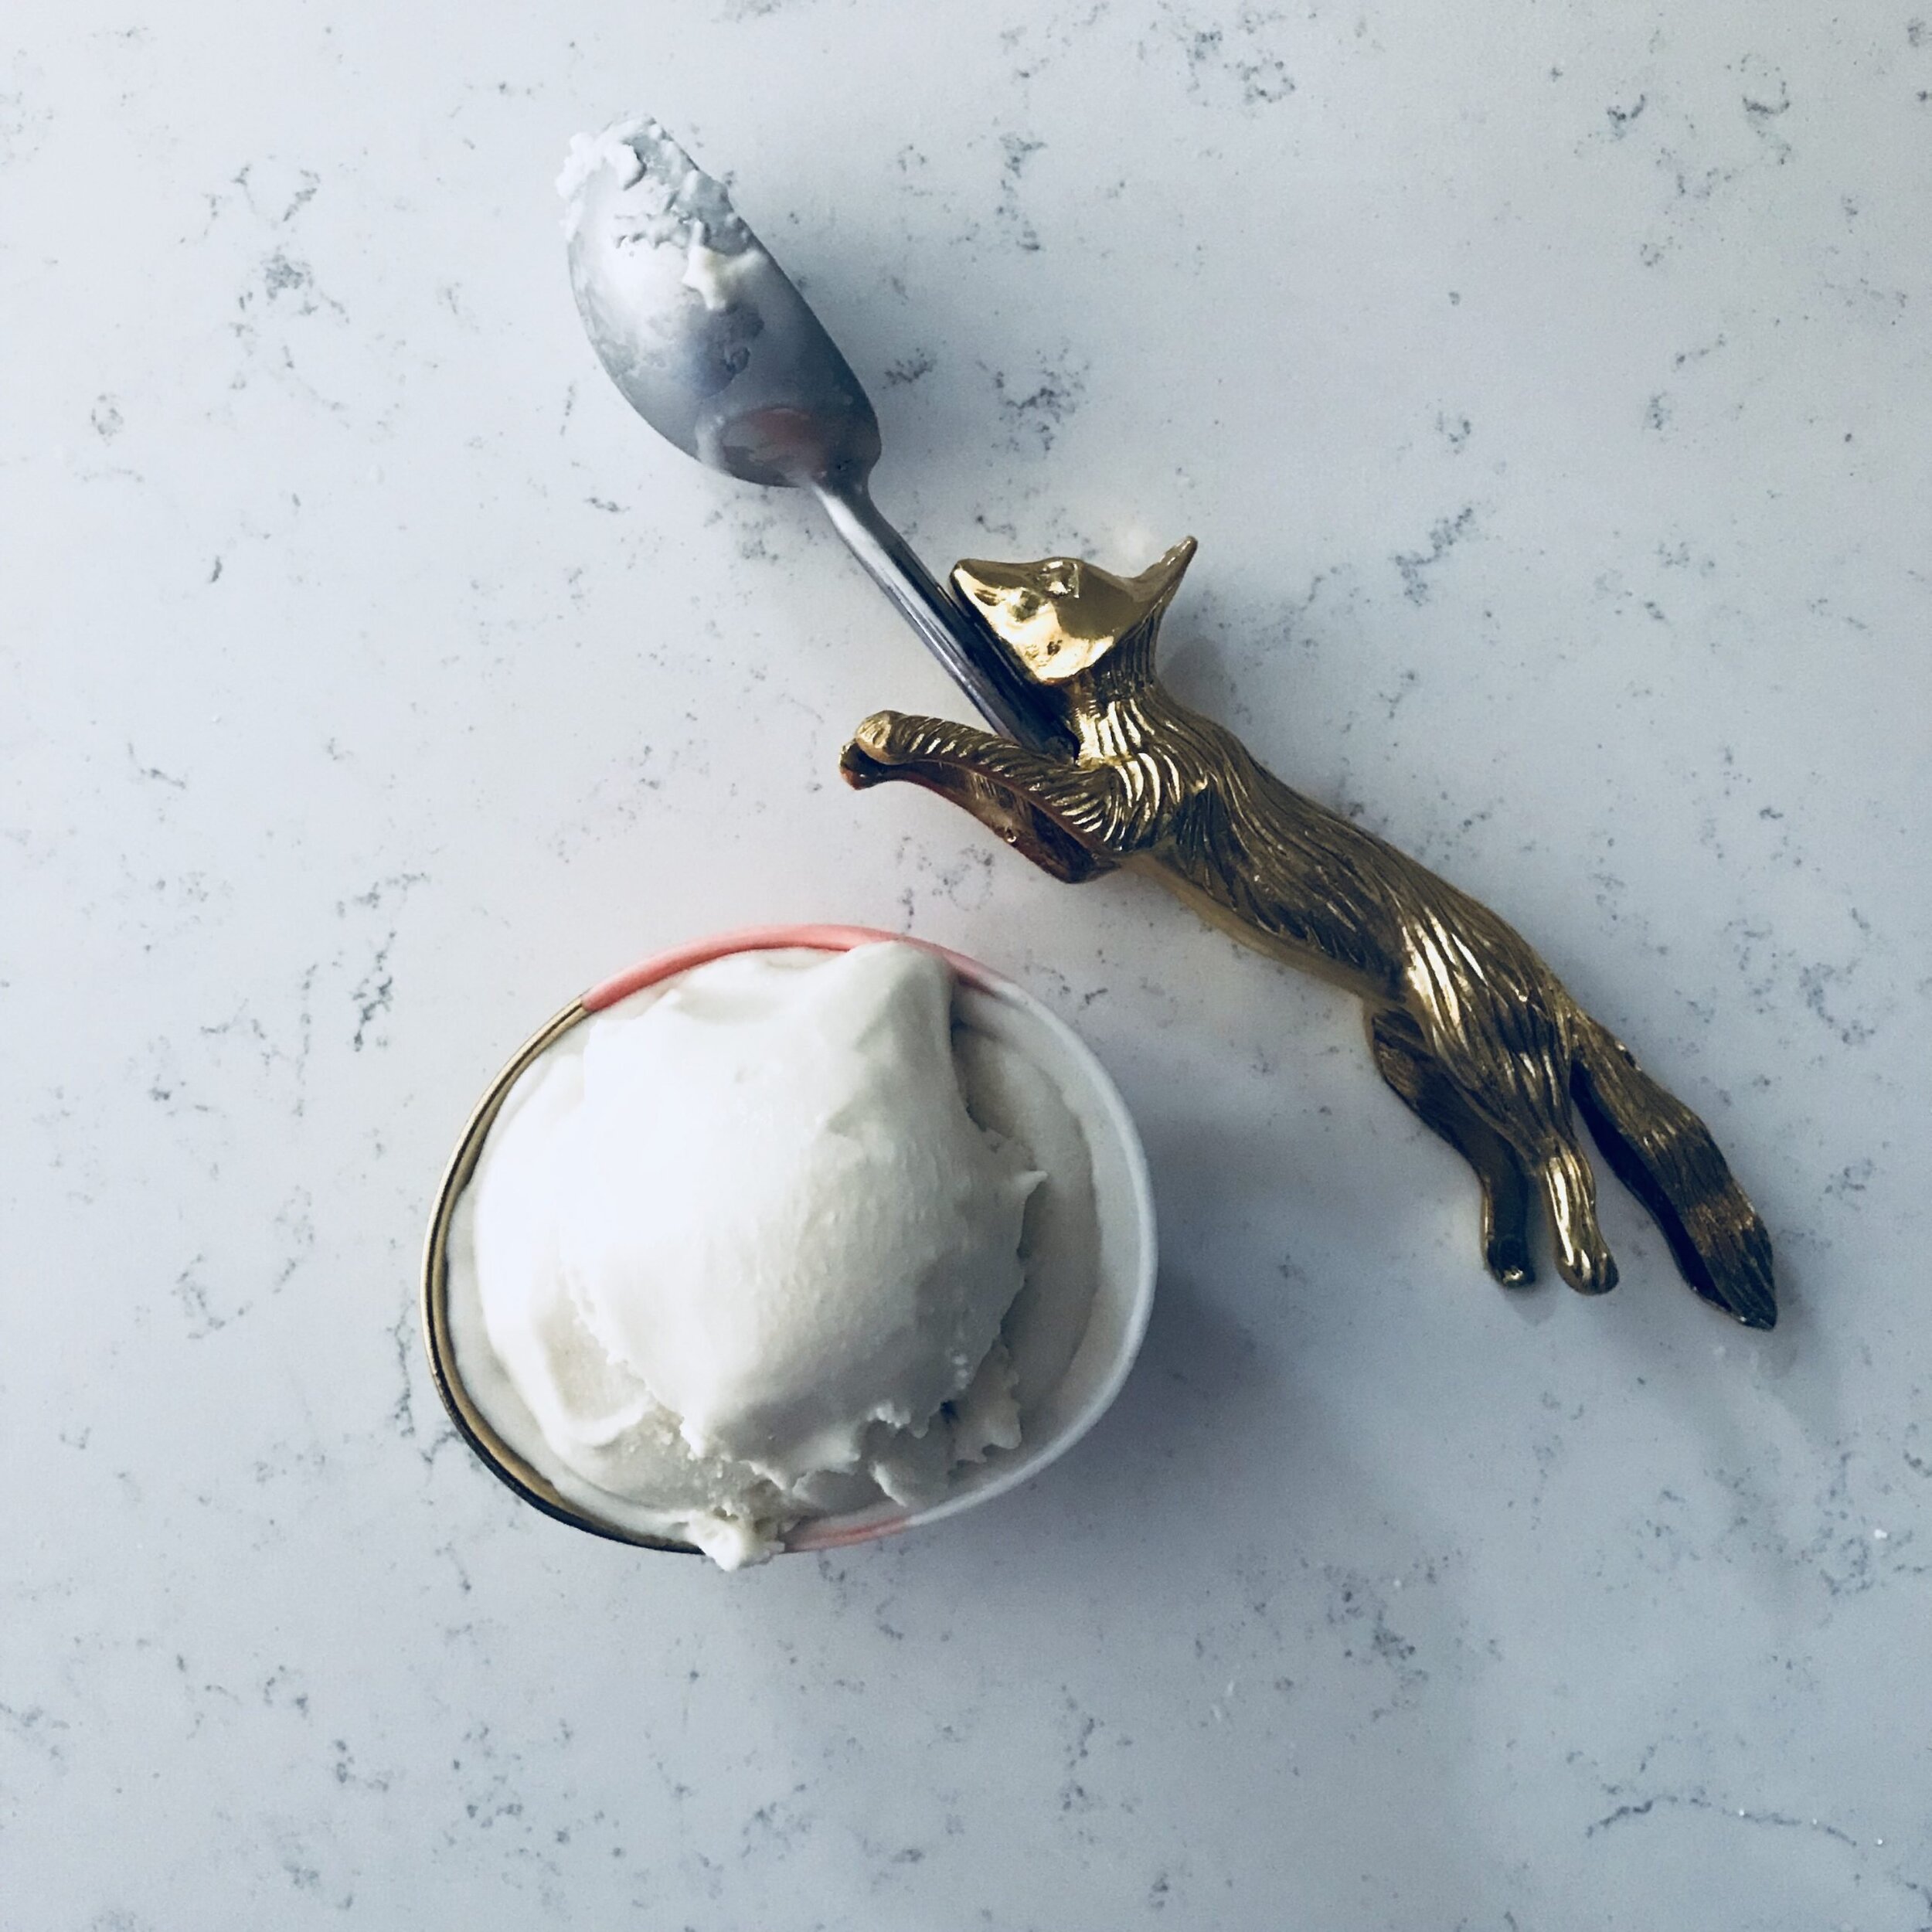
You ready for this white chocolate ice cream with roasted strawberries on top? Because I most certainly am! This ice cream is incredibly sweet, but the strawberries help that just slightly. It's definitely one of those desserts that you can only have a little of at a time and something that you should share with your favorite person.
Amplify it!
- Enjoy the ice cream with the roasted strawberries warm on top.
- Or have the roasted strawberries cold.
- Fold the roasted strawberries into the ice cream after it's churned.
- Puree the roasted strawberries to make it into a sauce.
- Blend the ice cream and strawberries together and make a milkshake.
Change it up!
Now this white chocolate ice cream with roasted strawberries is very sweet, and I know that not a lot of people are crazy fans of that. You can always change it up and add in something that will cut the sweetness. Instead of roasted strawberries, you could roast blueberries with some lemon juice or bananas even. Roasted peaches, pineapples, or even cherries. You can really roast any type of fruit and it will pair perfectly with this ice cream.
[mailerlite_form form_id=1]


Products I recommend
Above are some products that I personally use and recommend for this recipe and to have for everyday use. I highly recommend starting off with the cuisinart ice cream machine as your first ice cream maker. It's the cheapest one on amazon and I personally use it and love it! I also suggest getting a reusable ice cream container as well, it's dishwasher safe and you can use it over and over again!
_____________________________________________________________________
white chocolate ice cream

this white chocolate ice cream is super sweet and creamy, and topped with some roasted strawberries makes it a delicious treat!
ice cream
- 1 1/2 cup heavy cream
- 1 1/2 cup milk
- 1/2 cup granulated sugar
- 2 tsp vanilla extract
- 1/2 tsp salt
- 1 cup white chocolate
roasted strawberries
- 16 oz fresh strawberries (quartered)
- 1/4 cup granulated sugar
- 3 tbsp brown sugar
- 1 tsp vanilla extract
- pinch salt
ice cream
- place the heavy cream, milk, sugar, vanilla, and salt into a small pot and bring to a boil, whisking to make sure the sugar dissolves. add in the white chocolate and whisk until fully melted then strain through a fine-mesh strainer. place the ice cream base into the fridge overnight to cool and to let the flavor increase. following the manufacturer's instructions of your ice cream machine, turn the base for 20-25 minutes.
roasted strawberries
- preheat the oven to 350 degrees F. in a bowl, combine all of the ingredients and toss until the strawberries are fully coated. spread the strawberries onto a sheet pan lined with parchment paper. place into the oven for 30 minutes. let cool.
Coconut Cake with Strawberry Buttercream
[wprm-recipe-jump]
*This post contains affiliate links. Please read disclosure to learn more
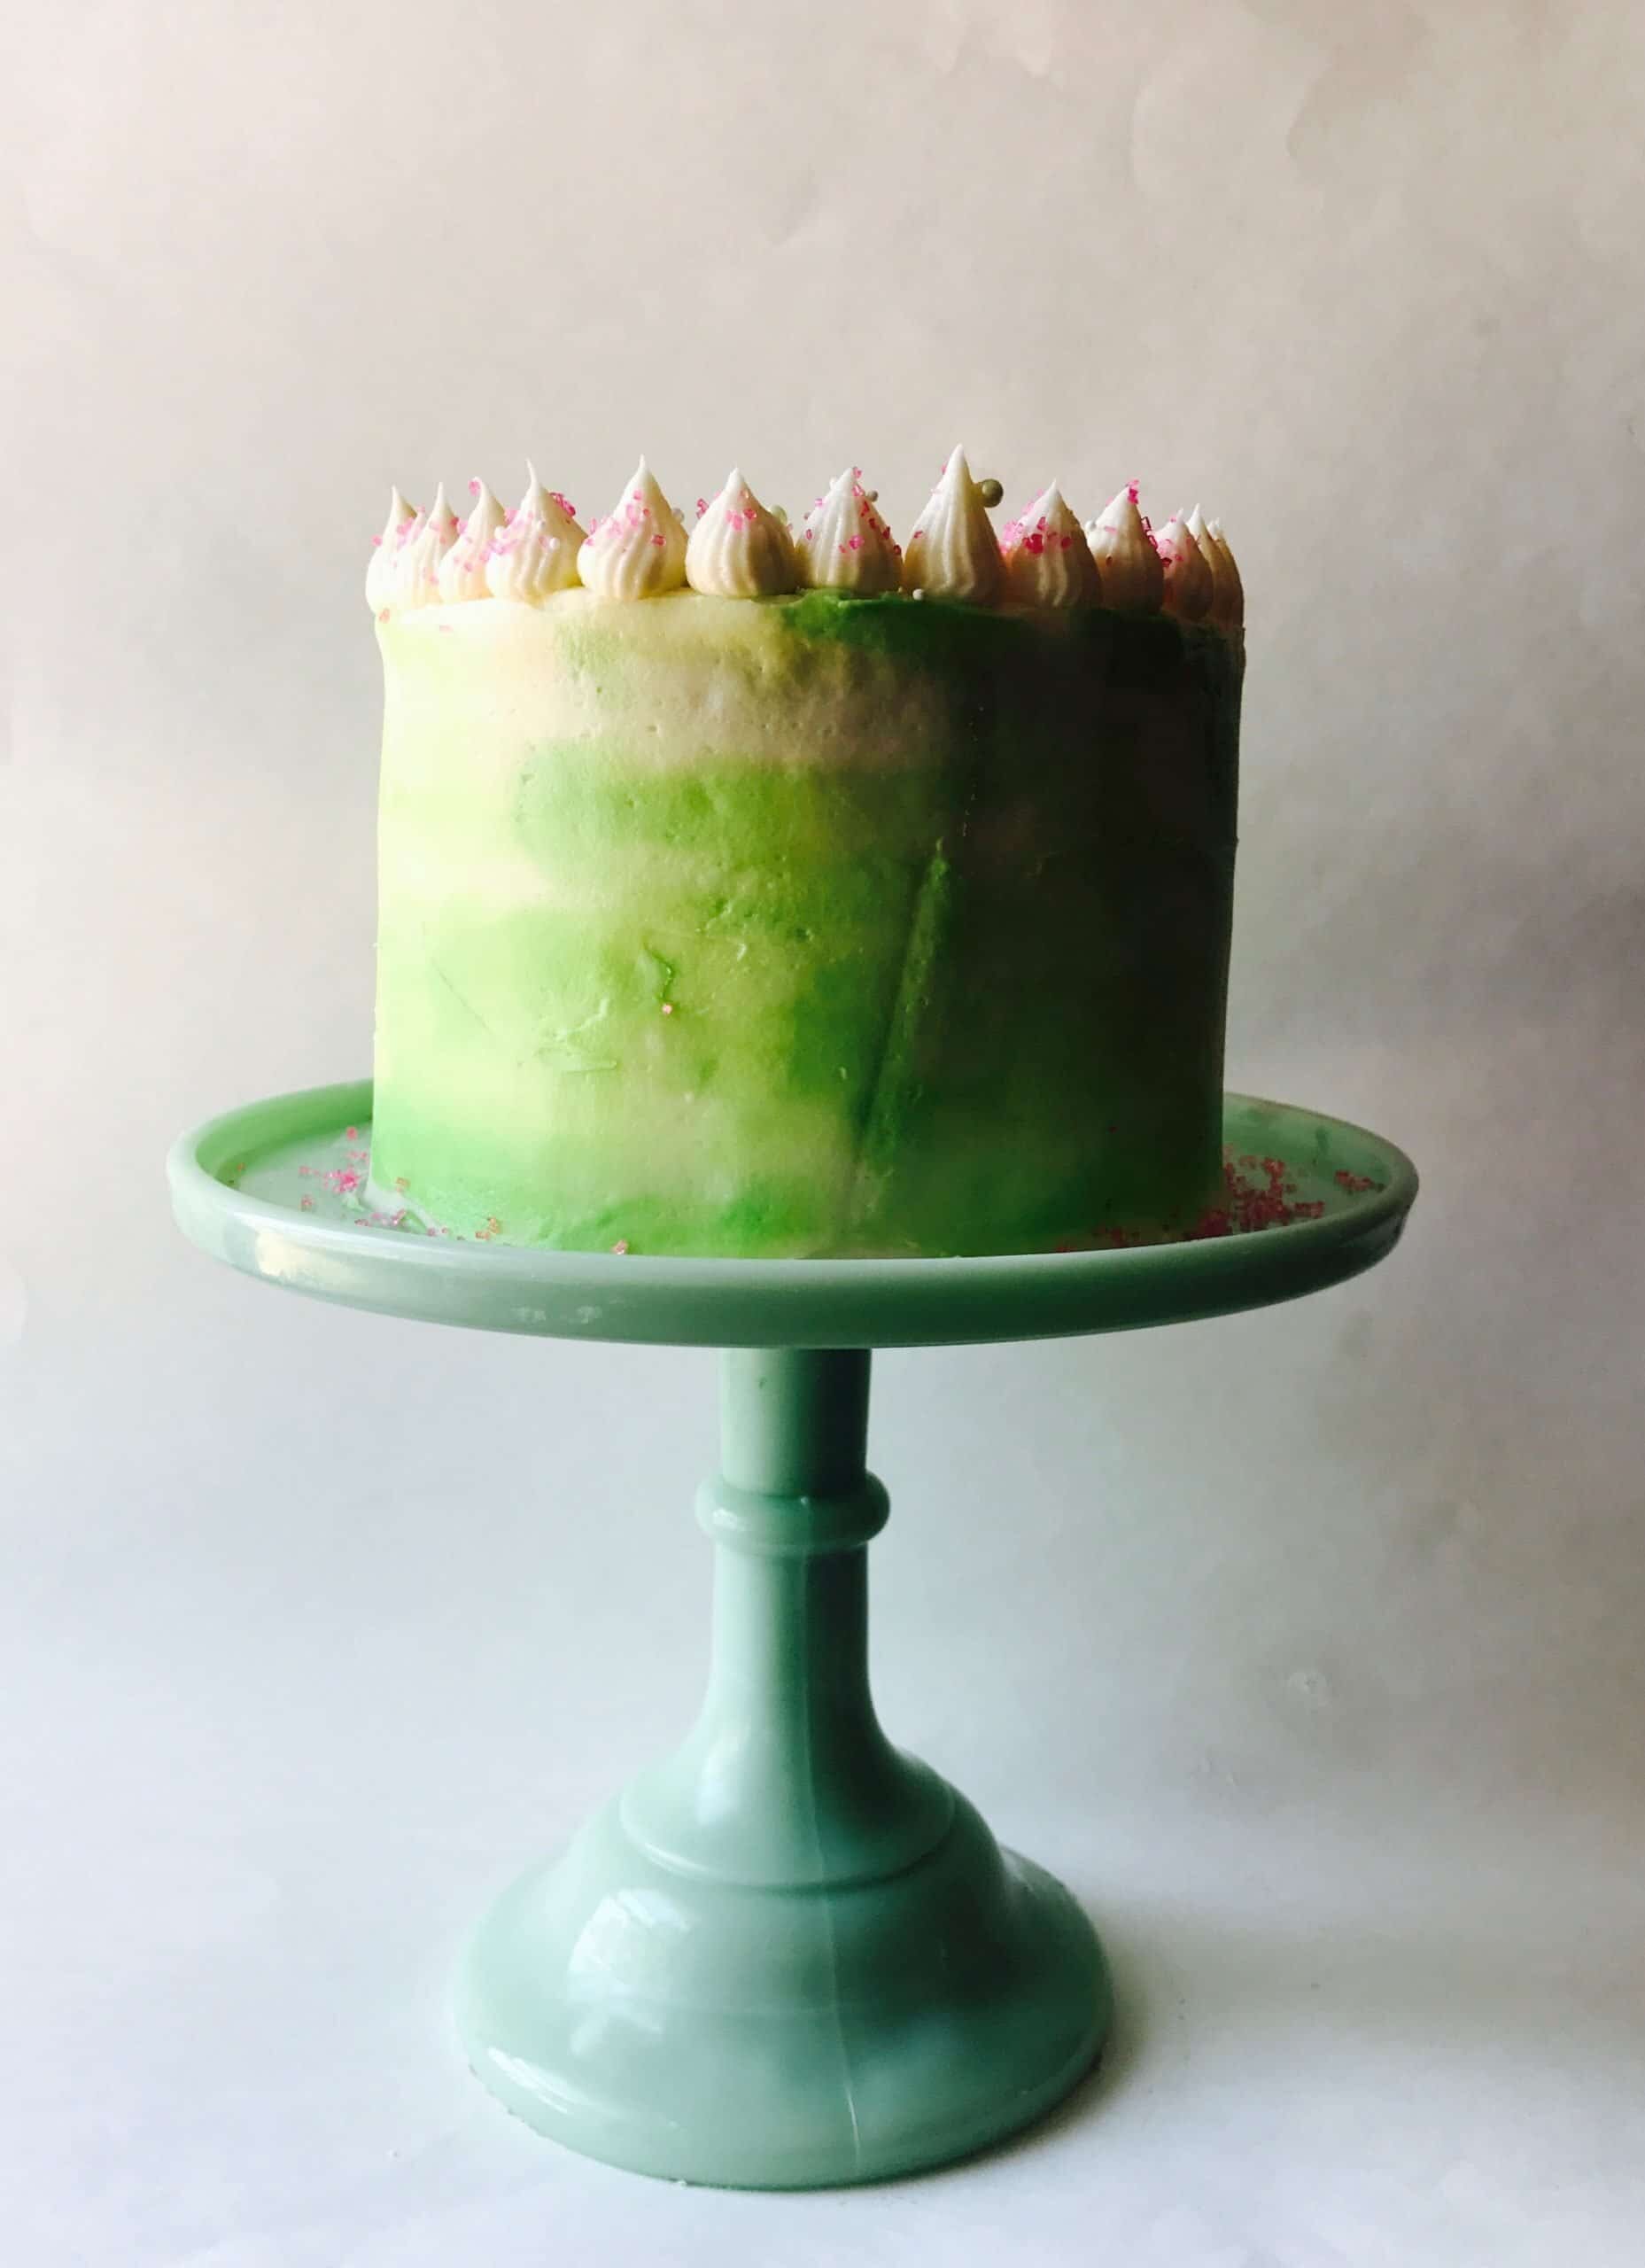
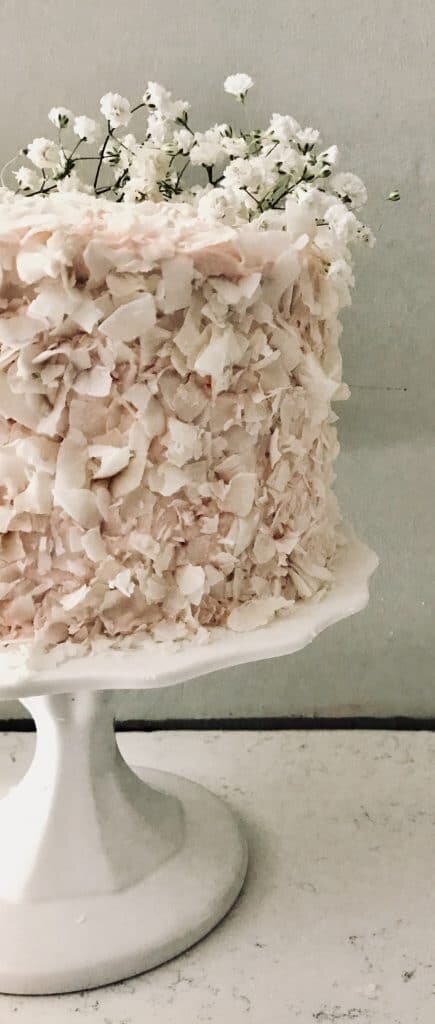
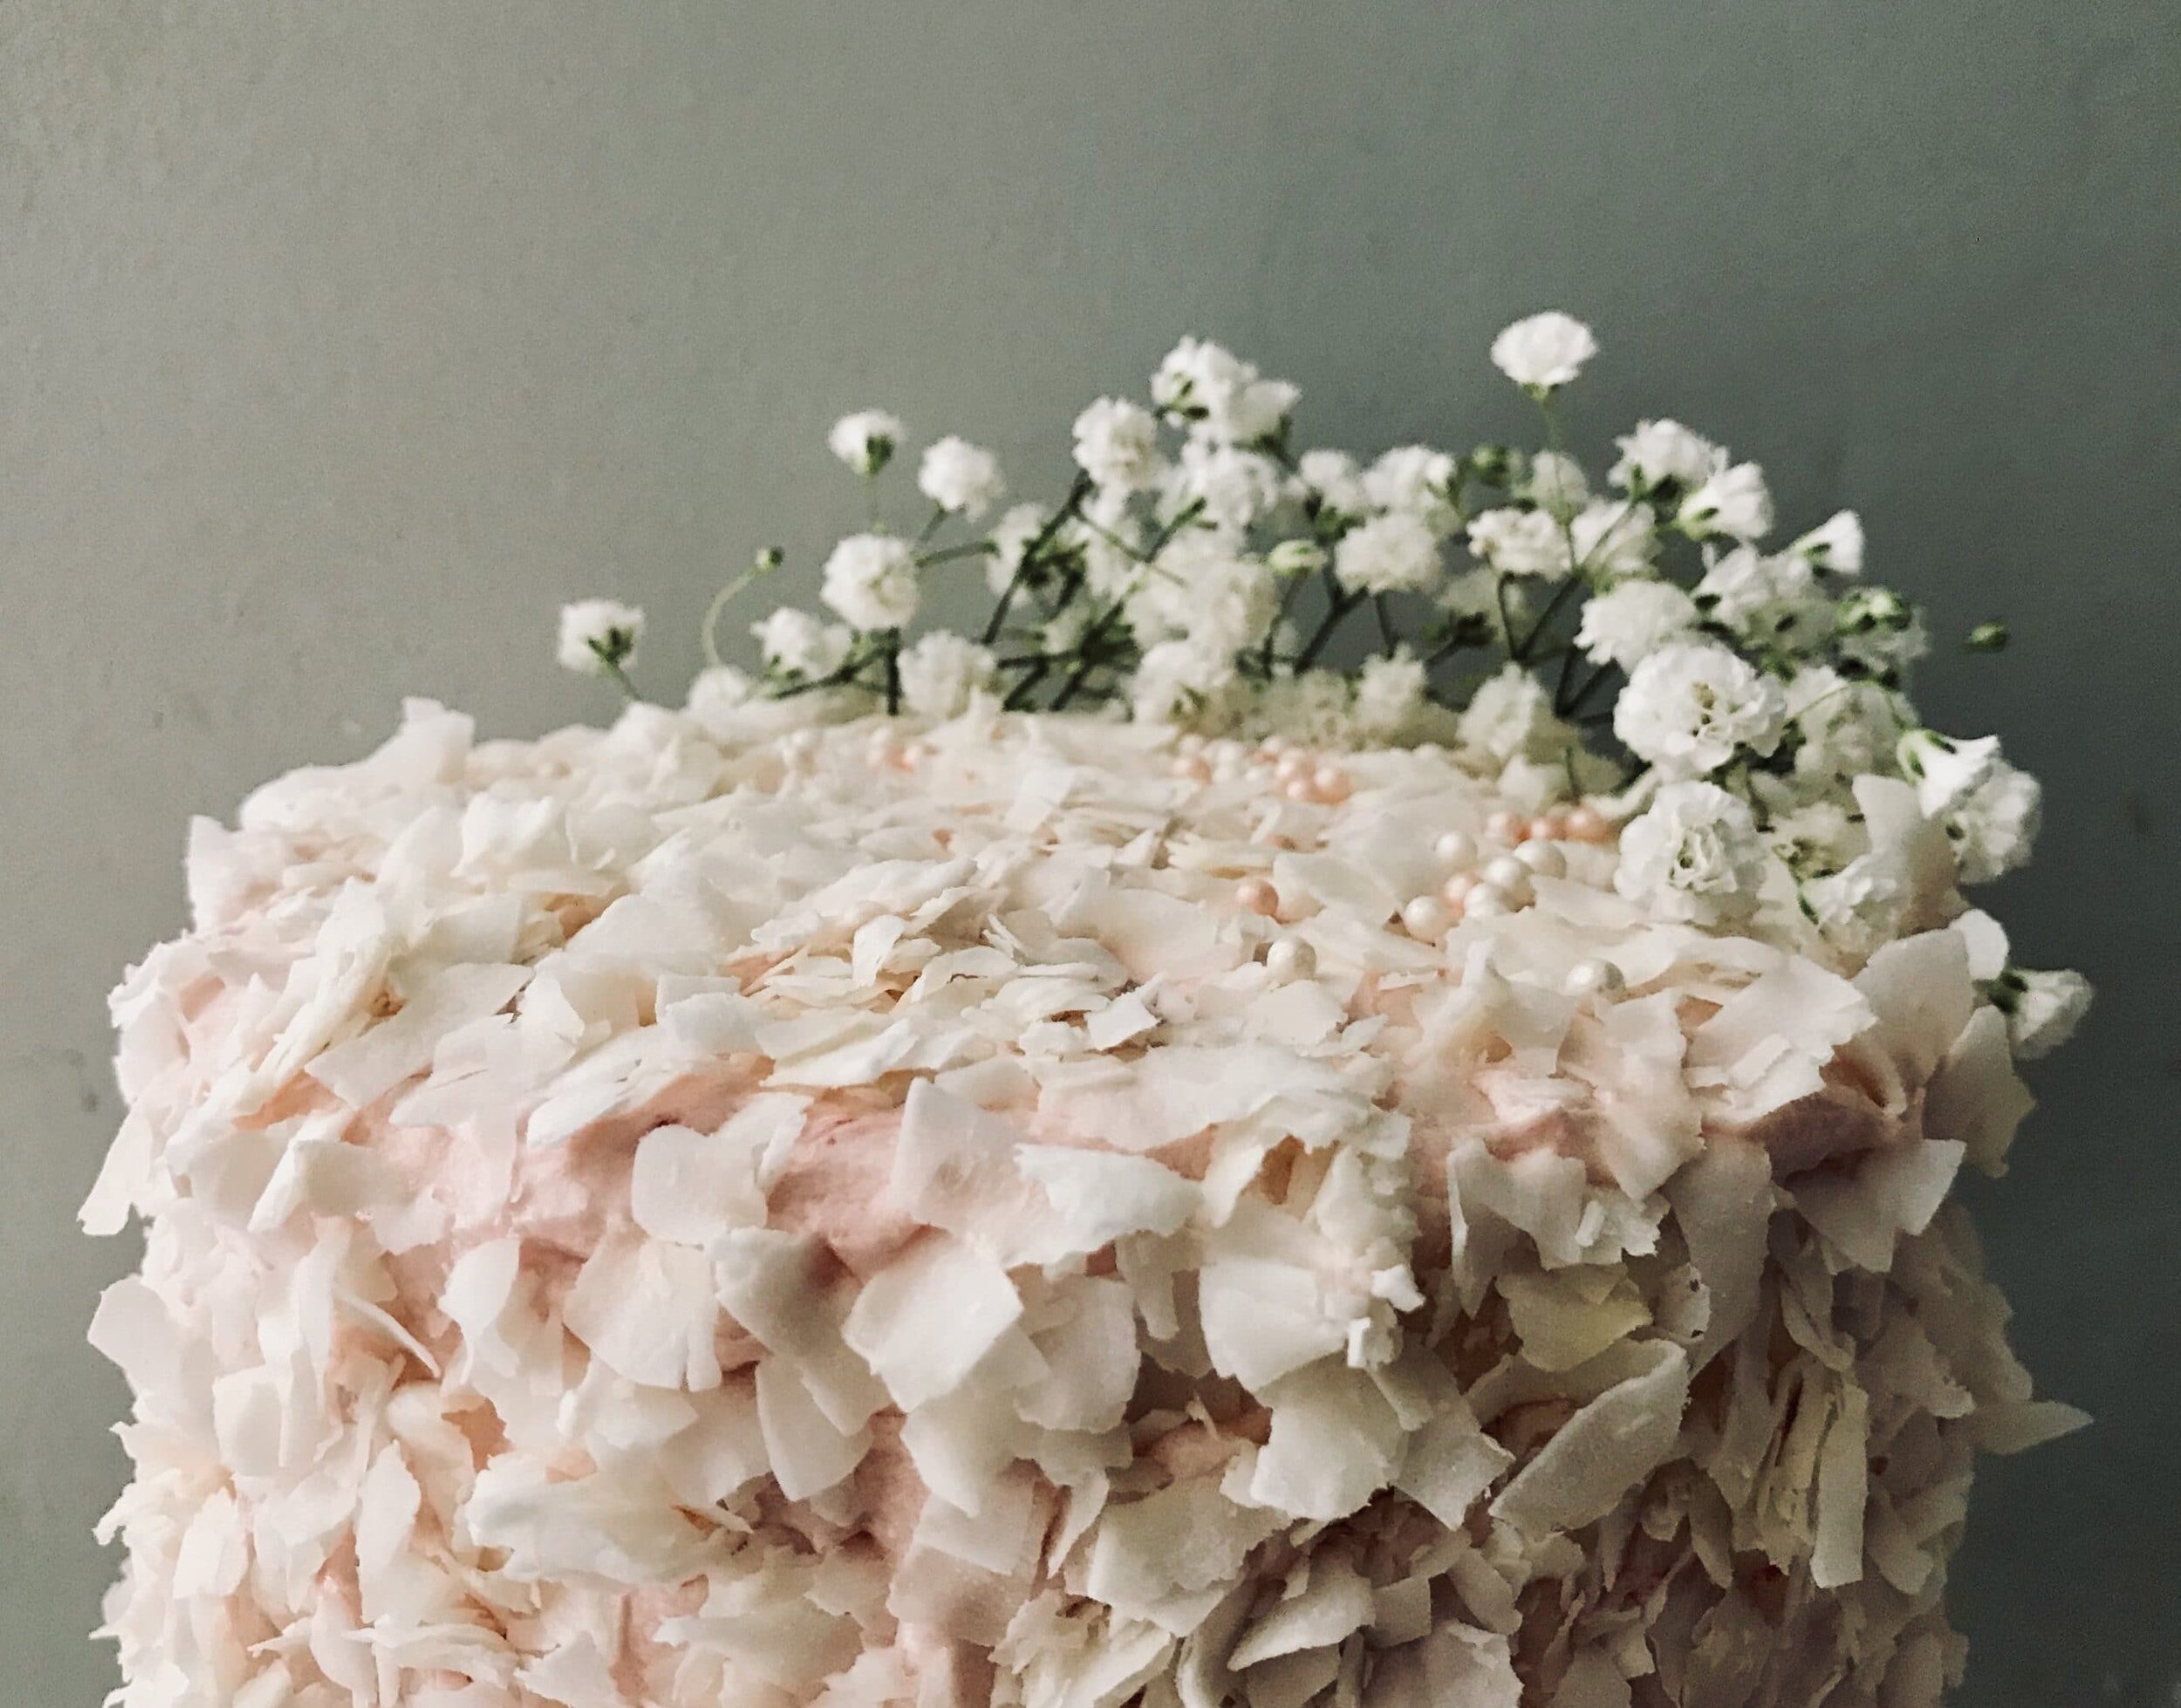
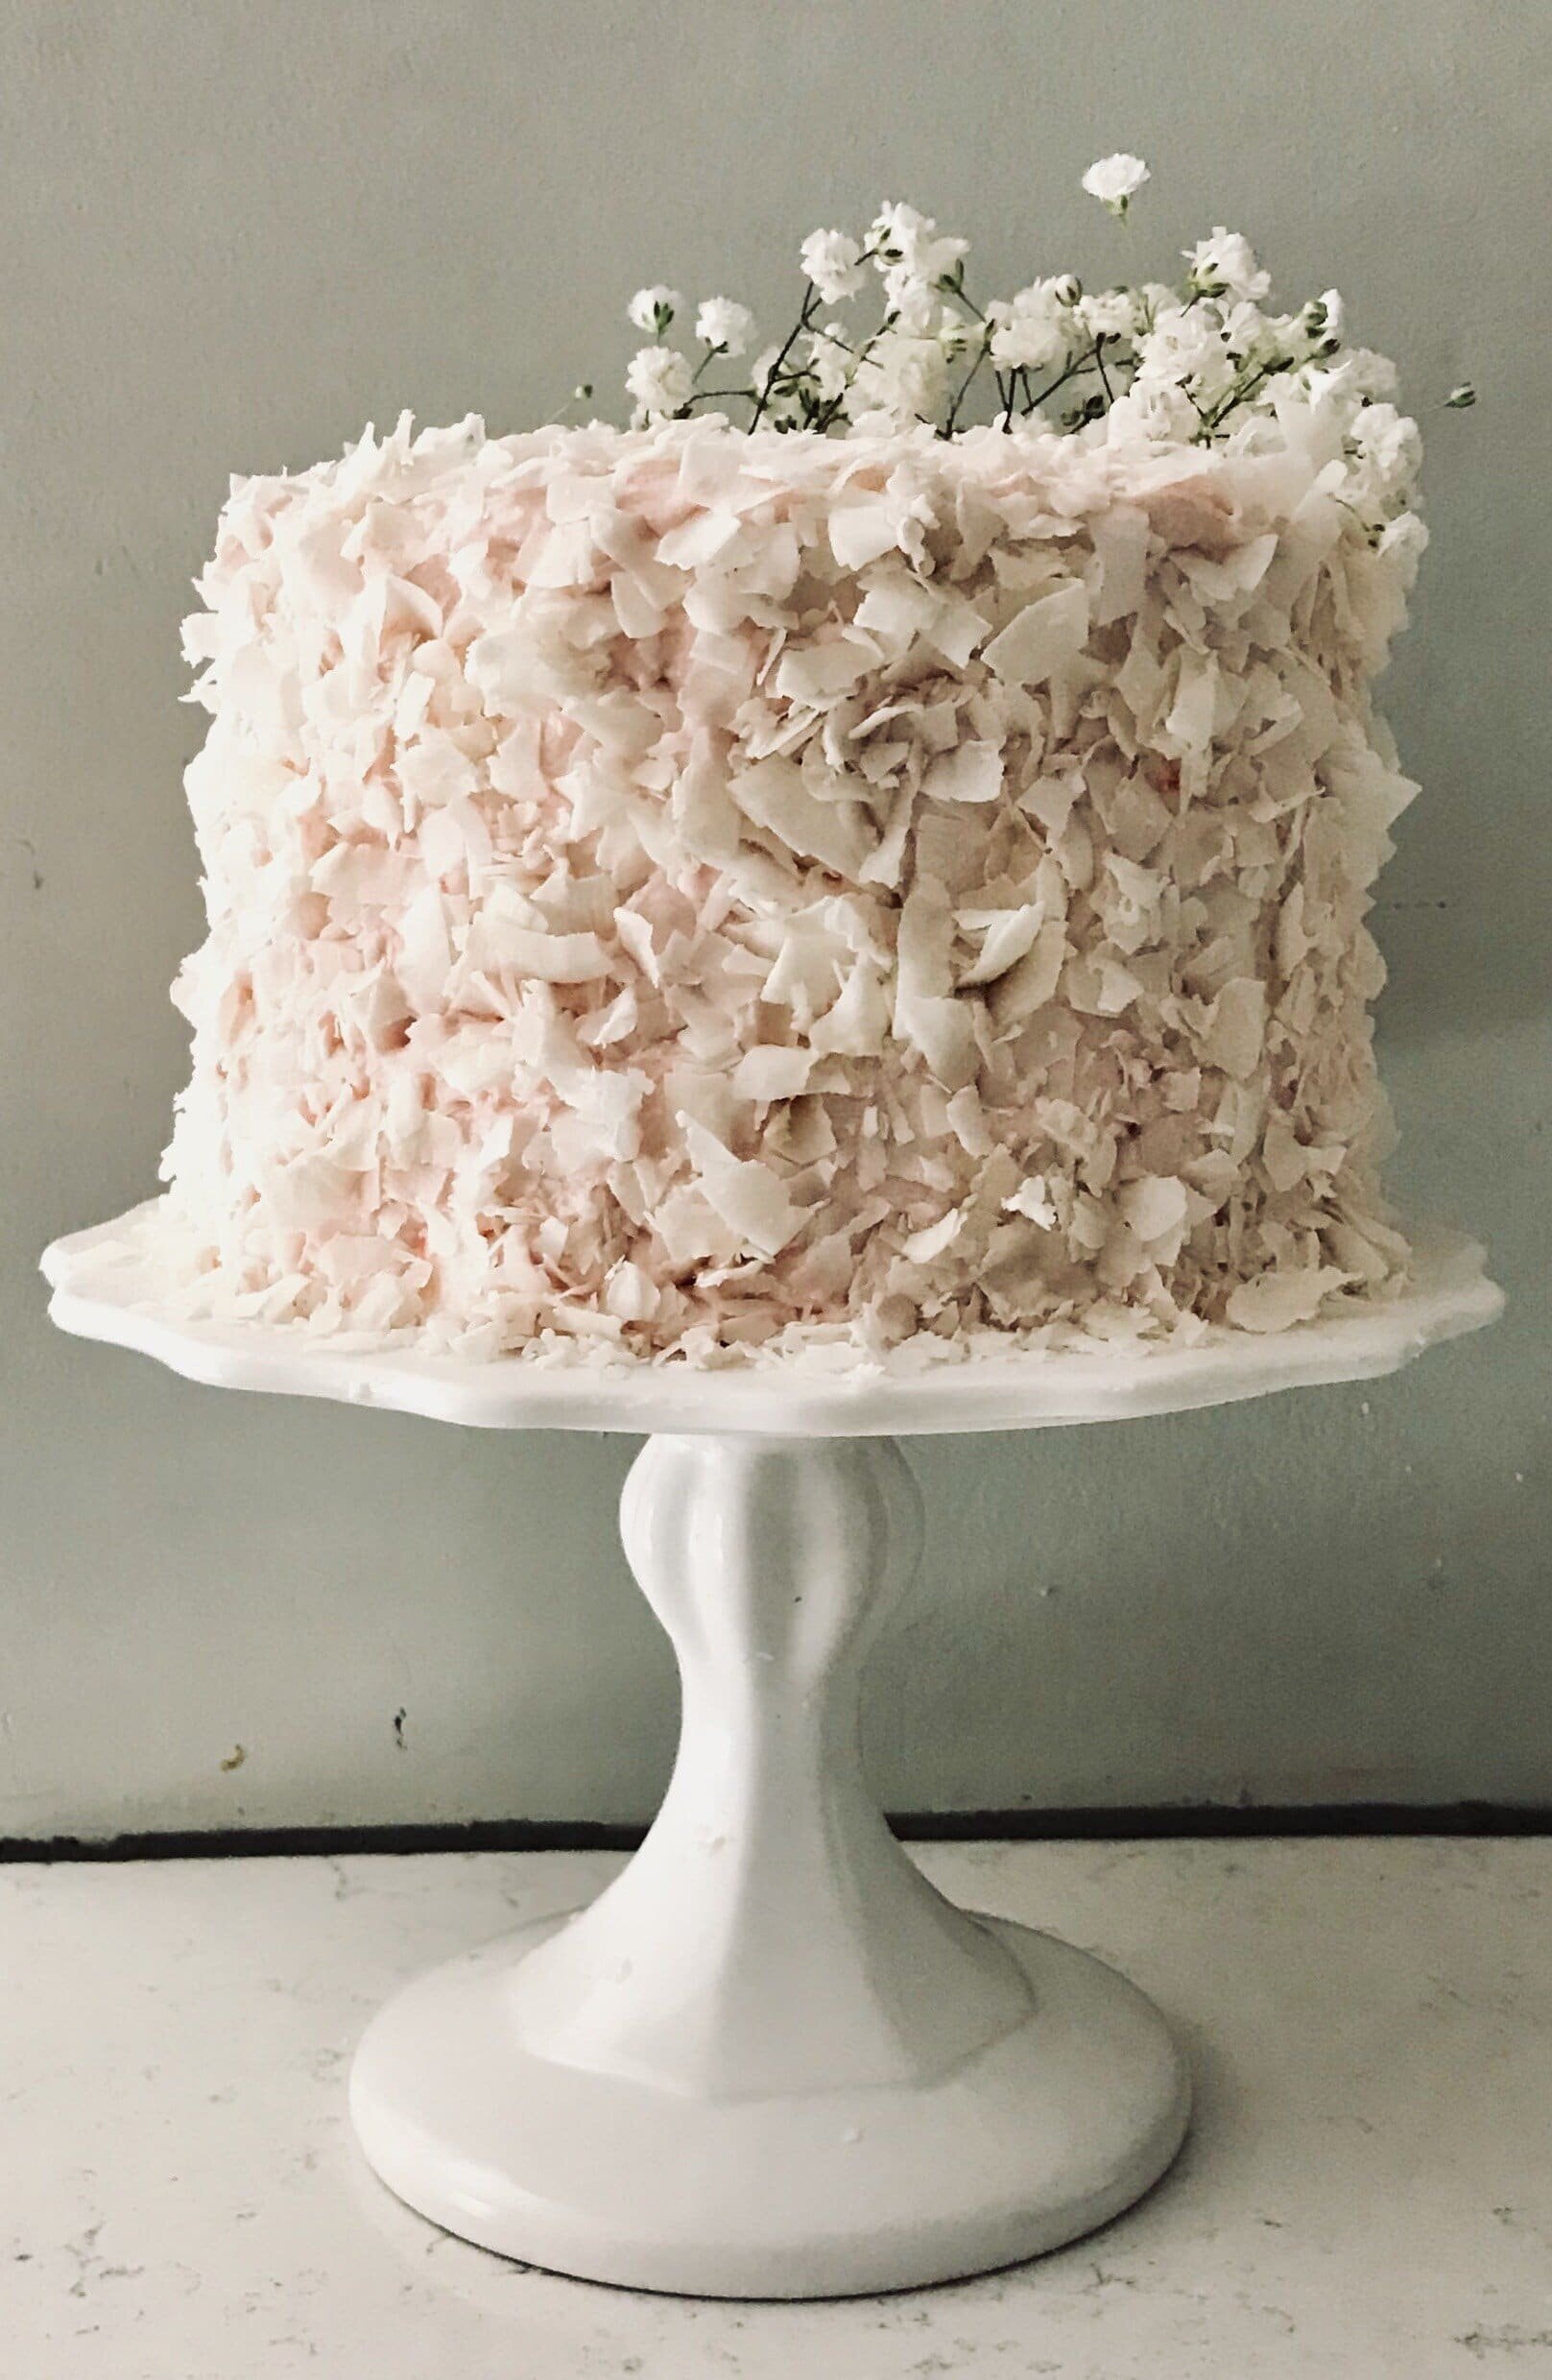
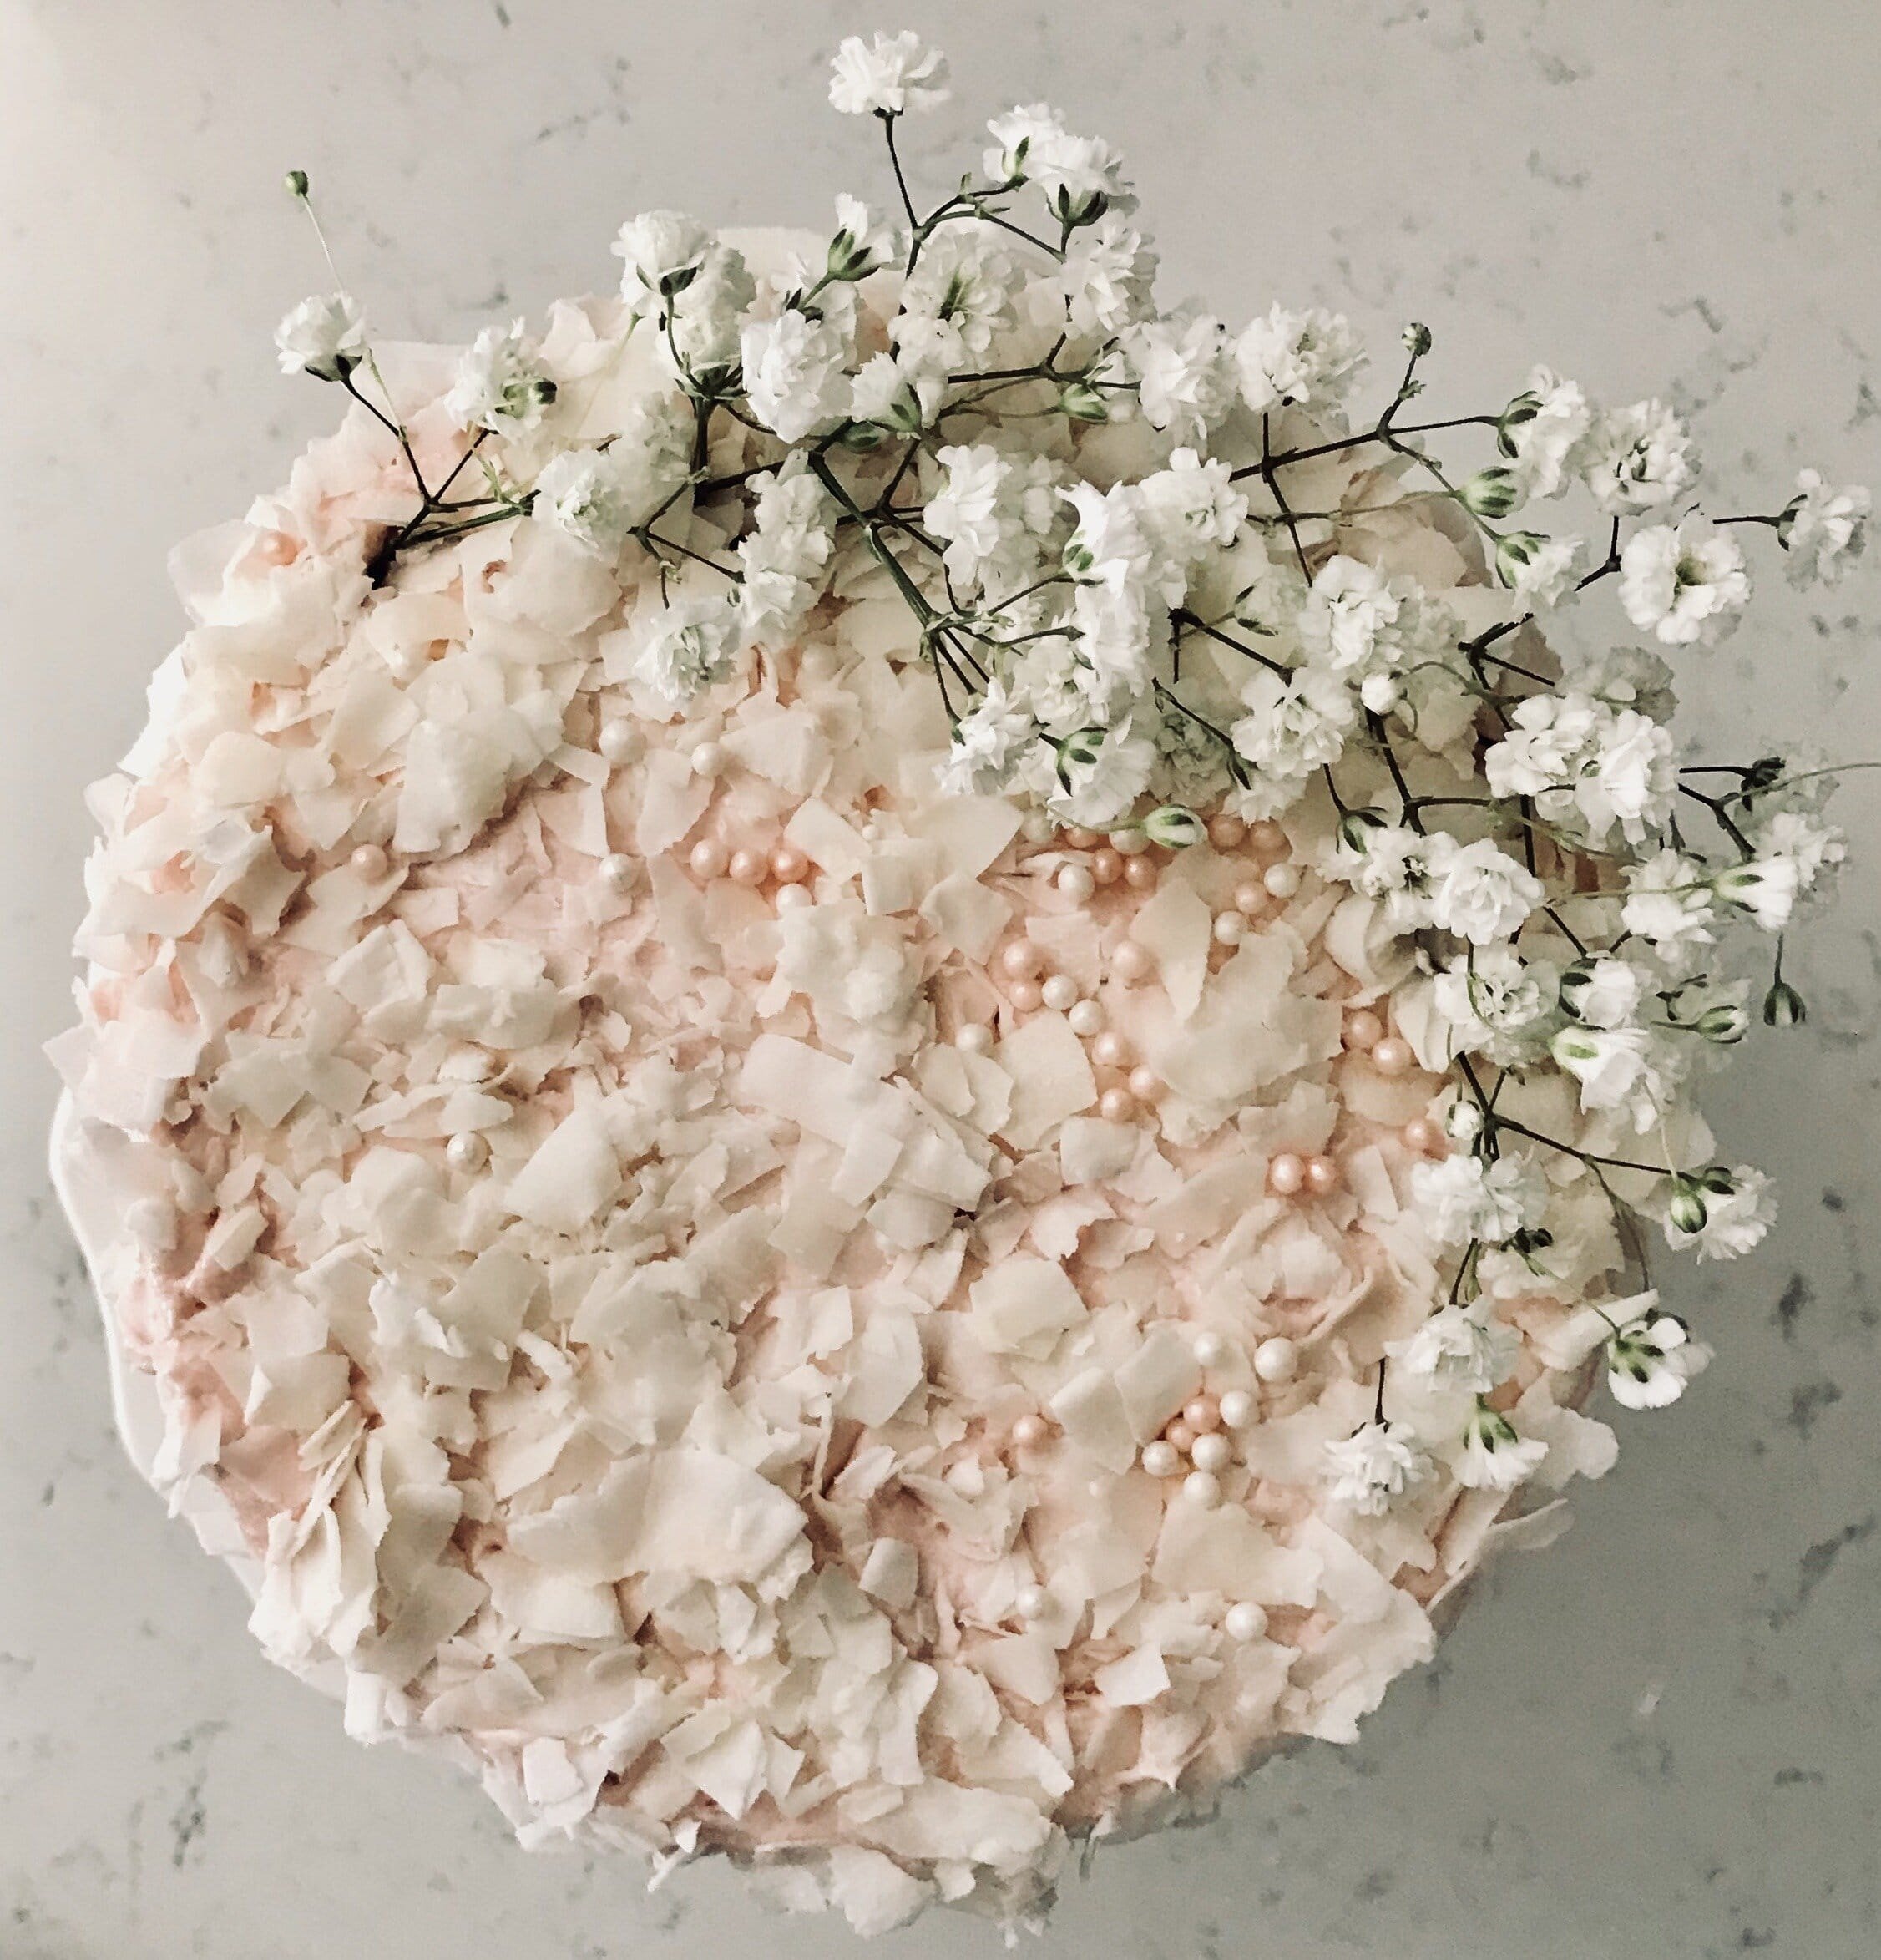
This coconut strawberry cake is so luscious and simple. It's a beauty to look at too. A soft coconut cake that is layered with a creamy strawberry buttercream and coconut chips to garnish. Not to mention the super pretty delicate flowers on top too. If you can't find coconut chips than don't worry! Decorate the cake in the way you want to. You don't have to do it exactly the way I did it; have fun with it and make it your own. Otherwise I've linked some coconut chips off of amazon that you can get down below.
Change it up!
Instead of using strawberries for this coconut strawberry cake, why not try using raspberries instead? Want to make it even more fun? Why not add in a filling? Instead of making strawberry buttercream, make a simple buttercream and a strawberry compote to fill the cake. Or you could make a lemon curd and pair it with the strawberry buttercream for a delicious summer treat!

Products I recommend.
Above are some products that I personally use and recommend for this recipe and to have for everyday use. One of my favorite things that I have many of are the BlueQ oven mitts. They aren't just really funny and a great statement piece for your kitchen, but they are great quality too!
___________________________________________________________________________
coconut strawberry cake

a fluffy coconut cake with a simple strawberry buttercream that's garnished with coconut chips
cake
- 2 1/3 cup all-purpose flour
- 1 1/2 cup granulated sugar
- 1 1/2 tsp baking soda
- 1 1/2 tsp baking powder
- 1 tsp salt
- 1/2 cup vegetable oil
- 2 eggs
- 1/4 cup egg whites
- 1 tsp vanilla extract
- 1/2 tsp coconut extract
- 1/4 tsp almond extract
- 1 cup coconut milk
- 2/3 cup half & half
buttercream
- 1/2 cup diced strawberries
- 3 sticks unsalted butter (room temp)
- 2 tbsp heavy cream
- 1 1/2 tsp vanilla extract
- pinch salt
- 6 cups powdered sugar
cake
- preheat the oven to 350 degrees F and line three 6-inch cake pans with parchment paper. in a large bowl combine the flour, sugar, salt, baking soda, and baking powder and whisk together. in another bowl combine the egg whites, eggs, vegetable oil, vanilla, coconut and almond extracts, coconut milk, and half & half; whisk until incorporated. pour the wet mixture into the dry mixture and mix until fully combined. separate the batter evenly among the cake pans. bake for 30-35 minutes or until a toothpick comes out clean. let the cakes cool for 10 minutes and then carefully remove from the pans to continue cooling. wrap in cling wrap until ready to use.
buttercream
- place the butter, fresh strawberries, heavy cream, vanilla, and salt into a bowl of an electric mixer fitted with a whisk attachment and whip until most of the strawberries have broken down, about 5 minutes. add in the powdered sugar and continue whipping until well combined and light and fluffy.
Lemon Baked Alaska

[wprm-recipe-jump]
*Disclaimer: This post contains affiliate links. To learn more, please go here.
Since it's June and it's so freaking hot out I thought it would be a great idea to make something tangy, creamy, and cold: lemon baked Alaska.
This baked Alaska starts off with a pound cake base (that I may have bought from the store). On top of the base is a lovely dome of lemon ice cream that is stuffed with a light cream cheese mousse to help balance off all of the tang from the lemon. And to top it all off, a beautifully toasted meringue. It is so good, it reminds me of a orange creamsicle, but lemon flavored! I suggest making this dessert for a summer night barbecue that your family can enjoy on a hot night.
Toasting the Meringue
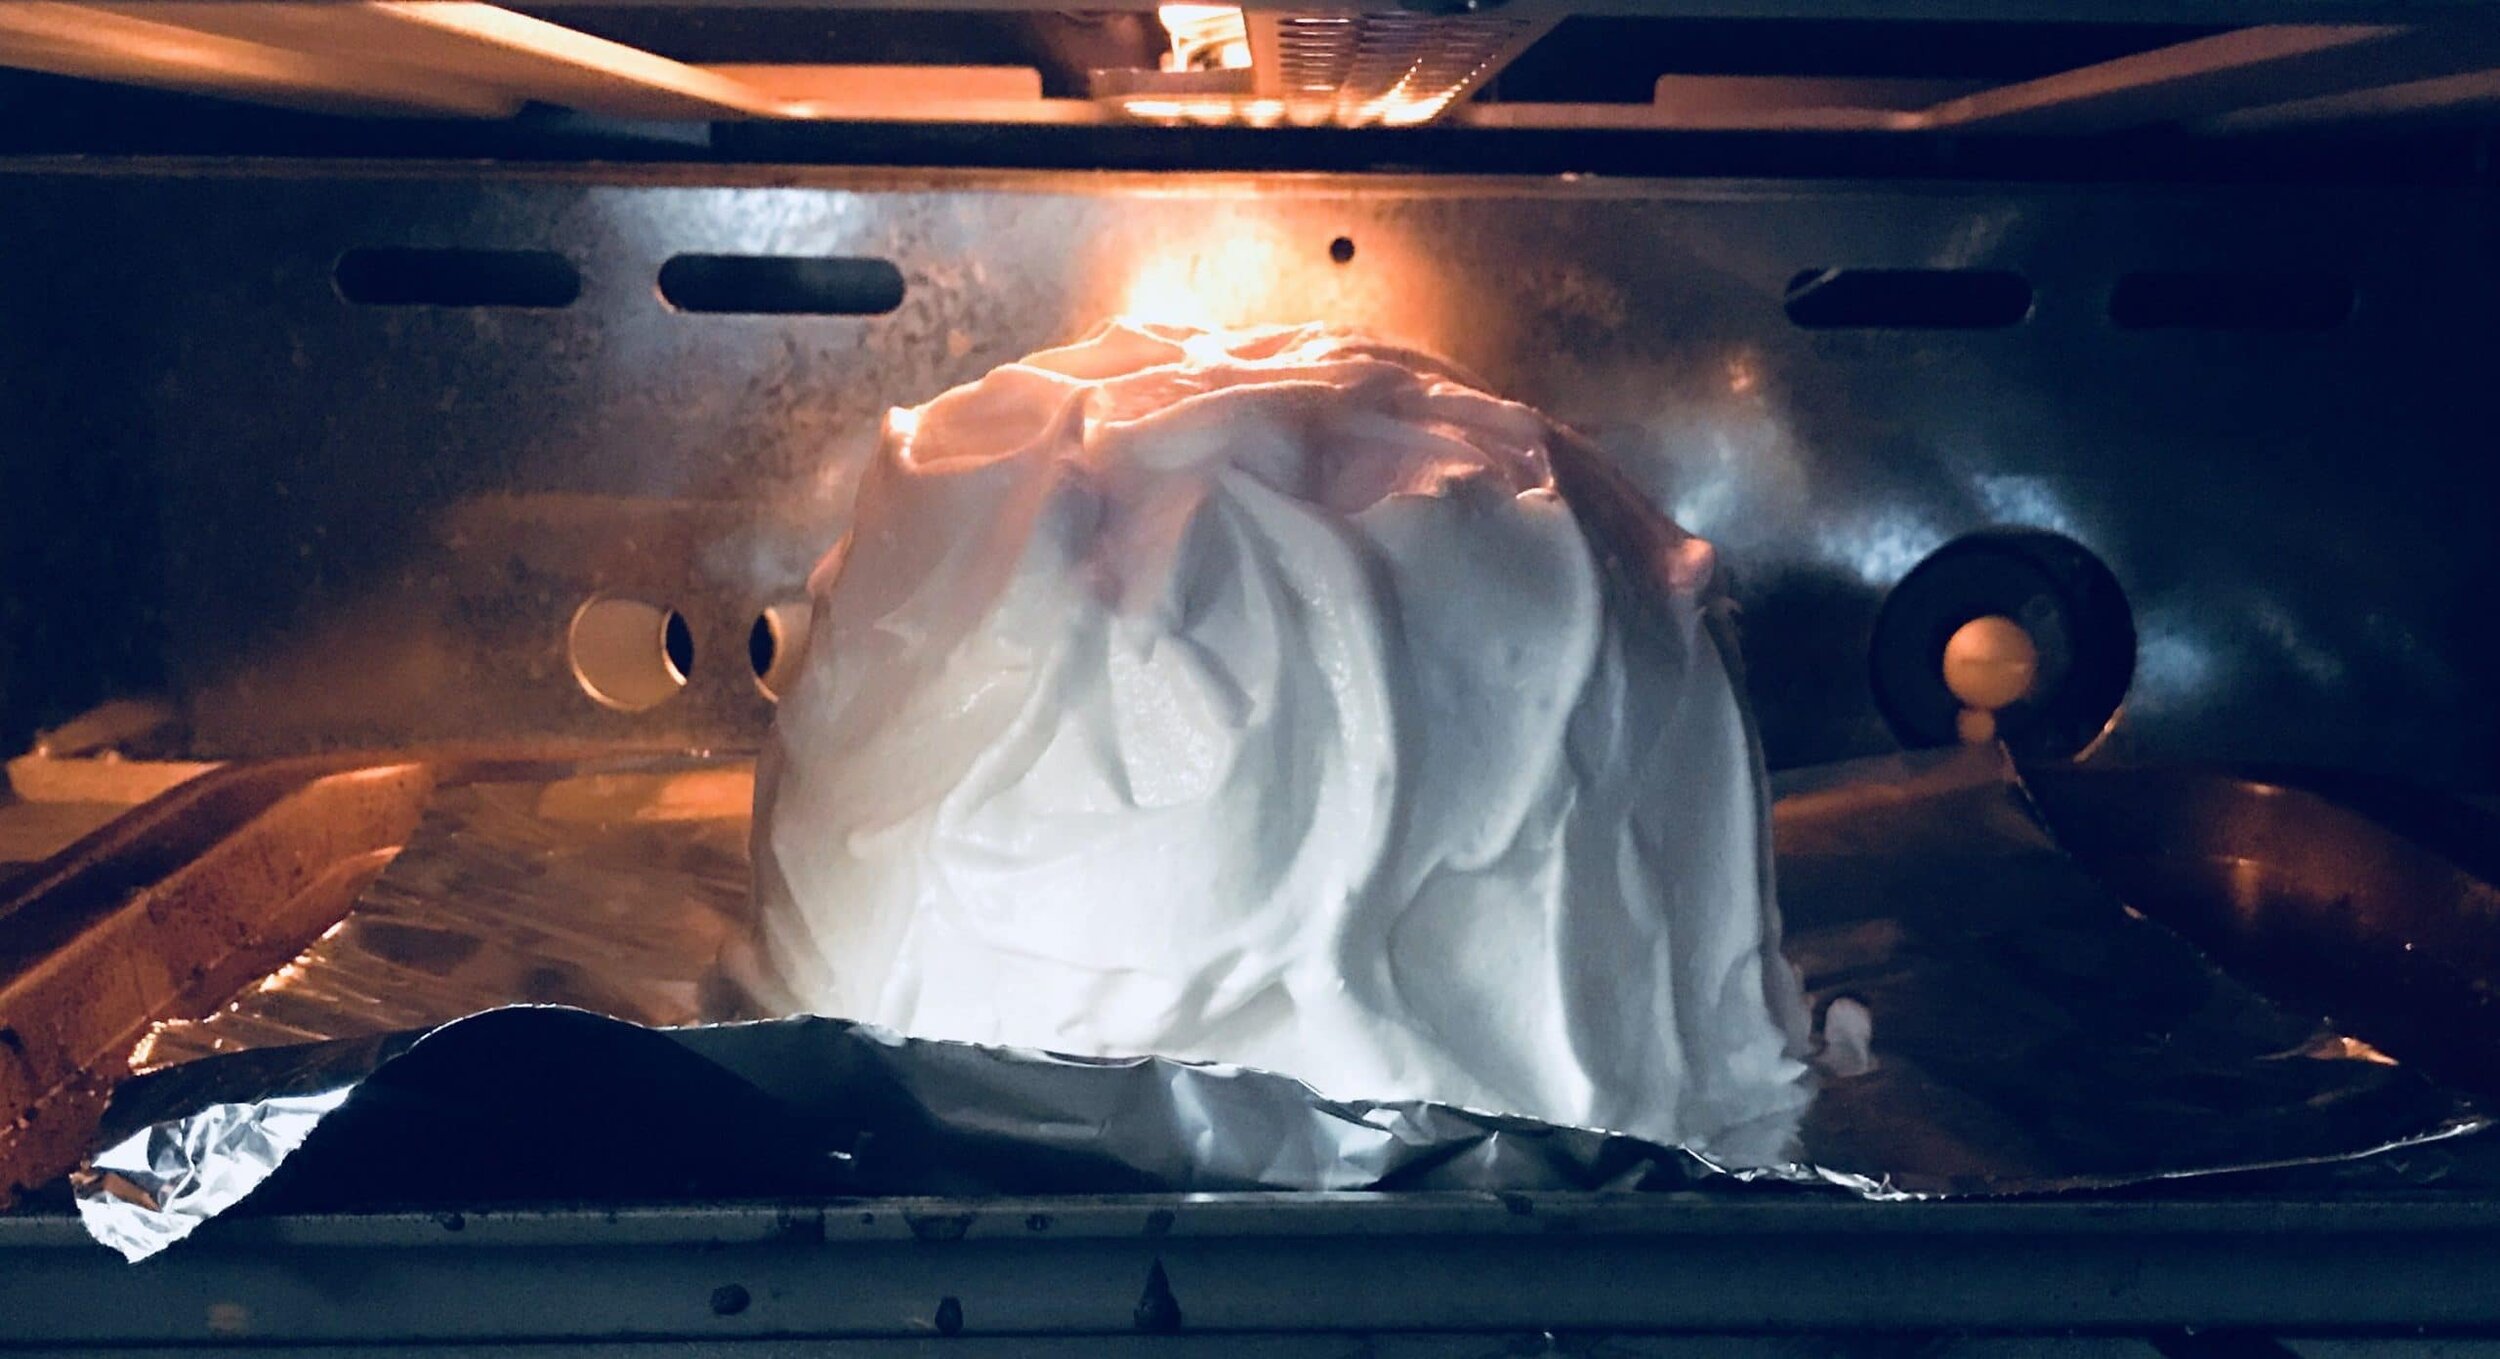
Now when it comes to toasting the meringue, don't do what I did. Please don't. I read that you can use a broiler to brown it if you don't have a torch (which I do have, but didn't feel like hunting down a propane canister all over Minneapolis just to use it). J figured "oh, I have a broiler in my oven! I'll use that instead." Well instead of getting a beautiful golden brown all over the baked Alaska, it only slightly burned the top.
Stupid. Annoying. Piece. Of. Crap.
So please use a torch! Or if you have a different method, then let me know in the comments! I'm always looking to learn new techniques from others.


Products I recommend.
Above are some products that I personally use and recommend for this recipe and to have for everyday use. I highly recommend starting off with the cuisinart ice cream machine as your first ice cream maker. It's the cheapest one on amazon and I personally use it and love it! I also suggest getting a reusable ice cream container as well, it's dishwasher safe and you can use it over and over again!
__________________________________________________________________________
lemon baked alaska
a simple pound cake topped with a dome of tart lemon ice cream with a cream cheese filling and toasted meringue
cake
- 6 inch (round pound cake (i bought mine from the store. you can always make your own favorite pound cake recipe too!))
filling
- 1 tbsp cream cheese
- 1/4 tsp vanilla
- 3 tbsp powdered sugar
- 1/3 cup heavy cream
ice cream
- 1/2 cup heavy cream
- 1 1/3 cup half and half
- 1/2 cup lemon juice
- 2 tsp lemon zest
- 1 1/3 cup granulated sugar (split)
- pinch salt
- 2 tsp vanilla extract
- 3 egg yolks
meringue
- 3 egg whites
- 1/3 cup granulated sugar
- 1/4 tsp cream of tartar
- 1/4 tsp vanilla extract
- pinch of salt
filling
- in a small bowl with a hand-held mixer, whip the cream cheese, vanilla, and powdered sugar until smooth. add in the heavy cream and whip until stiff peaks form. place the mousse into a silicone mold or a small bowl with plastic wrap and place into the freezer until solid.
ice cream
-
place the half and half, heavy cream, lemon juice, lemon zest, pinch of salt, and 1 cup of the granulated sugar into a pot and bring to a boil. in a bowl, whisk together the egg yolks, vanilla, and the remaining 1/3 cup of sugar. once the milk mixture is at a boil, slowly pour into the egg yolks whisking at the same time to prevent the eggs to scramble. strain the base through a fine mesh sieve and place into the fridge over night. turn the ice cream base following the instructions of your ice cream machine. put 3/4 of the ice cream into a cereal size bowl lined with plastic wrap or tinfoil, place the small dome of frozen cream cheese mousse into the center, and then place the rest of the lemon ice cream on top and smooth out with a spatula. freeze overnight until solid.
meringue
- place the egg whites, cream of tartar, vanilla, and salt in the bowl of an electric mixer fitted with a whisk attachment. start on low speed and slowly sprinkle the sugar into the egg whites. once all of the sugar is added, increase the speed to high and let whip until stiff peaks form, about 5 minutes.
assembly
- place the pound cake on serving platter. carefully un-mold the ice cream and place on top of the cake. if you haven't made the meringue yet, place the cake and ice cream into the freezer and make the meringue. once the meringue is made, pipe of frost it onto the ice cream and down to cover the cake so nothing is exposed. using your torch, lightly brown the meringue. serve right away.
Sugar Redefined: Strawberry Vanilla Black Pepper Cake
[wprm-recipe-jump]
*Disclaimer: This post contains affiliate links. To learn more, please go here.
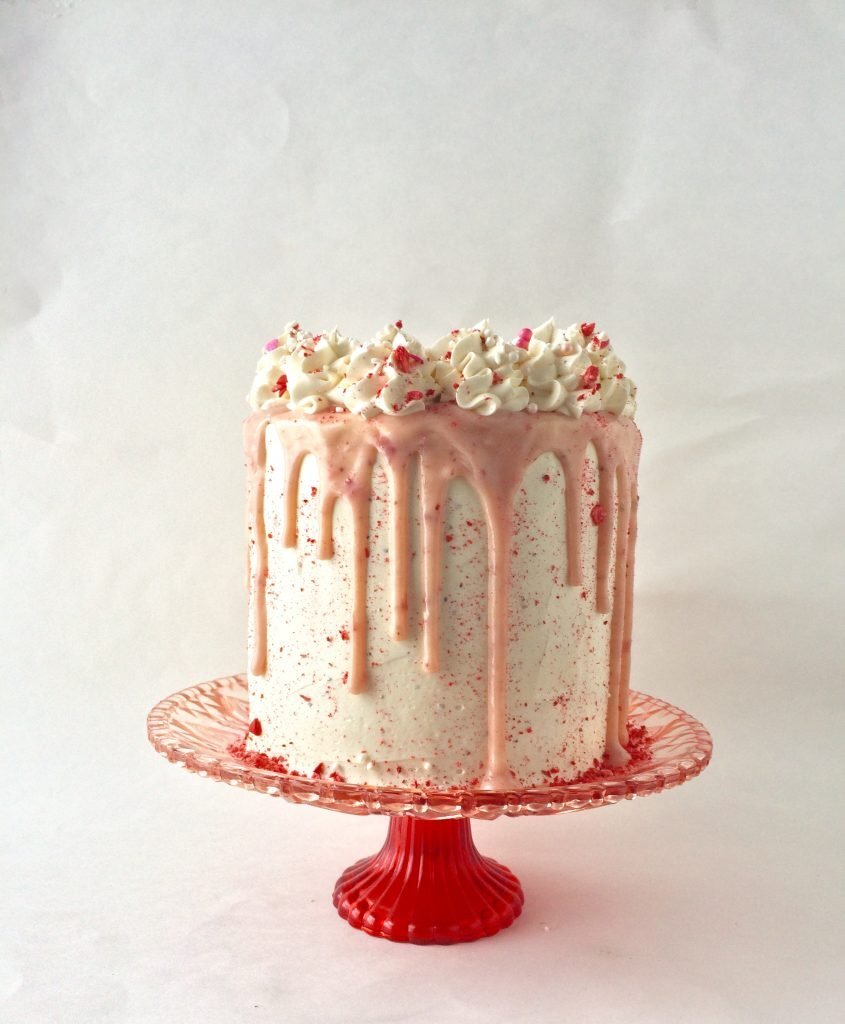
This strawberry vanilla black pepper cake that I will feature for Sugar Redefined. It's super fun, cute, and very pink! Fruity with a bite of fresh strawberry, a little kick with the black pepper, and a hint of sweetness from a lovely white chocolate ganache drip.
Sugar Redefined
I figured I should probably give some more detail on what Sugar Redefined contains. There are all sorts of weird flavors in this book that you probably would never have thought of. Some ingredients include: herbs, odd spices, like curry, fruits, veggies, and even spirits because who doesn't like a little extra in their cake? These ingredients are paired with the best side kicks to make the oddness stick out more but also blend in. I wouldn't purposely make a cake be beyond disgusting and inedible. So when you see curry, don't worry, it's with something that makes it so good that it will become your new favorite cake.
If you missed the lime and pink pepper corn cake feature of my new and very first book Sugar Redefined go check it out! Otherwise here is the strawberry vanilla black pepper cake that is also in the book!
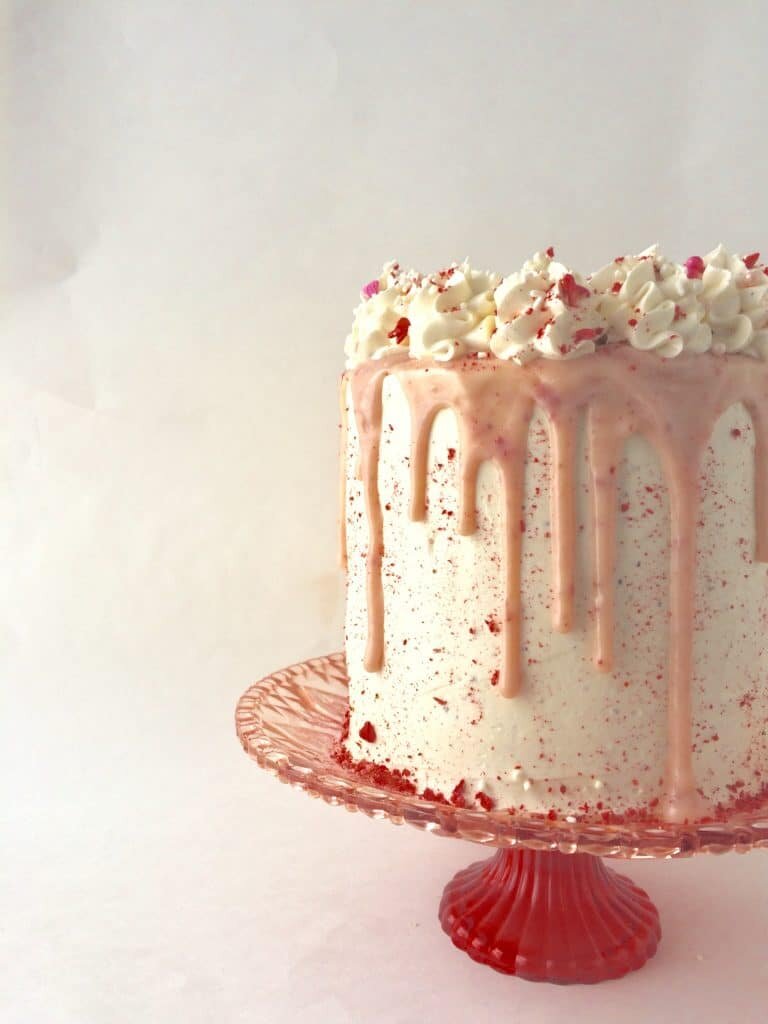

always have that creative spark; find your inspiration and make it into something great
Products I recommend.
Above are some products that I personally use and recommend for this recipe and to have for everyday use. One of my favorite things that I have many of are the BlueQ oven mitts. They aren't just really funny and a great statement piece for your kitchen, but they are great quality too!
___________________________________________________________________________
strawberry vanilla black pepper cake

this black pepper cake is layered with a strawberry white chocolate ganache and a strawberry black pepper swiss meringue buttercream. it's sweet with a little spicy and it's delicious!
cake
- 3 sticks unsalted butter (room temp)
- 1 1/2 cup granulated sugar
- 5 eggs
- 2 vanilla beans (scraped)
- 1 tsp vanilla extract
- 2 2/3 cup all-purpose flour
- 2 tsp baking powder
- 1 1/2 tsp baking soda
- 1 1/2 tsp salt
- 1 tsp fresh ground black pepper
buttercream
- 1 cup strawberries (cut and diced)
- 6 egg whites
- 1 3/4 cup granulated sugar
- 6 sticks unsalted butter
- 1 tsp vanilla
- 3/4-1 1/2 tsp fresh ground black pepper
ganache
- 2 oz heavy cream
- 2 oz white chocolate
- 1 tbsp dried strawberries (pulverized)
cake
- preheat the oven to 375 degrees F. spray and line three 6-inch cake pans. in the bowl of an electric mixer fitted with a whisk attachment, beat the butter and sugar until pale and fluffy, about 3 minutes. scrape the sides of the bowl, add the eggs, vanilla bean, and vanilla and mix until incorporated. in a separate bowl, combine the flour, baking powder, baking soda, salt, and black pepper. add the dry mixture and the buttermilk alternating starting and ending with the dry in three parts. divide the batter evenly among the cake pans and bake for 35-40 minutes or until a toothpick comes out clean. let cool 10 minutes then carefully remove from the pans and continue cooling. (suggested to use a sheet pan with raised edges as this cake gets tall and more spill over the edges.)
buttercream
- for the buttercream, place the egg whites and sugar into the bowl of an electric mixer and place that over a pot of boiling water to create a double boiler. whisk together and let sit until the sugar has fully dissolved. using a whisk attachment, whip the egg whites until a meringue forms, about 3 minutes, and then slowly add the butter. let whip until fully incorporated, on high, for about 4 minutes. add the vanilla and black pepper.
ganache
- for the ganache, place all the ingredients into a microwaveable bowl and heat in 15 second bursts, stirring, until the chocolate is melted. let cool.
assemble
- to assemble, spread some buttercream on the first layer of cake, pipe around the edge of the cake, add the sliced strawberries, pushing them into the buttercream and top with more buttercream. repeat with the second layer of cake. Pour the ganache over the top of the frosted cake and let drip over the sides.
Sugar Redefined: Lime & Pink Peppercorn Cake

[wprm-recipe-jump]
*Disclaimer: This post contains affiliate links. To learn more, please go here.
I finally finished my very first book, Sugar Redefined. I'm so excited to actually accomplish something even though it was a self-published project, it was fun to experiment and learn in putting something together. To give you a little taste I will be posting 2 of the recipes from Sugar Redefined to give you an idea of what you will find. Starting with this lime pink peppercorn cake. 
This cake features lime and pink peppercorn. It's a very interesting flavor combination that actually has a bit of a story to it. In my last year of college my friends and I got accepted into a study abroad program in Italy. It was such an amazing experience and to end college in such a fun way with my friends was perfect.
One thing that I discover when visiting other countries is the odd flavored snacks that you find. This cake was inspired by a bag of potato chips! Yes, potato chips. Flavored with lime and pink peppercorn. My thought was if this combination is so good in a salty way, then it has to be good in a sweet way. So why not make it into a cake and add a tangy cream cheese frosting to go with it?
The cake.
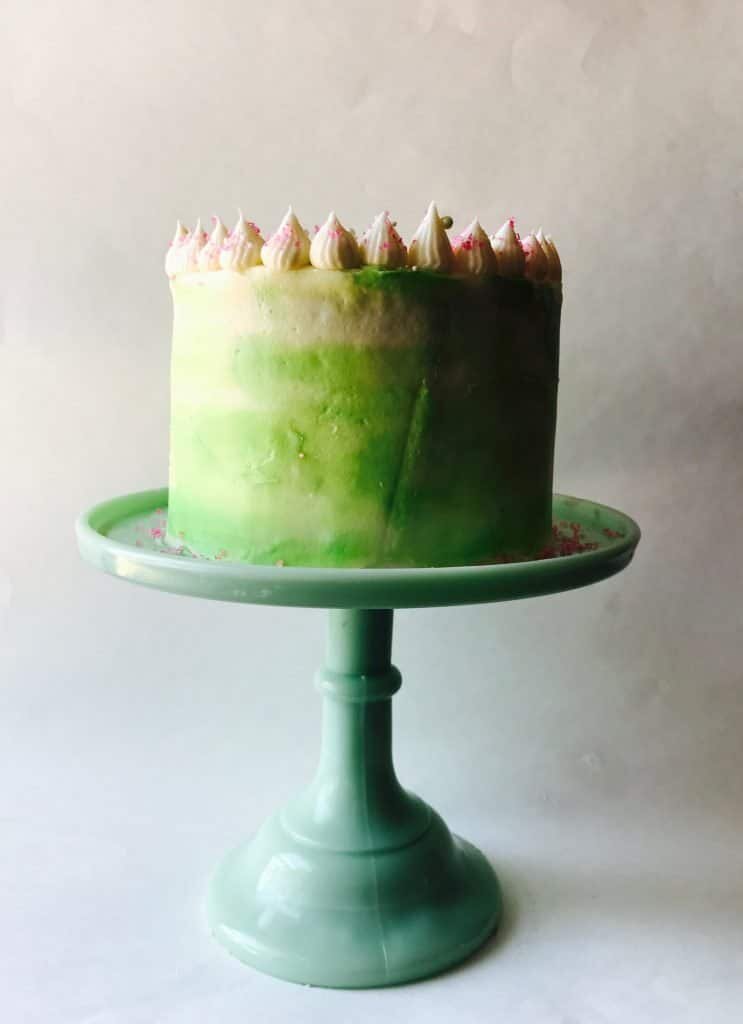
 Not only is the inside fun and different but the outside of this cake is to. I love the colors of the lime green and pink which helps highlight what the flavors are. You have green representing the lime and the pink for the pink peppercorn. It's so cute and pretty on the outside but with a tangy, slightly spicy flavor on the inside.
The book
 This is what sugar redefined represents. Odd flavors that you would never expect to see in a dessert. Some people get super curious with odd trends in the food world, like charcoal ice cream. Why not try out this fun book filled with surprises and beautiful cake photos that you can try at home and join in on all the fun?
Products I recommend.
Above are some products that I personally use and recommend for this recipe and to have for everyday use. One of my favorite things that I have many of are the BlueQ oven mitts. They aren't just really funny and a great statement piece for your kitchen, but they are great quality too!
__________________________________________________________________________
lime pink peppercorn cake
this cake is citrusy with a fun twist of pink peppercorn throughout and a generous layering of cream cheese frosting on top.
cake
- 2 cups all-purpose flour
- 1 1/4 cup granulated sugar
- 2 tsp baking powder
- 1 tsp baking soda
- 1 tsp salt
- 1 1/2 tbsp pink peppercorns (crushed)
- 2/3 cup vegetable oil
- 3 eggs
- 1 tsp vanilla extract
- zest + juice of 3 limes
- 3/4 cup buttermilk
buttercream
- 8 oz cream cheese
- 2 sticks unsalted butter
- 5 cups powdered sugar
- 1 tsp vanilla extract
- 2-3 tbsp heavy cream
cake
- preheat the oven to 350 degrees F and spray and line three 6-inch cake pans. in a bowl, combine the flour, sugar, baking powder, baking soda, salt, and crushed pink peppercorns and mix together with a whisk. in a separate bowl, combine the oil, eggs, vanilla, lime zest and juice, and the buttermilk and whisk together until fully mixed. pour the wet mixture into the dry and mix until fully combined. evenly divide the batter among the cake pans and bake for 30-35 minutes or until a toothpick comes out clean. let cool 10 minutes, then carefully remove the cake and continue to cool.
buttercream
- in the bowl of an electric mixer fitted with a paddle attachment, combine the cream cheese and butter and beat until smooth, about 2 minutes. scrap down the sides of the bowl and then add the vanilla and powdered sugar and continue mixing until fully combined. gradually add in the heavy cream until it is a spreadable consistency.
Cereal Milk Cake

[wprm-recipe-jump]
*This post contains affiliate links. Please read disclosure to learn more
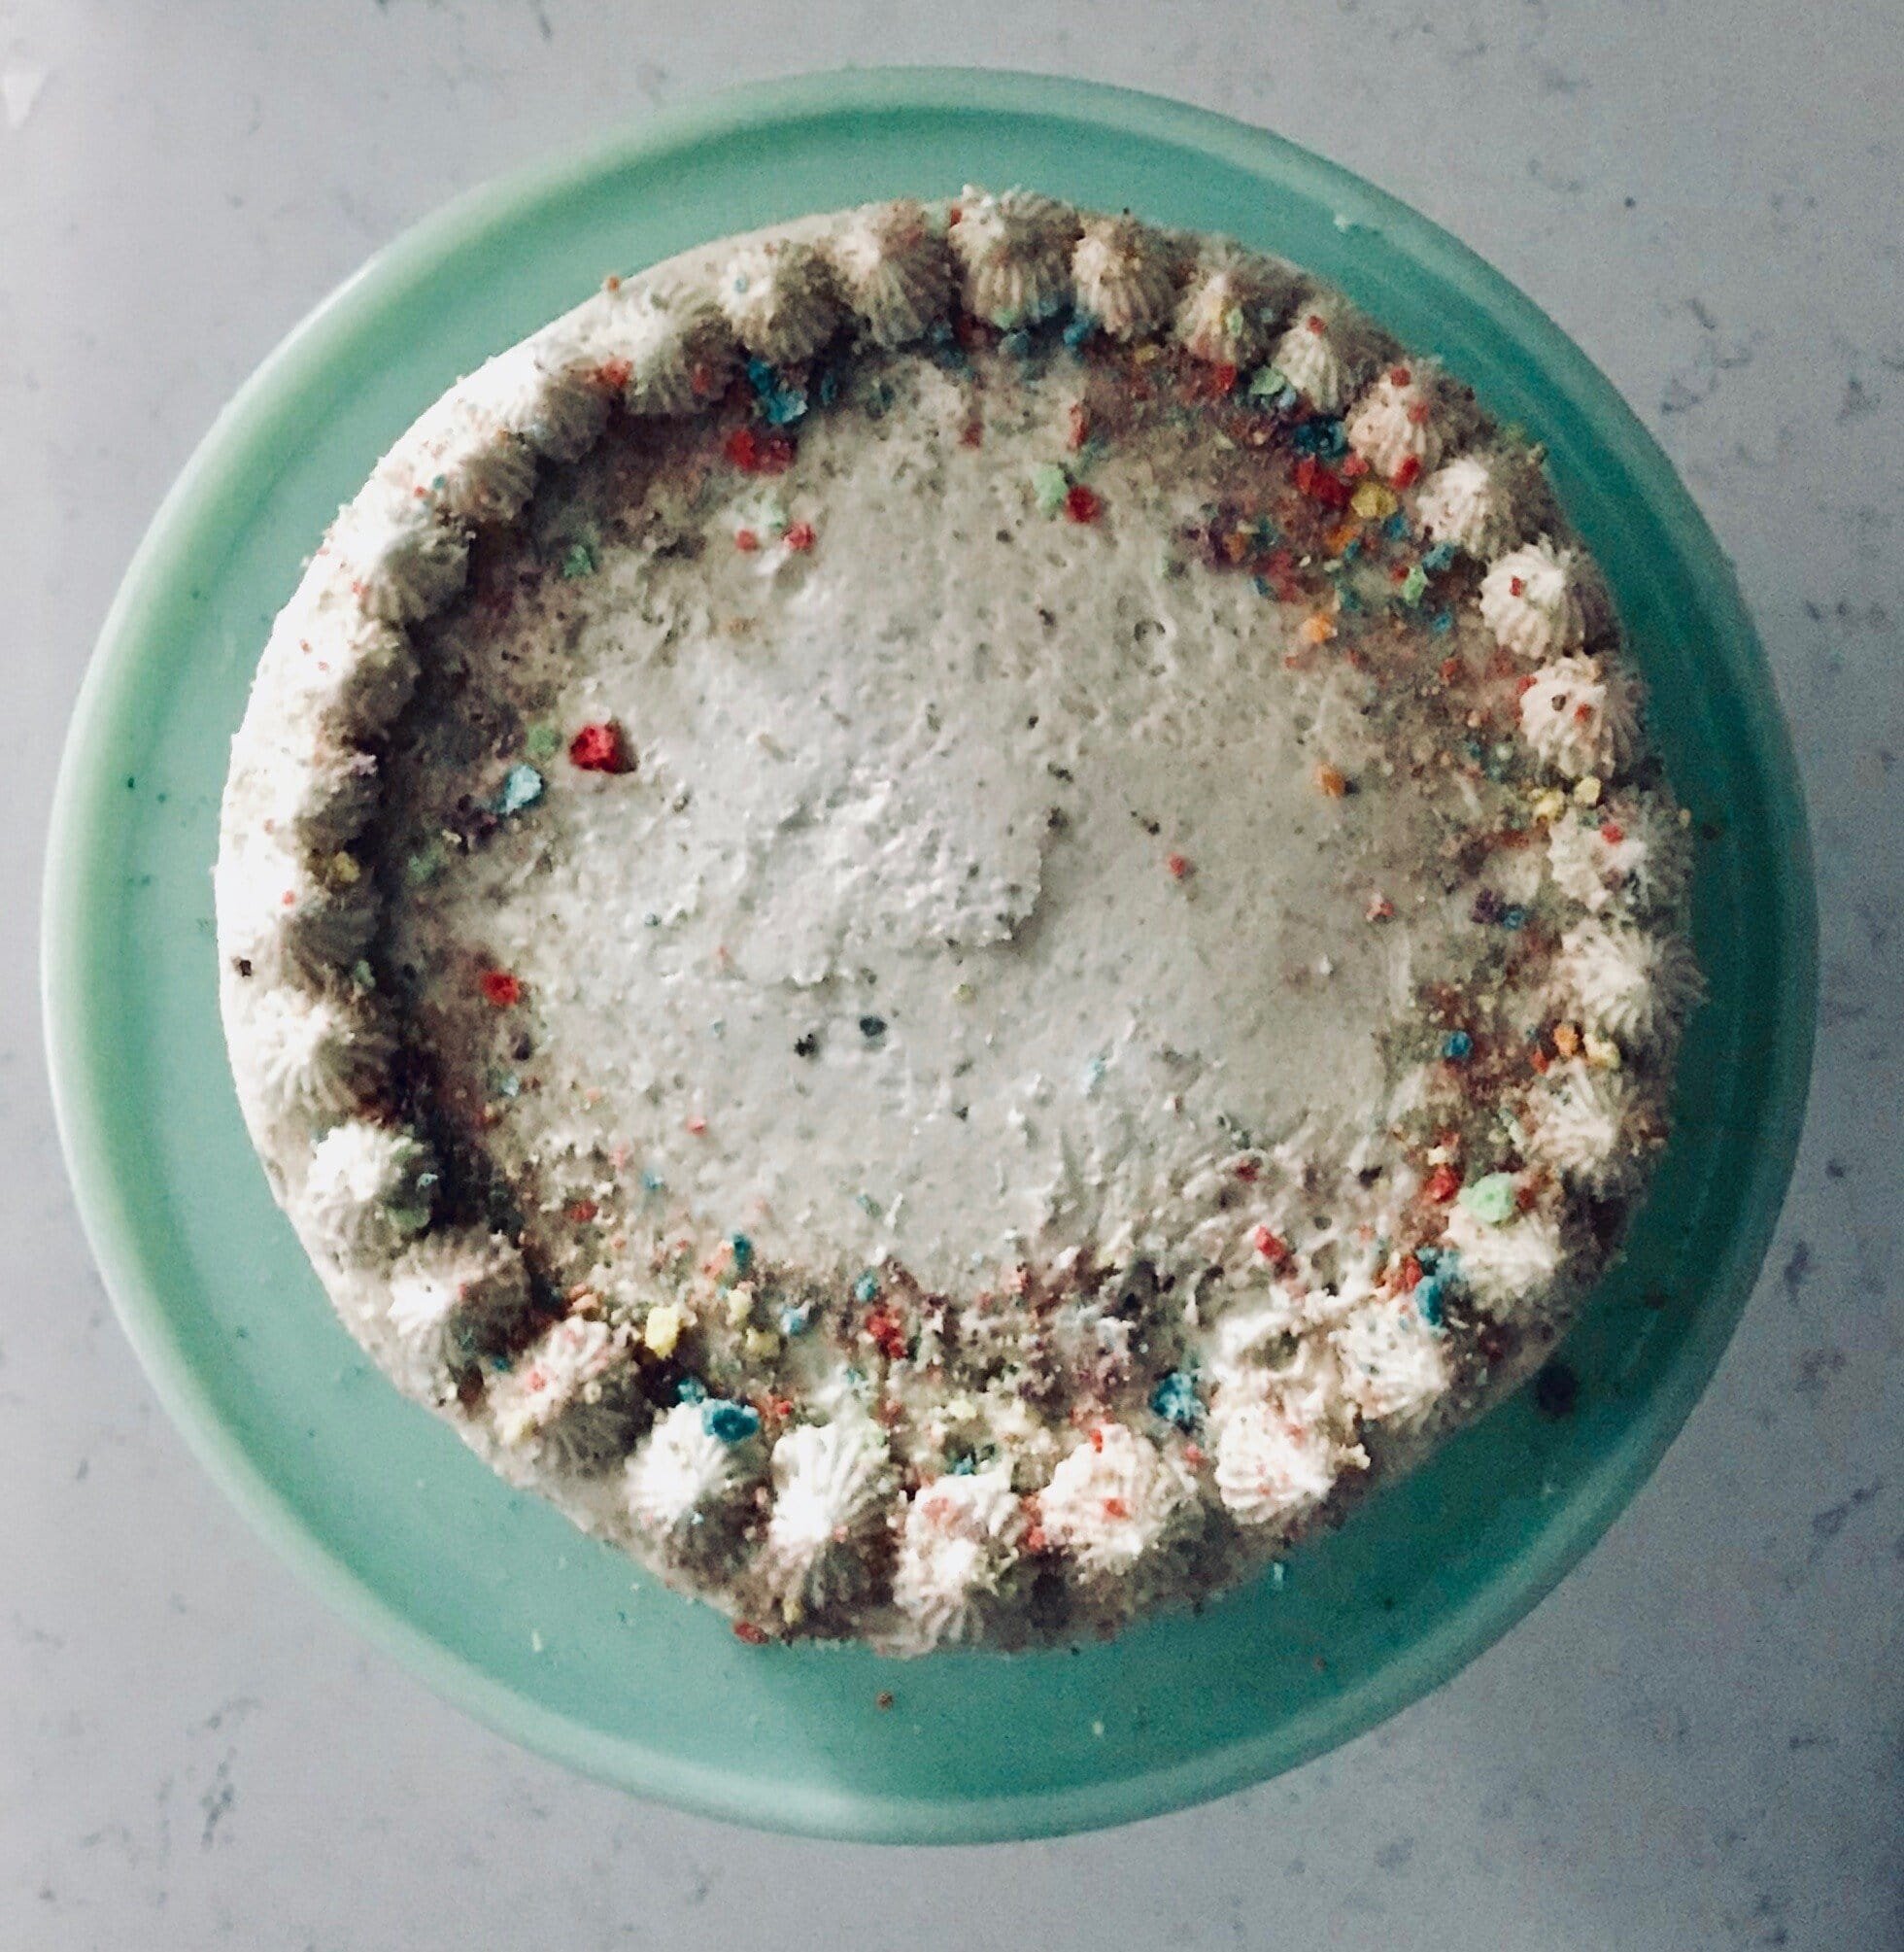
I love fruit loops! It may be some little kid food but I still consider myself a kid sometimes. So why not have a nice big bowl of fruit loops or even better, a fruit loop cereal milk cake?
This is a very light and flavorful cake with a yummy fruit loop flavor and a fluffy cereal milk frosting to go with it. To get this cake though it will be an overnight process, but the wait is so worth it.
The process is pretty simple by just soaking the cereal in the milk overnight to get the flavor absorbed. To make it even more over the top you can blend the cereal and the milk together. When you are making this cake, the smell is so good it made me crave a bowl of cereal. Too bad all the cereal went to the cake.
[mailerlite_form form_id=1]


Products I recommend
Above are some products that I personally use and recommend for this recipe and to have for everyday use. One of my favorite things that I have many of are the BlueQ oven mitts. They aren't just really funny and a great statement piece for your kitchen, but they are great quality too!
___________________________________________________________________________
cereal milk cake
this cake is childhood, filled with cereal milk and a creamy ermine buttercream. it's best to have cake for breakfast.
cereal milk
- 2 1/2 cup fruit loop cereal
- 3 cup milk or almond milk
cake
- 2 sticks unsalted butter (room temp)
- 1 cup granulated sugar
- 3 eggs
- 1 tsp vanilla extract
- 1 tsp salt
- 2 tsp baking soda
- 1 1/2 cup all-purpose flour
- 1 1/4 cup cereal milk
- rainbow sprinkles (optional)
- 1 cup cereal milk
- 5 tbsp all-purpose flour
- 2 sticks unsalted butter (room temp)
- 1 cup granulated sugar
- 1 tsp vanilla extract
cereal milk
- place the cereal and the milk in a bowl and soak overnight in the fridge. the next day, blend the cereal and milk together until smooth. if there are any small cereal clumps i left them in the milk, but you can strain it as well. you need a total of 2 1/4 cups of the cereal milk for the whole recipe. if you are short on milk from the cereal absorbing it, just add more milk until you have the right amount.
cake
- preheat the oven to 350 degrees F. spray and line three 6-inch cake pans. in the bowl of an electric mixer fitted with a paddle attachment, beat the butter and sugar until pale and fluffy, about 1 minute. scrape the sides of the bowl, add the eggs, and vanilla and mix until incorporated. in a separate bowl, combine the flour, baking soda, and salt. add the dry mixture and the cereal milk alternating starting and ending with the dry in three parts. fold in the sprinkles if desired. divide the batter evenly among the cake pans and bake for 30-35 minutes or until a toothpick comes out clean. let cool 10 minutes then carefully remove from the pans and continue cooling.
buttercream
- in a saucepan combine the flour and cereal milk and place over medium-low heat. whisk the mixture constantly until it starts to thicken, about 8-15 minutes. (this depends on if you have a gas or electric stove top.) once thick, remove from the heat. put the mixture into a bowl and mix in the vanilla extract. place cling wrap directly over the mixture so a skin doesn’t form. let cool until room temp. once at room temp, place the butter and sugar into the bowl of an electric mixer fitted with a whisk attachment. whip until light and fluffy, about 5 minutes. add the flour mixture a spoonful at a time into the butter mixture. once the flour mixture is all added, whip on high for about a minute. the buttercream will resemble whipped cream.
Jasmine Chocolate Cake

[wprm-recipe-jump]
*disclaimer: this post contains affiliate links. to learn more, please go here.
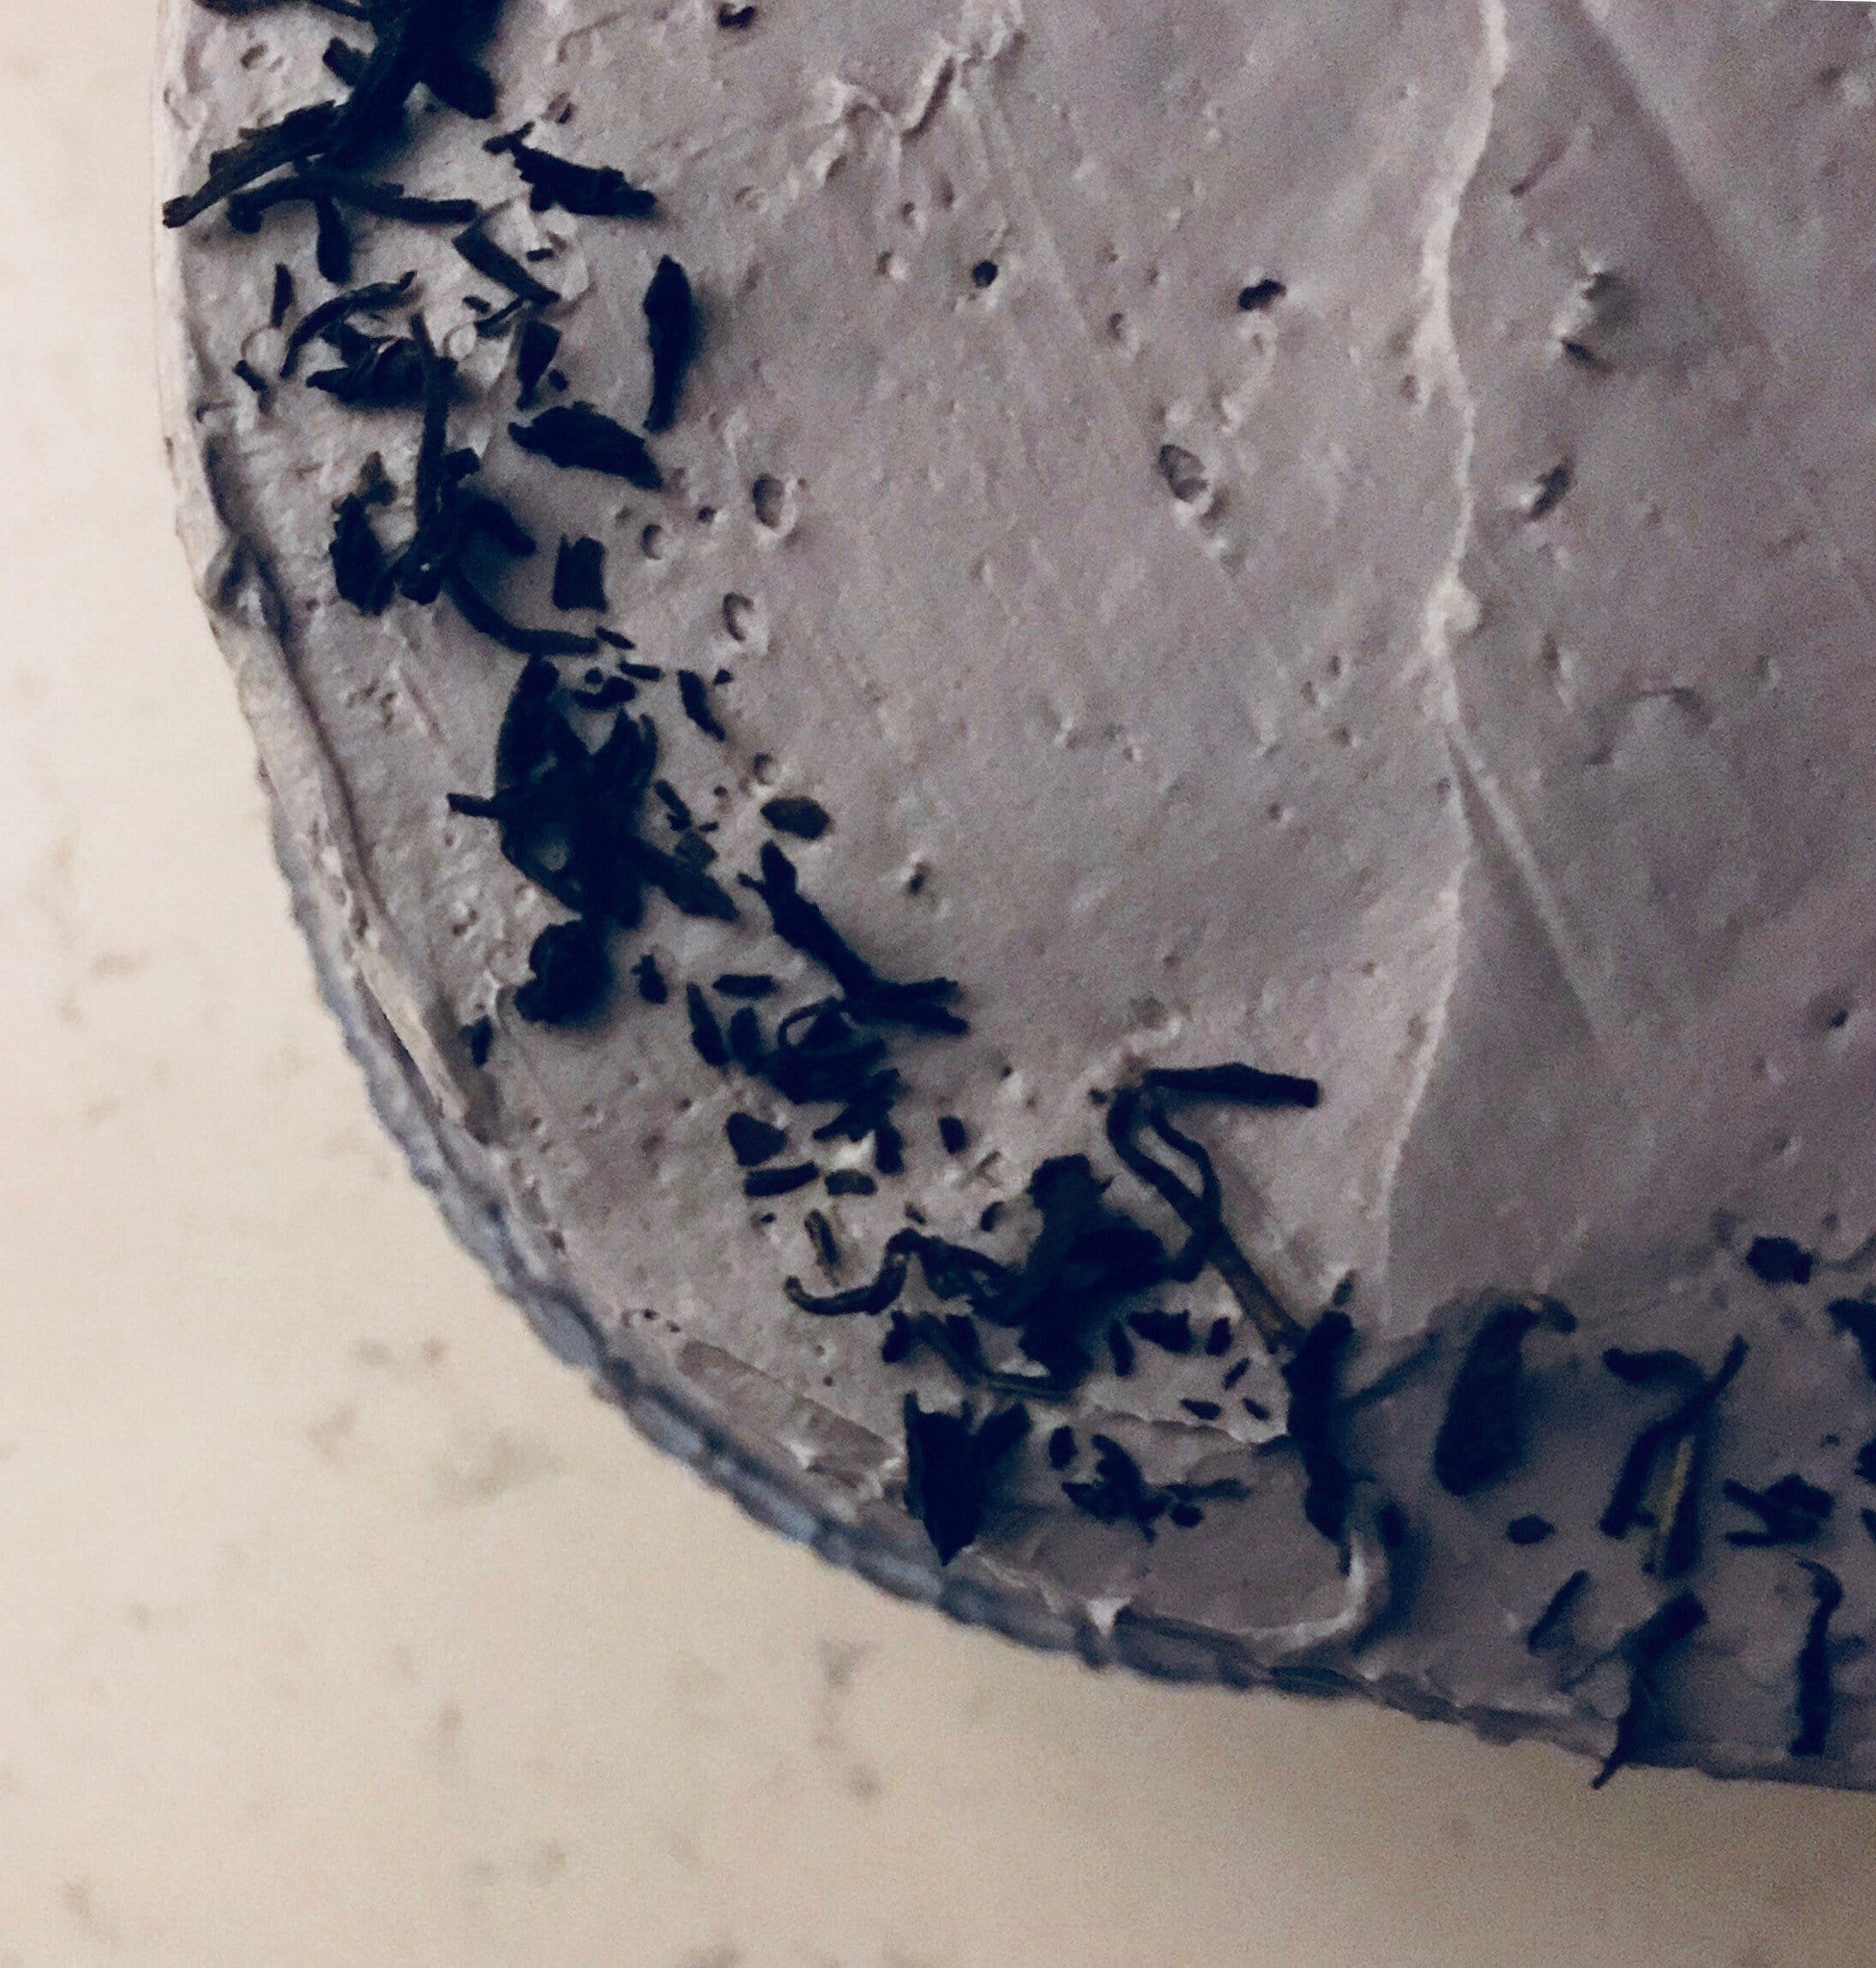
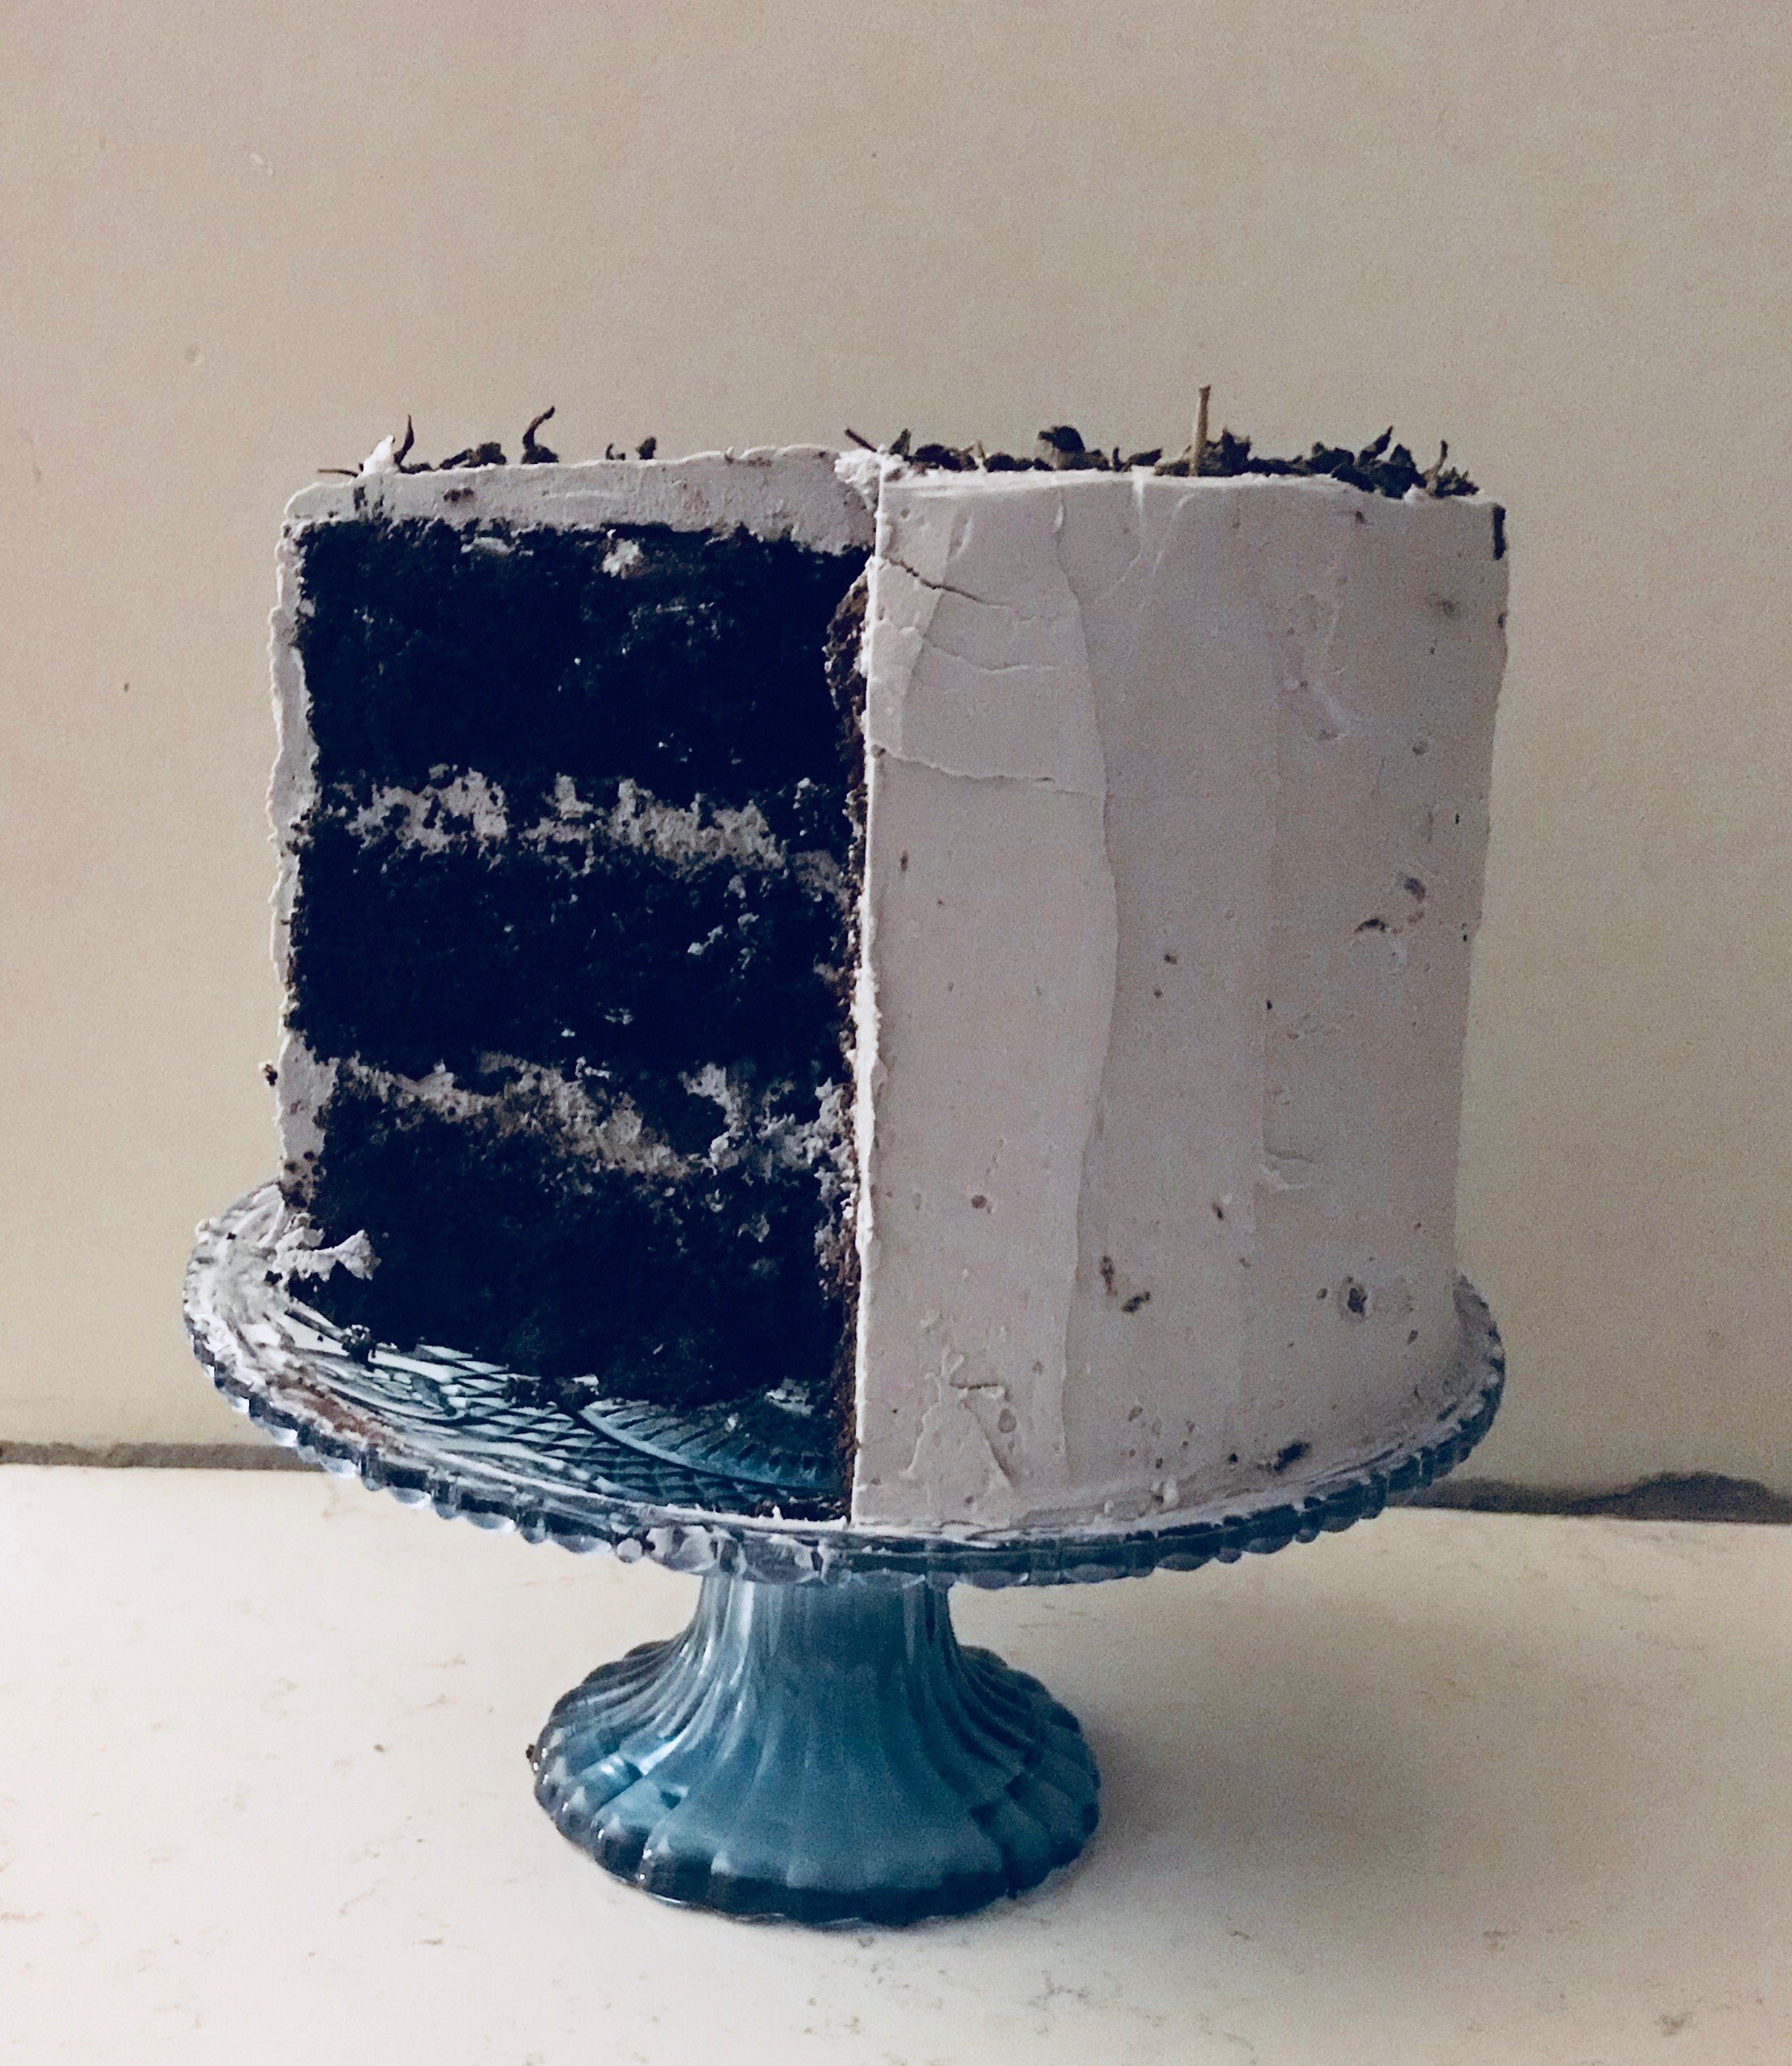
Happy Valentines day... I think. I'm not a fan of this holiday, probably because I've never actually got to celebrate it with anyone. At least I'm not the only one who is in the same boat. Am I right? But at least I have this jasmine chocolate cake to love my stomach instead.
This jasmine chocolate cake is actually inspired by someone who I deeply care about and stupidly fell in love with. Oops. Jasmine is his favorite flower and it's special to him so I wanted to make something that would make him happy. Which is something that makes me happy in turn.
Cake is love.
Now although he may not feel the same way and I'll never get to celebrate this stupid holiday with him, I'm just glad that I stupidly fell for the idiot no matter how much that it hurts. Like the saying goes, it's better to have love and lost then never loved at all. Not to mention that time heals all wounds. And cake. Cake heals all wounds too. I love cake.
P.S. He loved it. So I hope that you will love it too!
Products I recommend.
For this cake I recommend buying this jasmine tea to get the most flavor. If you can't find it in your local grocery store or have the time to wait for an amazon delivery, than I suggest getting this jasmine green tea instead. Enjoy yourself a hot glass of tea while you make this cake too! I add in some honey and lemon in mine and it's delish!
_________________________________________________________________________
Jasmine Chocolate Cake

a rich chocolate cake that is flavored with jasmine tea for a slight floral flavor
jasmine tea
- 1 cup water
- 4 jasmine tea bags
cake
- 1 1/3 cup all-purpose flour
- 1 1/2 cup granulated sugar
- 3/4 cup cocoa powder
- 1 tbsp baking soda
- 1 1/2 tsp salt
- 3 extra-large eggs
- 1/2 cup vegetable oil
- 2 tsp vanilla extract
- 3/4 cup buttermilk
- 1 cup chocolate (chopped)
- 3/4 cup of the jasmine tea water
buttercream
- 5 oz egg whites
- 1 1/2 cup granulated sugar
- 3 sticks unsalted butter
- 1 tsp vanilla extract
- 1-2 jasmine tea bags (optional)
cake
-
preheat the oven to 350 degrees F. spray and line three 6-inch cake pans. place the jasmine tea bags and water into a pot and bring to a boil for 5 minutes. let sit until cool to let the jasmine tea infuse into the water. measure out 3/4 cup of the jasmine tea and poor over the 1 cup of chocolate and mix until chocolate is melted. set aside.
-
in a large bowl combine the flour, sugar, cocoa powder, baking soda, and salt and mix together. in another bowl whisk together the eggs, oil, vanilla,and buttermilk. add the wet ingredients to the dry and whisk together until fully combined. add in the jasmine tea water and chocolate mixture and mix until incorporated.
-
divide the batter evenly among the cake pans and bake for 30-35 minutes or until a toothpick comes out clean. let cool 10 minutes and then carefully remove from the cake pans to continue cooling. wrap in cling wrap until ready to use.
buttercream
- in the bowl of an electric mixer combine the egg whites and the sugar and place over a pot of boiling water. whisk together until the sugar dissolves. once the sugar is dissolved, place on the mixer fitted with a whisk attachment and whip on high until a meringue forms and the bottom of the bowl is no longer hot. slowly add in the butter and continue whipping until the mixture comes together and doesn't look curdled. add in the vanilla and the jasmine tea leaves (removed from the bag) and mix until just combined.
Basil Ice Cream
[wprm-recipe-jump]
*Disclaimer: This post contains affiliate links. To learn more, please go here.
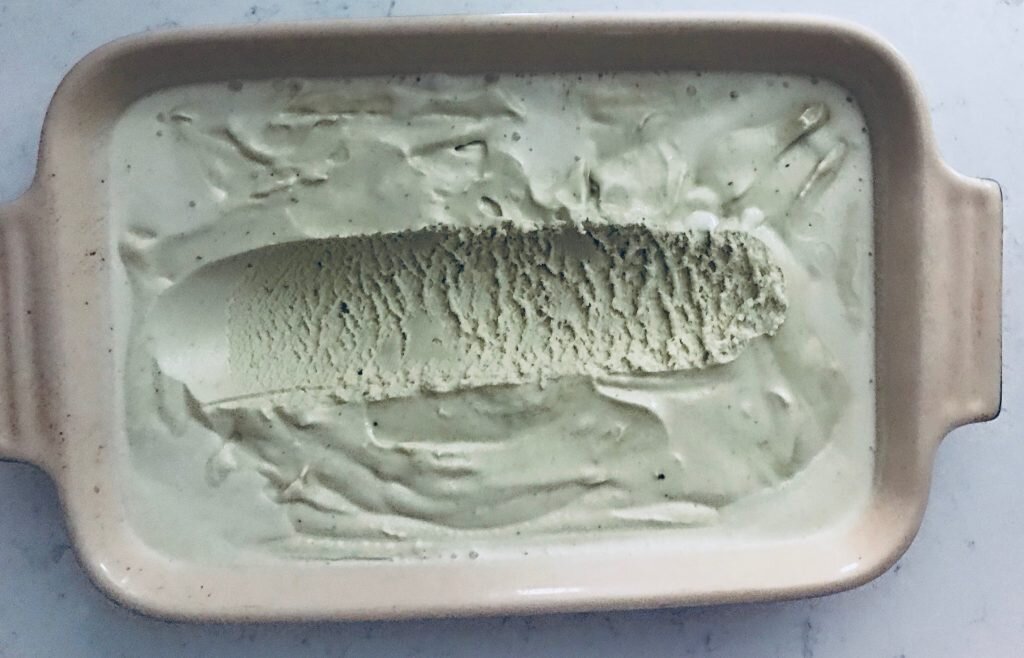
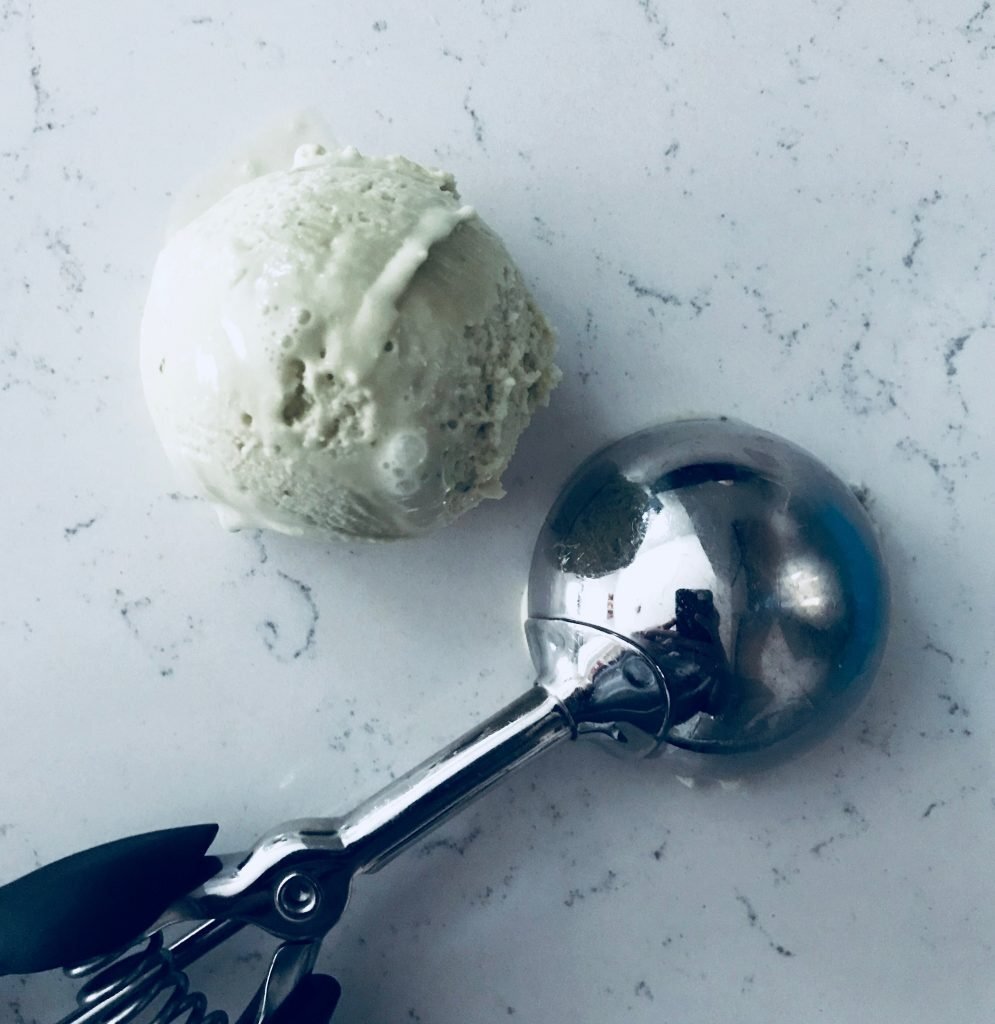
I love basil. The smell of it and to just eat it. Especially on pizza! But it's perfect for dessert too. Like this basil ice cream. This ice cream is made by steeping the basil leaves in the hot ice cream and leaving it over night to chill in the fridge. This way the basil infuses into the milk leaving behind that lovely herbal flavor.
Change it up!
Want to try a different herb instead of basil? I suggest giving mint a try! Make a classic ice cream with fresh mint and then fold some mini chocolate chips into the mix for a fresh mint chip ice cream! Put some into a waffle cone for a snack or just do what I do and eat it straight from the container.
Amplify it!
Make this ice cream into a summer fresh sundae! Add in some fresh berries, like strawberries and blackberries and some lemon whipped cream on top.
Better yet, pair it with some lemon juice, milk, fresh blueberries and some vanilla vodka in a delicious milk shake. Perfect for a hot summer day!
Other summer fresh recipes!
Here are some other fun summer recipes that you can enjoy. Grab some fresh fruit from the garden or make a classic dessert into something new.
Strawberry rhubarb deep dish pie
Products I recommend.
Above are some products that I personally use and recommend for this recipe and to have for everyday use. I highly recommend starting off with the cuisinart ice cream machine as your first ice cream maker. It's the cheapest one on amazon and I personally use it and love it! I also suggest getting a reusable ice cream container as well, it's dishwasher safe and you can use it over and over again!
_________________________________________________________________________
basil ice cream
ice cream infused with fresh basil leaves for a lovely herbal dessert
- 1 1/2 cup milk
- 1 cup heavy cream
- 1 cup granulated sugar
- 1/2 oz fresh basil
- zest of a lemon
- 3 egg yolks
-
place some of the milk and the basil leaves into a food processor until the mixture is nice and smooth. put the basil mixture, the rest of the milk, heavy cream, 3/4 cup of the granulated sugar and the lemon zest into a pot and bring to a boil.
-
in a bowl, whisk together the egg yolks and the remaining 1/4 cup of sugar.
-
once the basil mixture is at a boil, slowly pour into the egg yolks whisking at the same time to prevent the eggs to scramble. strain the base through a fine mesh sieve and place into the fridge over night.
-
turn the ice cream base following the instructions of your ice cream machine. put the ice cream into a freezable container and freeze for at least an hour, preferably overnight.
Almond Raspberry Cupcakes

[wprm-recipe-jump]
*Disclaimer: This post contains affiliate links. To learn more, please go here.
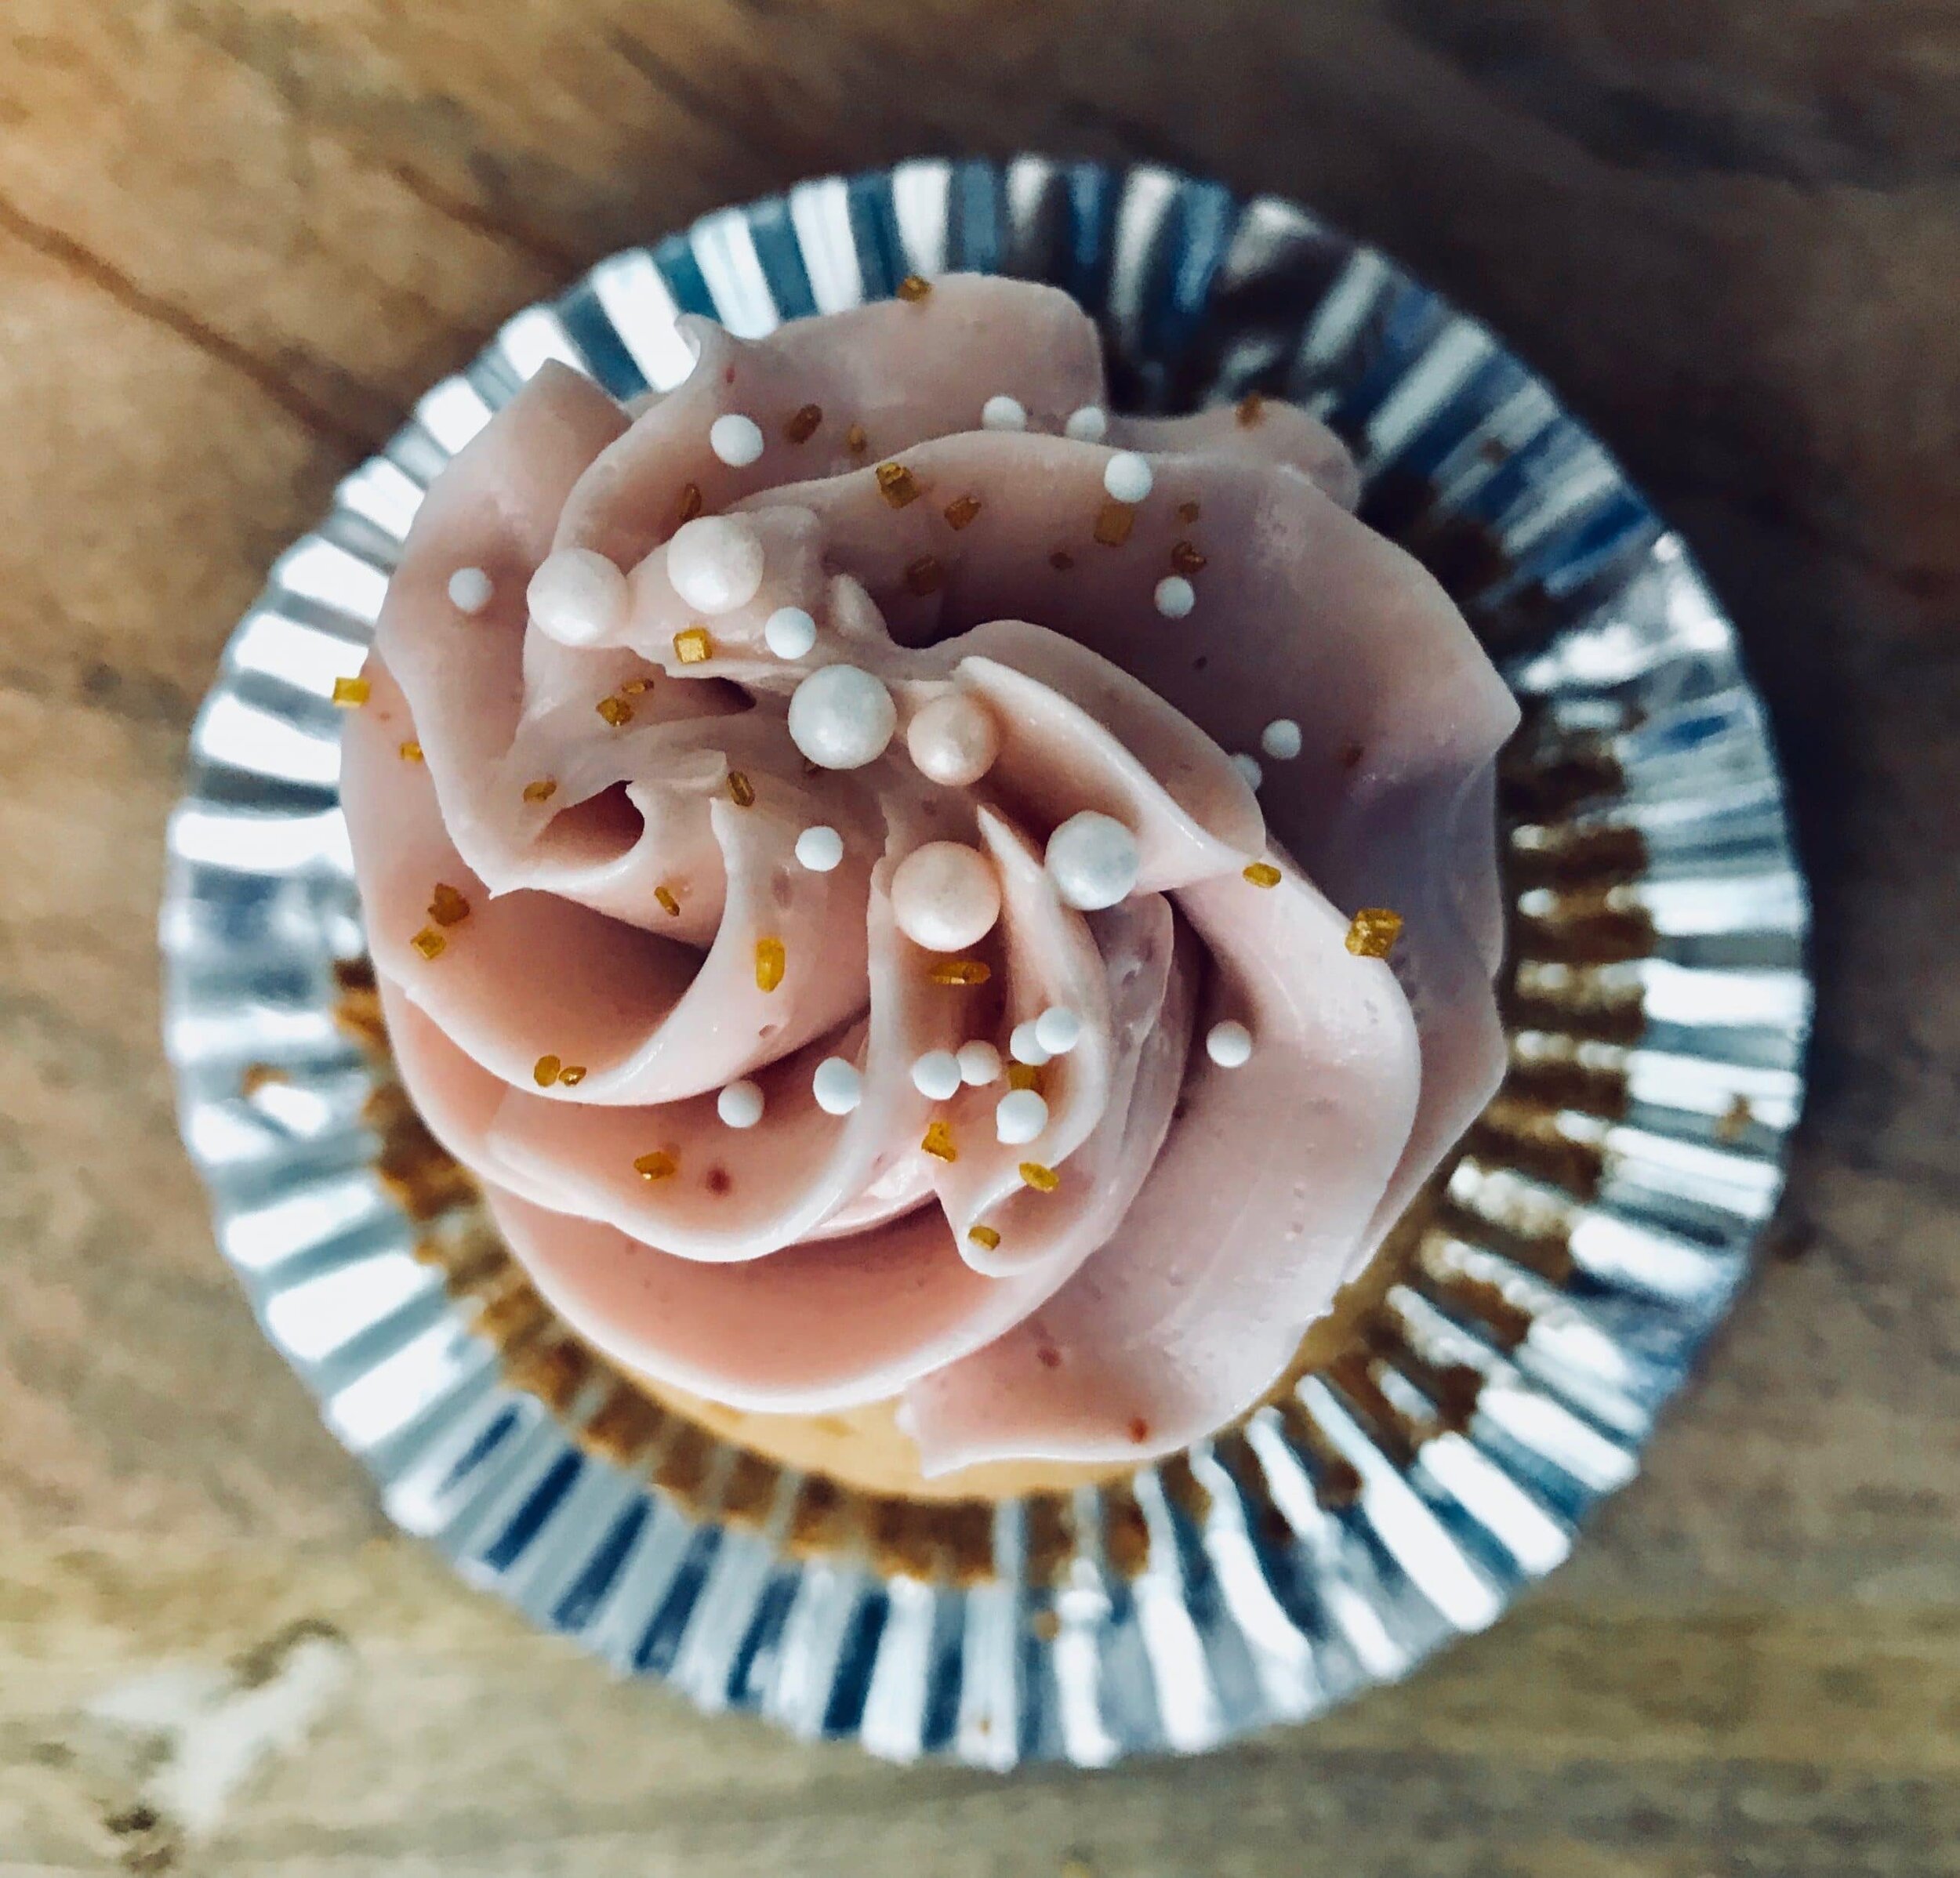
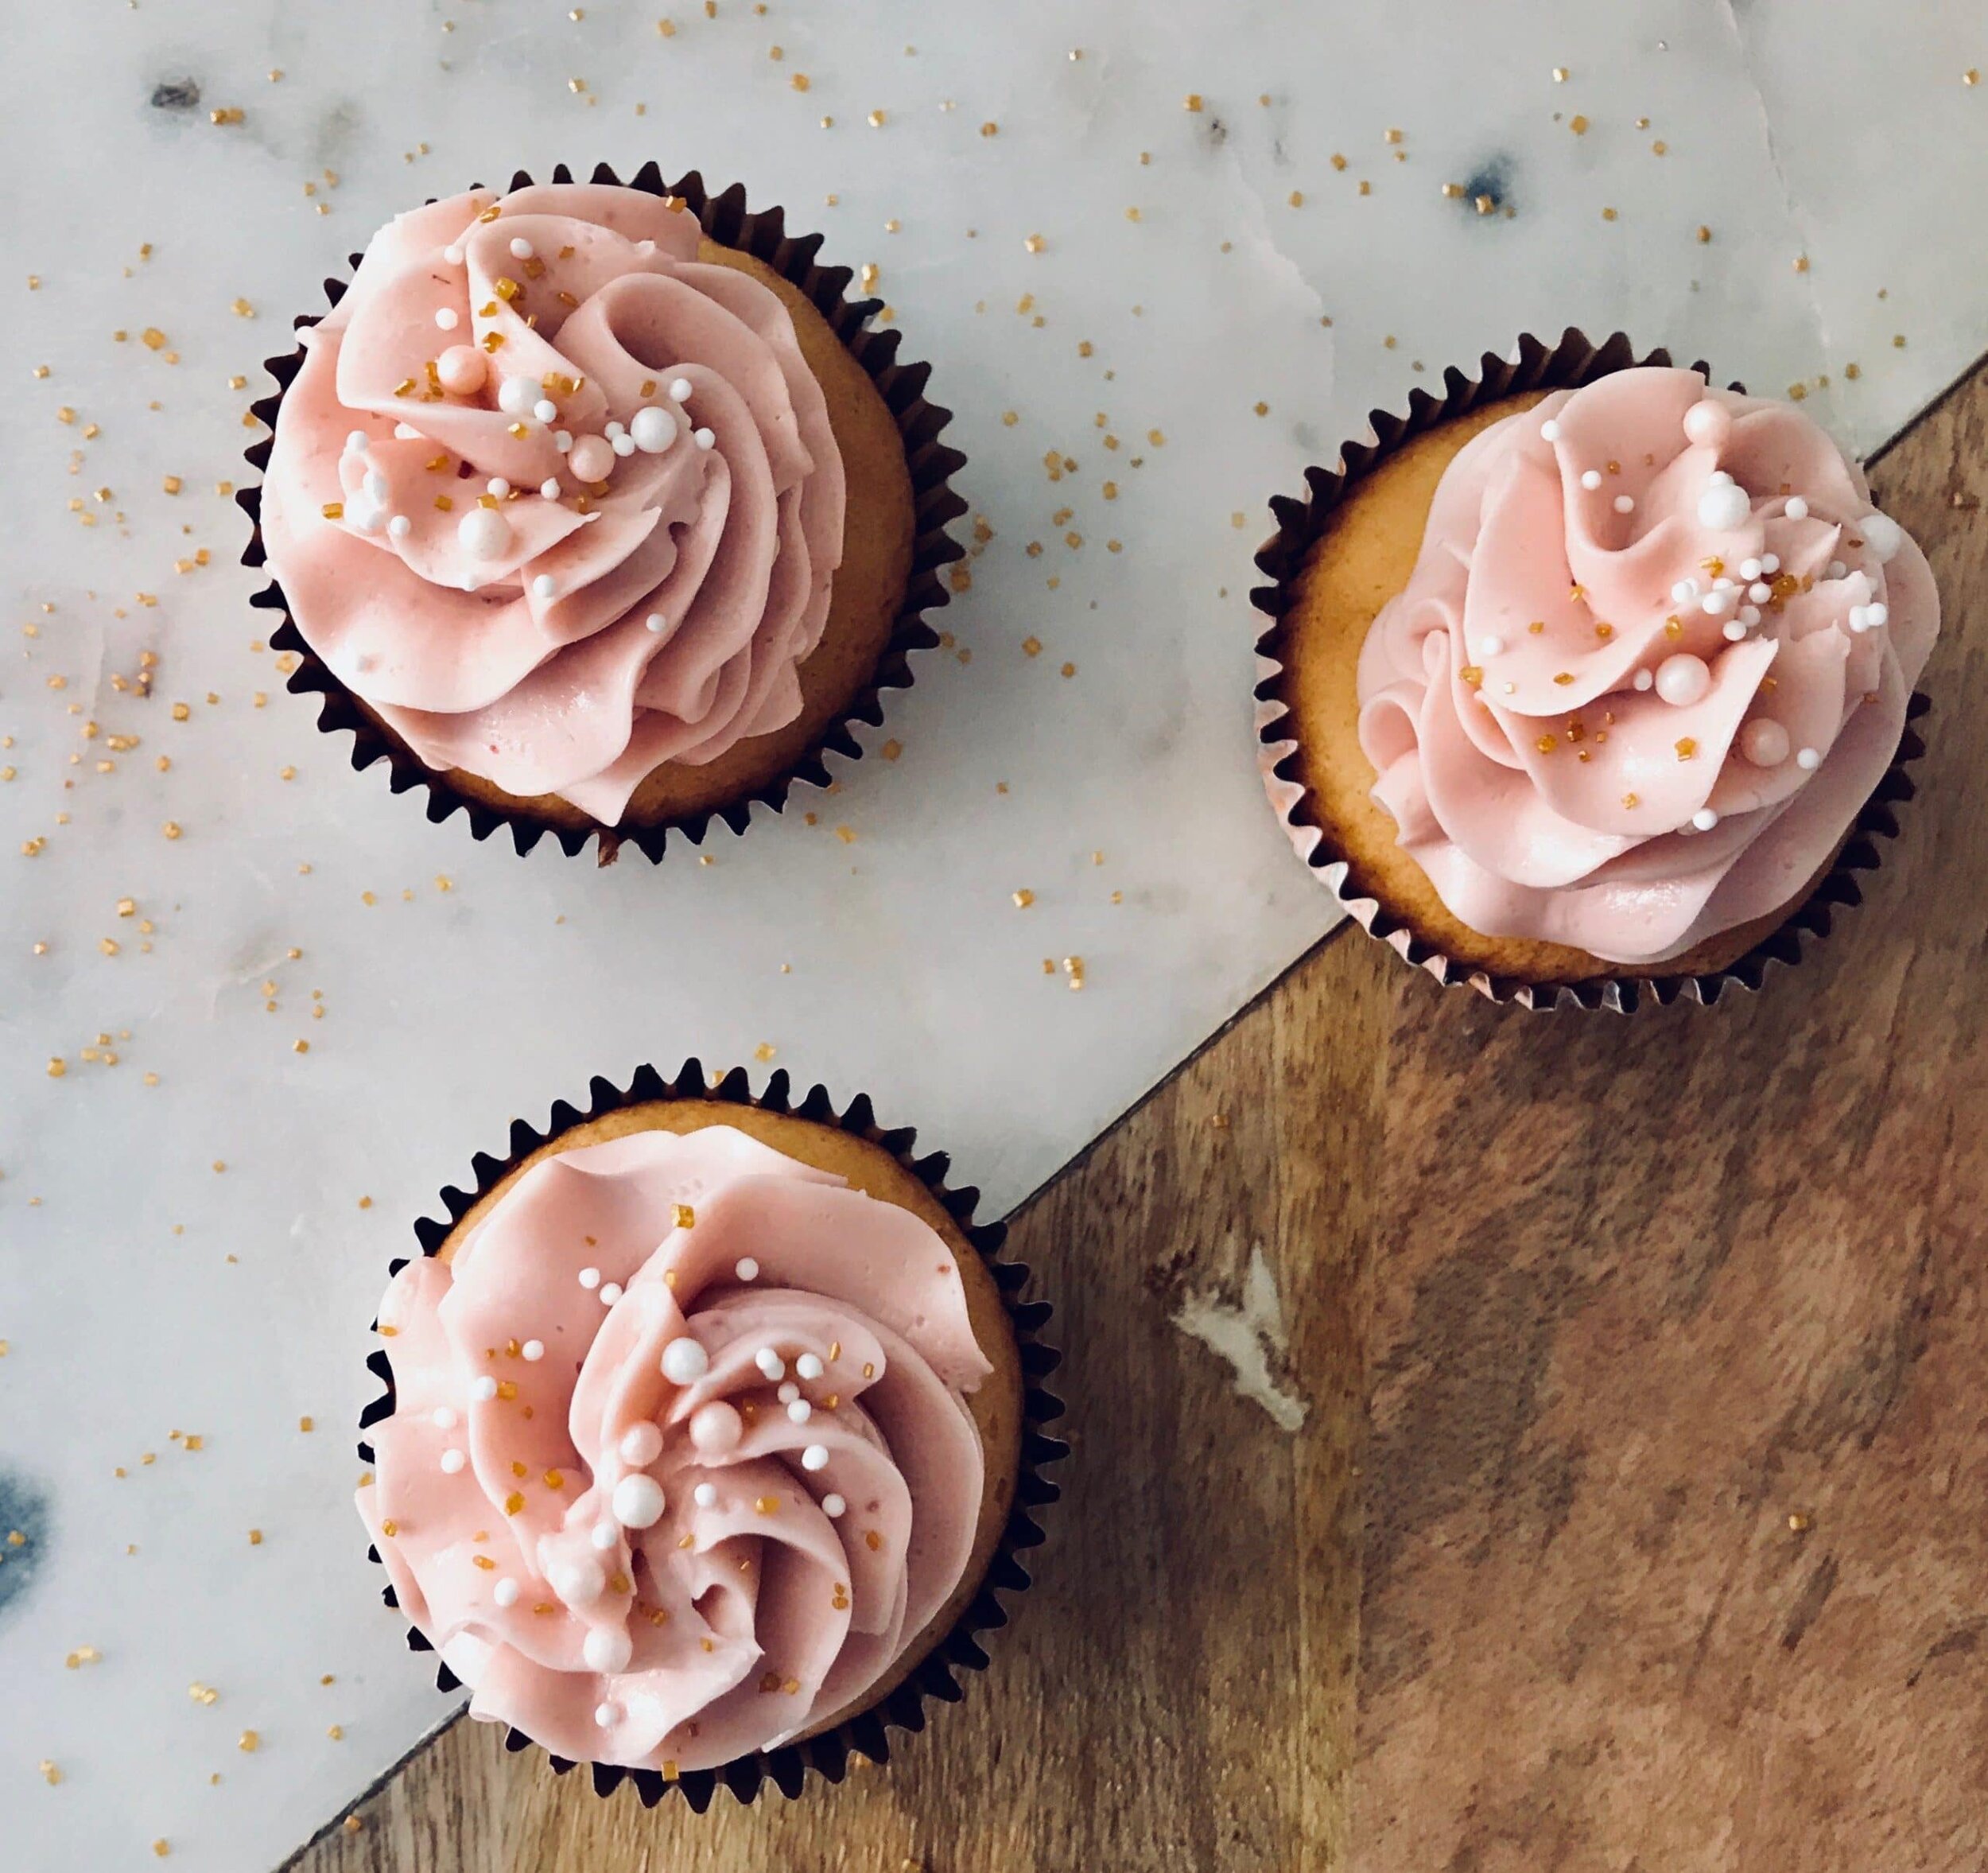
Aren't these little guys just so cute! I'm in love with the way these almond raspberry cupcakes turned out: light, fluffy, and lots of fruity flavor!
Now these cupcakes are super simple to make. The recipe is small so there won't be a gazillion cupcakes sitting around on your counter either. I find that to be a good thing because if I have a ton of cupcakes sitting on my counter it would be my breakfast, lunch and dinner until they were all gone. And since these almond raspberry cupcakes are so light you could eat like three in a sitting.
Change it up!
These cupcakes are delicious as they are but what if you don't like raspberries? Well that's a simple fix! Simply swap the raspberries out for your favorite berry. You can use strawberries, blueberries or blackberries. Even do multiple berries for fun!
One thing you could even do is instead of almond extract in the cupcakes you could lemon extract, or even better. Princess extract!
Swiss meringue buttercream
One thing that I notice is that lots of people don't know how to make swiss meringue buttercream. There are a lot of hit and misses when it comes to making it, but they are super easy to fix. Sign up below to get my buttercream guide for free to learn about the hit and misses on making swiss buttercream and others too!
[mailerlite_form form_id=2]

Products I recommend.
Above are some products that I personally use and recommend for this recipe and to have for everyday use. My absolute favorite is the BlueQ oven mitts. I have a collection of them and I love them! They are great quality and it’s nice to have a kitchen item with a sense of humor.
__________________________________________________________________________
almond raspberry cupcakes

fluffy almond cupcakes topped with a fresh raspberry swiss meringue buttercream
cupcakes
- 3 egg whites
- 1/4 cup granulated sugar
- 3/4 cup cake flour
- 1/2 cup all-purpose flour
- 1/2 cup granulated sugar
- 1 tsp baking soda
- 1/2 tsp salt
- 1/2 cup oil
- 1/2 cup milk
- 1/2 tsp vanilla extract
- 1 tsp almond extract
buttercream
- 1 cup fresh raspberries
- 1 tbsp granulated sugar
- 3 oz egg whites
- 1/2 cup sugar
- 2 sticks unsalted butter
- 1/2 tsp vanilla extract
cupcakes
-
preheat the oven to 350 degrees F. line cupcake tins with liners.
-
in the bowl of an electric mixer fitted with a whisk attachment, whip the egg whites and 1/4 cup sugar until stiff peaks form and then set aside.
-
in a large bowl mix together the cake flour, flour, sugar, baking soda, and salt. Scrape the sides of the bowl.
-
in a separate bowl, combine the oil, milk and extracts. add the wet mixture to the dry mixture and slowly mix until incorporated.
-
Gently fold in the egg whites. scoop the batter into the cupcake liners and bake 12-14 minutes or until a toothpick comes out clean. Let cool.
buttercream
- in a small pot bring the raspberries and 1 tbsp sugar to a boil. strain the raspberries into a bowl to remove the seeds and let cool.
- place the egg whites and the sugar in the bowl of an electric mixer and place over a pot of boiling water to create a double boiler, whisking together until the sugar dissolves. The mixer fitted with a whisk attachment, whip the egg whites on high until a meringue forms, about 3 minutes. slowly add in the butter and continue mixing for 2 minutes. add in the vanilla and raspberry sauce and mix until the buttercream comes together.
Princess Ice Cream

[wprm-recipe-jump]
*Disclaimer: This post contains affiliate links. To learn more, please go here.
I did it. I bought myself an ice cream maker. Still debating if it's the best or worst decision I have ever made. Good being that, hey I get to have ice cream whenever I want! Bad being that I get to have ice cream whenever I want. Really no win-win situation here if you ask me. I will most likely gain like 100 pounds just because of this machine. Uffdah...
So this princess ice cream is very addictive. It of course features my most favorite thing ever. Princess extract. I find that whatever you put this extract in, it makes the food very addicting and you cannot stop yourself from devouring every single last morsel.
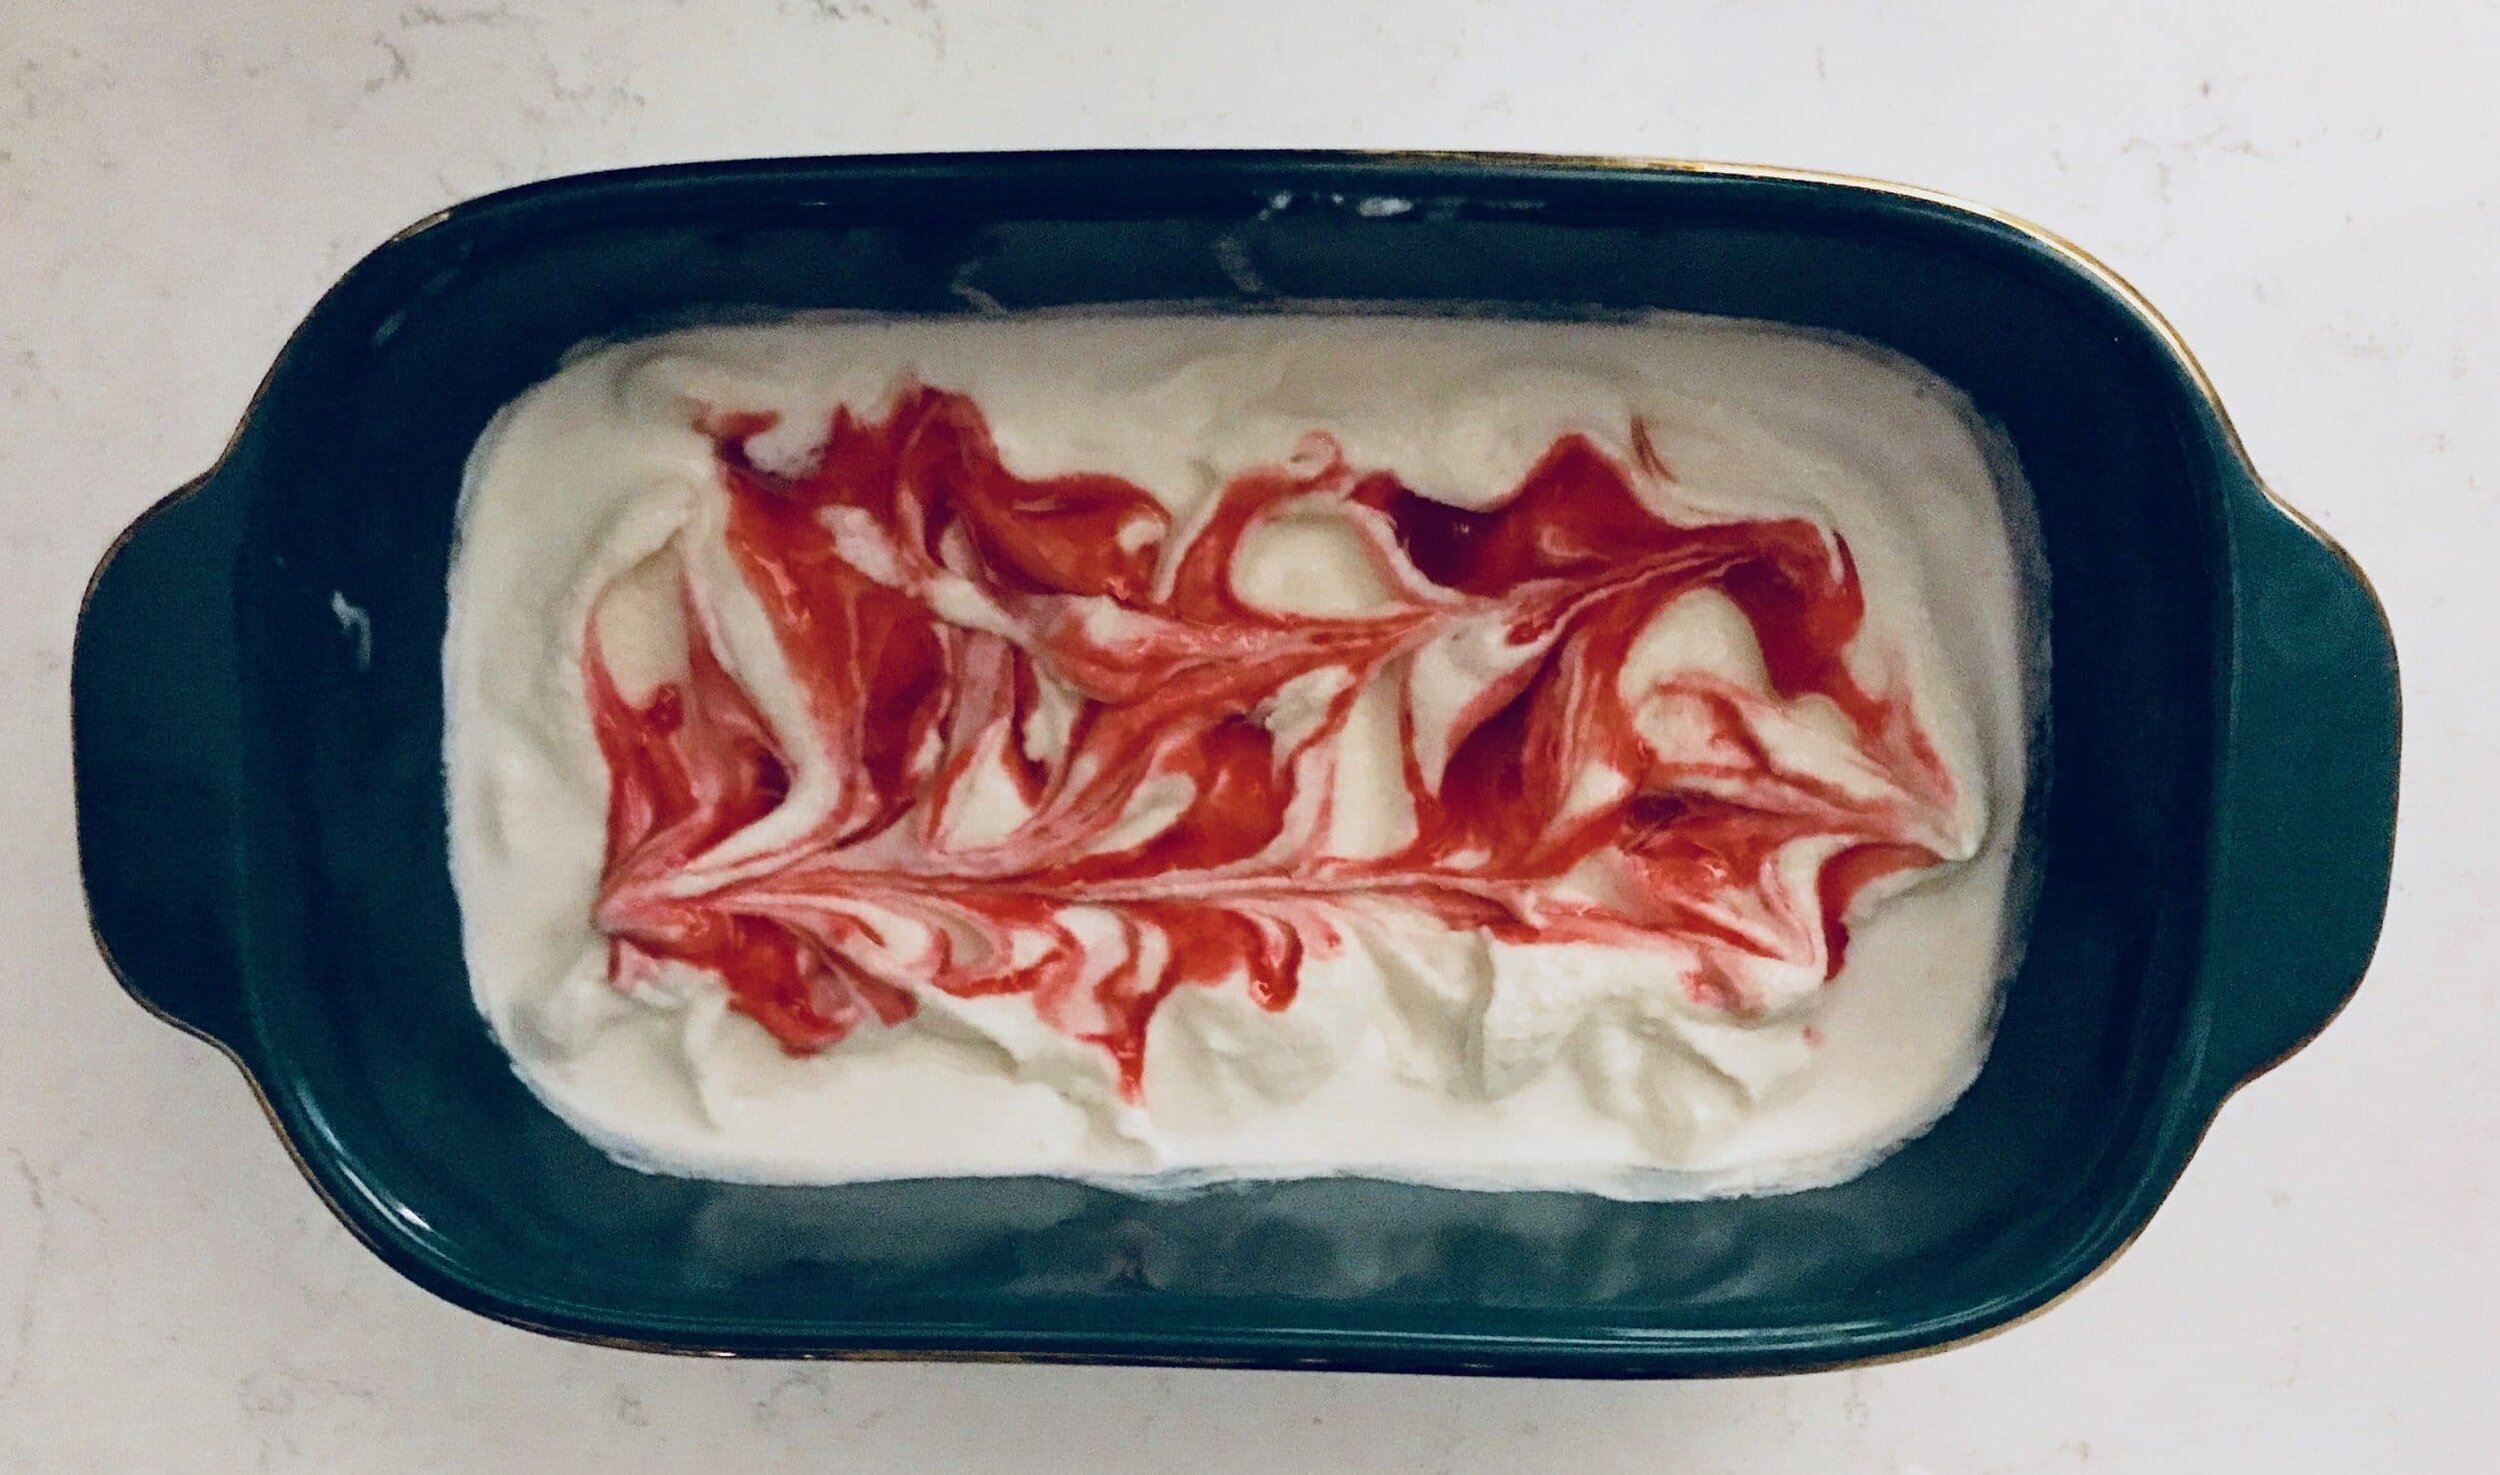
This princess ice cream is just a very simple vanilla base with a tart raspberry swirl added into it. The raspberry definitely adds in to the flavor and makes this ice cream so delectable! I seriously cannot stop eating this stuff. And if you don't have an ice cream maker, then i highly suggest you get the cuisinart frozen yogurt maker. It is super affordable and you cannot go wrong with this choice. It only costs about $40-$60 depending on where you buy it and if it's used or new, but amazon is definitely the best way to go for the best price. Get this machine if you don't have one and get the princess extract along with it and make this ice cream ASAP!
Other recipes that features princess extract.
If you don't know what princess extract is all about, it's this medley of flavors combined into one. Lemon, almond and vanilla all mixed together that creates this deliciously addicting combo for all baked goods. Here is a list of cookies that uses this extract.
Products I recommend.
Above are some products that I personally use and recommend for this recipe and to have for everyday use. I highly suggest the ice cream maker that I listed above. It's cheaper than others and it does it's job just like the other's. It's also easy to clean and super easy to use!
_________________________________________________________________________
princess ice cream

vanilla ice cream flavored with princess extract and a raspberry swirl
raspberry swirl
- 1 cup fresh raspberries
- 1/4 cup granulated sugar
ice cream
- 2 cups milk
- 1 1/2 cup heavy cream
- 1 cup granulated sugar
- pinch salt
- 1 tsp princess extract
- 1/2 tsp vanilla extract
raspberry swirl
- place the ingredients into a small pot and bring to a simmer, letting the raspberries disintegrate and liquefy, about 5 minutes. strain the raspberries through a fine mesh sieve and place the sauce into the fridge to cool.
ice cream
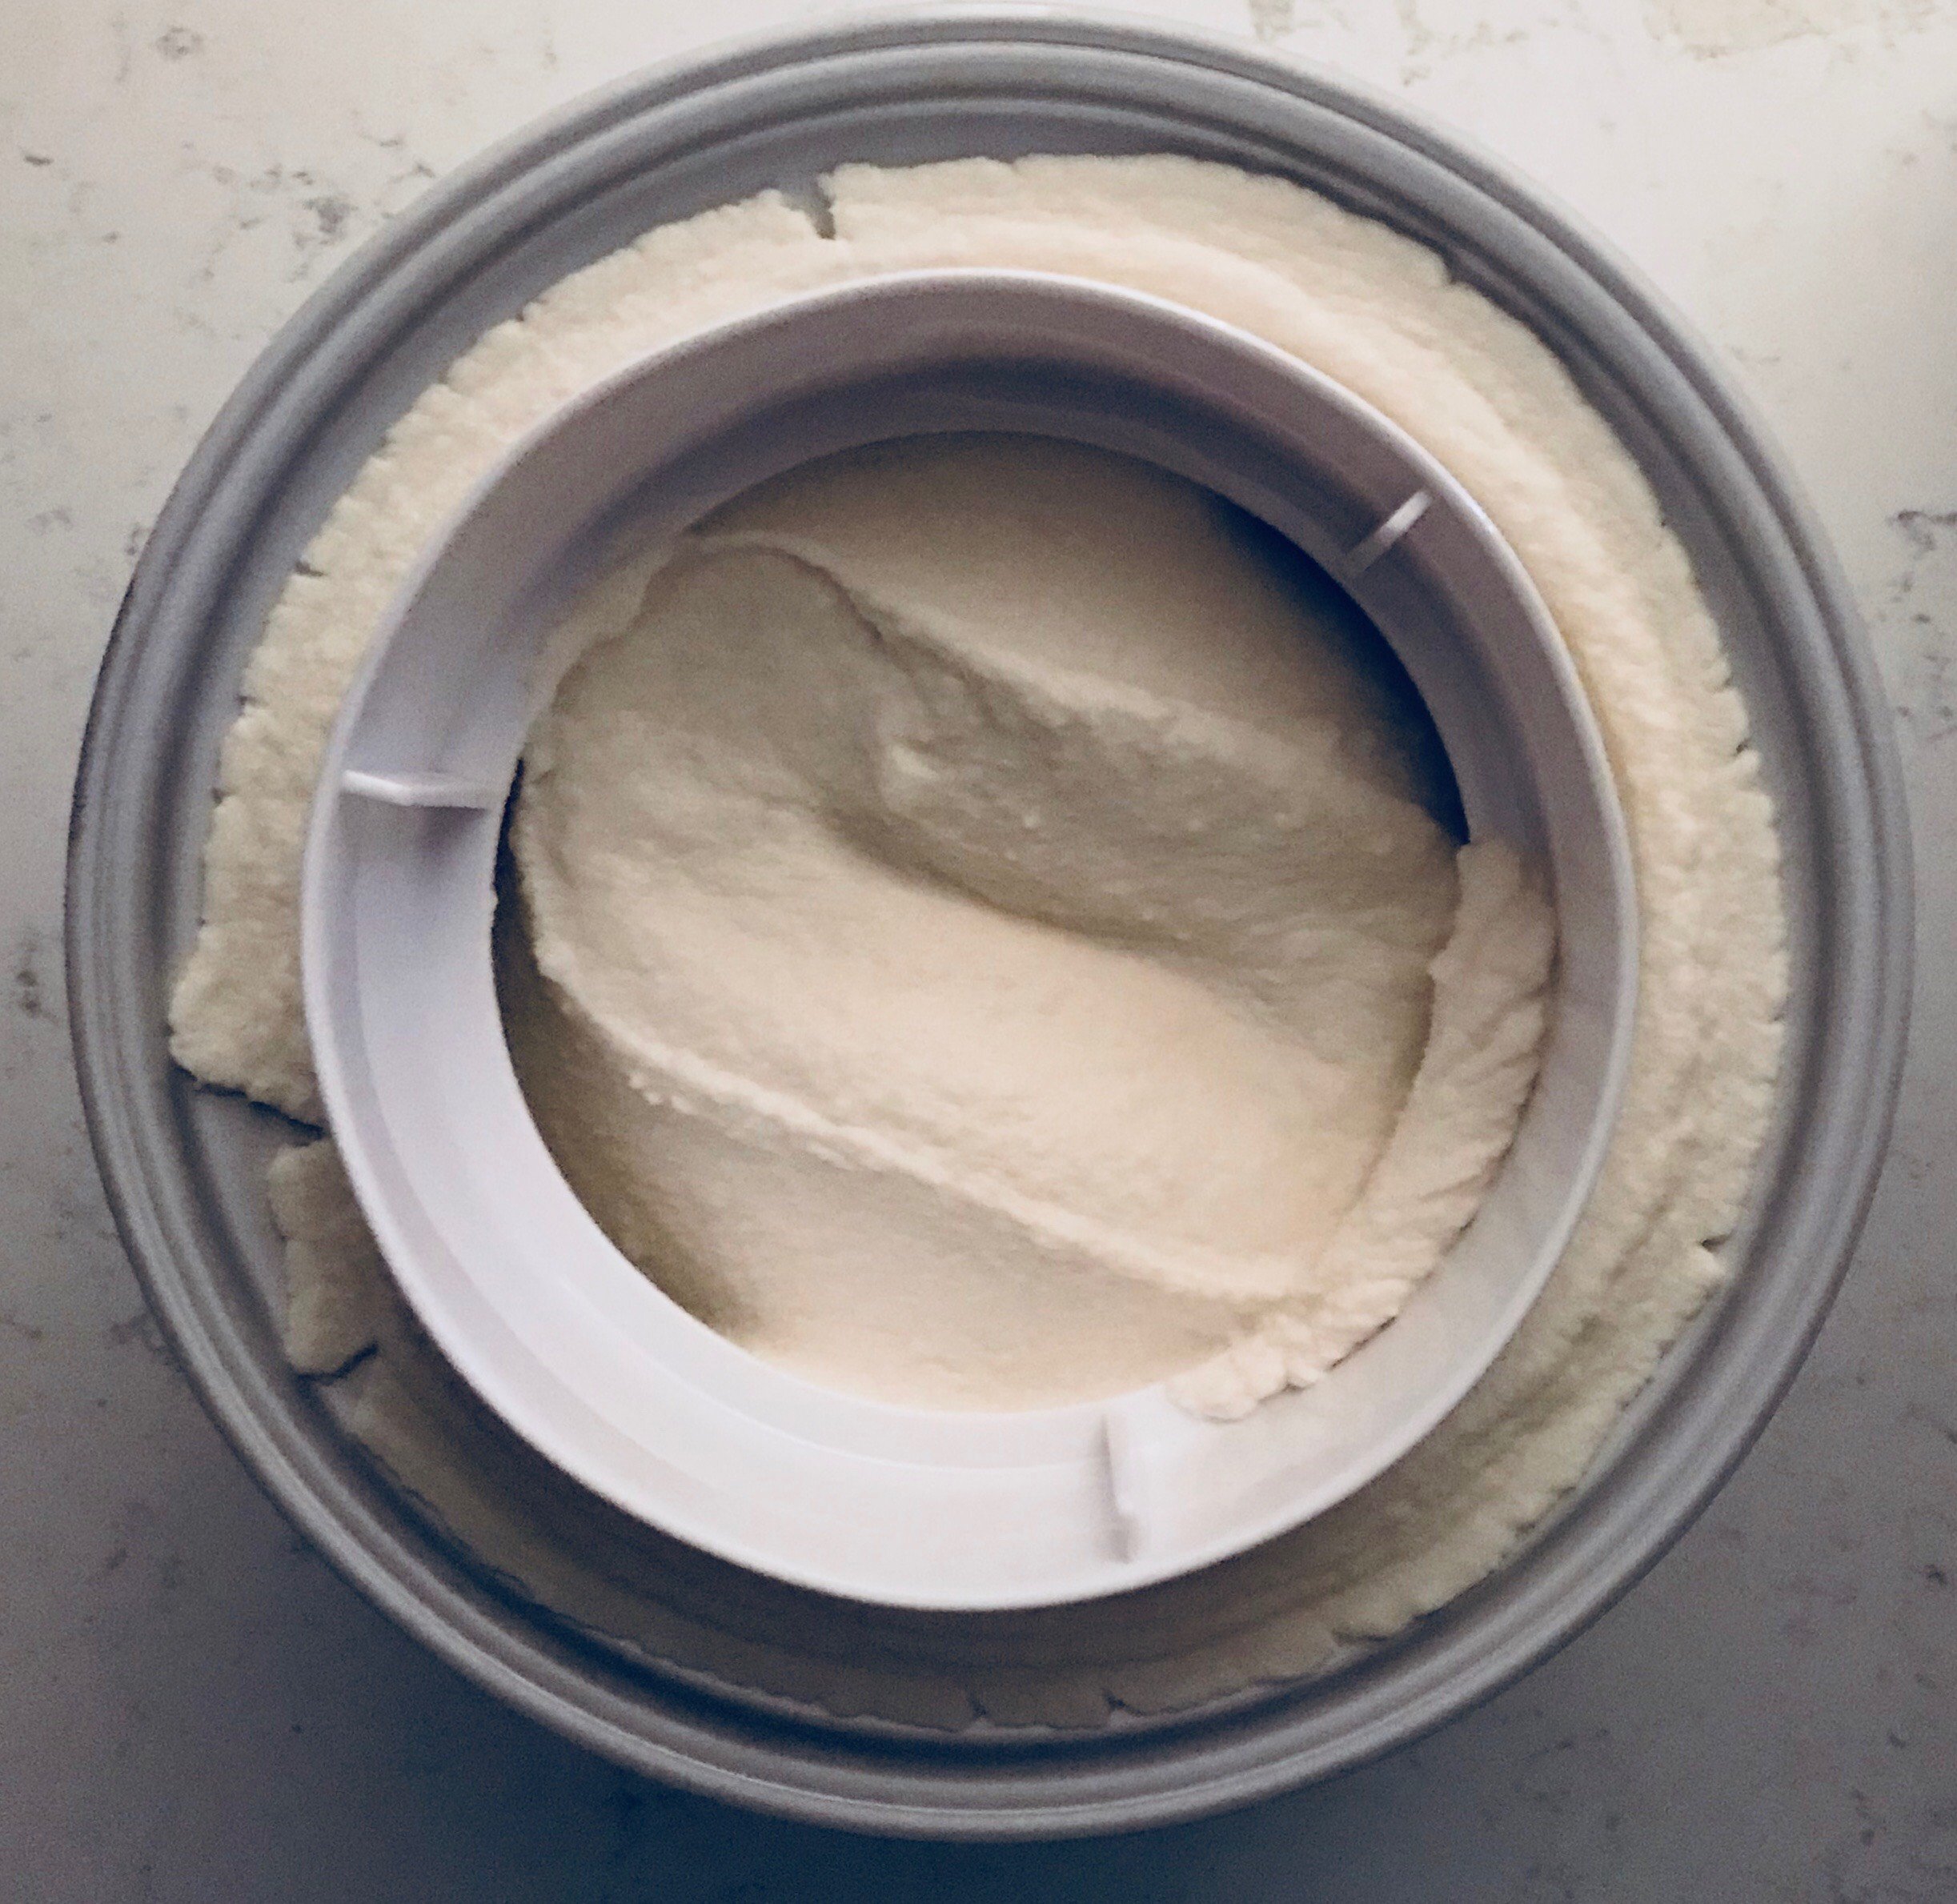
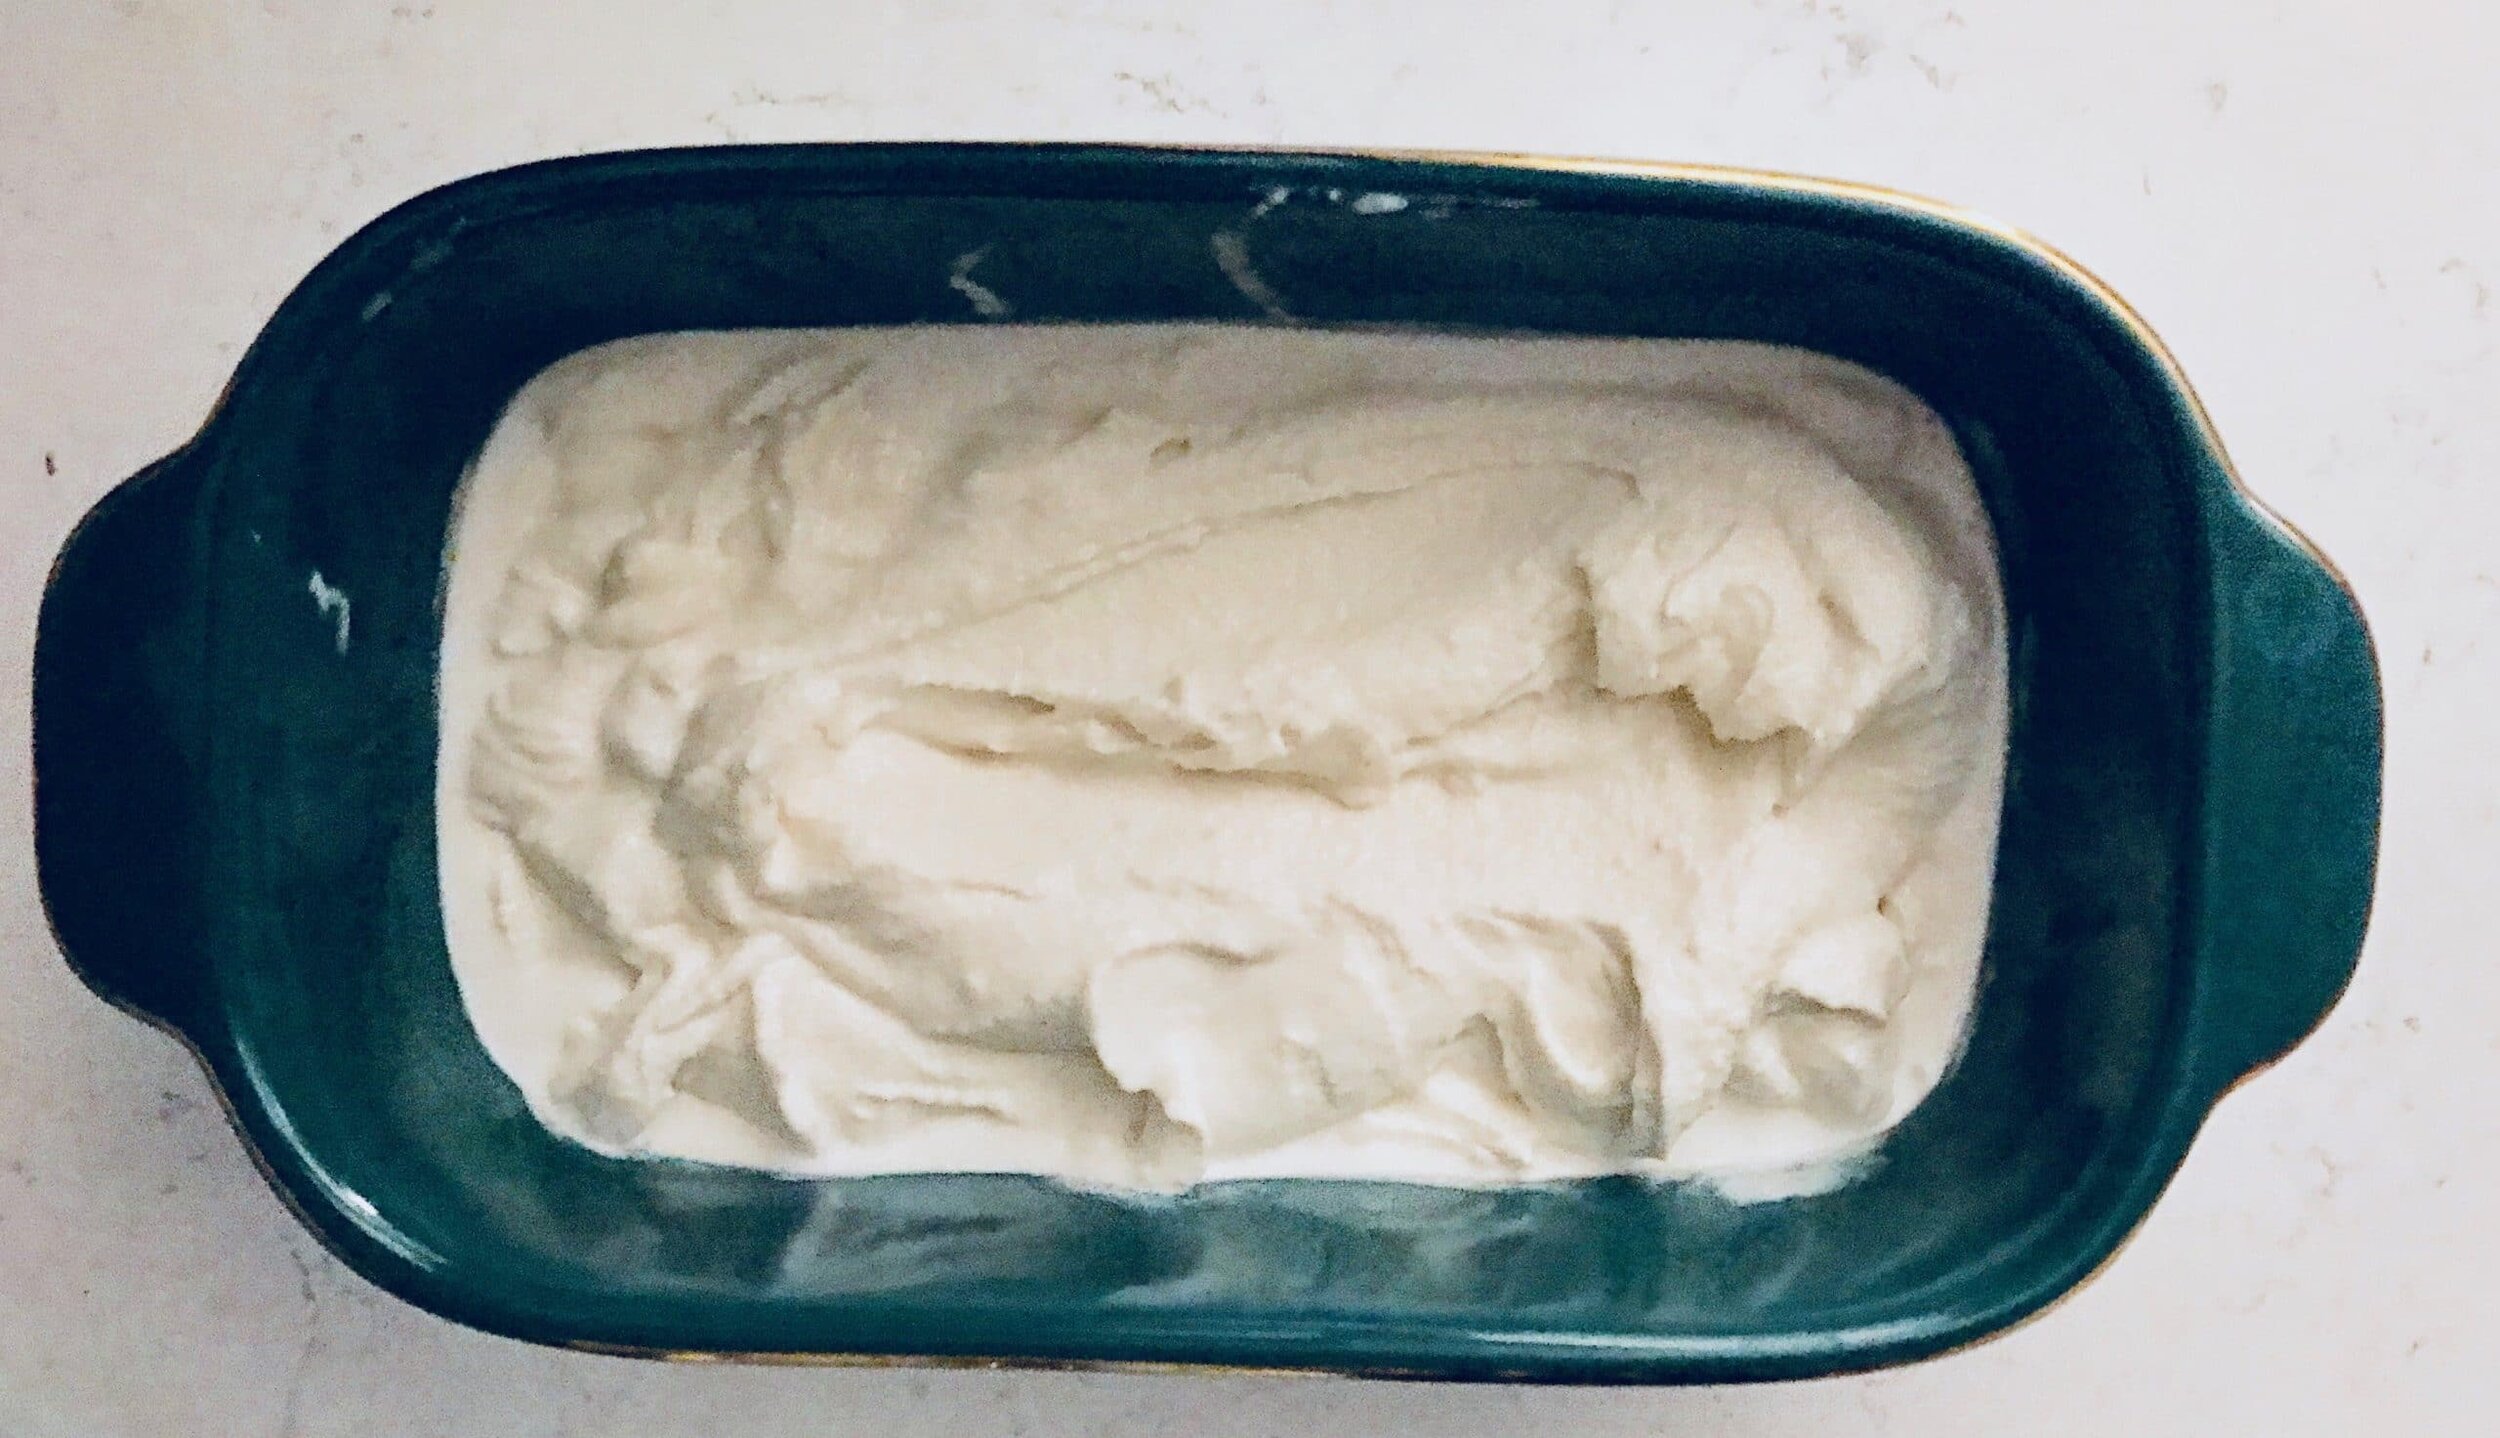
- place all of the ingredients into a small pot and bring to a boil, whisking to make sure the sugar dissolves. place the ice cream base into the fridge overnight to cool and to let the flavor increase. following the manufacturer's instructions of your ice cream machine, turn the base for 20-25 minutes. place 1/3 of the ice cream into a freezer safe container and take some of the raspberry sauce and swirl into the ice cream. repeat the process layering the ice cream and swirling the raspberry sauce. place the ice cream into the freezer for 1-2 hours to harden.
White Chocolate Cut Out Cookies

*This post contains affiliate links. Please read disclosure to learn more.
Somehow I seem to just find an idea pop right into my head at a random time. That's what happened with these white chocolate cut out cookies. I had gotten the idea to do something with unicorns from this cute print I found. These adorable unicorn designs on Pinterest by Heather Ross. Super cute right?
Usually I come up with the design before the flavor of one of my creations. It can be a little hard coming up with a flavor profile, so sometimes I take inspiration from the design itself. Colors or the character that is in the design can bring a lot of inspiration. When I think of unicorns, I think of sugar and sparkles. What's more sweet than white chocolate?
Cookie process
Making a cut out cookie with white chocolate was interesting. I wanted it to taste just like white chocolate but I also didn't want them to turn into a hard rock. The recipe did turn out just right and tasty, although the end result is a little crinkly so it resembles more of a classic sugar cookie. I think that with these cookies you could easily just do a drop cookie right when the batter is made; even roll the cookie in some sugar too. If you want to make them into shapes, just wrap the dough and chill it for about an hour in the fridge before rolling.
Make it fun!
I decorated these cookies with a simple buttercream (salt added to cut the sweetness) and topped it with a thin piece of fondant. If you like the idea of decorating them the same way but hate fondant, i'd suggest trying modeling chocolate instead. You can either buy modeling chocolate or use candy melts and make your own. It's super easy to find a recipe for it too!
To decorate the cookies I used my projector to paint the unicorns on them. They turned out scrumptiously cute and taste like sugar cookies to me but with a hint of white chocolate. Soft on the inside and the edges have a slight crunch to it from the white chocolate getting caramelized in the oven.


Products I recommend.
Above are some products that I personally use and recommend for this recipe and to have for everyday use. My absolute favorite is the BlueQ oven mitts. I have a collection of them and I love them! They are great quality and it’s nice to have a kitchen item with a sense of humor.
________________________________________________________________________
white chocolate cookies

these white chocolate cookies are sweet and delicious and what's more fun than cutting your cookies out into cute shapes?
- 2 sticks softened butter
- 12 oz white chocolate (melted)
- 2/3 cup granulated sugar
- 3 eggs
- 3/4 tsp vanilla extract
- 1 tsp salt
- 1 1/2 tsp baking powder
- 3 1/2 cup all-purpose flour
- melt the white chocolate in the microwave for 15 second bursts, stirring each time in between. in the bowl of an electric mixer fitted with a paddle attachment, cream the butter, white chocolate, and sugar until smooth. scrape the sides of the bowl. add in the eggs and vanilla extract and mix until incorporated. add in the salt, baking powder, and the flour gradually until fully mixed. divide the dough in half and wrap in cling wrap. chill for at least an hour.
- preheat the oven to 350 degrees F. dust your counter and rolling pin with flour or powdered sugar. roll the dough to 1/4 inch thick and use cookie cutters to cut out shapes. place onto a sheet pan lined with parchment paper and bake for 8-10 minutes or until the edges are golden brown. let cool.
- you can eat as is or decorate with some simple buttercream!


