Olive Oil Pumpkin Cupcakes with Rosemary Buttercream
These lightly spiced olive oil pumpkin cupcakes with rosemary buttercream are a refreshing fall treat. Different and delicious, these cupcakes are easy to make with a few simple steps that are filled with flavor.
Top view of a single cupcake unwrapped.
Pumpkin is a fall staple. You have the pumpkin spice anything, everywhere. So why not take it and make it a little different this year? Like these olive oil pumpkin cupcakes with rosemary buttercream! It's different but still oh so good, and anyone with hankering of a savory sweet dessert will love these!
What You'll Need
Olive oil - To make a cake olive oil based, you only need to replace the vegetable oil with good quality olive oil. The olive oil adds in flavor while adding moisture to the cake.
Pumpkin puree - A very important ingredient for these cupcakes, I just bought a can of Libby's pumpkin puree from my local grocery store.
Rosemary - When making the rosemary buttercream, make sure you get fresh rosemary from the produce section of the grocery store. DO NOT use the dried rosemary in your spice cupboard!!!
Row of three olive oil pumpkin cupcakes with the rosemary buttercream.
How to make these olive oil pumpkin cupcakes
Combine all of the dry ingredients and sugars into a large bowl.
Using a whisk, mix the dry ingredients together.
In another bowl, combine all of the wet ingredients.
Mix the wet ingredients together with a whisk.
5-6. Pour the wet ingredients into the bowl of the dry ingredients and mix together.
7. Using a cookie scoop, portion the batter into the cupcake tin.
How to make rosemary buttercream
It's incredibly easy to make a simple rosemary buttercream. You just need to make a simple buttercream and then add in some finely chopped rosemary! That's all there is to it.
Make a simple buttercream by mixing butter and powdered sugar.
Remove the rosemary from the stem and finely chop it.
Add into the buttercream and mix it for a minute to incorporate.
Olive oil pumpkin cupcakes unwrapped and cut open face.
Tips & Tricks
Not sure if you'd like these olive oil pumpkin cupcakes with rosemary buttercream? No worries! You don't have to use olive oil. It can easily be replaced with regular vegetable or canola oil and just be a simple pumpkin cupcake. Not sure about having rosemary in the frosting and think that it might be a bit too weird? You can just skip it completely and make a cream cheese buttercream instead if you want! Either way it will be a delicious pumpkin cupcake!
Other recipes to try!
______________________________________________________________________________________
olive oil pumpkin cupcakes with rosemary buttercream
these pumpkin cupcakes are on the savory side with olive oil and a sweet rosemary buttercream
cupcakes
1 1/2 cup all-purpose flour
1/2 cup granulated sugar
1 tsp baking soda
1/2 tsp salt
1 1/2 tsp cinnamon
1/2 tsp ginger
1/4 tsp cloves
2 eggs
1/2 cup olive oil (you can use canola oil as well)
1 tsp vanilla extract
1, 15 oz can pumpkin puree
1/2 cup milk
buttercream
3 sticks salted butter
4 cup powdered sugar
2 tsp vanilla extract
1-3 tbsp heavy cream
1-2 tbsp finely chopped rosemary sprigs
cupcakes
preheat the oven to 350 degrees F and line cupcake pans with liners. in a large bowl, combine the flour, sugar, baking soda, cinnamon, ginger, and salt and mix until incorporated. in another bowl, combine the olive oil, eggs, vanilla, pumpkin puree and milk and whisk together. pour the wet ingredients into the dry and mix until fully combined. scoop the batter in the cupcake pan and bake for 12-15 minutes or until a toothpick comes out clean. let the cake cool for 10 minutes before frosting.
buttercream
put all of the ingredients into the bowl of an electric mixer fitted with a whisk attachment. start slow and then gradually increase the speed. whip on high until light and fluffy, about 3 minutes. add in the rosemary.
Scooby Doo Haunted Castle Cake Tutorial
This haunted castle cake featuring Scooby Doo and Shaggy is not only easy to make, but is an instant cake that any child or adult will fall in love with. With just a few tools and simple steps, you can create this cake at home too!
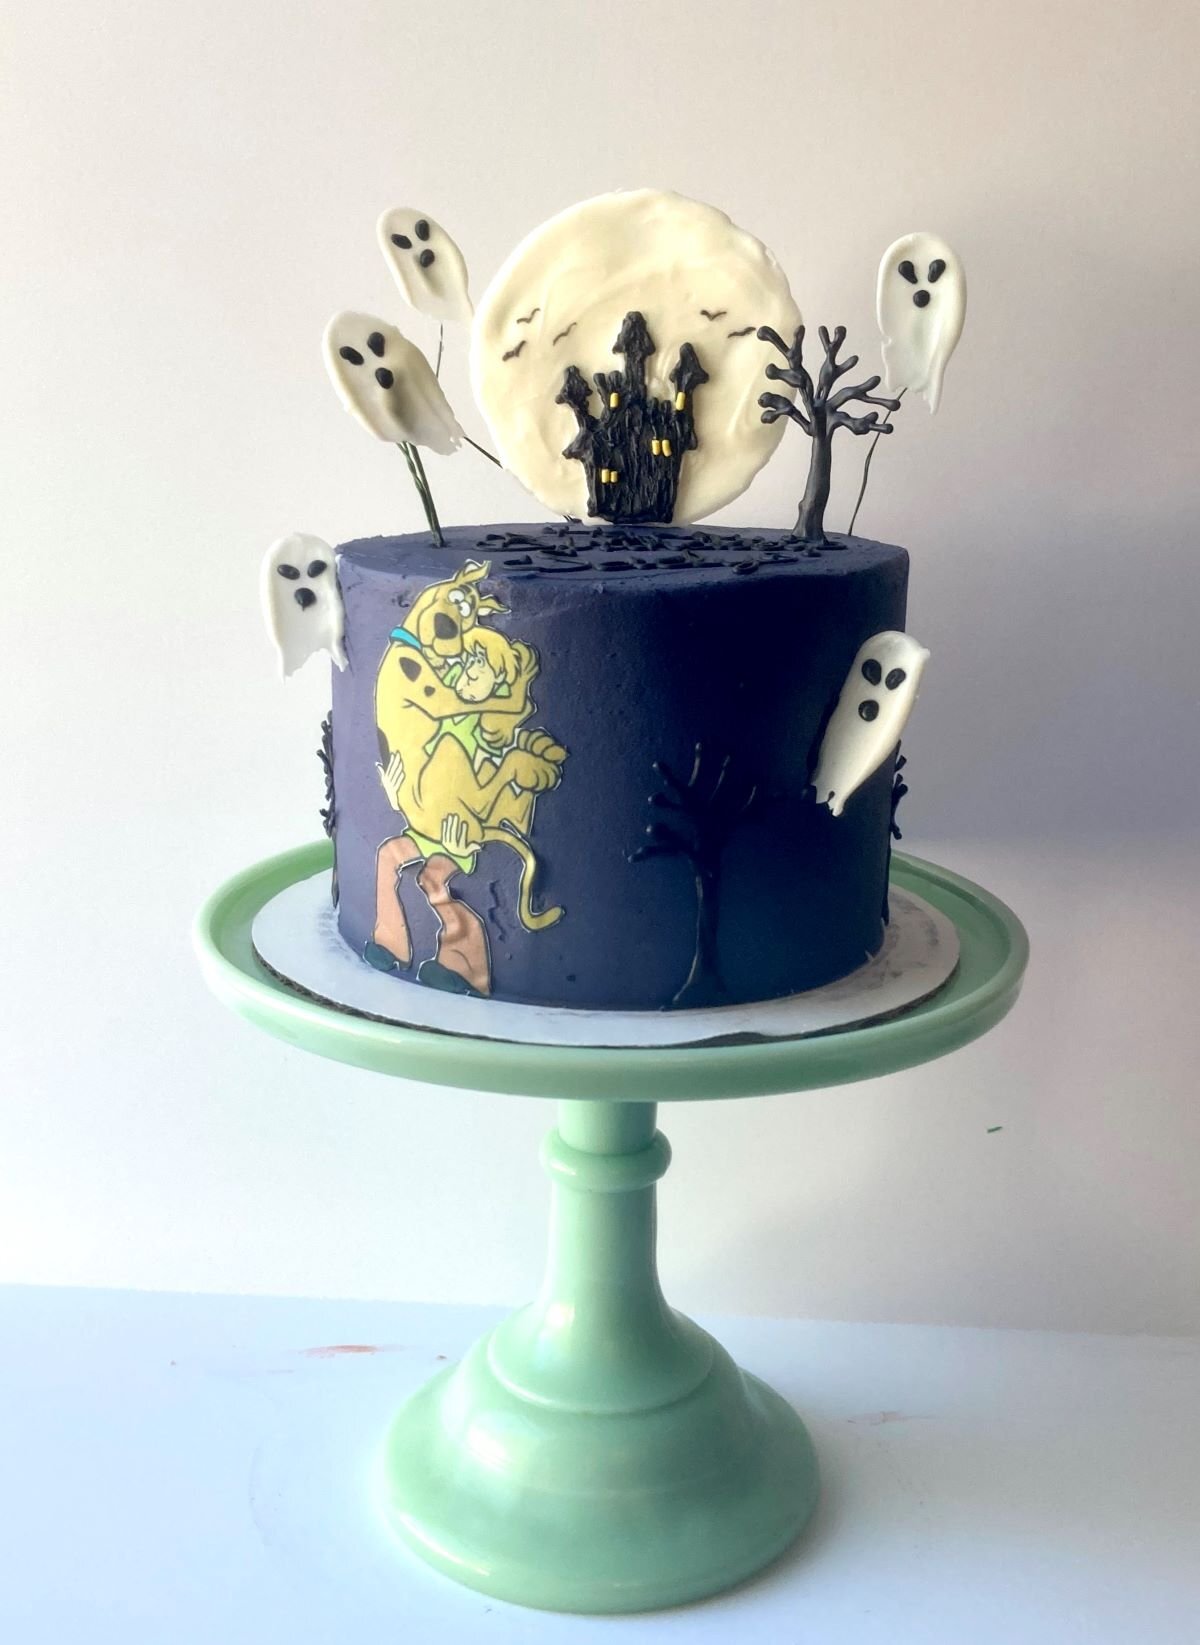
I had so much fun making this Scooby Doo haunted castle cake! My sister requested a birthday cake a few weeks back wanting it to be Scooby Doo themed. Like always, I have to research Pinterest for ideas, which usually ends up being combining 2 or even 3 different cake ideas into one. And then this haunted castle cake came about. Something easy, simple and not difficult to make at all. Just a few simple tools and pieces of equipment that are easy to find at your local craft store.
What You Will Need
- Cake: 3, 6-inch cake layers of your choice of flavor.
- Buttercream: 1 large batch of simple butter cream in a dark purple color.
- Black candy melts
- White candy melts
- Yellow jimmy sprinkles
- Floral wire
- Edible images of Scooby and Shaggy (optional).
How to Make This Haunted Castle Cake
Making this cake is really only a few simple steps that requires using candy melts! It's easy, straightforward, and customizable too! All you need is a few tools and some wax paper to get your chocolate decorations just right!
How To Make The Moon & Haunted Castle

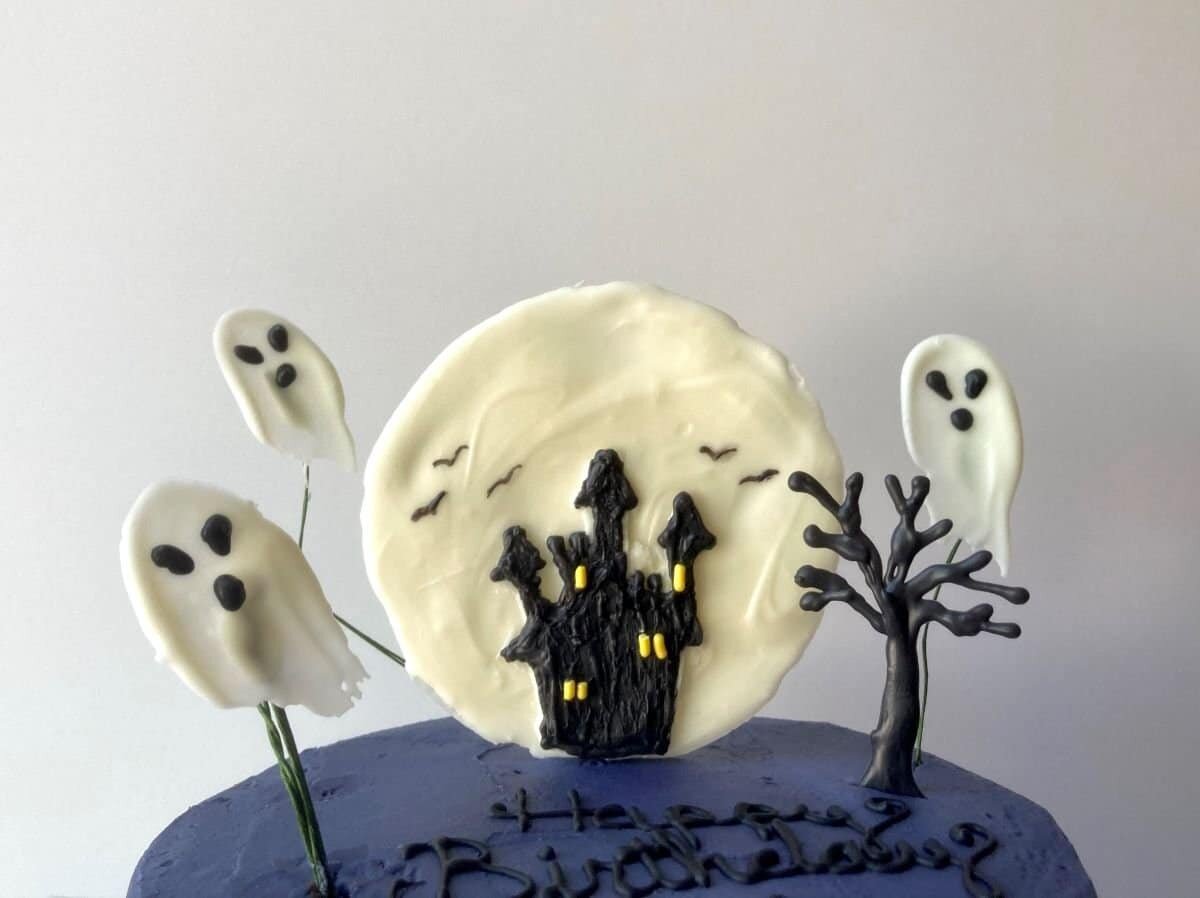
- Melt the white candy melts and create a large round, about 4-5 inches in diameter.
- Melt the black candy melts and free hand a castle.
- Add some yellow jimmy sprinkles to the castle for the lights.
- When dry, flip over and place the large lollipop stick to the back of the chocolate moon and glue it with more chocolate.
How To Make The Ghosts

- Place a small dime size of melted white candy melts on some wax paper.
- Take a small offset spatula and place on the chocolate and drag down.
- Take a small piping bag of black candy melts and pipe a ghost face.
- Glue the floral wire to the back of the ghost.
Tips & Tricks
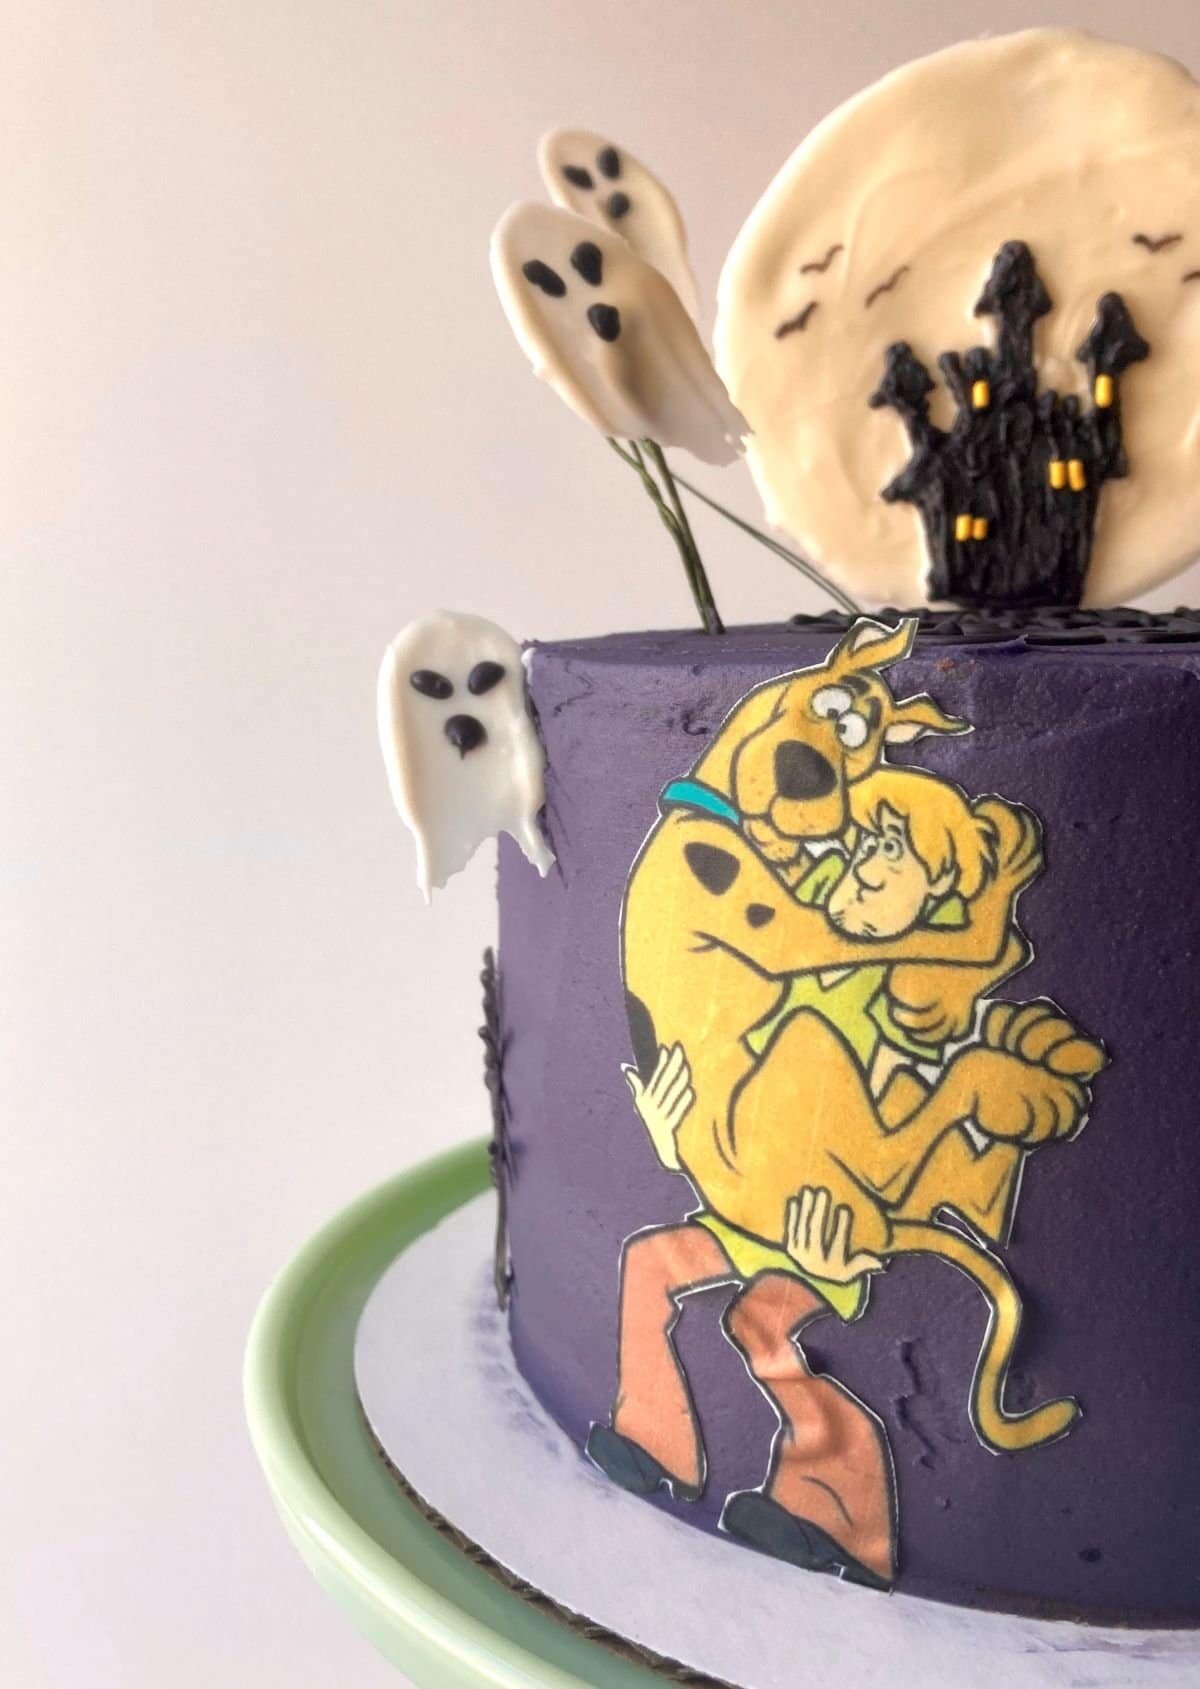
- Take the black candy melts and free hand some spooky trees to help bring the cake together even more! You can even add in some classic Scooby Doo spooky eyes to the side of the cake too.
- On the chocolate "moon", you can take a small paint brush and some black food color and paint on some bats for an added effect and to make the castle pop!
- If you don't have a way to get any edible images of Scooby Doo and Shaggy, then you can completely omit it. The cake will still look absolutely amazing either way! Or you can pipe it out using candy melts and a printed image as a stencil to place on the side of the cake instead!
Other Recipes You May Like
Scooby Doo Ice Cream Sandwiches
Scooby Doo Haunted Castle Cake

A easy cake tutorial on creating a haunted castle scene made with candy melts, featuring Scooby Doo and Shaggy.
- 1 cup white candy melts
- 1/2 cup black candy melts
- 1 cake (3, 6-inch layers)
- 1 batch buttercream (colored dark purple)
-
Frost your choice of cake with the dark purple buttercream. Let chill until the buttercream has set.
Chocolate Moon & Haunted Castle
-
Place a piece of wax paper on the counter. Melt the white candy melts in a piping bag, in 15 second intervals, until melted. Pipe out a large round, about 4-5 inches in diameter. Let set.
-
Melt the black candy melts in a piping bag and free hand a castle on top of the chocolate "moon". Before the chocolate starts to set, place the yellow jimmy sprinkles to resemble the windows of the castle. Let set.
-
Take the large lollipop stick or skewer and glue it to the back of the chocolate "moon". Let set.
Chocolate Ghosts
-
For the chocolate ghosts, pipe dime size rounds of the white candy melts on wax paper. Take a small offset spatula or a butter knife and gently place on top of the chocolate and drag down. Let set.
-
Take the black candy melts and pipe on the faces of the ghosts. Let set.
-
Using the floral wire, gently flip the chocolate ghosts over and glue the floral wire to the back of them using a little more white candy melts. Let set.
Assembly
-
To assemble, carefully place the lollipop stick with the chocolate "moon" into the cake.
-
Carefully take the chocolate ghosts on the floral wire and place randomly on the cake.
-
If you have edible images of Scooby and Shaggy, then carefully brush the back of the image with some corn syrup and place on the cake.
Alien Cake Pops
Out of this world alien cake pops makes for a fun treat this Halloween! Easy to make with only a few ingredients and steps to create these fun cake pops.

Cake pops are all the rage these days as they are a easy, handheld treat that comes in all shapes and colors. Kids love them with all of the fun designs that the cake can be molded into, like these aliens!
I went on a crazy chocolate mold shopping spree awhile back and I had saw this alien mold. When I saw it I knew that I had to buy it! It's meant to be a chocolate lollipop mold, but that doesn't mean you can't get creative with it. That's when I thought of making them into alien cake pops!

What You Need
- Chocolate mold: You will need this alien chocolate mold.
- Lollipop sticks
- Cake: Bake whatever kind of cake you like! It can be your family's favorite from scratch or just a simple box mix.
- Frosting: You will need a small batch of simple buttercream. You can always use store bought frosting too.
- Candy melts: Green and black candy melts are the main colors that you will need, but you can always use a different color.
How to Make the Alien Cake Pops
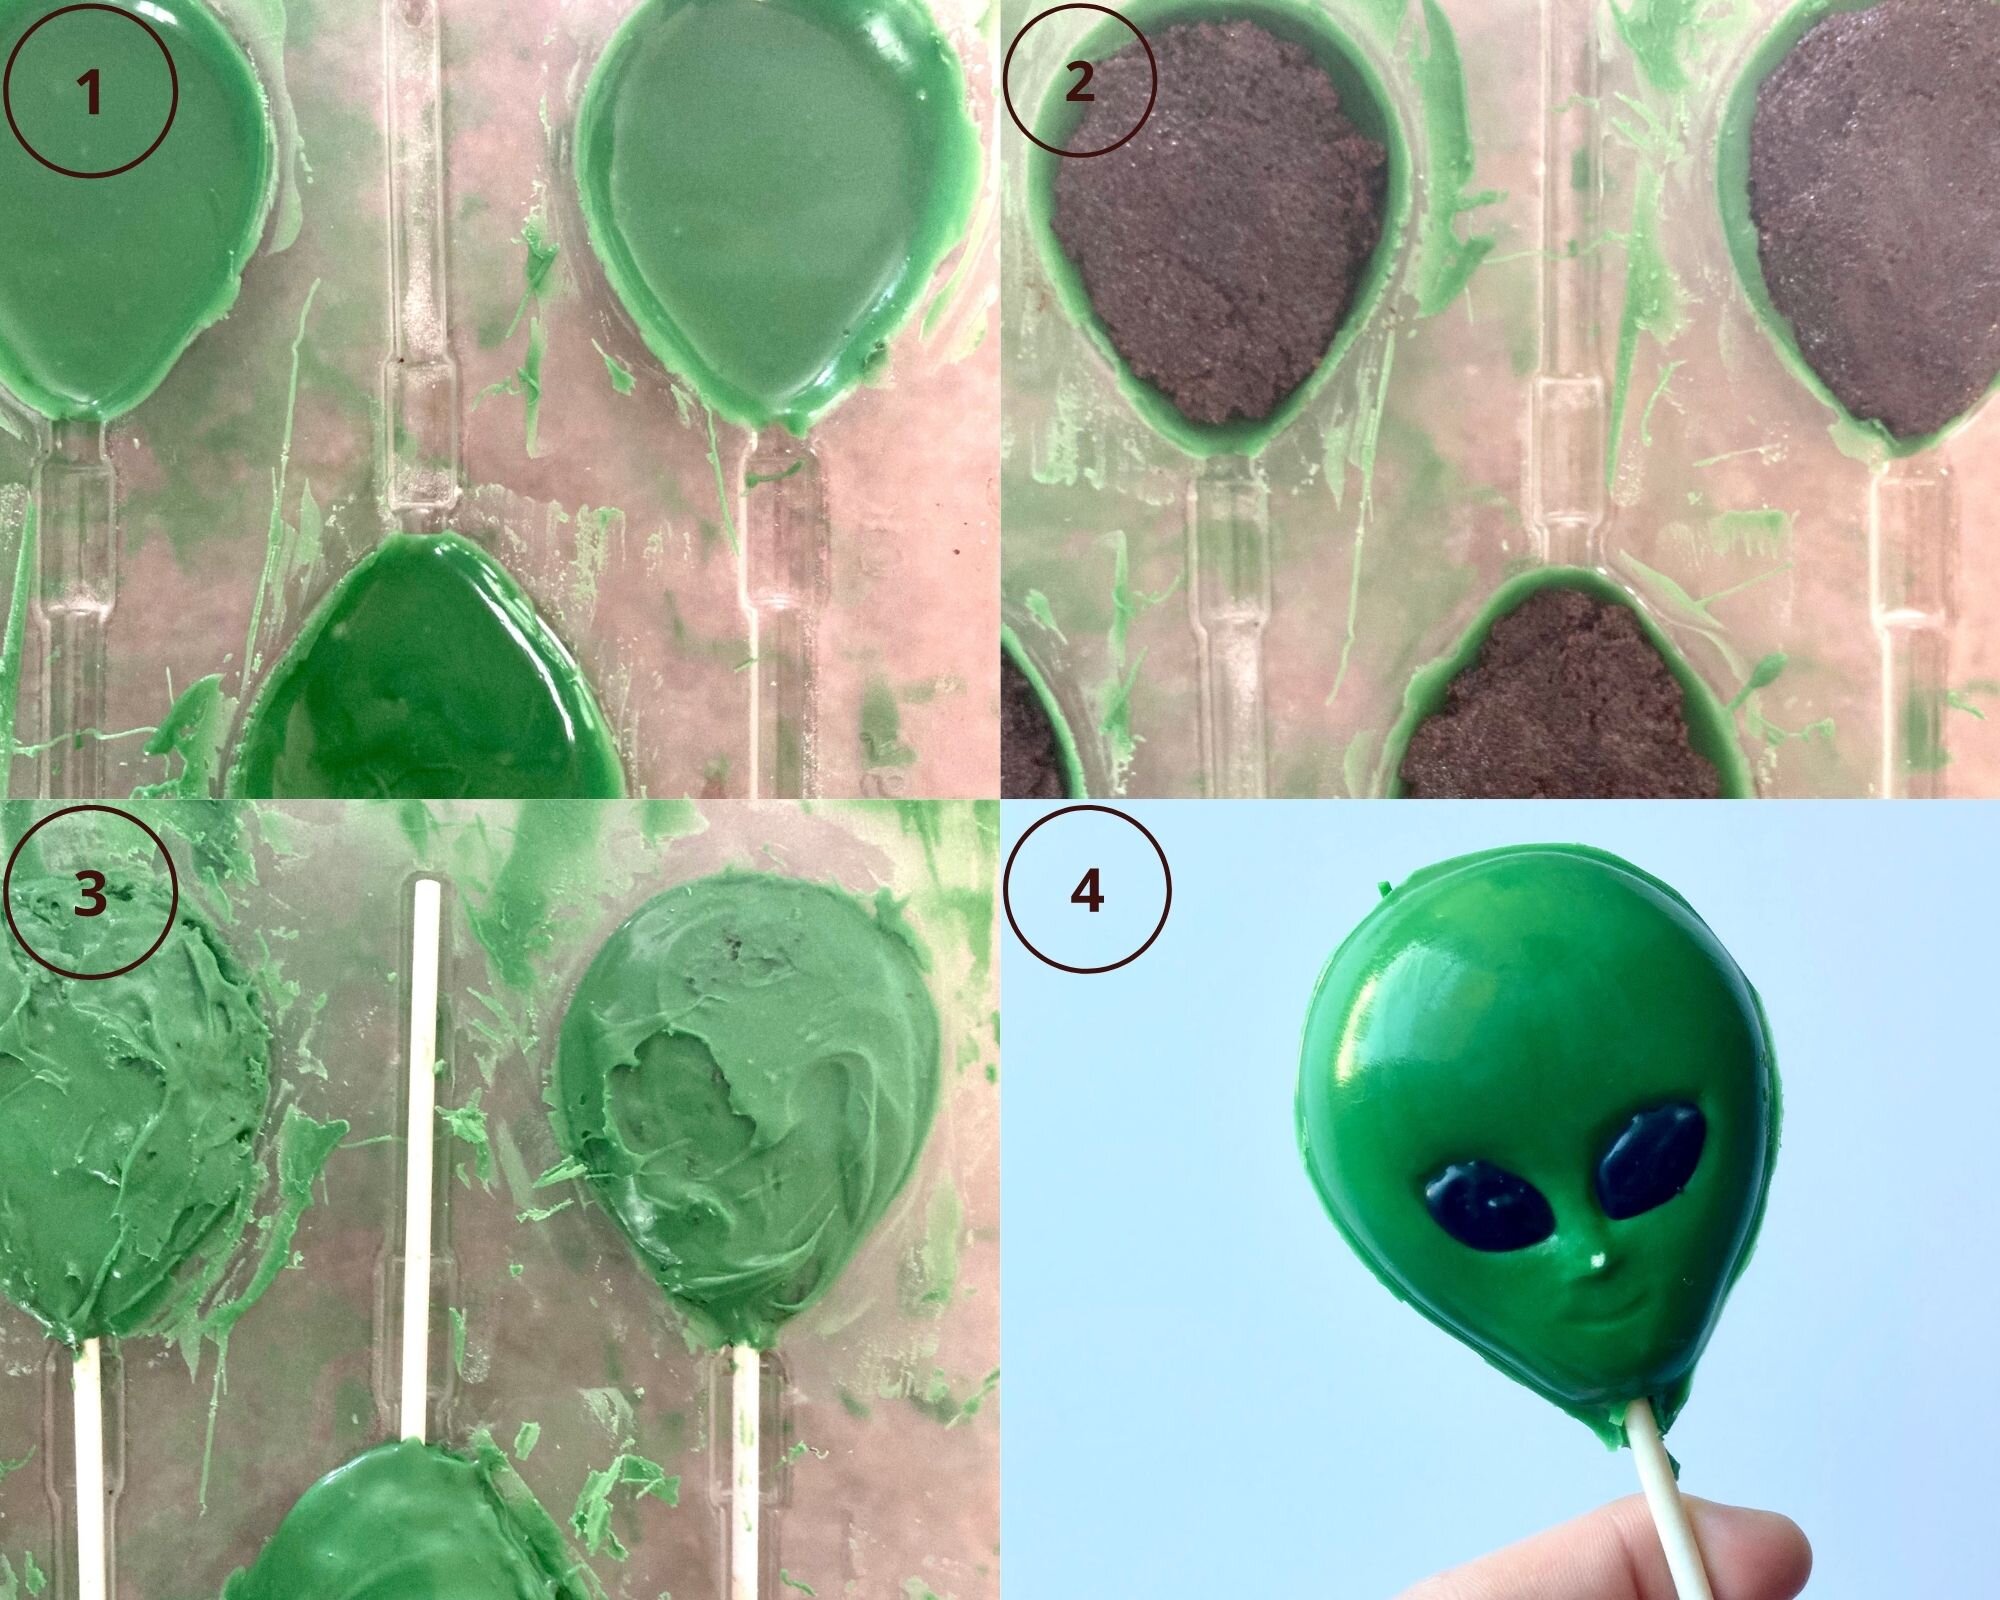
- Start by melting the candy melts and putting a little into each mold and spreading it around to create a nice smooth base.
- Fill each mold 3/4 of the way with the cake pop mixture.
- Top with more chocolate and let harden.
- Remove the alien cake pops from the mold and add the details with the black chocolate.
Tips & Tricks
- Tap the mold against the counter to create that nice smooth finish for when you take the cake pop out of the mold.
- Make sure not to fill it too much with the cake mixture or else when you add the rest of the chocolate it won't get that flat surface, but it doesn't have to be perfect either.
- You can always add in the black chocolate details beforehand. Just take a small piping bag and pipe in the details. Let it harden and then continue following the rest of the steps to make these cake pops.
Other Recipes You May Like
Vanilla Cake with Pumpkin Spice White Chocolate Ganache
Alien Cake Pops

Cake pops made in the shape of alien faces with the help of a chocolate mold.
- 1 bag green candy melts
- 1/4 cup black candy melts
- 1 cup frosting
- 1 cake (baked in a 8x8 inch pan)
-
Take the cake and crumble it up. Add in the frosting and mix it up until the cake starts to stick together easily and can be formed into balls. Cover and set aside.
-
Melt the green chocolate and spread a thin layer into each mold. Let set.
-
Add in enough cake pop mix to fill up 3/4 of the mold. Insert the lollipop sticks and cover it with the cake.
-
Top with more chocolate and let set until firm.
-
Once firm, carefully remove from the mold and add in the details of the eyes with the black chocolate.
This can be time consuming if you only buy 1 chocolate mold. You can always make cupcakes and use a few cupcakes instead of making a cake for these cake pops.
Butterfinger Poke Cake
This Butterfinger poke cake is filled with caramel, sprinkled with crushed Butterfinger candies and topped with a smooth layer of fresh whipped cream. It's easy to make and a crowd pleaser favorite!
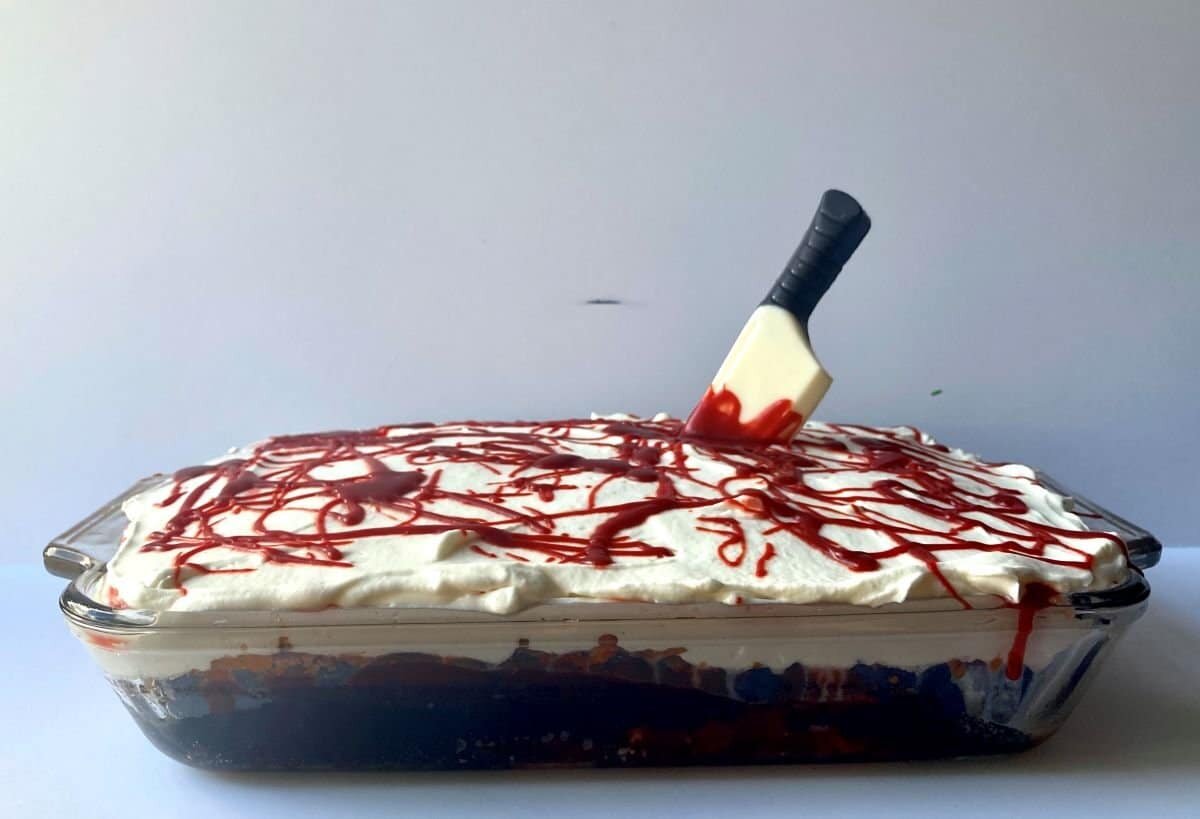
It’s almost Halloween and although this year hasn’t been the best, it doesn’t mean that you can’t celebrate a fun holiday! Grab your Scream mask from your hallway closet and show off this fun Butterfinger poke cake!
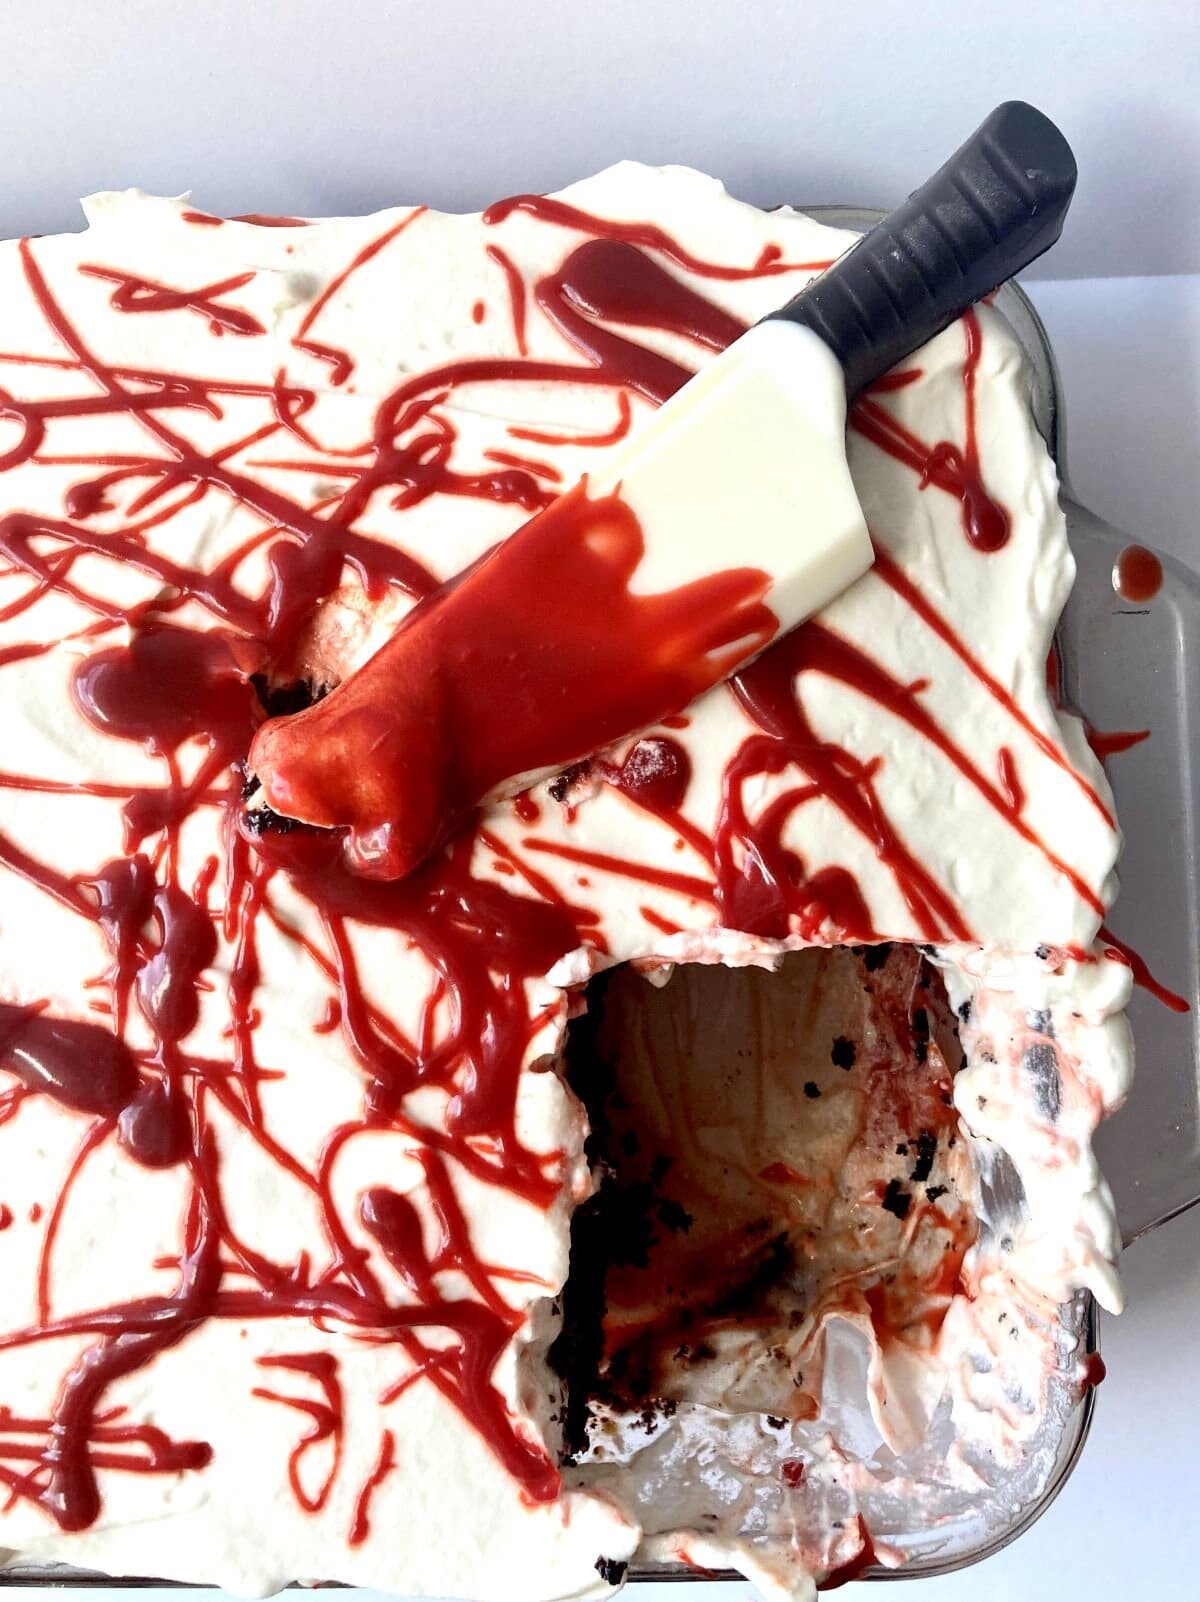
I made this Butterfinger poke cake into a gory scene by simply adding some red food color into the caramel sauce. It’s so easy and simple to make this cake as well. You can use just plain old box mix cake or go all out and make it from scratch! I highly suggest making homemade caramel sauce for this cake though. It amplifies the flavor and makes it easier to add in the red food color.
What You'll Need
- Chocolate sheet cake- you can use this recipe or you can use your favorite. Box mix works too!
- Caramel- this is important to make the cake flavorful and moist!
- Candy- I used Butterfingers but Heath bars would work really well with this too.
- Whipped cream- adding whipped cream to the top of this cake brings it to a whole new level.
How to Make This Butterfinger Poke Cake
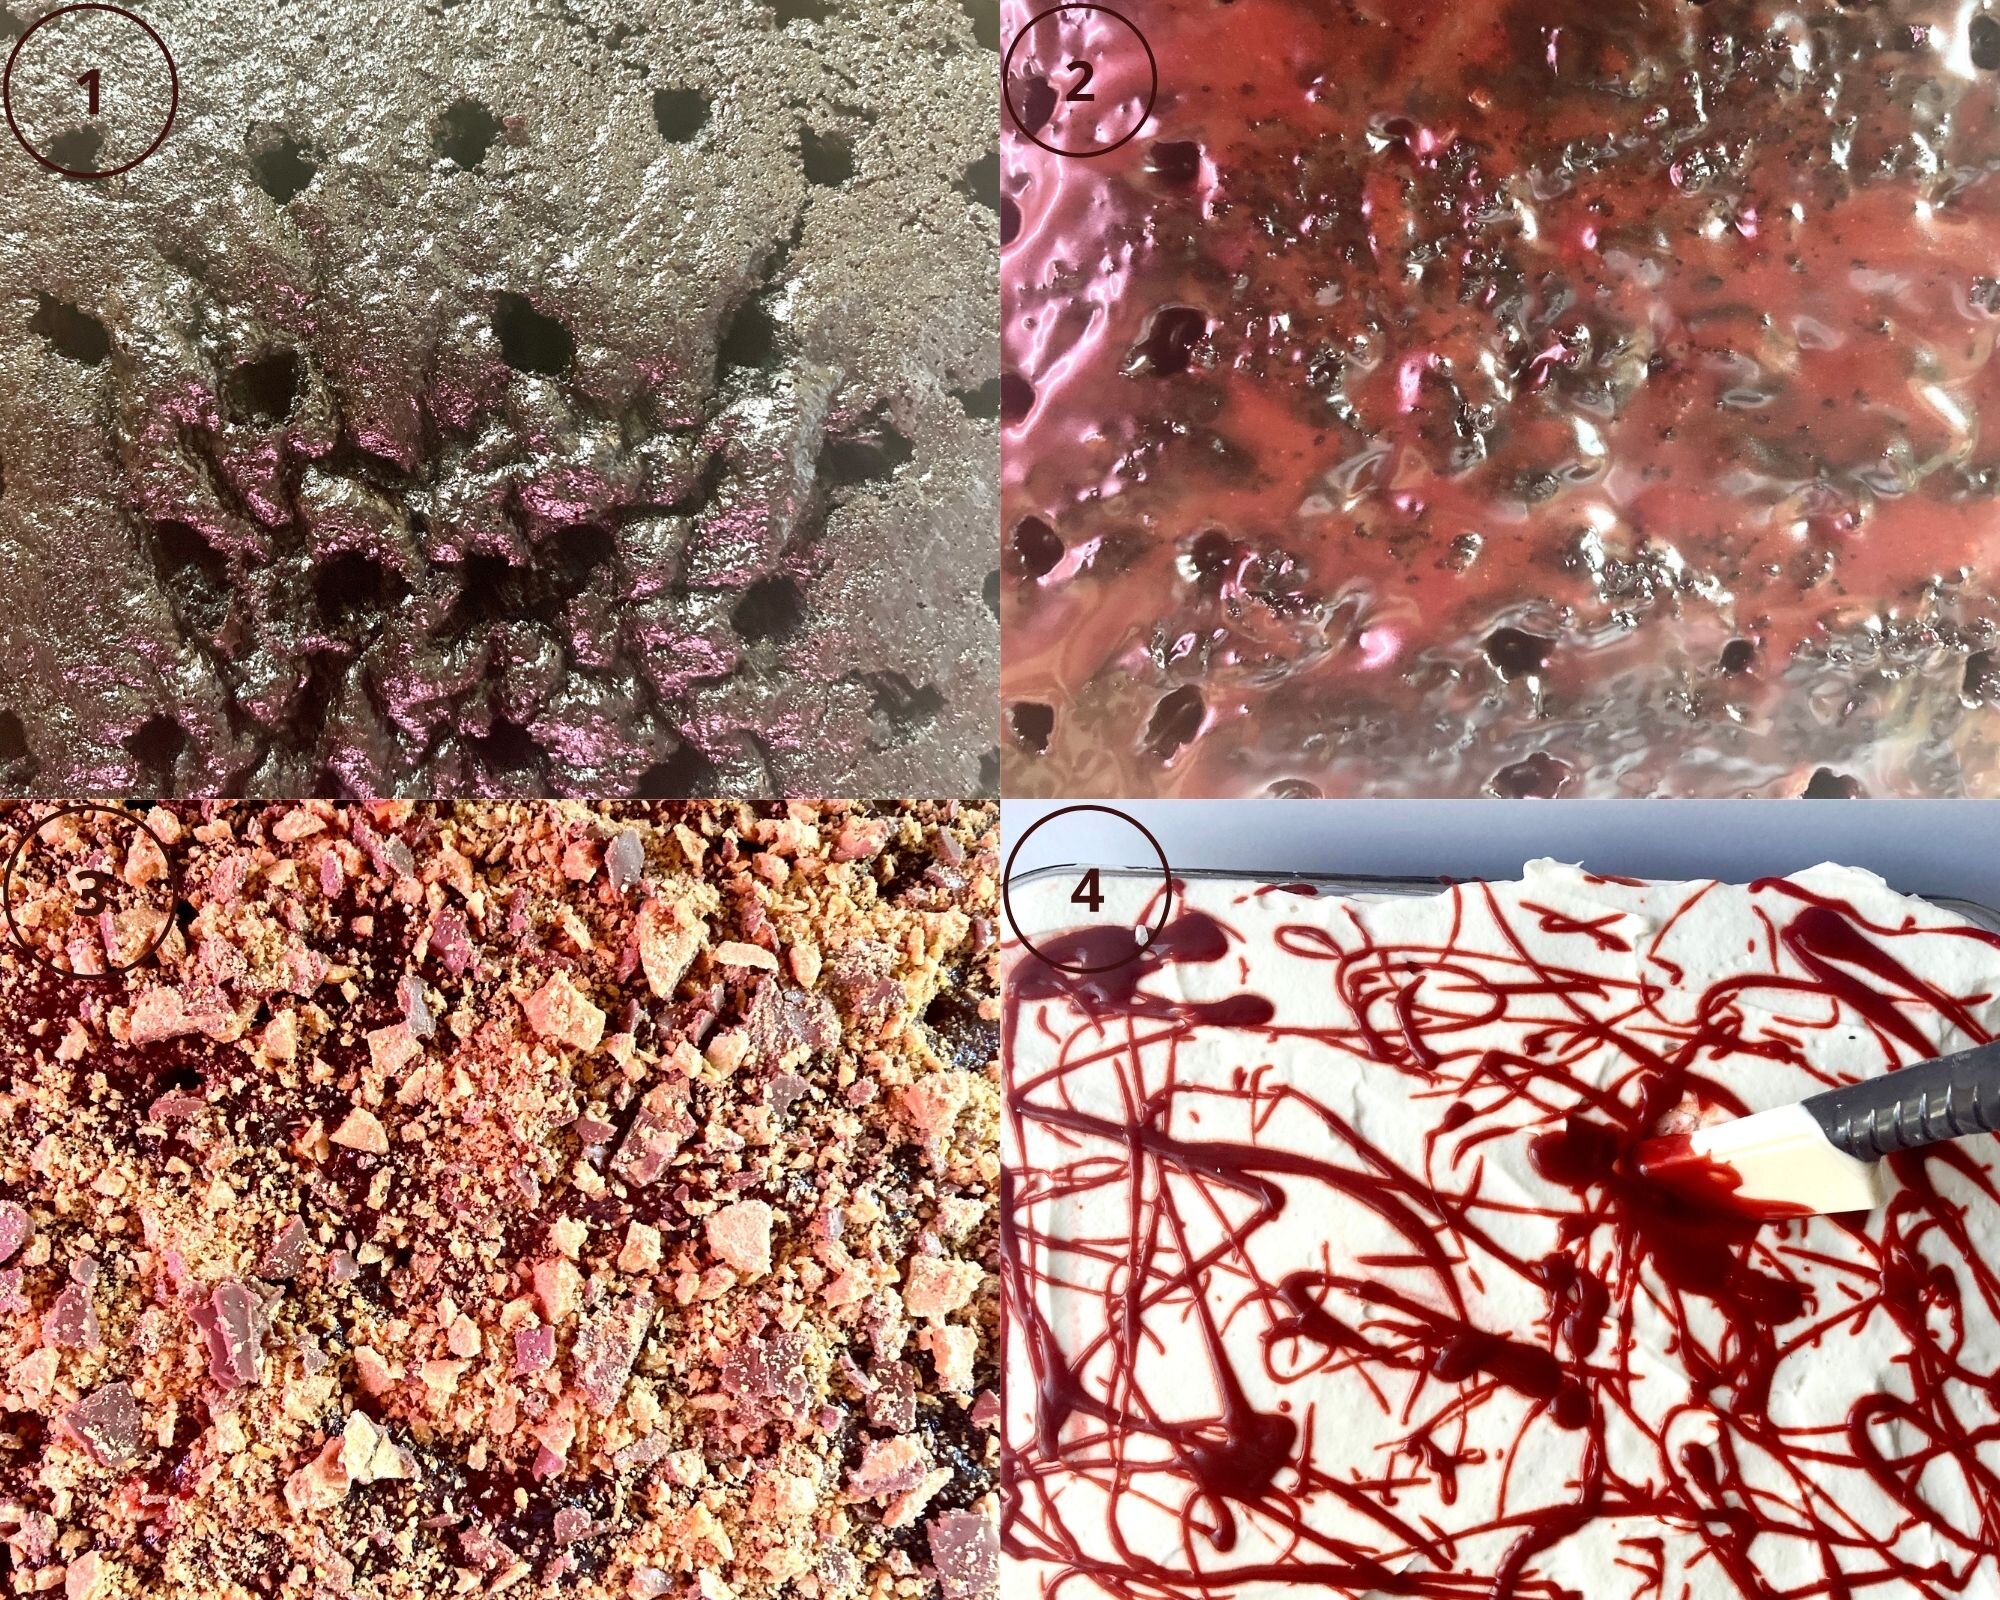
- Take your baked sheet cake and using either a large straw or a thick skewer, poke holes all throughout the cake.
- Pour the caramel over the cake, ensuring that it soaks into the holes of the cake.
- Take the Butterfinger candy and smash it into pieces. Sprinkle it all over the top of the cake.
- Spread the whipped cream over the top of the cake. You can then drizzle with more caramel and more candy pieces.
Tips & Tricks
To make this Butterfinger poke cake for Halloween, you simply just tweak one thing. The caramel. Just simply add in some red food color so it resembles blood and then add a chocolate knife on top to complete the murder scene.
Other ways to change it up is to use Heath candy bars instead of Butterfingers. It will add more of a crunch and a toffee flavor, but will still be delicious!
Other Recipes You May Like
Butterfinger Poke Cake
Chocolate cake that is soaked with a caramel sauce, topped with Butterfinger candy and fresh whipped cream.
Cake
- 3/4 cup all-purpose flour
- 3/4 cup granulated sugar
- 1/2 cup cocoa powder
- 1 tsp baking soda
- 1/2 tsp salt
- 2 eggs
- 2 tsp vanilla extract
- 1/2 cup oil
- 1/3 cup sour cream
- 1 cup buttermilk
Caramel Sauce
- 1/4 cup water
- 1/4 cup light corn syrup
- 1 cup granulated sugar
- pinch salt
- 2 tbsp unsalted butter
- 1 tsp vanilla extract
- 1/2 cup heavy cream
Topping
- Butterfinger candy (crushed)
Whipped Cream
- 1 cup heavy cream
- 1/2 cup powdered sugar
- 1 tsp vanilla extract
Cake
- Preheat the oven to 375*F and grease and line a 9.25 x 13.25 inch pan. In a large bowl combine the flour, sugar, cocoa powder, baking soda, and salt and mix to combine. In another bowl combine the eggs, oil, sour cream, buttermilk, and vanilla and whisk together. Slowly add the wet ingredients to the dry and mix to combine. Pour the batter into the prepared pan and then sprinkle as much chocolate chips as you want on top of the batter. Bake for 30-35 minutes or until a toothpick comes out clean in the center (although be careful to not mistake melted chocolate chips for batter). let the cake cool completely.
Caramel Sauce
-
Place the water, corn syrup, and sugar into a small sauce pot and place over medium high heat. Bring to a boil until the sugar starts to caramelize and turns a light brown, about 10 minutes.
-
Remove from heat and add in the butter. Mix until the butter is fully incorporated. Then slowly pour in the heavy cream, whisking at the same time. Once the heavy cream is fully added in, mix in the vanilla and salt.
Whipped Cream
-
Put all of the ingredients into the bowl of a stand mixer fitted with a whisk attachment, Whip on high until stiff peaks form.
Assembly
-
Take a straw or a thick wooden dowel and poke holes into the cake. Pour The caramel over the cake so that it soaks through completely. Sprinkle with the Butterfinger candy and then top with the whipped cream.
To make the cake gory, add in 1-2 tsp of red food color into the caramel sauce when you add in the heavy cream.
Reserve 1/4 cup of the caramel sauce to splatter the top of the cake with.
Decorate with a chocolate knife or even fake vampire teeth!
S'mores Brownies

*Disclaimer: This post contains affiliate links. To learn more, please go here.
S'mores are the treat of the summer. With the marshmallows that can either be burnt and gooey or lightly torched and soft, with lots of chocolate and graham crackers too. Why not try these s'mores brownies instead? It's chewy, soft, and gooey too. It's got everything that a regular s'mores does, but in an even better form that's not messy or a fire hazard. Plus these brownies are super easy to make too!
Change it up!
You don't have to make these as s'mores brownies if you don't want to. I've made them with as a plain brownie and topped it with a simple chocolate buttercream and sprinkles on top! You could even add in some nuts and drizzle it with caramel and serve it warm with some ice cream if you really wanted to! There really is no wrong way to go about with brownies. No matter what you do with it, it's bound to be eaten.
Quick tip!
Be careful if you decide to use the broiler when toasting the marshmallows. You have to watch it very carefully so they don't burn. I highly suggest just leaving it under the broiler for less than a minute and no longer than that. If you have a torch than I highly recommend you use that instead because you will have more control over the flame and how much the marshmallows are toasted. This will prevent the marshmallows from really burning by using a torch instead of using the broiler.


Products I recommend.
Above are some recommended tools and ingredients that I personally used when making these sinful s'mores brownies. It's extremely helpful to have a square 8x8 inch cake pan but you can also use a basic casserole pan too.
s'mores brownies

these brownies can be made simple or extra with some marshmallows and grahams.
- 3 sticks unsalted butter
- 1/2 cup chocolate chips
- 3 eggs
- 1 1/2 cup granulated sugar
- 1 tbsp vanilla
- 1/2 cup cocoa powder
- 1 1/3 cup all-purpose flour
- 1/2 tsp salt
- 2 tsp baking powder
- 1/2 cup mini marshmallows
- 1/2 cup mini chocolate chips
- 1/2 cup graham crackers (crushed)
-
Preheat the oven to 350 degrees F. Spray and line a 8x8 inch square pan.
-
Place the butter and chocolate chips into a microwave safe bowl and melt. Mix together to incorporate. Set aside.
-
In the bowl of a stand mixer with a whisk attachment, whip the eggs, sugar and vanilla to ribbon stage, or until pale and thick. Slowly add in the melted butter and chocolate and mix to incorporate.
-
In a separate bowl, sift together the cocoa powder, flour, salt, and baking powder. Slowly add into the wet mixture, a 1/3 of the dry at a time, and fold in by hand with a rubber spatula. Fold in the mini marshmallows, chocolate chips and crushed graham crackers.
-
Spread the brownie batter in a 8x8 inch square pan and bake for 40-45 minutes or until set.
-
Top with some more marshmallows and use a torch or broiler to toast the marshmallows.


Snickerdoodles
[wprm-recipe-jump]
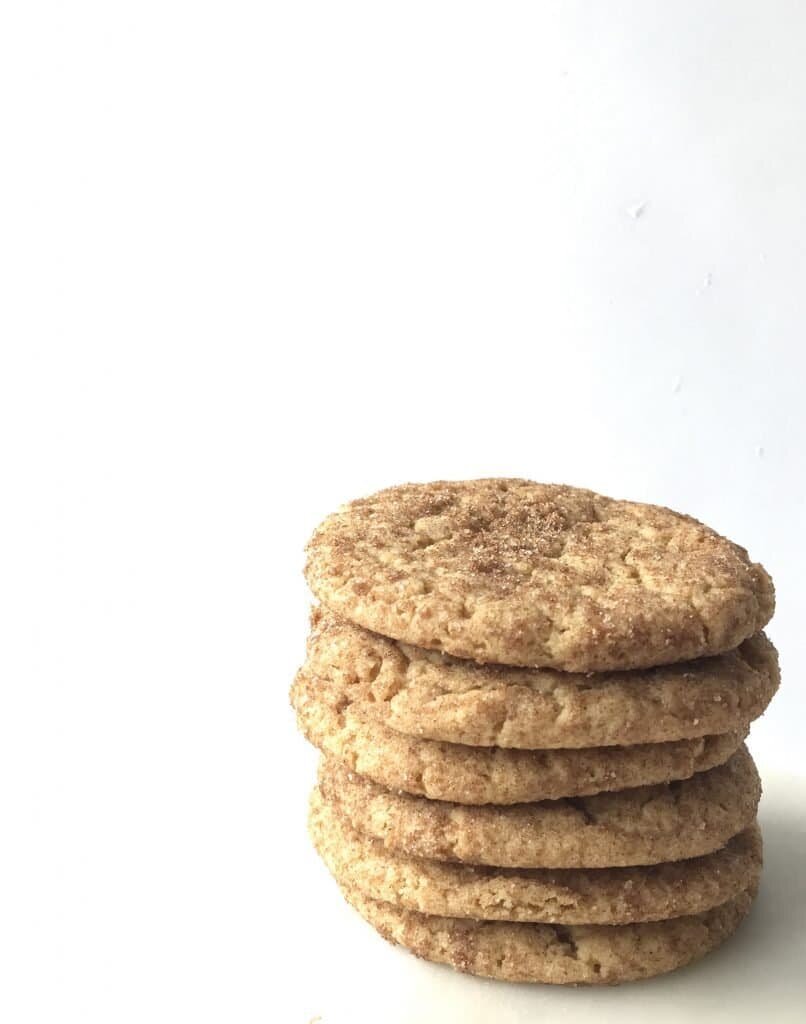
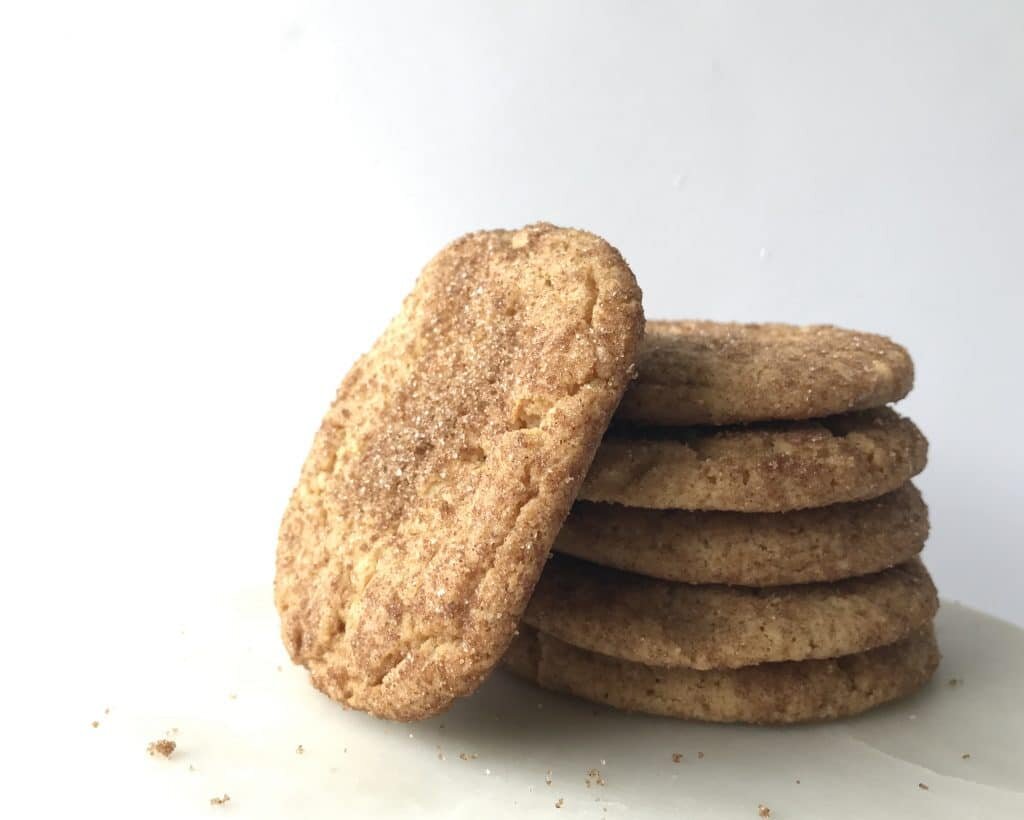
*Disclaimer: This post contains affiliate links. To learn more, please go here.These snickerdoodles are so good! They aren't the usual cinnamon spiced cookie you see though. I used brown sugar instead of granulated sugar to give it more depth in flavor and these do not disappoint! They are soft and not too sweet, but oh so good that it will satisfy your sweet tooth. These guys are a great treat to add to your cookie list for the holidays or even just to have something to snack on over the weekend. Kids will even love them in their lunch box.Now the reason these snickerdoodles are so good is because it's made with brown sugar! Brown sugar has molasses in it which adds so much flavor to whatever you make with it. I find that the brown sugar in these cookies elevates the cinnamon in them and just overall gives it a flavor boost. Plus I just love to bake with brown sugar!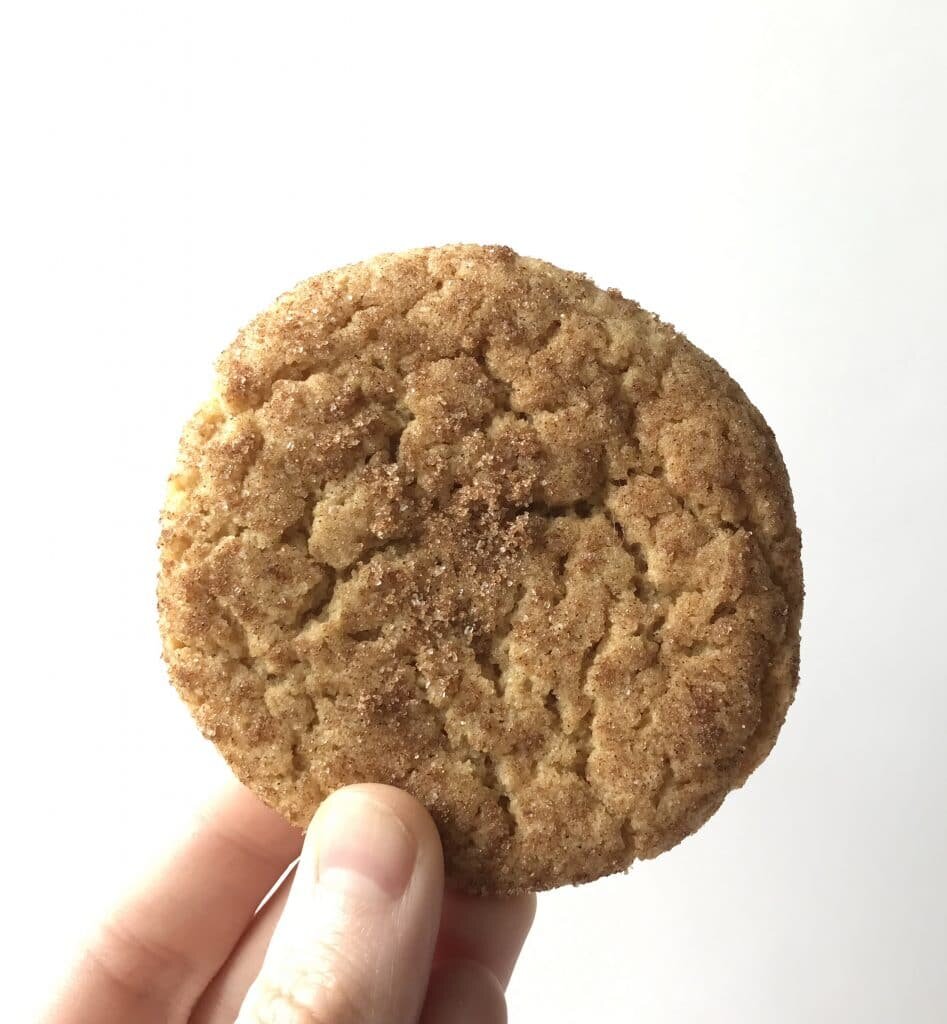
[mailerlite_form form_id=1]
Above are some products that I personally use and recommend for this recipe and to have for everyday use. My absolute favorite is the BlueQ oven mitts. I have a collection of them and I love them! They are great quality and it's nice to have a kitchen item with a sense of humor.
__________________________________________________________________________________
Snickerdoodles
these snickerdoodles are soft and chewy and the cinnamon flavor is enhanced with the brown sugar.
- 2 sticks unsalted butter (room temp)
- 1 cup brown sugar
- 1 1/2 tsp vanilla extract
- 1 egg
- 1 tsp baking soda
- 1/2 tsp salt
- 1 tsp cream of tar tar
- 2 cup all-purpose flour
for rolling
- 1/4 cup brown sugar
- 2 tbsp granulated sugar
- 1 1/2 tsp cinnamon
-
Preheat the oven to 350 degrees F. Line a pan with parchment paper. In the bowl of an electric mixer fitted with a paddle attachment cream the sugar and the butter until light and fluffy, about 1 minute. Scrape down the side of the bowl and then add in the egg and vanilla. In another bowl combine the flour, baking soda, cream of tar tar, and salt and whisk together. Scrape down the sides of the bowl then on low speed, gradually add in the dry ingredients. In a small bowl mix the brown sugar, granulated sugar and cinnamon together. Scoop the cookie dough and roll in the cinnamon sugar and then bake for 8-10 minutes.
Chunky Monkey Blondies
[wprm-recipe-jump]
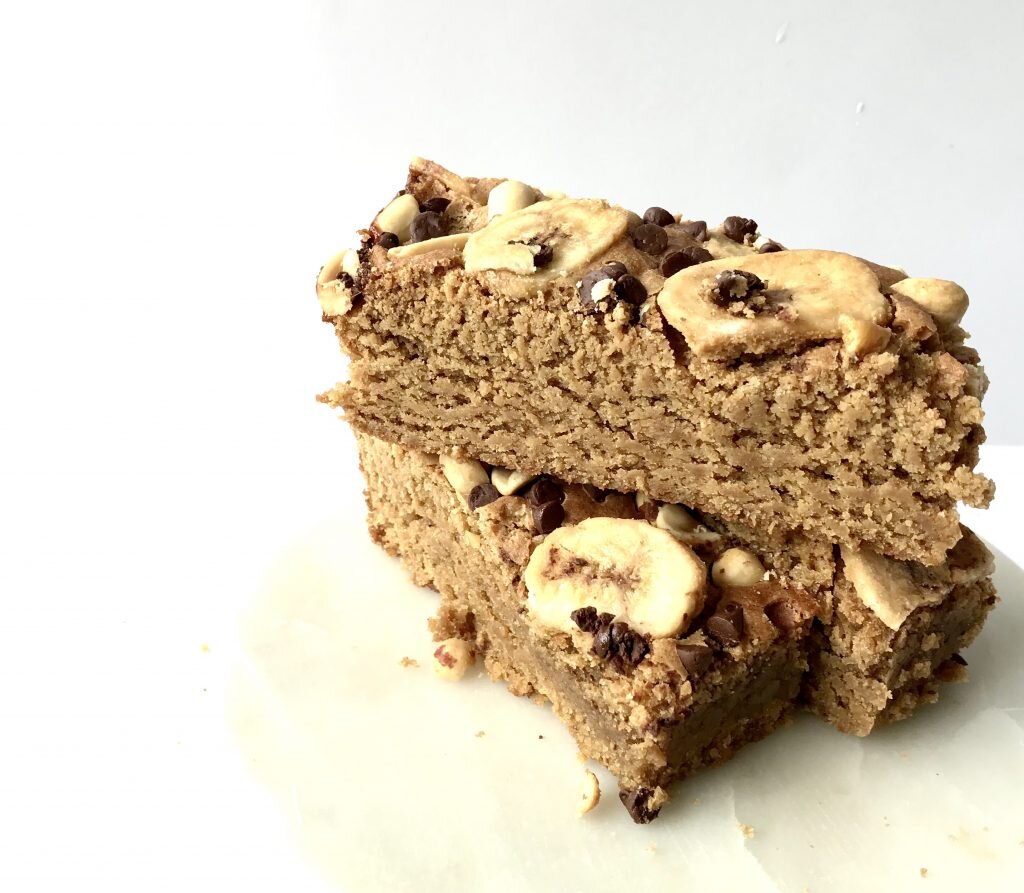
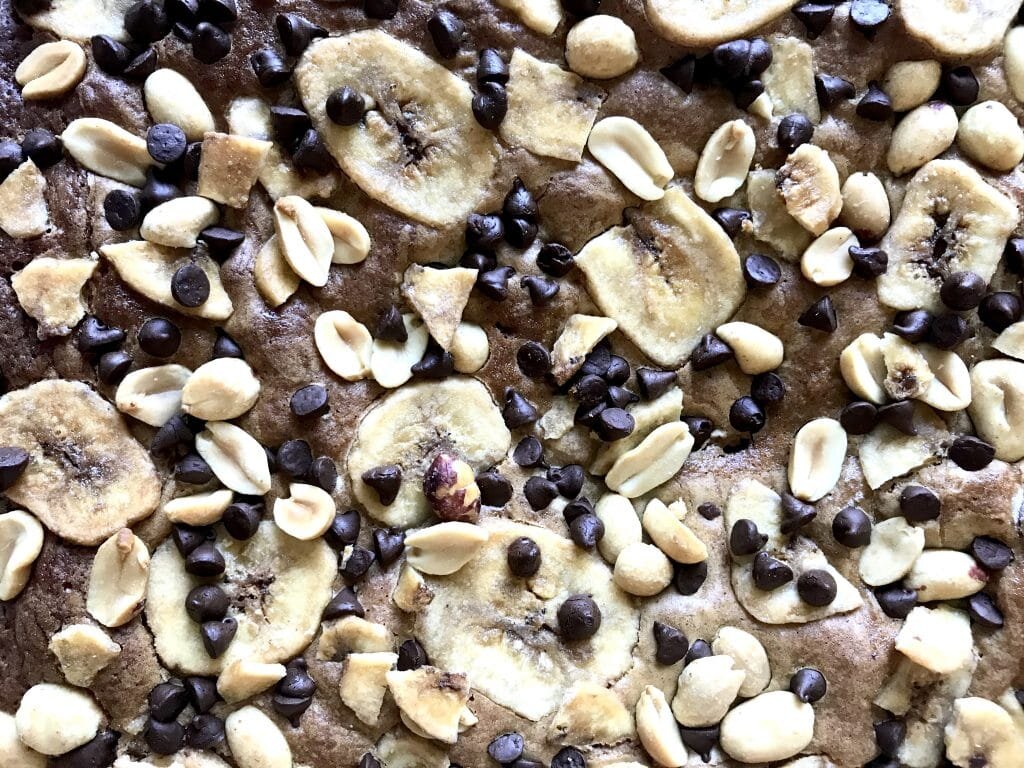
*This post contains affiliate links. To learn more please read the disclosure.These chunky monkey blondies are so much fun! A peanut butter blondie that is almost cake like but is dense and chewy at the same time is topped with chocolate, peanuts, and banana chips! What more could you need in a blondie???!! Now you don't need to get all fancy with the banana chips if you can't find them. I got mine at Target and I know that most grocery stores carry them. They can either be in the produce section with the nuts or in the baking aisle with all of the dried fruit. If you can't find them, than no worries! The blondies will be tasty either way since it's all peanut butter. Just add extra chocolate chips! Now these blondies are perfect for a back to school treat come fall and everyone will love them at the next bake sale!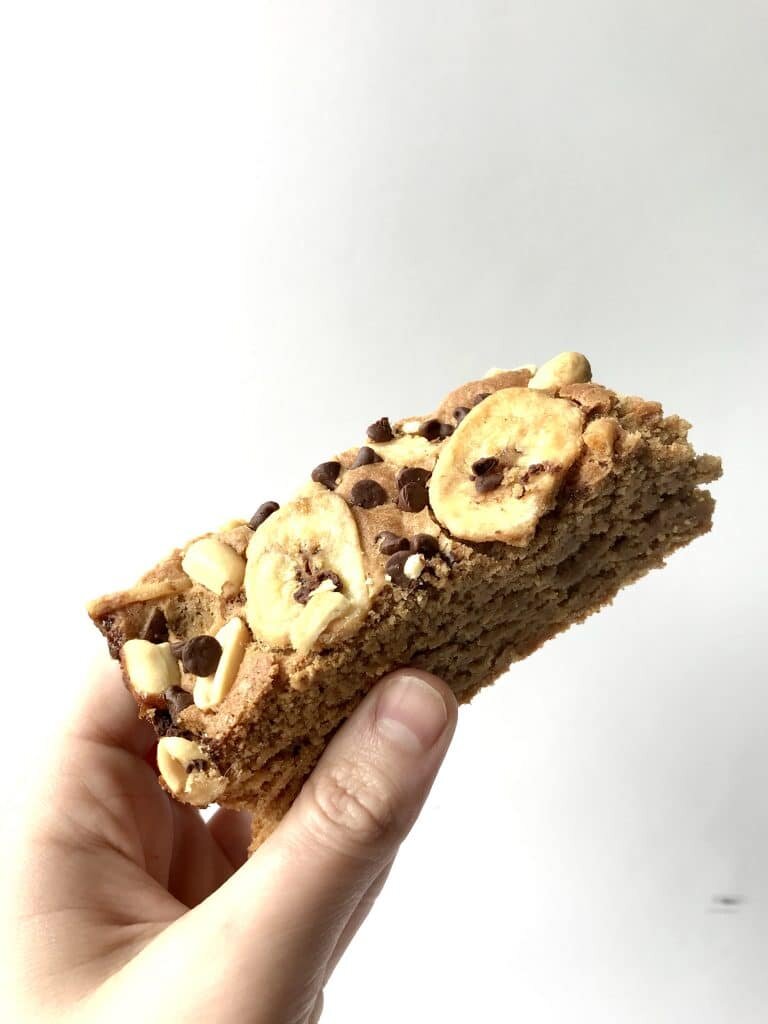
[mailerlite_form form_id=1]
Above are some products that I personally used to make these chunky monkey blondies. I recommend having a square 8x8 inch cake pan to make these but you can always use a casserole dish too. If you want the banana chips but can't find them at your local grocery store, so I provided a link!
_______________________________________________________________________________________
Chunky Monkey Blondies
A peanut butter blondie that is topped with chocolate, peanuts and banana chips.
- 1 stick unsalted butter
- 1 cup creamy peanut butter
- 1 1/2 cup brown sugar
- 3 eggs
- 1 tbsp vanilla extract
- 1/2 tsp salt
- 1 1/2 tsp baking powder
- 1 1/2 cup all-purpose flour
- 1/4 cup chocolate chips (for topping)
- 1/4 cup peanuts (for topping)
- 1/4 cup banana chips (for topping)
-
Preheat the oven to 375 degrees F. Spray a 8 x8 inch cake pan and line with parchment. In a bowl, melt the butter and peanut butter in the microwave for 30 second bursts until melted and fully combined. Add in the brown sugar and vanilla extract and mix until fully combined. Slowly add in the eggs, mixing after each egg is added to prevent them from cooking. Whisk in the flour, baking powder and salt until there are no lumps. Pour the batter into the cake pan and sprinkle the chocolate chips, peanuts, and banana chips on top and bake for 30-35 minutes, or until a toothpick comes out clean. Let cool.
Cookie Butter Cake
[wprm-recipe-jump]
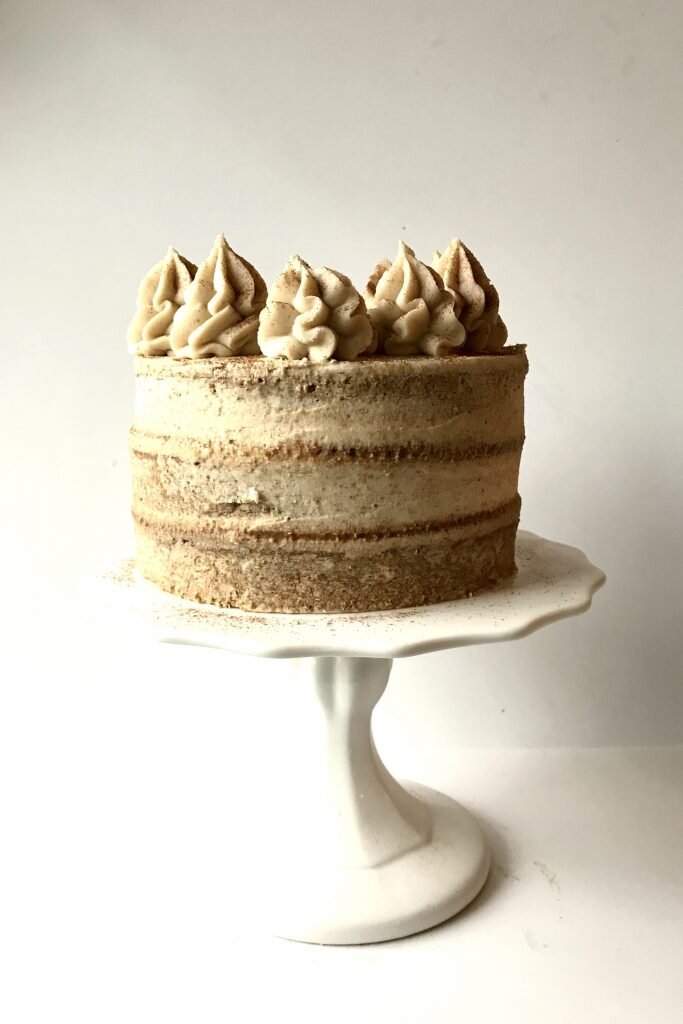
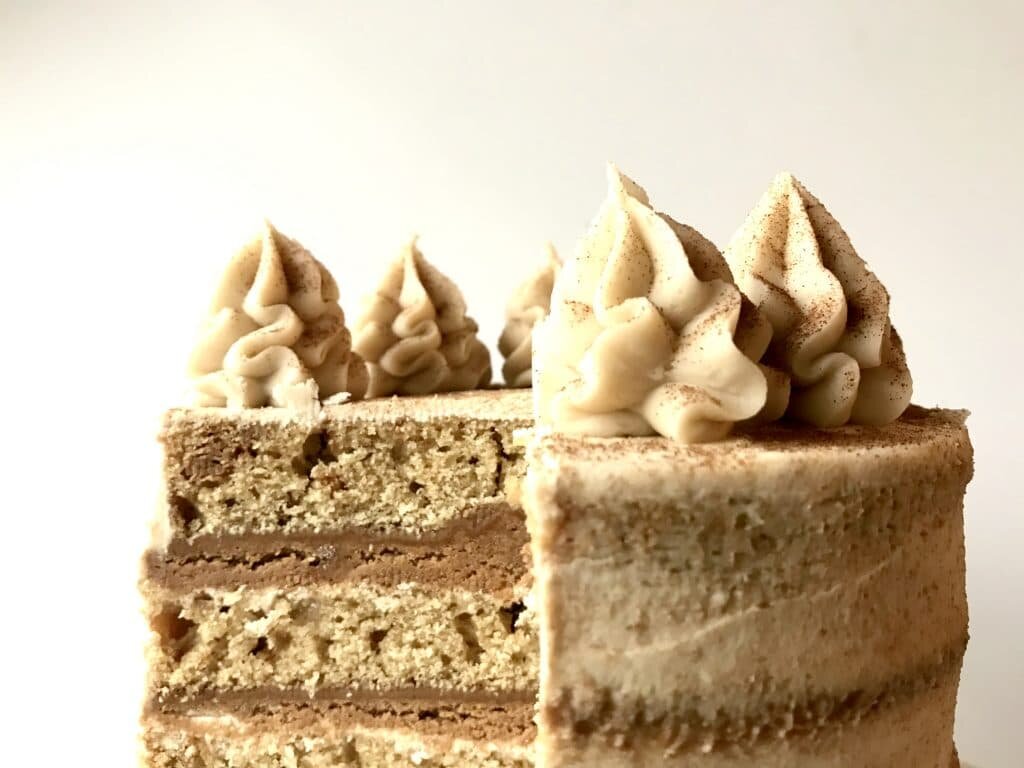
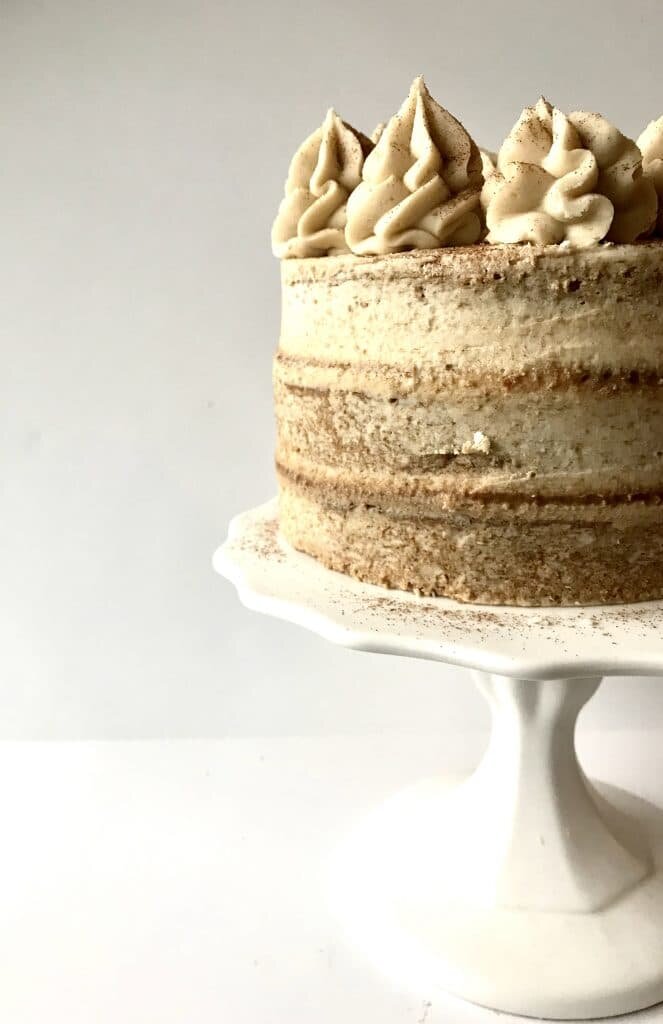
*Disclaimer: This post contains affiliate links. To learn more, please go here.This cookie butter cake is lovely in flavor and everyone will absolutely love it! It's made with biscoff cookies and a homemade cookie butter filling. The cake layers are soft with lovely bits of cookie pieces spread throughout and the spiced filling makes it all come together with a thin layer of simple buttercream.If you don't want to make homemade cookie butter than that is completely ok. You can always go to your local grocery store and buy a small tub of cookie butter that is available and ready to go for you. But I do suggest getting a package of the biscoff cookies too so you can add it into the batter. You can also use the cookies to decorate the cake as well or just enjoy it as a little snack while you make this cookie butter cake too!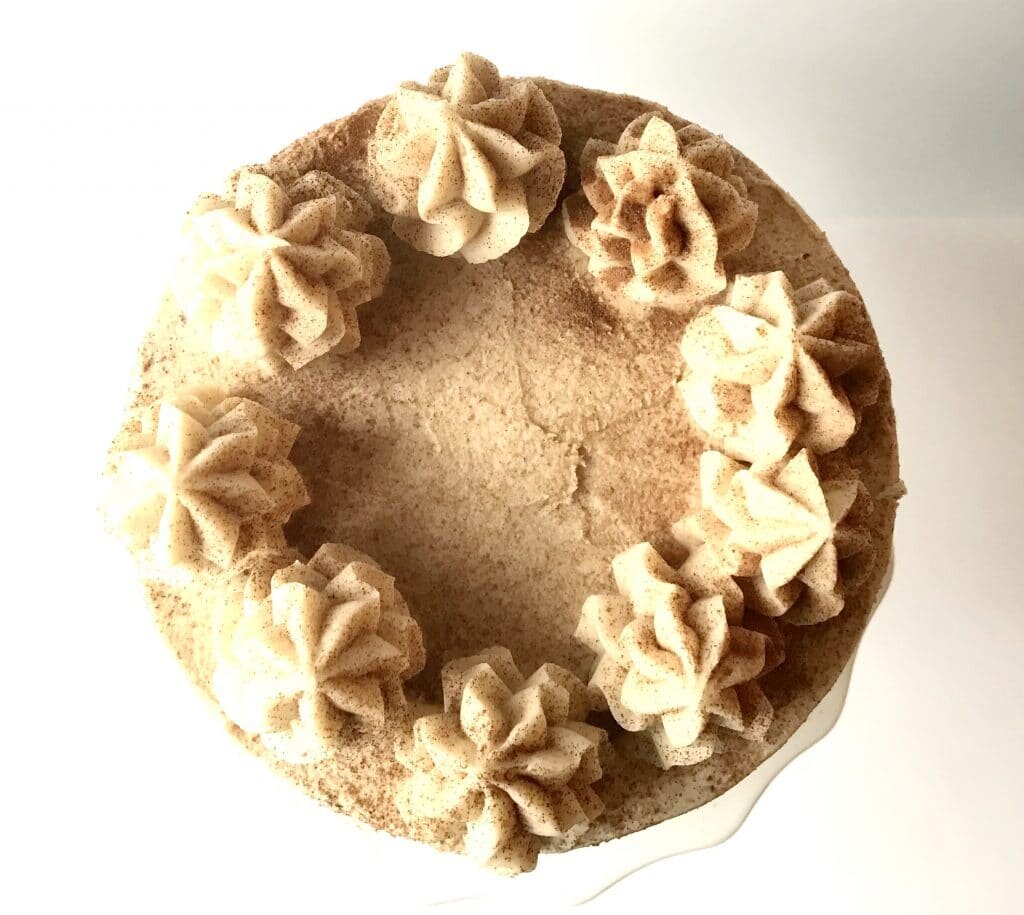
[mailerlite_form form_id=1]
Above are some products that I personally use and recommend for this recipe and to have for everyday use. Whenever I make a cake I will always use 6-inch cake pans. Growing up my mom didn't like having huge cakes in the fridge because no one would really eat it besides myself. That's when I came into the habit of making a smaller size layer cake instead which serves 8-10 people.
____________________________________________________________________________
cookie butter cake

this cookie butter cake is filled with a homemade biscoff cookie butter that gives it a nice spicey kick to it and lots of flavor!
makes one 3-layer, 6-inch cake
cake
- 2 cup all-purpose flour
- 3/4 cup granulated sugar
- 1 1/2 tsp baking soda
- 3/4 tsp salt
- 1/2 cup vegetable oil
- 2 eggs
- 1 tbsp vanilla extract
- 3/4 cup buttermilk
- 3/4 cup water
- 10 biscoff cookies (crushed)
cookie butter
- 20 biscoff cookies
- 1/2 tsp cinnamon
- pinch salt
- 1/2 cup powdered sugar
- 3 tbsp vegetable oil
- 4 tbsp unsalted butter (room temp)
buttercream
- 1 1/2 cup unsalted butter (room temp)
- 5 cup powdered sugar
- 1 tsp vanilla
- pinch salt
- 1/4 cup cookie butter (optional)
cake
- preheat the oven to 350 degrees F and line three 6-inch pans with parchment paper. in a large bowl, combine the flour, sugar, baking soda and salt and whisk together. in another bowl, combine the oil, eggs, vanilla, water, and buttermilk and whisk together. pour the wet ingredients into the dry and mix until fully combined. fold in the crushed biscoff cookie pieces. place the batter in the pan and bake for 30-35 minutes or until a toothpick comes out clean. let the cake cool for 10 minutes then carefully remove them from the pans to continue cooling. wrap in cling wrap until ready to use.
cookie butter
-
combine all of the ingredients into a food processor and pulse until the cookies are fine and everything comes together. let sit for an hour so it comes together and thickens.
buttercream
-
place the butter into a bowl of an electric mixer fitted with a paddle attachment. mix until smooth. scrape down the sides of the bowl and add in the rest of the ingredients. mix on slow speed and gradually increase the speed. let mix until fluffy and lighter in color, about 3 minutes. you can add in some cookie butter into the buttercream as well, but this is completely optional!
Caramel Nut Bars
[wprm-recipe-jump]
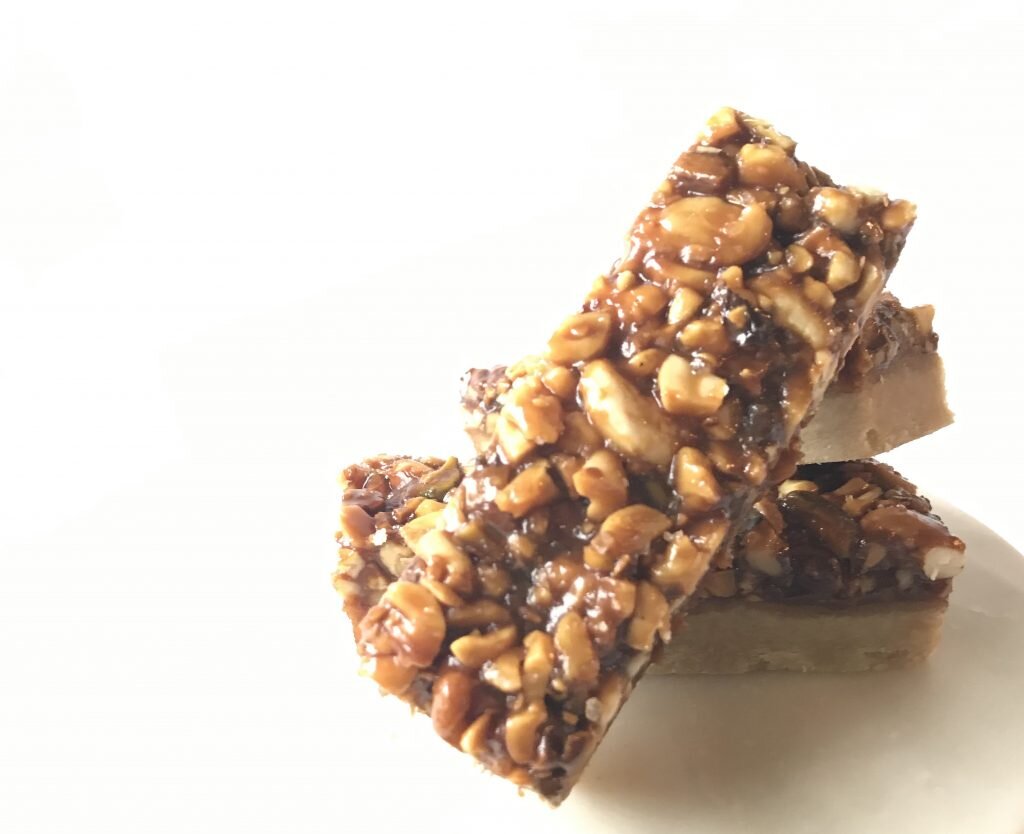
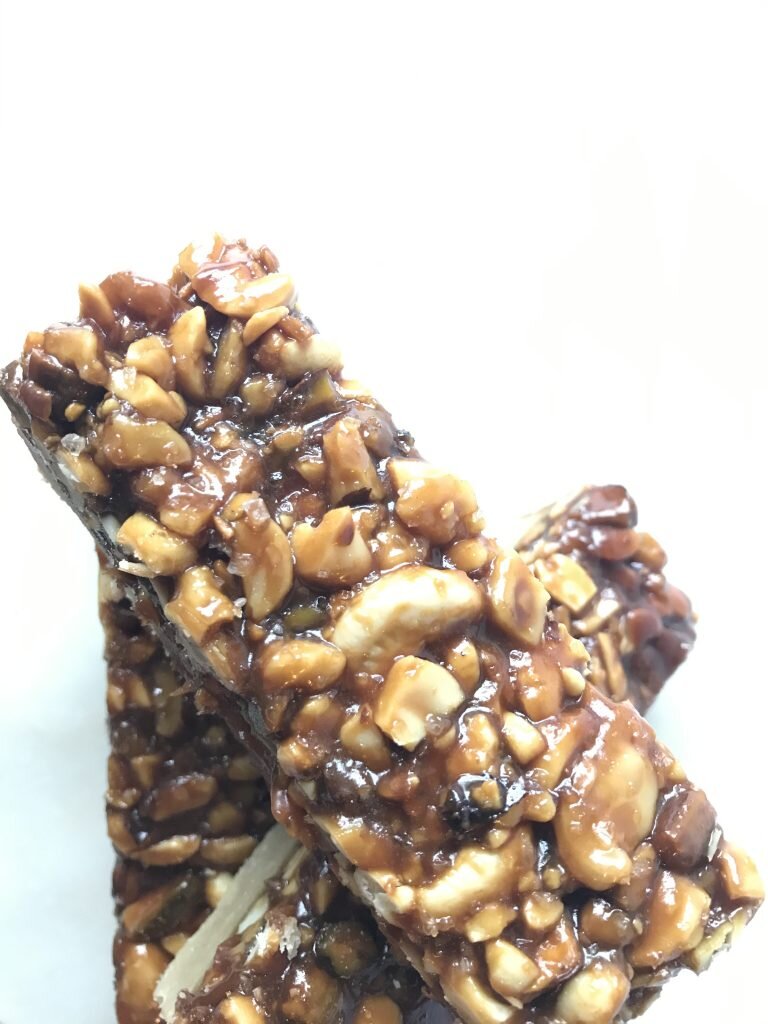
*Disclaimer: This post contains affiliate links. To learn more, please go here.These caramel nut bars are soft, gooey and overall delicious! The caramel nut bars recipe starts off with a buttery shortbread crust which then gets topped with a gooey caramel that's mixed with an array of nuts. It then gets baked so the caramel sets and topped with a sprinkling of sea salt. These bars can be dangerous!You can mix it up a little with this recipe too, which is nice if you have a certain nut allergy. You can use any type of nut or mix it really doesn't matter. Use all peanuts if you'd like and make it a caramel peanut bar and then drizzle some chocolate over the top after it cools down. This recipe requires honey, but if you aren't a fan of honey than you can easily substitute it. Just use light corn syrup instead of the honey. Overall these caramel nut bars are a great treat for an afternoon snack
[mailerlite_form form_id=1]
Above are some products that I personally use and recommend for this recipe and to have for everyday use. One of my favorite things that I have many of are the BlueQ oven mitts. They aren't just really funny and a great statement piece for your kitchen, but they are great quality too!
____________________________________________________________________________________
caramel nut bars
a buttery shortbread crust that is topped with mixed nuts and lots of gooey caramel and sea salt
shortbread
- 1 stick unsalted butter (room temp)
- 1 1/3 cup all-purpose flour
- 1/2 cup granulated sugar
- 1 egg
- pinch salt
- 1 tsp vanilla extract
caramel
- 1/4 cup water
- 1/4 cup honey (you can use light corn syrup if you don't like honey)
- 1 cup granulated sugar
- pinch salt
- 2 tbsp unsalted butter
- 1/2 cup + 2 tbsp heavy cream
- 1 tbsp vanilla extract
- 2 cup mixed nuts; walnuts (cashews, peanuts, pistachios)
- sea salt (for topping)
shortbread
- preheat the oven to 350 degrees F. line a pan with parchment paper. in the bowl of an electric mixer fitted with a paddle attachment cream the sugars and the butter until light and fluffy, about 1 minute. scrape down the side of the bowl and then add in the egg and vanilla. add in the salt and flour and mix until combined. press the dough onto the bottom of the pan and bake for 18 minutes.
caramel
- place the water, honey and sugar into a pot and place over medium high heat. let boil until it becomes a light caramel color, this will take about 15 minutes. once it's a nice light caramel color, remove from heat and slowly stir in the butter and heavy cream. mix in the vanilla and nuts. pour the caramel mixture on top of the shortbread crust and put back into the oven for 8-10 minutes. let cool until the caramel is set, you can put it into the fridge to further the process. cut into 12 pieces and sprinkle with sea salt on top.
Vegan Cranberry Almond Chai Cookies
[wprm-recipe-jump]
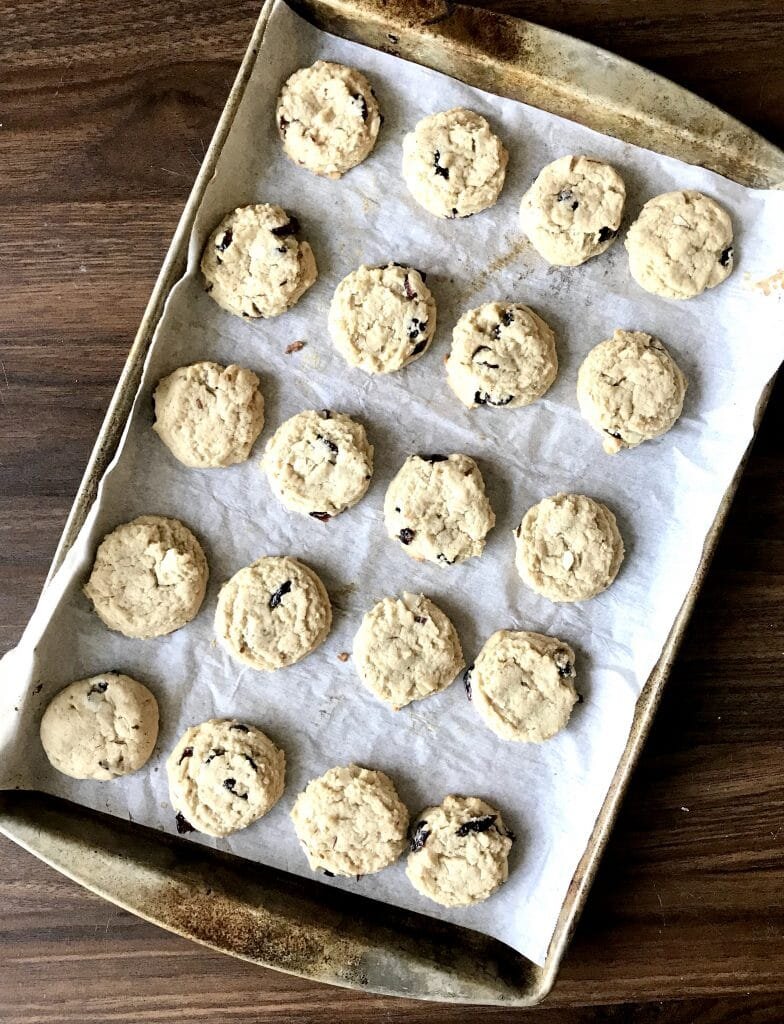
*Disclaimer: This post contains affiliate links. To learn more, please go here.These vegan cranberry almond chai cookies are one of my favorites. We make a version of these cookies at work and I fell in love with them. They are so addicting that you can't have just one. The original recipe calls for different ingredients, like chai concentrate and hazelnuts plus a whole lot more things to also make it gluten free (which my recipe is not). But just because these guys aren't gluten free doesn't mean that they are mouthwatering and delicious!Not a fan of almonds? You can substitute them out for the hazelnuts like in the original recipe as I've stated above or you could even use cashews or macadamia nuts! Want to add in some white chocolate chips? That would be amazing in these cookies too! Cookies are so easy to make your own by adding in the mix-ins that you want and love into them. Use dried apricots or cherries instead of cranberries, instead of chai spice use just simple cinnamon or don't even add it in if that's something you'd prefer! Overall these vegan cranberry almond chai spice cookies are delicious and I personally wouldn't change the recipe in either way.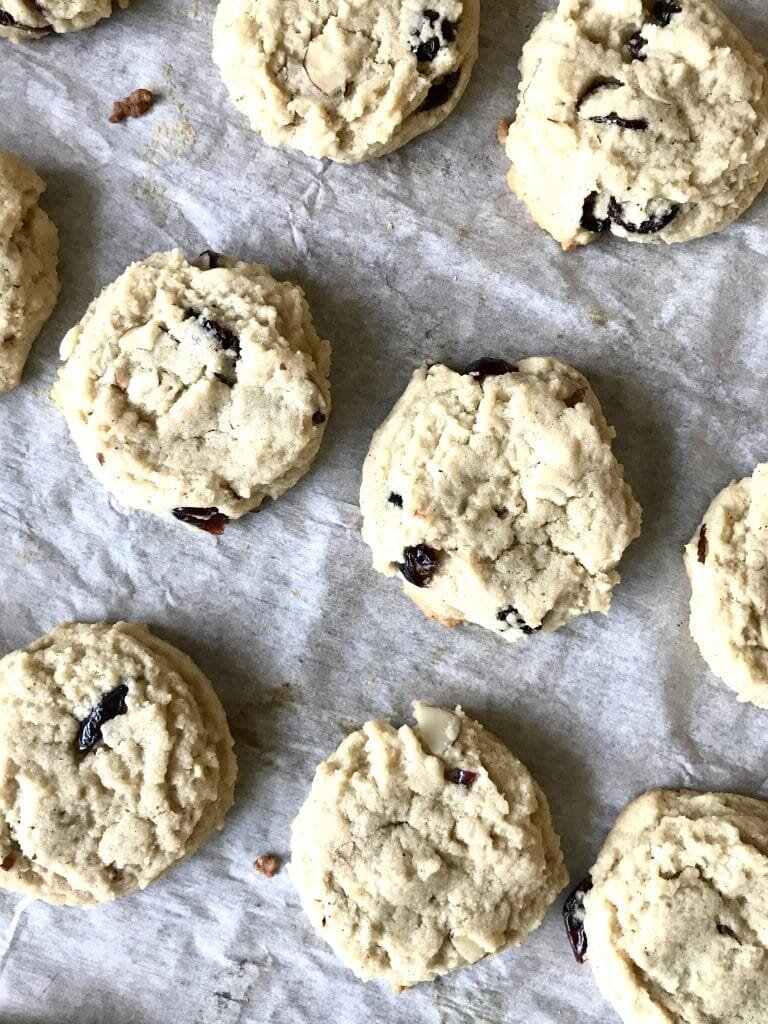
[mailerlite_form form_id=1]
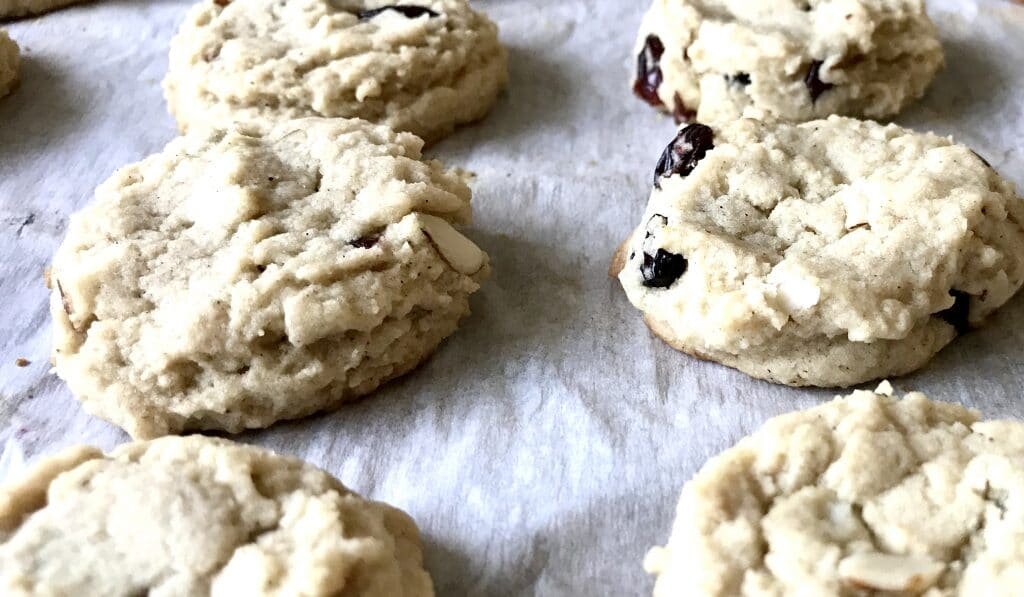
Above are some products that I personally use and recommend for this recipe and to have for everyday use. I highly suggest getting this chai spice from King Arthur Flour for this recipe. Otherwise another really great option is to make your own chai spice! It's super easy and you can find a recipe easily online.
_________________________________________________________________________________________________
vegan cranberry almond chia cookies
vegan cookies packed with flavor! contains chai spice, dried cranberries and a bit of crunch from some slivered almonds.
- 1 1/2 sticks vegan butter (room temp (i used country crock almond oil butter))
- 1/2 cup granulated sugar
- 2/3 cup brown sugar
- 1 tsp vanilla extract
- 1/3 cup almond milk
- 1/2 tsp salt
- 1/2 tsp baking soda
- 2 tsp chai spice
- 2 cup almond flour
- 1 cup all-purpose flour
- 1/2 cup almond slivers
- 1/2 cup dried cranberries
- preheat the oven to 350 degrees F. line a sheet pan with parchment paper. place the vegan butter and the sugars into a bowl of an electric mixer fitted with a paddle attachment, and cream until light and fluffy, about 1 minute. scrape the sides of the bowl and add in the almond milk and vanilla and mix until incorporated. place the almond flour, flour, salt, baking soda, and chai spice in another bowl and whisk together. gradually add the flour mixture to the butter mixture. fold in the almonds and cranberries and scoop the cookies out on the sheet pan and bake for 8-10 minutes.
Banana Chocolate Cupcakes
[wprm-recipe-jump]
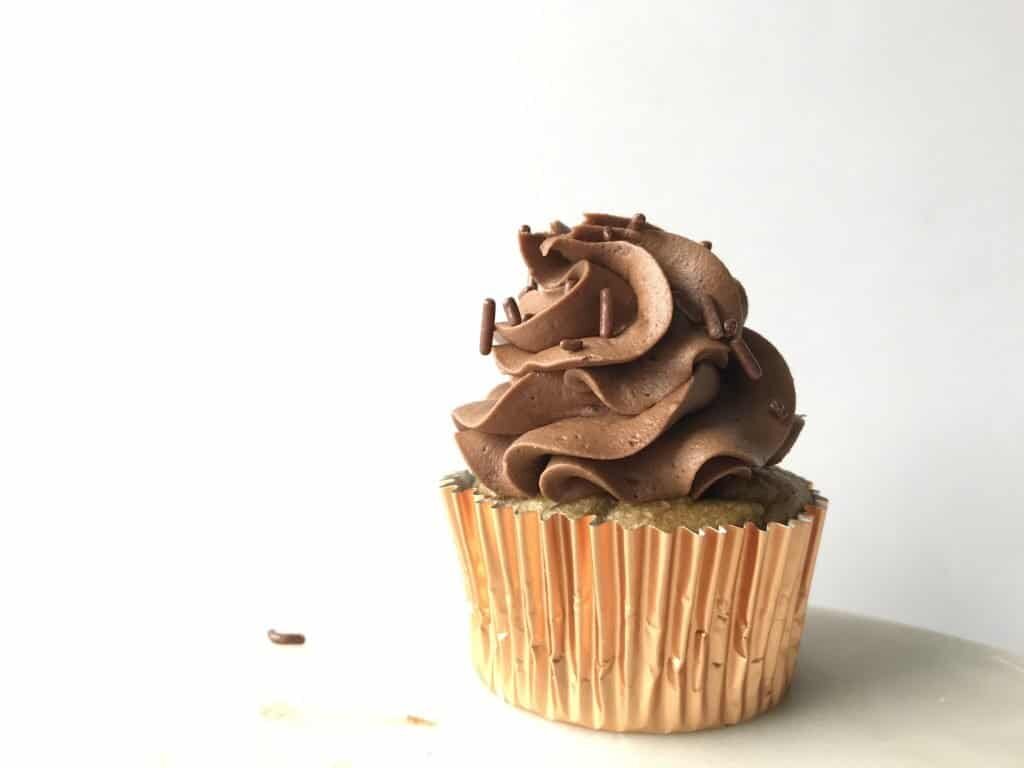
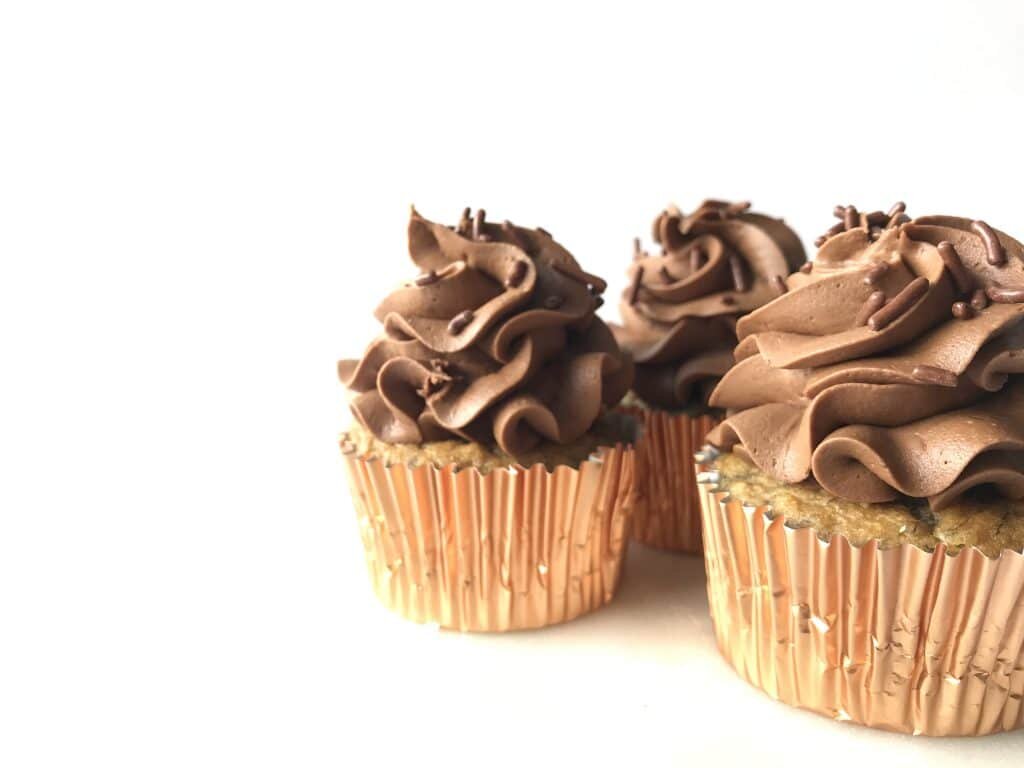
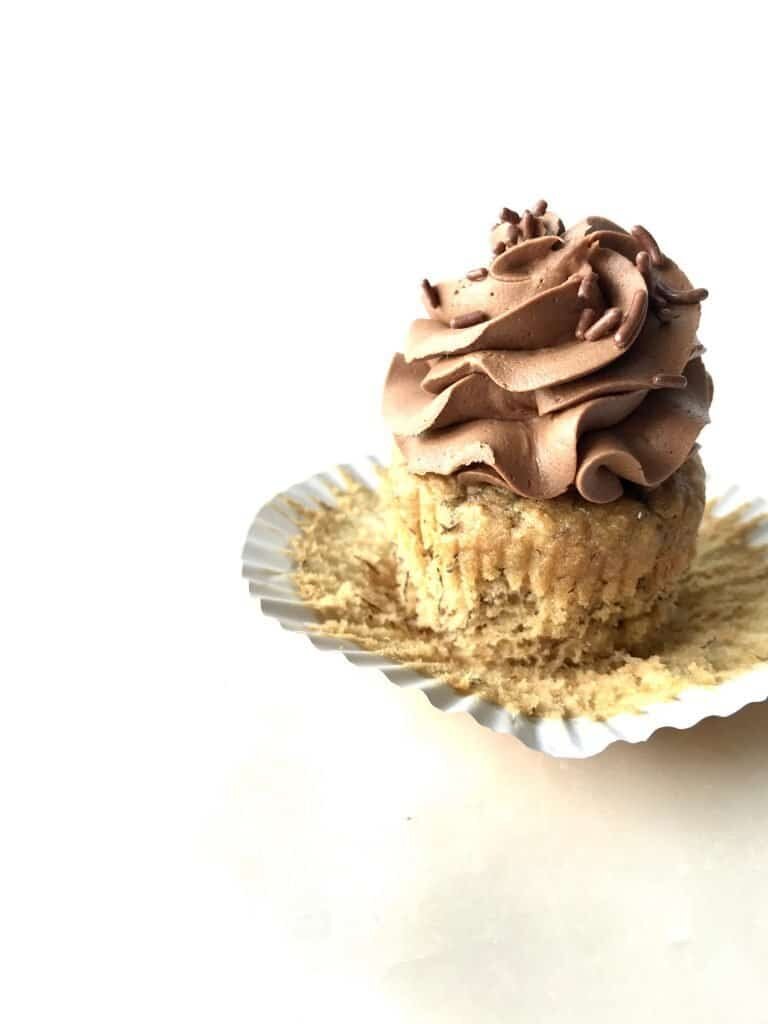
*This post contains affiliate links. Please read disclosure to learn moreSitting at home bored out of your mind with nothing to do because of the virus? How about making some banana chocolate cupcakes to snack on? These little guys aren't too sweet and the chocolate buttercream on top is delicious thanks to the black cocoa powder I had on hand. All's you need is some overripe bananas and some good tunes.Not sure you want banana chocolate cupcakes but would prefer to mix it up a bit instead? You can certainly add in some chopped walnuts or pecans into the cake batter. Add in some chocolate chips too while you're at it! And then instead of using chocolate buttercream, then I suggest either a good cream cheese buttercream or even a peanut butter buttercream to pair with the banana cupcakes. Anything goes well with bananas, you just need to find the right kind of mix-ins that you want to add to them.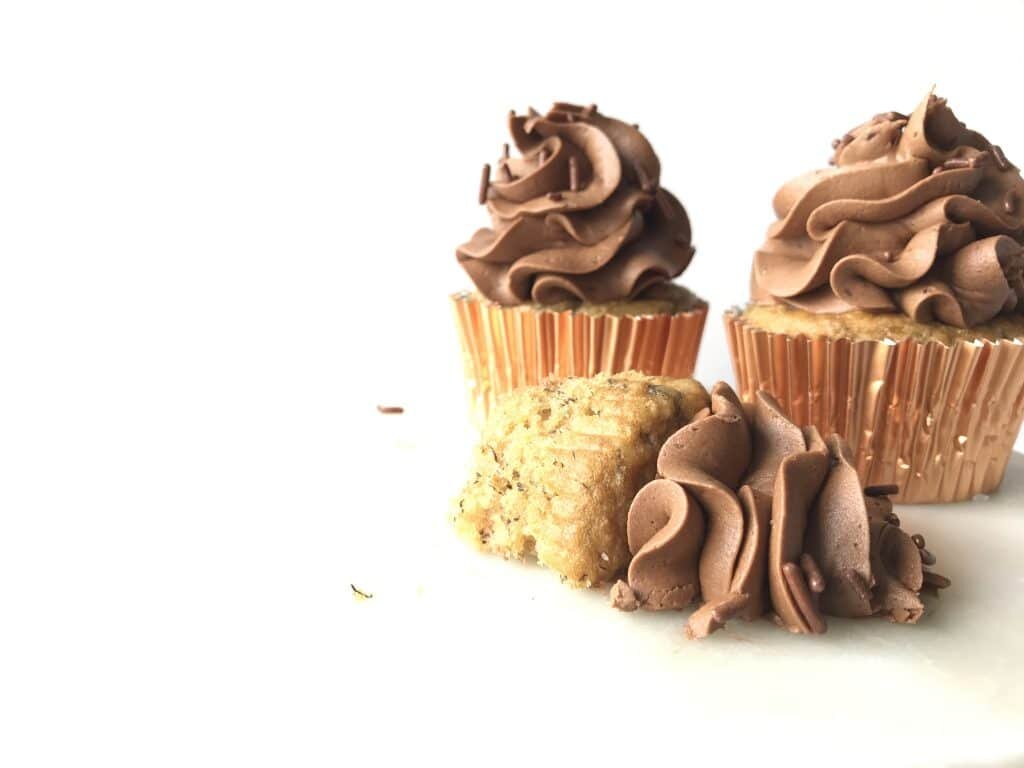
[mailerlite_form form_id=1]
Above are some products that I personally use and recommend for this recipe and to have for everyday use. For the buttercream I highly suggest using the King Arthur Flour black cocoa. It gives any baked good this beautiful dark chocolate color to it and it's not overly sweet. It's perfect for these banana cupcakes as it pairs so well together.
________________________________________________________________________________________
banana chocolate cupcakes
these soft banana cupcakes wouldn't be complete without the mound of chocolate buttercream swirled on top.
cake
- 1 2/3 cup all-purpose flour
- 1/2 cup granulated sugar
- 1/2 tsp salt
- 1 1/2 tsp baking soda
- 1 egg
- 1/3 cup vegetable oil
- 1/3 cup greek yogurt
- 2 tsp vanilla extract
- 3/4 cup almond milk
- 3 ripe bananas (i use frozen bananas, thawed)
buttercream
- 3 sticks salted butter
- 4 cup powdered sugar
- 1/3 cup cocoa powder
- 2 tsp vanilla extract
- 1-3 tbsp heavy cream
cake
- preheat the oven to 350 degrees F and place cupcake liners into the cupcake tins. in a large bowl combine the flour, sugar, salt, and baking soda and whisk to combine. in another bowl, mix together the egg, oil, yogurt, bananas, milk and vanilla. add the wet into the dry and mix until everything is fully incorporated. using an cookie scoop, distribute the batter into the cupcake tins and bake for 14-16 minutes or until a toothpick comes out clean. let cool.
buttercream
- put all of the ingredients into the bowl of an electric mixer fitted with a whisk attachment. start slow and then gradually increase the speed. whip on high until light and fluffy, about 3 minutes.
Ginger Carrot Cake
[wprm-recipe-jump]
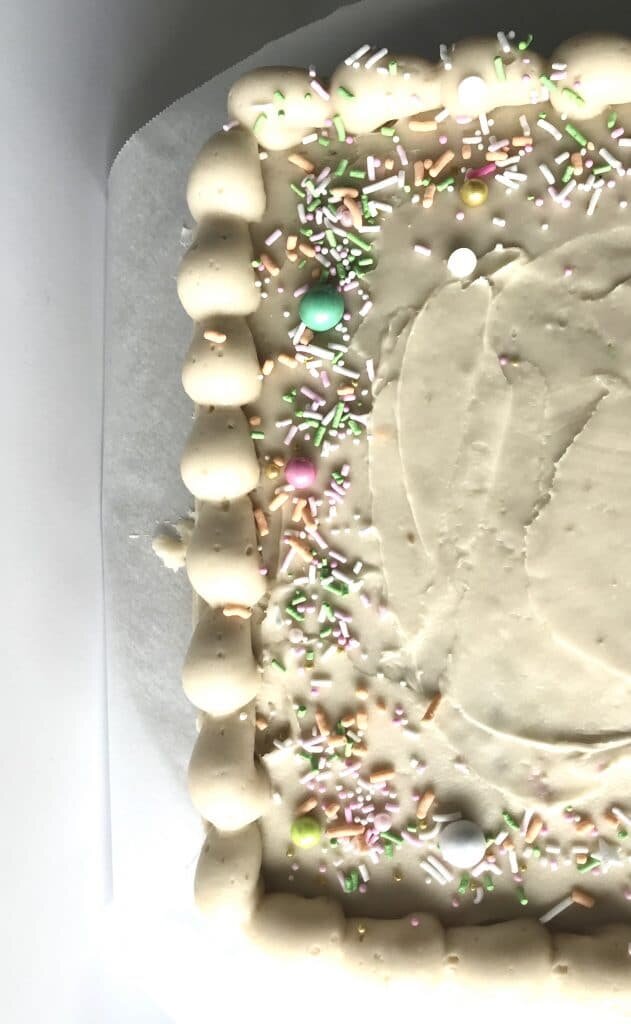
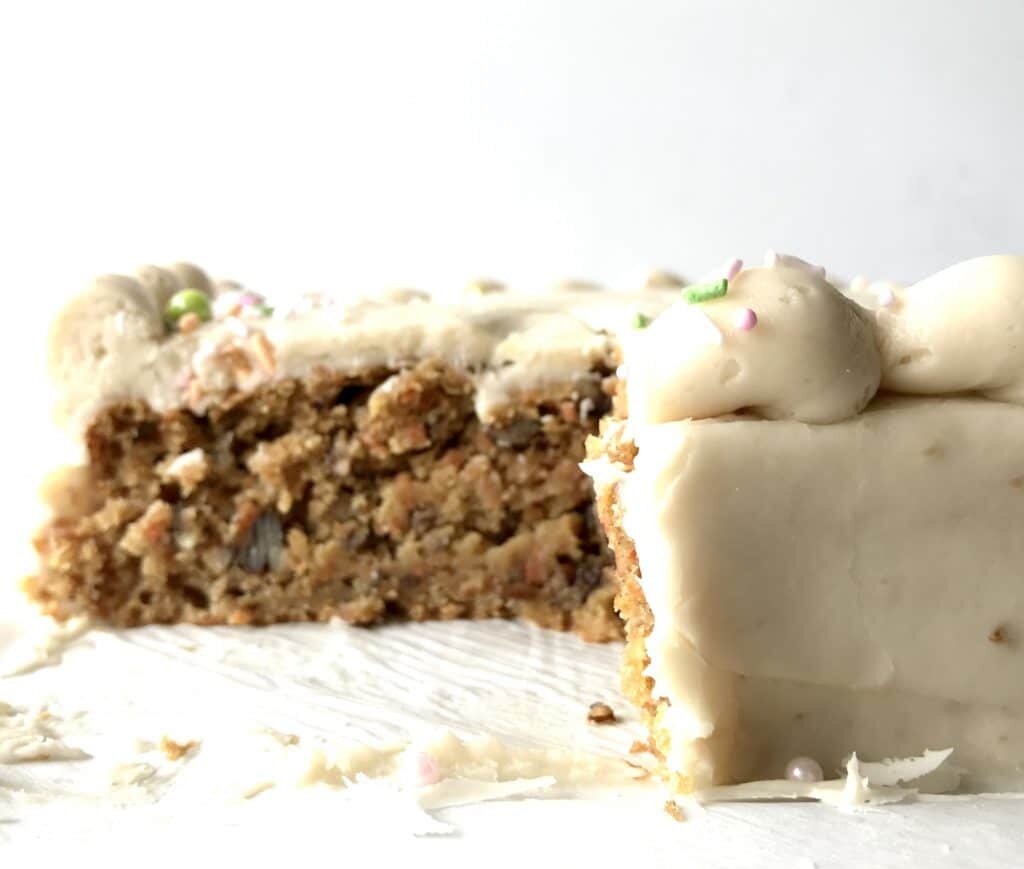
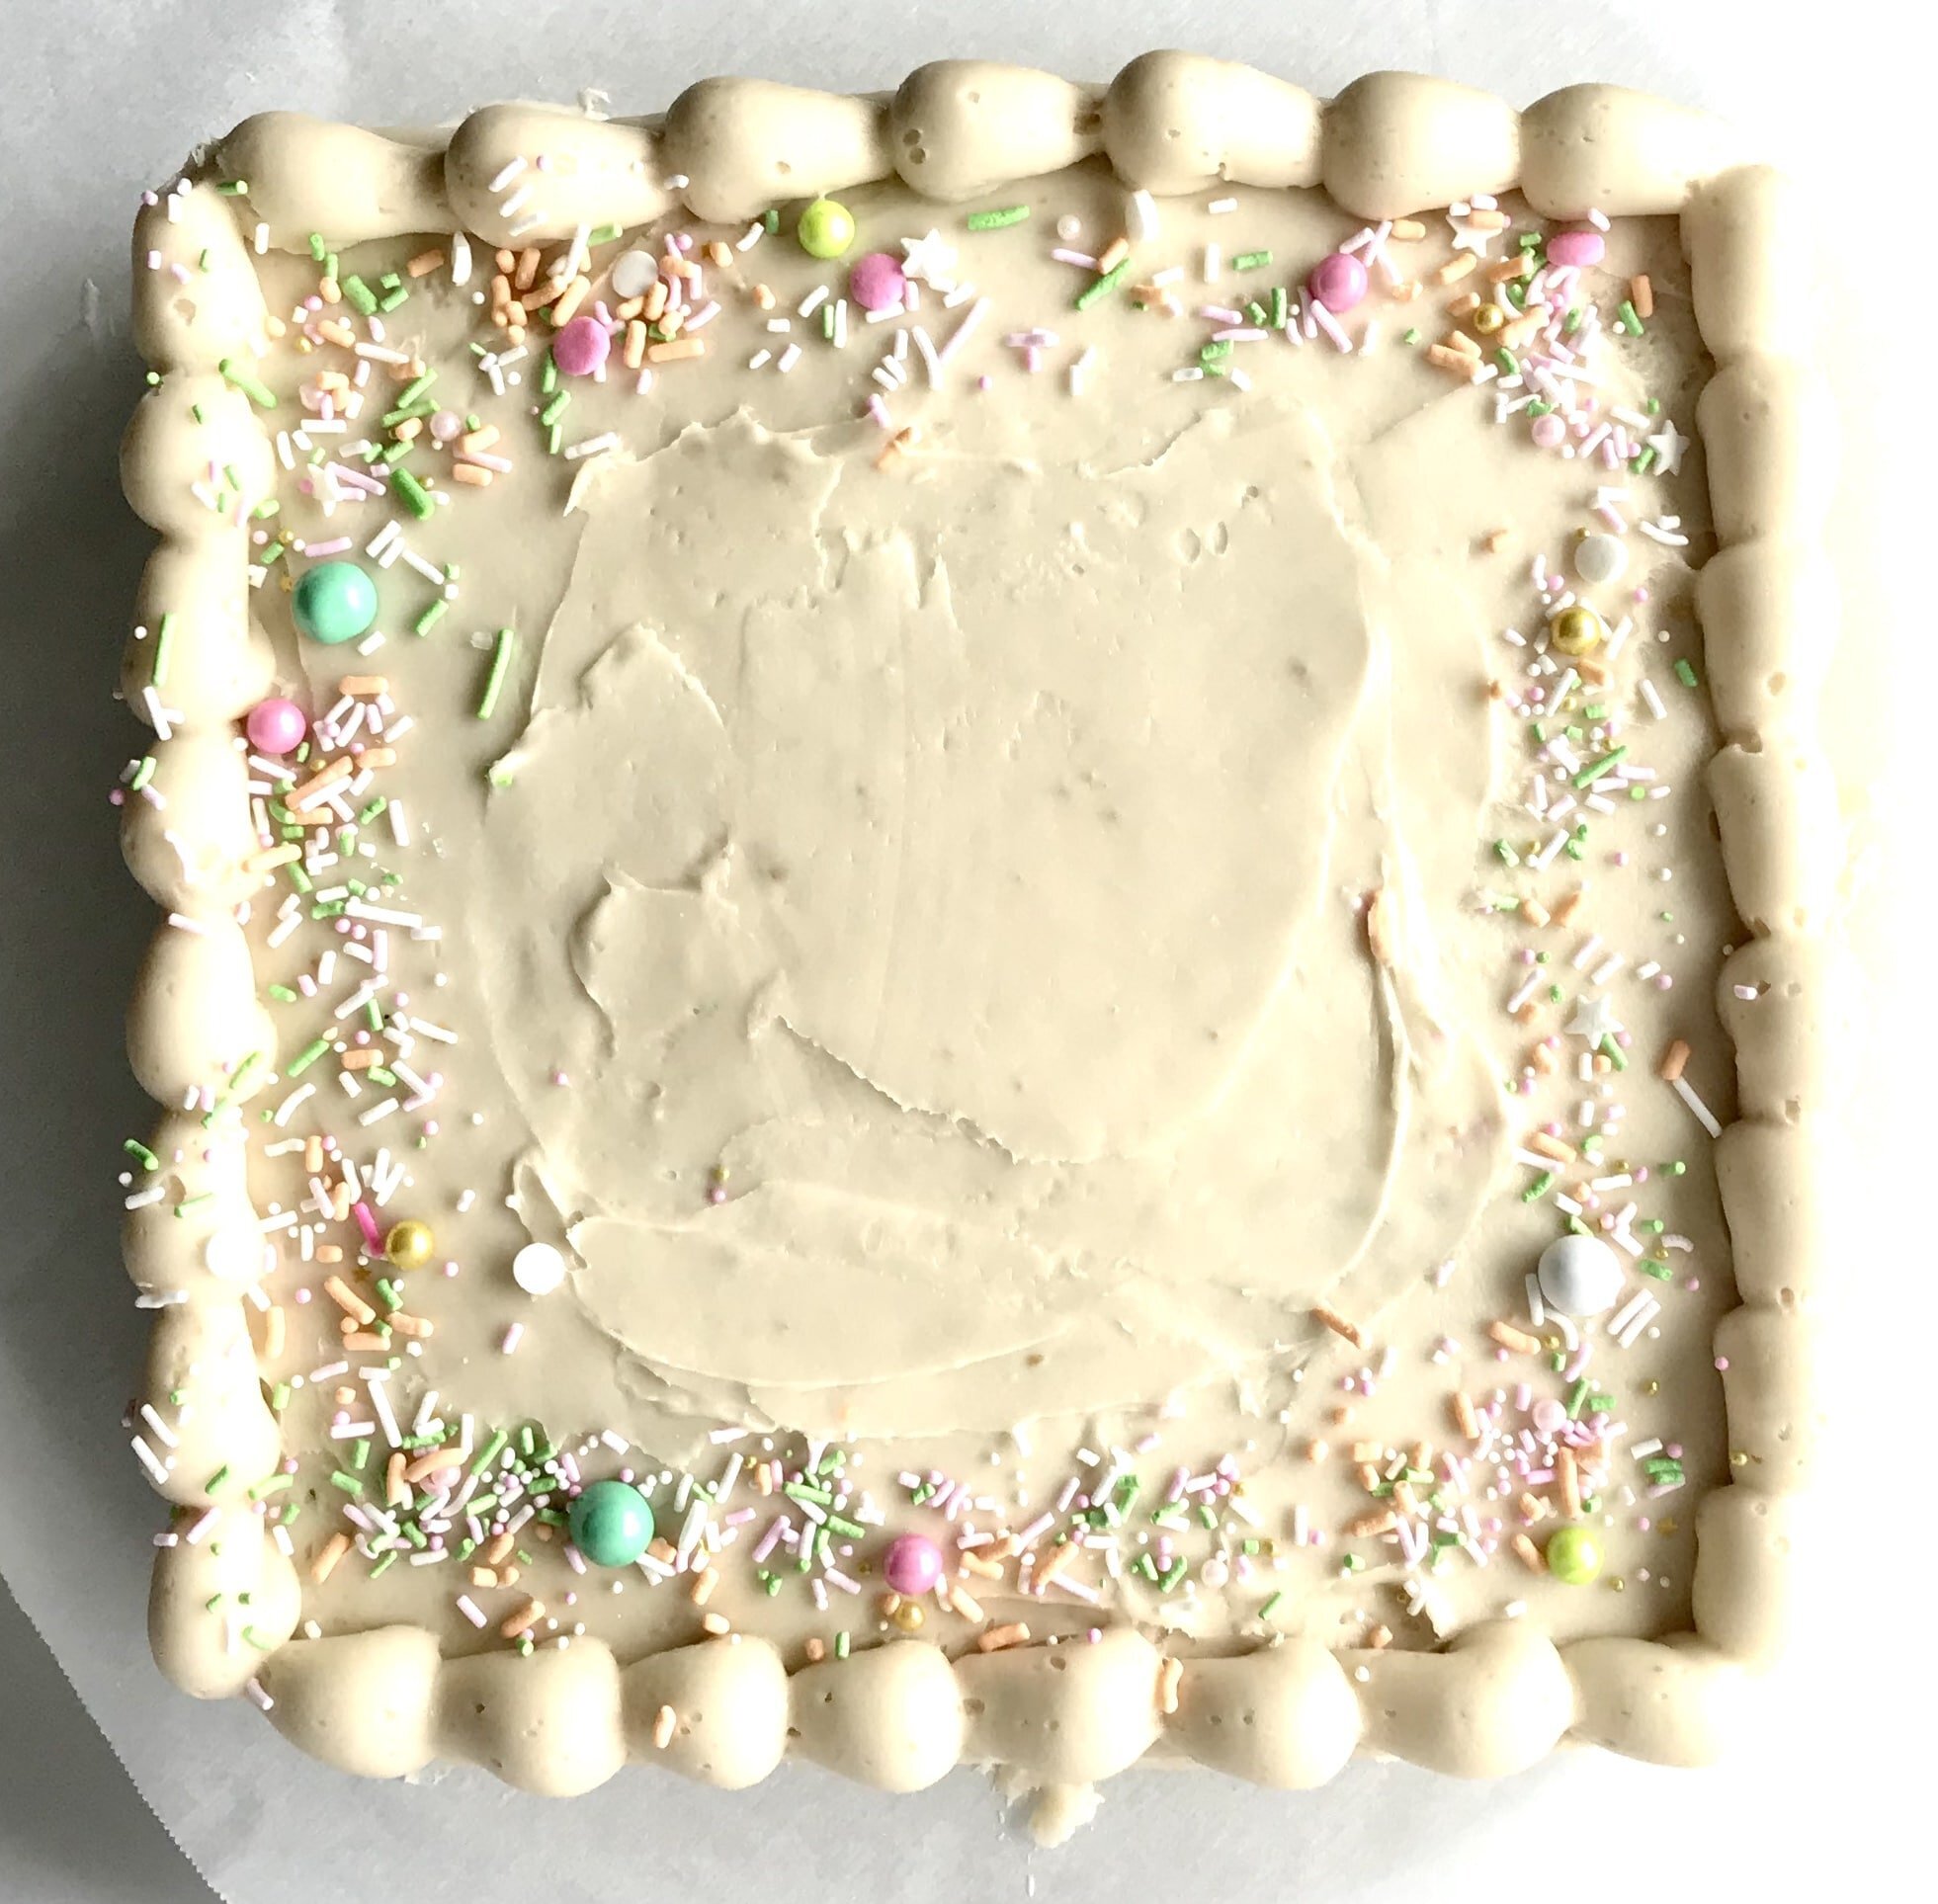
*Disclaimer: This post contains affiliate links. To learn more, please go here.This ginger carrot cake is perfect for a quick easter dessert. It's so simple and straight forward and all of the mix-ins can be substituted or even omitted if you aren't a fan of raisins. Use walnuts instead of pecans, try dried cherries or apricots instead of raisins. You can't go wrong with a good carrot cake and since we are all stuck at home for easter why not try something new and mix up the classic carrot cake a bit?Want to make this carrot cake even more unique for your holiday? Instead of carrots, you could use zucchini or even parsnips! Both vegetables pair perfectly with these ingredients in the ginger carrot cake and you wouldn't even notice the difference. Or you can always go check out my brown butter coconut carrot cake too if that's something you'd like to try instead!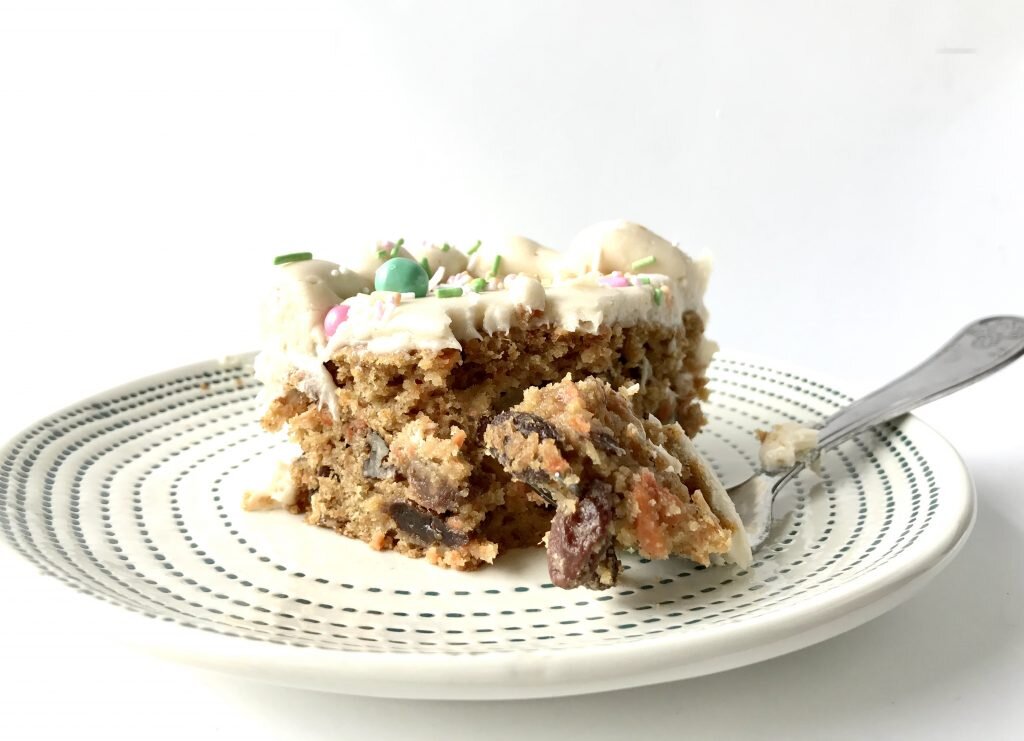
[mailerlite_form form_id=1]
Above are some products that I personally use and recommend for this recipe and to have for everyday use. One thing that I collect are cake stands. I love a good cake stand that is not only adorable, but is also a good quality too. This little easter bunny cake stand is perfect for the holiday but also as a fun spring cake stand to have around the house for all your treats!
______________________________________________________________________________
ginger carrot cake

carrot cake made with fresh ginger, raisins and a cream cheese buttercream to top it off
cake
- 1 1/2 cup all-purpose flour
- 1/3 cup granulated sugar
- 1/3 cup brown sugar
- 1 tsp baking soda
- 1 tsp baking powder
- 1 tsp salt
- 1 tsp cinnamon
- 1/3 cup greek yogurt
- 1/3 cup vegetable oil
- 1 egg
- 1 1/2 tsp vanilla extract
- 3/4 cup coconut milk (or regular milk)
- 1 tbsp freshly grated ginger root
- 2 cup shredded carrot
- 1/2 cup pecans
- 1/2 cup raisins
buttercream
- 8 oz cream cheese (room temp)
- 1 stick unsalted butter (room temp)
- 5 cups powdered sugar
- 1 tsp vanilla extract
- pinch salt
cake
- preheat the oven to 350 degrees F and line a 8 x 8 inch cake pan with parchment paper. in a large bowl, combine the flour, sugars, baking soda and powder, salt and cinnamon and whisk together. in another bowl, combine the oil, eggs, greek yogurt, vanilla, grated ginger, and coconut milk and whisk together. pour the wet ingredients into the dry and mix until fully combined. add in the carrots, pecans and raisins and fold in until everything is evenly distributed. place the batter in the pan and bake for 30-35 minutes or until a toothpick comes out clean. let the cake cool for 10 minutes then carefully remove them from the pans to continue cooling. wrap in cling wrap until ready to use.
buttercream
- place the butter and cream cheese into a bowl of an electric mixer fitted with a paddle attachment. mix until smooth. scrape down the sides of the bowl and add in the rest of the ingredients. mix on slow speed and gradually increase the speed. let mix until fluffy and lighter in color, about 3 minutes.
Cowboy Cookies
[wprm-recipe-jump]
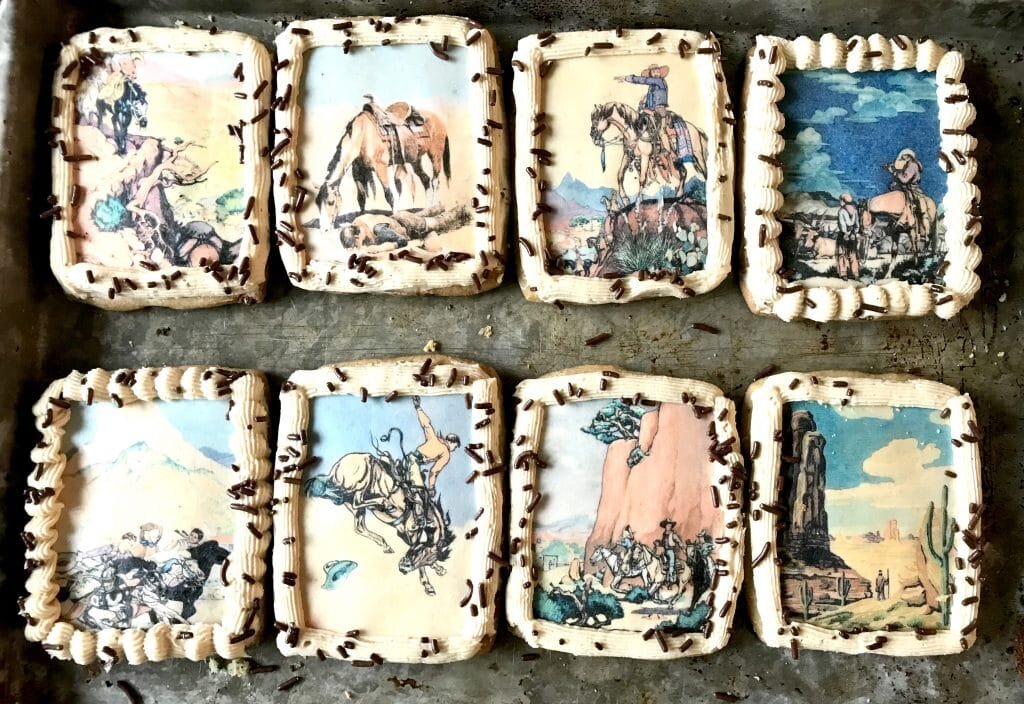
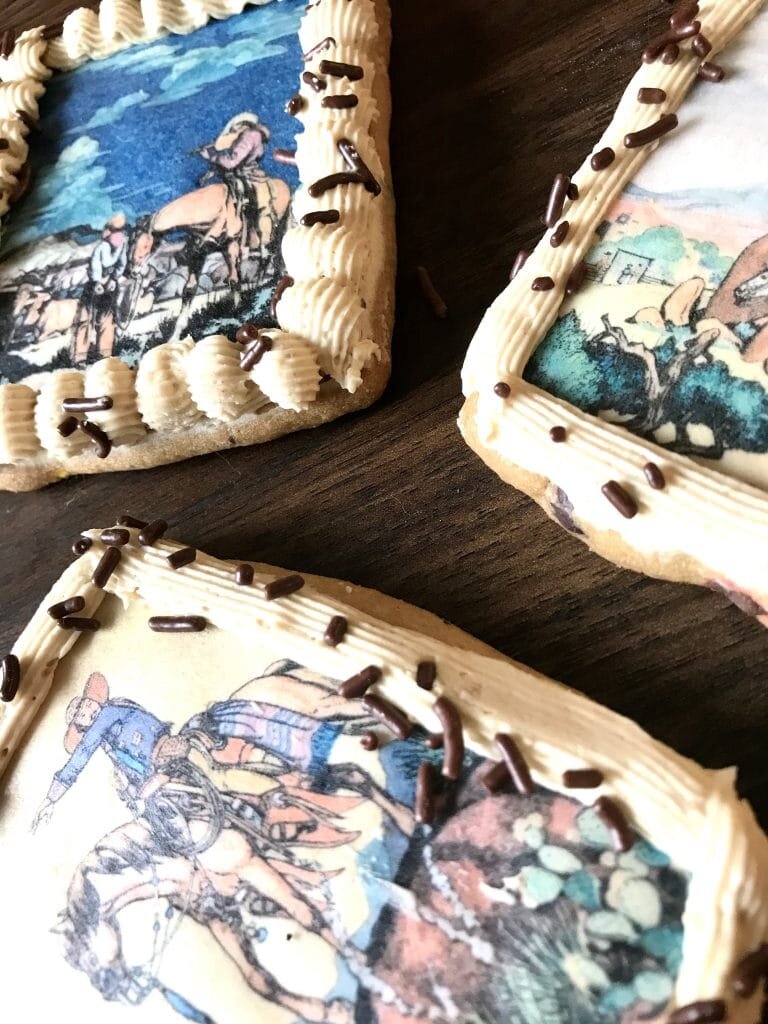
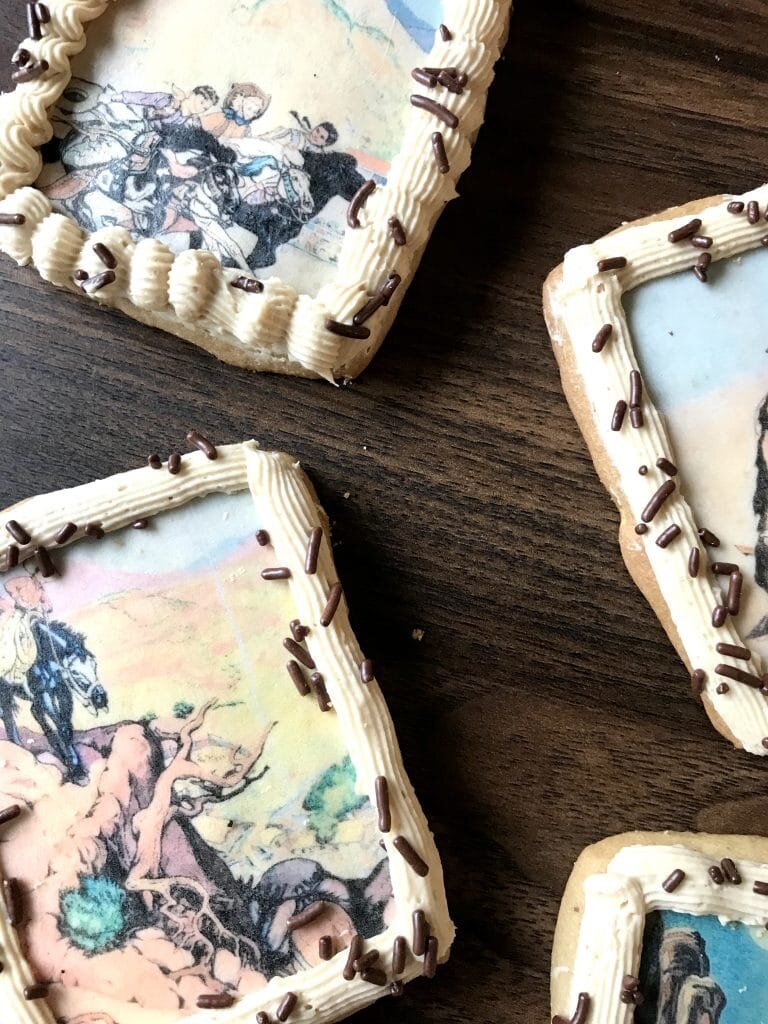
*Disclaimer: This post contains affiliate links. To learn more, please go here.I made these cowboy cookies in mind of my dad. He loves cookies, and these guys are filled with chocolate candies and frosted with a peanut butter frosting. Not only that but they are topped with the cutest cowboy images! They are so fun, simple and just down right yummy!Want to learn how to get images onto cookies and even cakes and chocolates? Then check out my new online edible printing course that will guide you through everything you need to know about edible printing, from start to finish! You won't regret it! Not too sure if you want to buy something so pricey if you aren't sure you'd like it? Then you can certainly check out my array of edible paper images you buy and try out before making such a huge purchase. You can even buy these images here in my shop!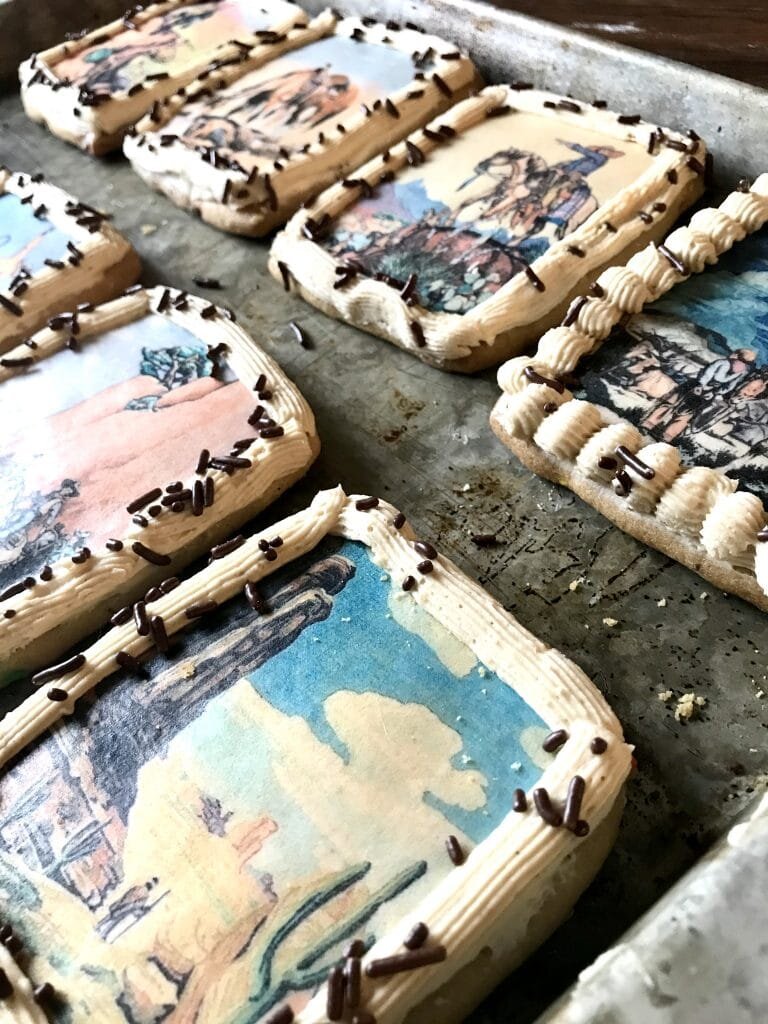
[mailerlite_form form_id=1]
Above are some products that I personally use and recommend for this recipe and to have for everyday use. One main thing that you will need in this recipe is the meringue powder for the buttercream. Meringue powder helps make the buttercream form a crust so that it won't make a mess and smudge everywhere. If you prefer to not use meringue powder, than I suggest making a crusting buttercream or a royal icing.
________________________________________________________________________________
m&m cookies with peanut butter buttercream

i call these cookies cowboy cookies, as they remind me of my western loving dad. incorporated with chocolate candies and peanut butter makes these an absolute favorite household staple
cookies
- 1 cup unsalted butter (room temp)
- 1/2 cup granulated sugar
- 1/3 cup brown sugar
- 1 egg
- 1 tbsp vanilla extract
- 1 1/2 tsp baking soda
- 1 tsp salt
- 2 cup all-purpose flour
- 1/2 cup mini m&ms
buttercream
- 1/2 cup unsalted butter (room temp)
- 1/4 cup creamy peanut butter
- 2 tsp meringue powder
- 1 tsp vanilla extract
- 3 cup powdered sugar
- 1 tbsp water
cookies
- preheat the oven to 350 degrees F. line a pan with parchment paper. in the bowl of an electric mixer fitted with a paddle attachment cream the sugars and the butter until light and fluffy, about 1 minute. scrape down the side of the bowl and then add in the egg and vanilla. in another bowl combine the flour, baking soda, and salt and whisk together. scrape down the sides of the bowl then on low speed, gradually add in the dry ingredients. add in the mini m&ms. wrap the dough into cling-wrap and refrigerate for 30 minutes. roll to 1/4 inch thickness and cut out with desired shapes and bake for 8-10 minutes.
buttercream
- put all of the ingredients into the bowl of an electric mixer fitted with a whisk attachment. start slow and then gradually increase the speed. whip on high until light and fluffy, about 3 minutes. frost the cookies.
Peanut Butter Caramel Kiss Cookies

[wprm-recipe-jump]
A plate of delicious cookies that are typically requested from the family during the holidays. There's the basic peanut butter kiss cookies that I like to spice up a little bit. I like to use caramel kiss chocolates rather than the regular ones. And that creates the peanut butter caramel kiss cookies! It adds another dimension of texture and flavor to the cookies and they are absolutely, in my opinion, better this way.Have any of you ever switched up the chocolate kiss on these cookies before? What's your favorite one to use or do you prefer to keep it the classic, traditional way? There are so many different flavors of these chocolate kisses available out in stores that you can play around with! Let me know in the comments what you like to use!The other cookie in the photos is the gingersnap that is dipped in white chocolate which you can find the recipe for right here!
[mailerlite_form form_id=1]

Above are some products that I personally use and recommend for this recipe and to have for everyday use. One of my favorite things that I have many of are the BlueQ oven mitts. They aren't just really funny and a great statement piece for your kitchen, but they are great quality too!
___________________________________________________________________________
peanut butter caramel kiss cookies
tender peanut butter cookies topped with a caramel filled chocolate kiss
- 1 stick unsalted butter (room-temp)
- 1 cup creamy peanut butter
- 1/2 cup granulated sugar
- 1/3 cup brown sugar
- 2 eggs
- 1 tsp vanilla extract
- 1/2 tsp salt
- 1 1/2 tsp baking soda
- 2 cup all-purpose flour
- 1 bag caramel chocolate kisses
- granulated sugar for rolling
- preheat the oven to 350 degrees F. in the bowl of an electric mixer, cream the butter, peanut butter and sugars until fluffy, about 1 minute. scrape down the sides of the bowl and then add in the eggs and vanilla. continue mixing until combined and then scrape the bowl down again. add in the flour, baking soda and salt and mix until combined. roll out the cookie dough into a tablespoon sized ball and then roll in the granulated sugar. place on a lined sheet pan and bake for 8 minutes. remove from the oven and then add the caramel kisses to each cookie and bake for another 2-3 minutes. remove from the oven and let cool.
Scooby Doo Cinnamon Ice Cream Sandwiches

[wprm-recipe-jump]
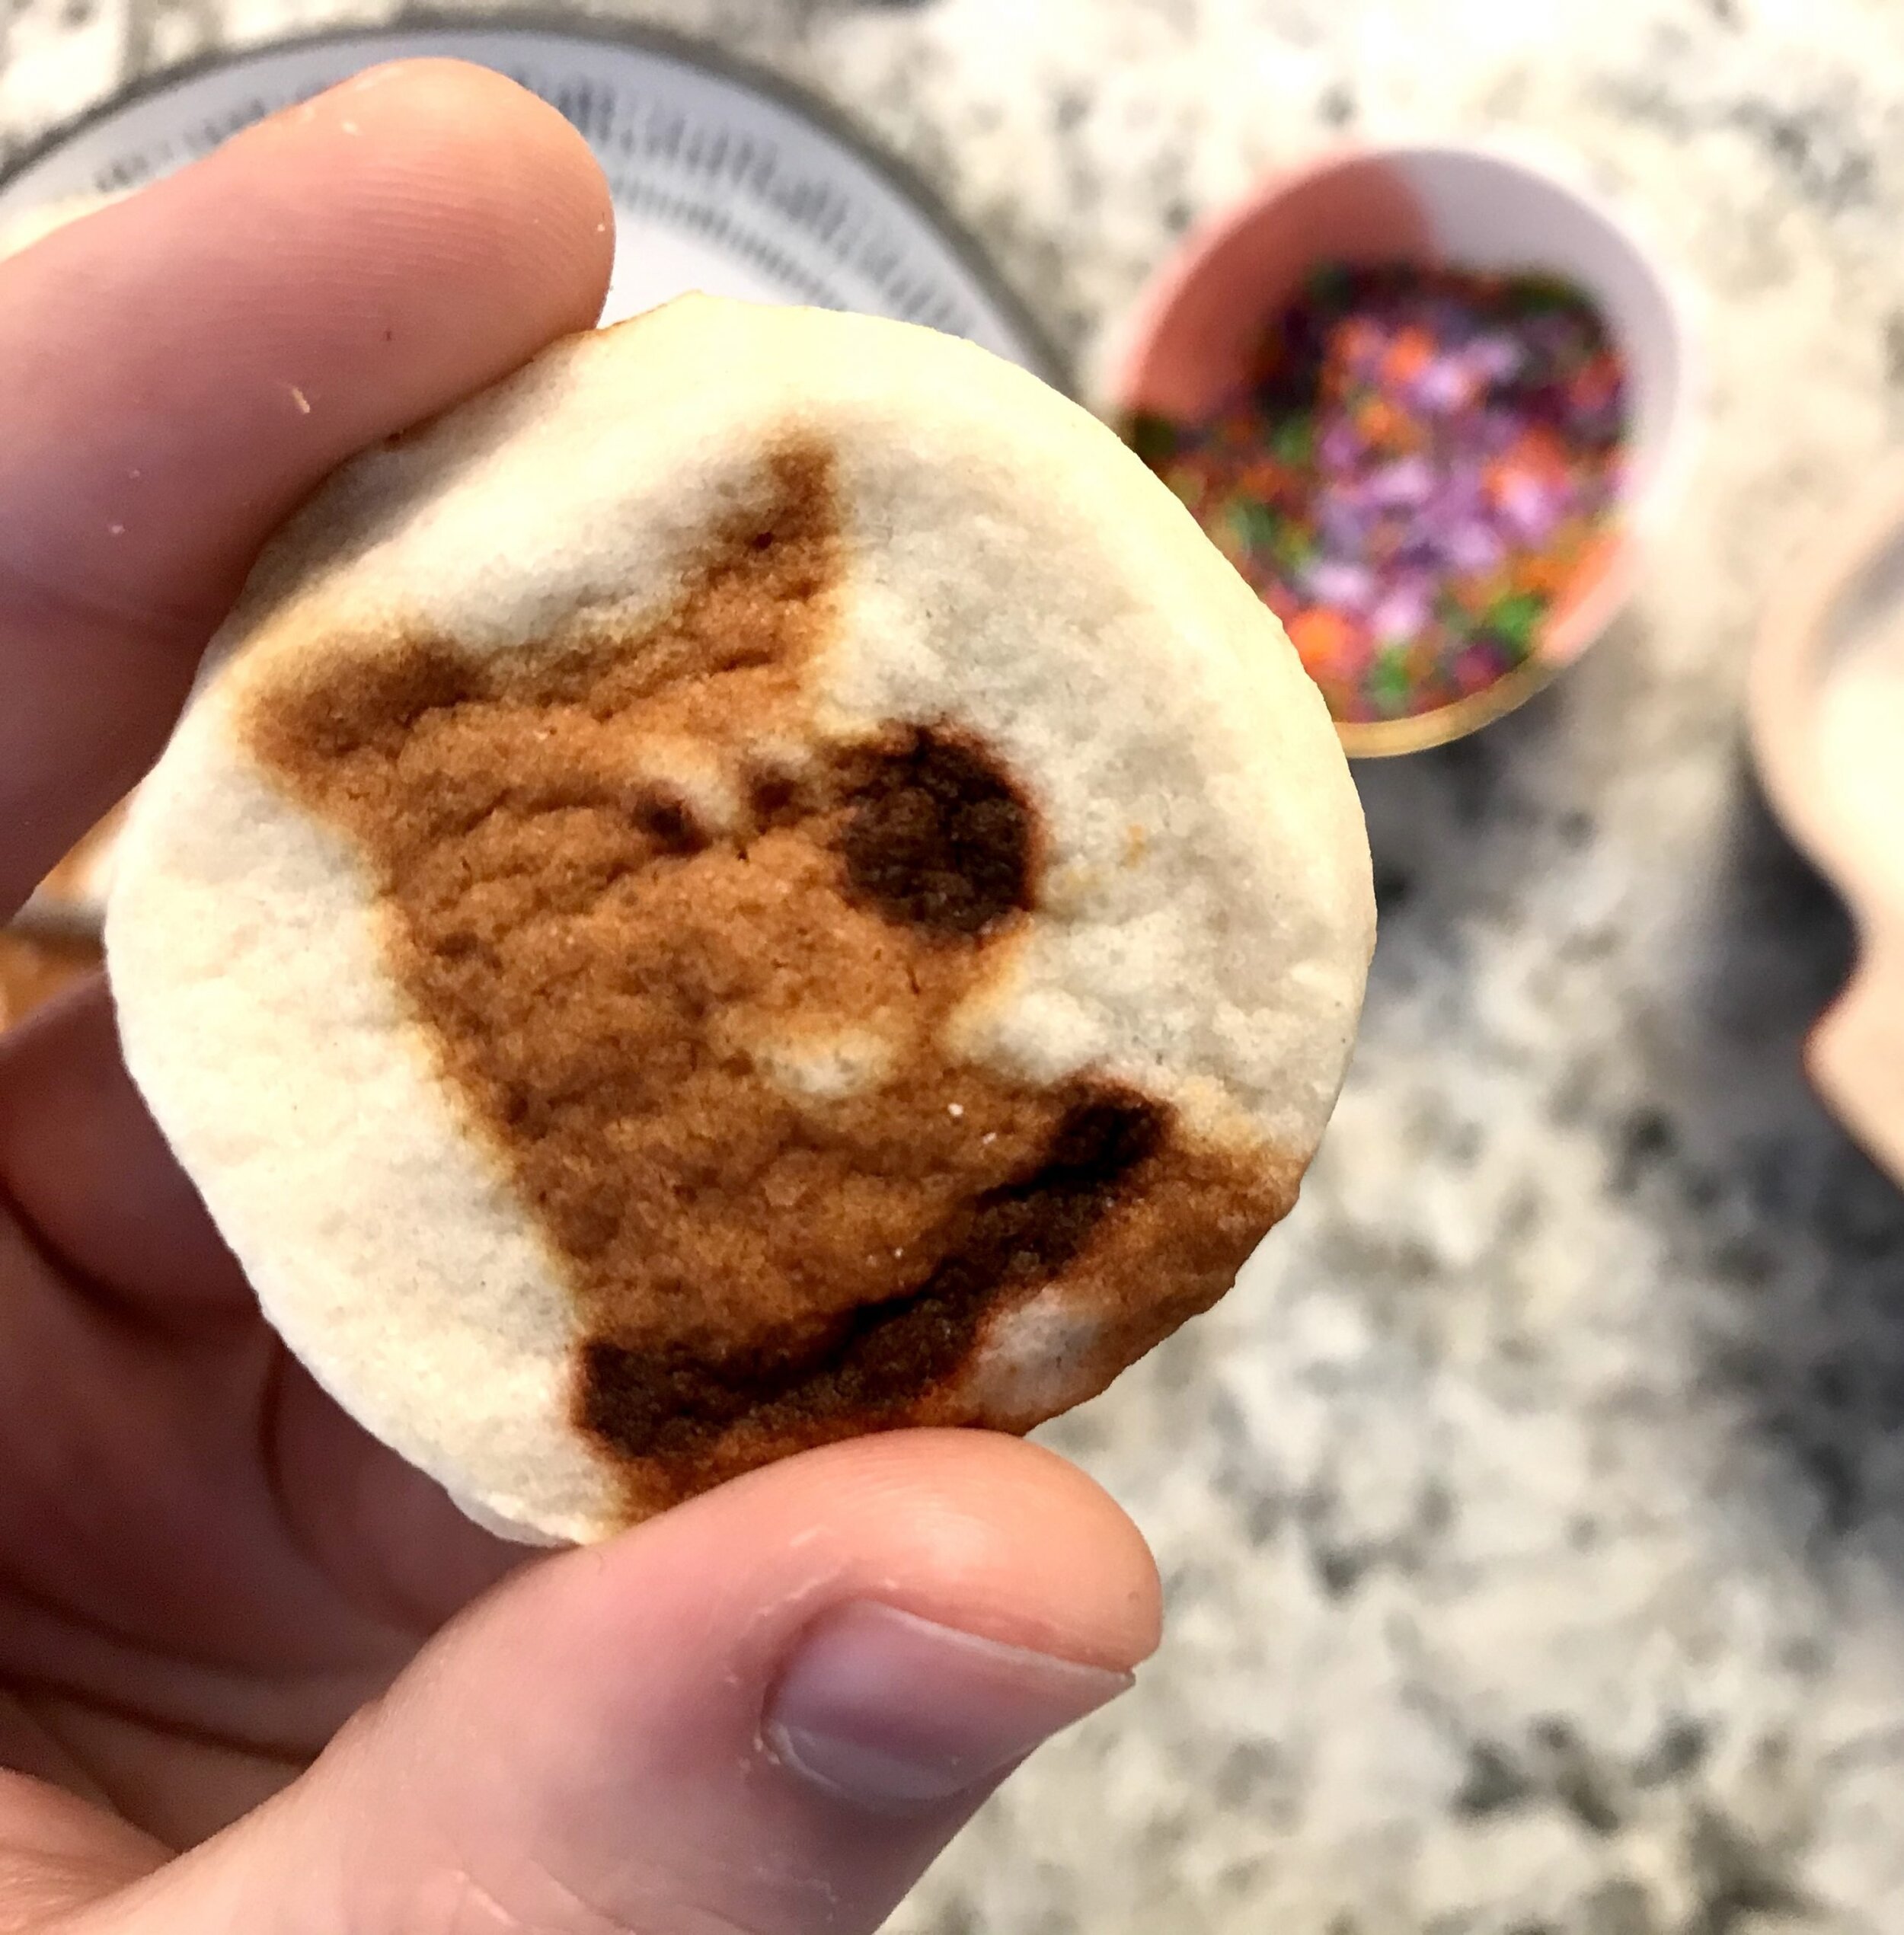
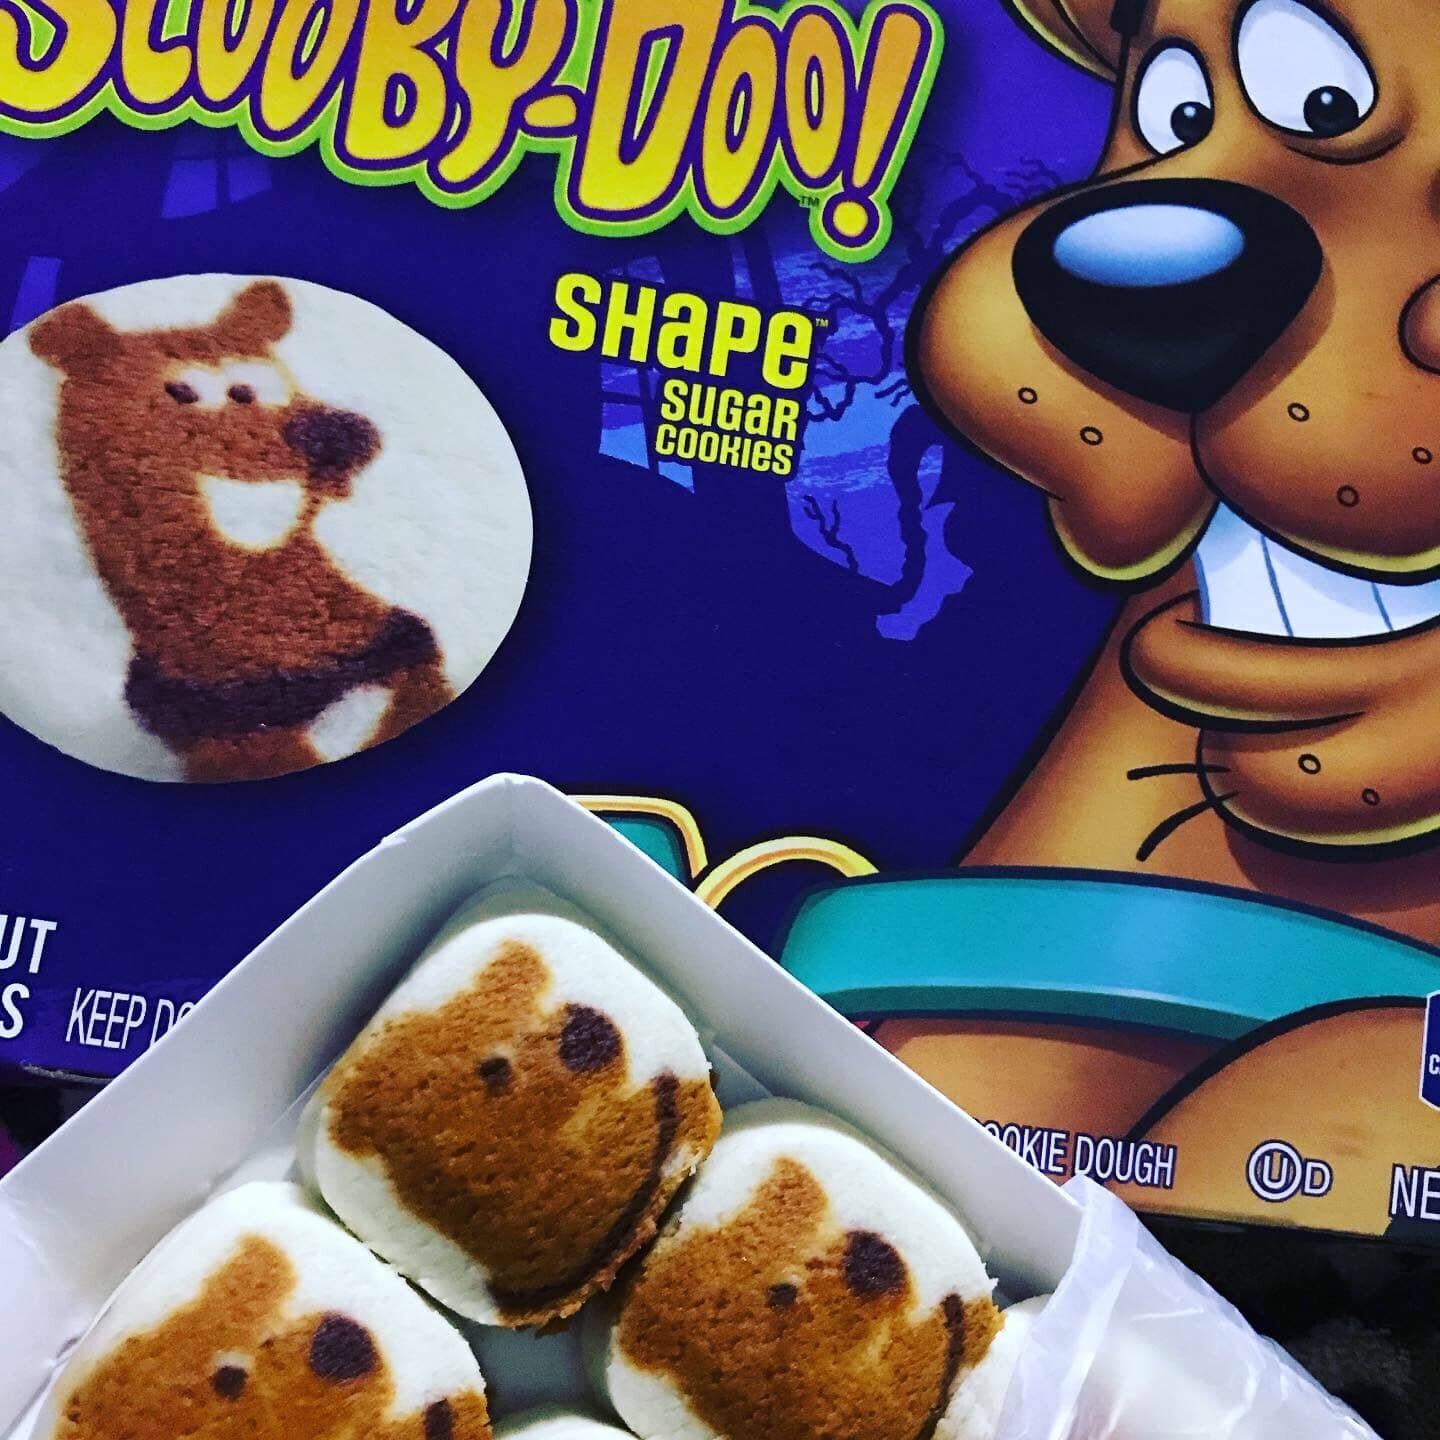
*Disclaimer: This post contains affiliate links. To learn more, please go here.I was visiting a friend in Texas a couple of weeks ago to go and get pancak. We went to the grocery store to buy a bunch of junk to stuff our faces with. These scooby doo sugar cookies was one of the things that I got and i'm so in love with them! I just had to make something with these cookies and I thought a fun ice cream sandwich would be perfect! These guys are filled with a simple cinnamon ice cream that's not too sweet and not too spicy.I found it a bit difficult to find these cookies when I got back to Nashville and couldn't find them at either walmart or target. But I did find it at kroger! So if you have a kroger in your town, then that is the most likely place you will be able to find these cookies. Otherwise any other kind of sugar cookie works too!When I thought of what kind of ice cream would fit perfectly with these cookies, I thought of cinnamon. Cinnamon ice cream was the perfect choice for this sandwich, and it isn't intense or overly sweet either. But that doesn't mean you have to use cinnamon if you don't want to.
[mailerlite_form form_id=1]
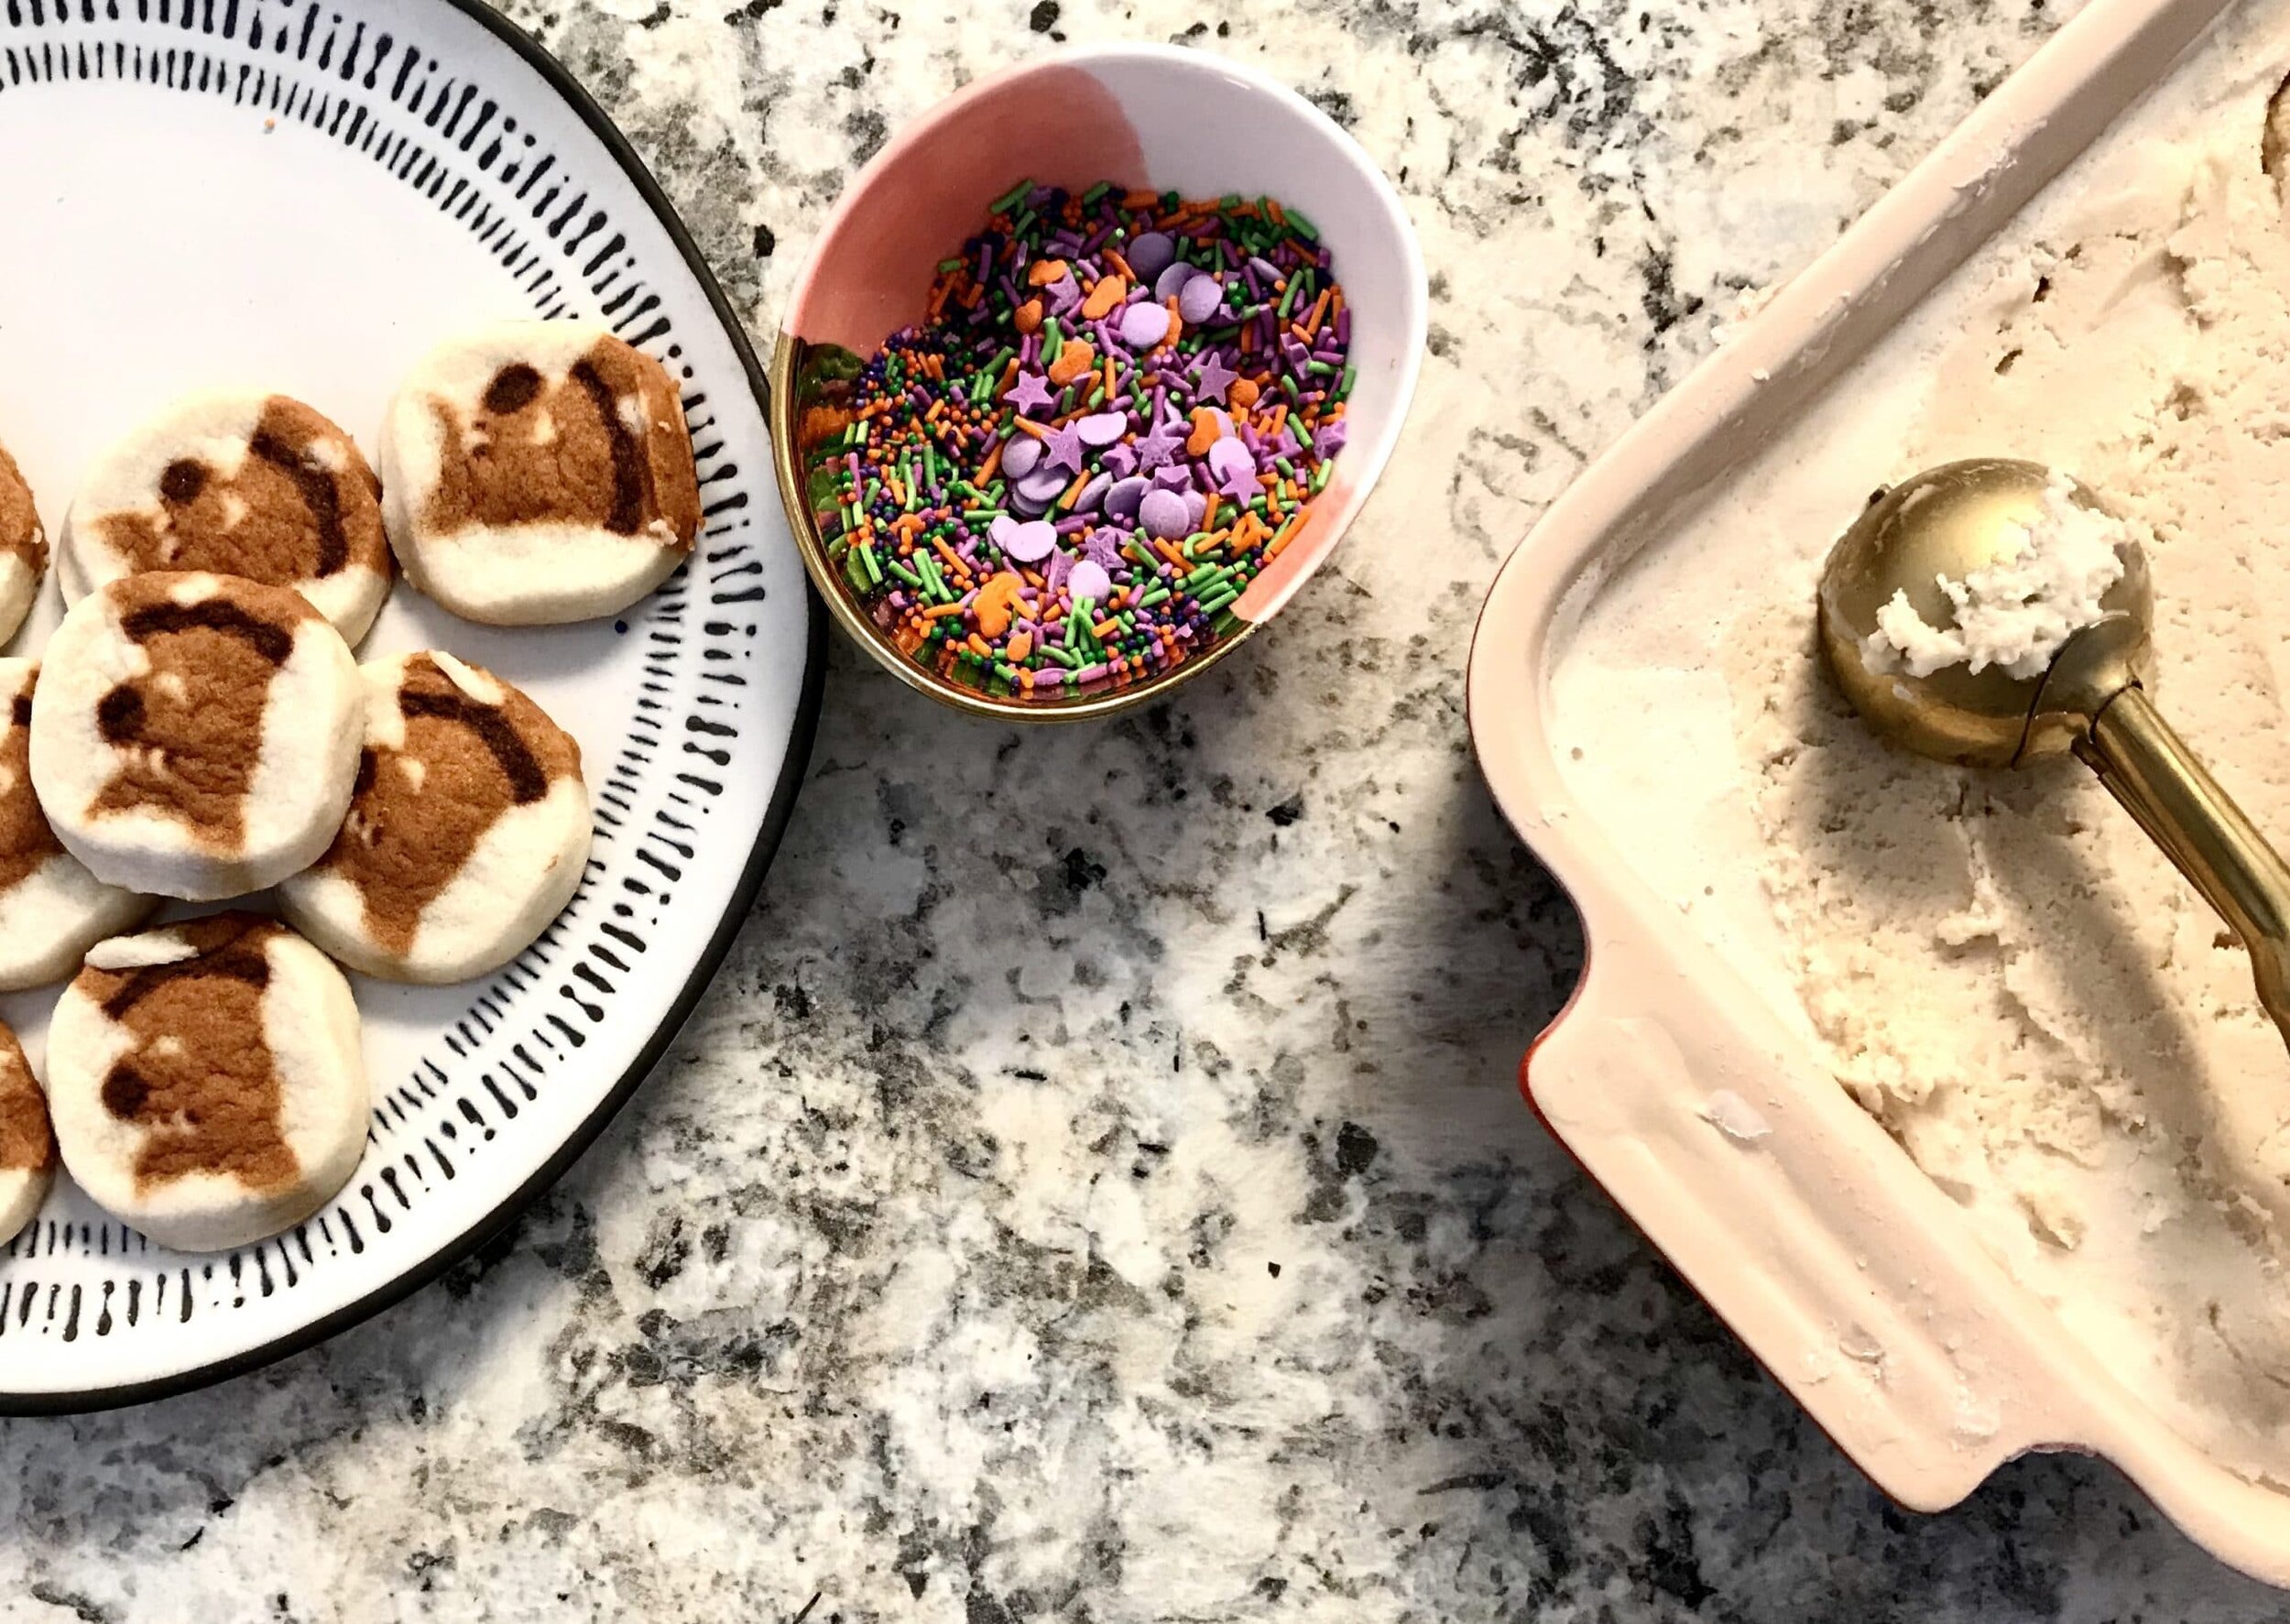

Above are some products that I personally use and recommend for this recipe and to have for everyday use. I highly recommend starting off with the cuisinart ice cream machine as your first ice cream maker. It's the cheapest one on amazon and I personally use it and love it! I also suggest getting a reusable ice cream container as well, it's dishwasher safe and you can use it over and over again!
___________________________________________________________________________
scooby doo cinnamon ice cream sandwiches
a cute scooby doo store bought cookie sandwiched with a cinnamon ice cream
- 2 packs scooby sugar cookies (i got mine from kroger)
- sprinkles (for the sides of the sandwich)
- 1 1/2 cup milk
- 1 1/2 cup heavy cream
- 3/4 cup brown sugar
- 1/2 tsp cinnamon
- 1 tbsp vanilla extract
- place all of the ingredients into a pot and bring to a boil, whisking to make sure the sugar dissolves. place the ice cream base into the fridge overnight to cool and to let the flavor increase. following the manufacturer's instructions of your ice cream machine, turn the base for 20-25 minutes. place the ice cream into a freezer safe container and freeze overnight to firm up.
assembly
- take a small ice cream scoop and take a little bit of the cinnamon ice cream and place onto one of the cookies. take another cookie and carefully sandwich them together. roll the sides of the ice cream sandwich in sprinkles. freeze until ready to serve.
Pumpkin Mousse Dessert

[wprm-recipe-jump]
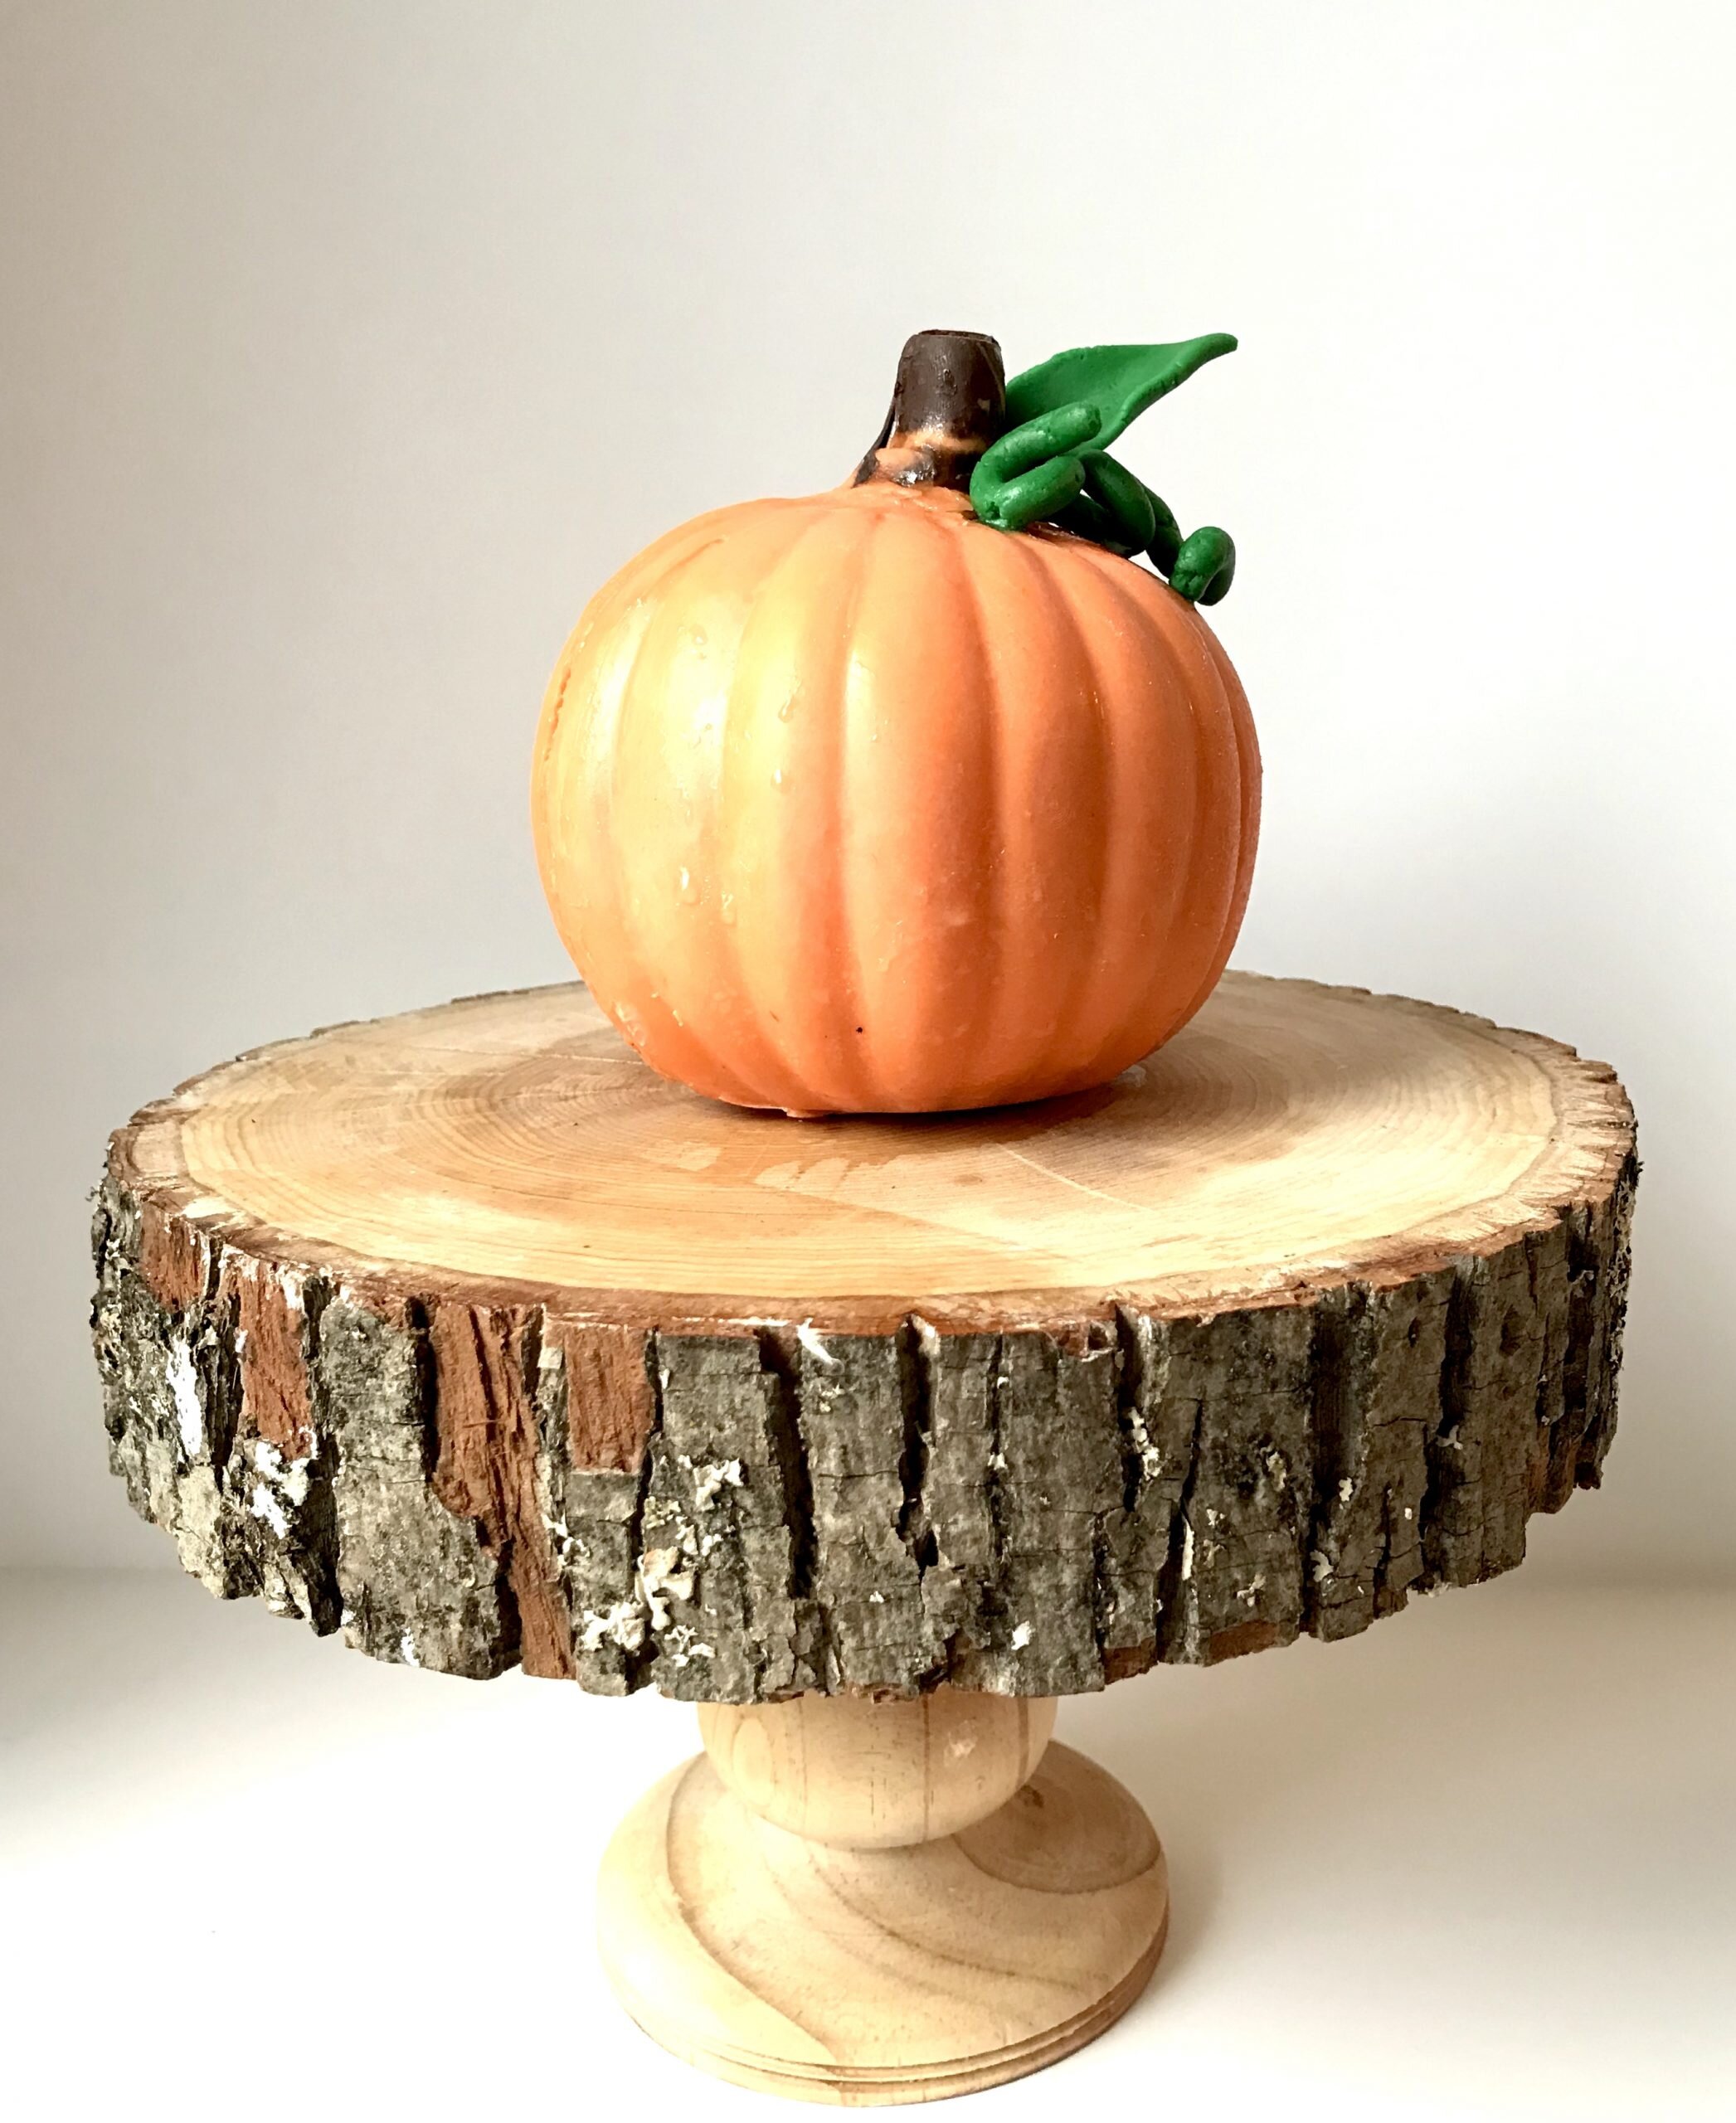
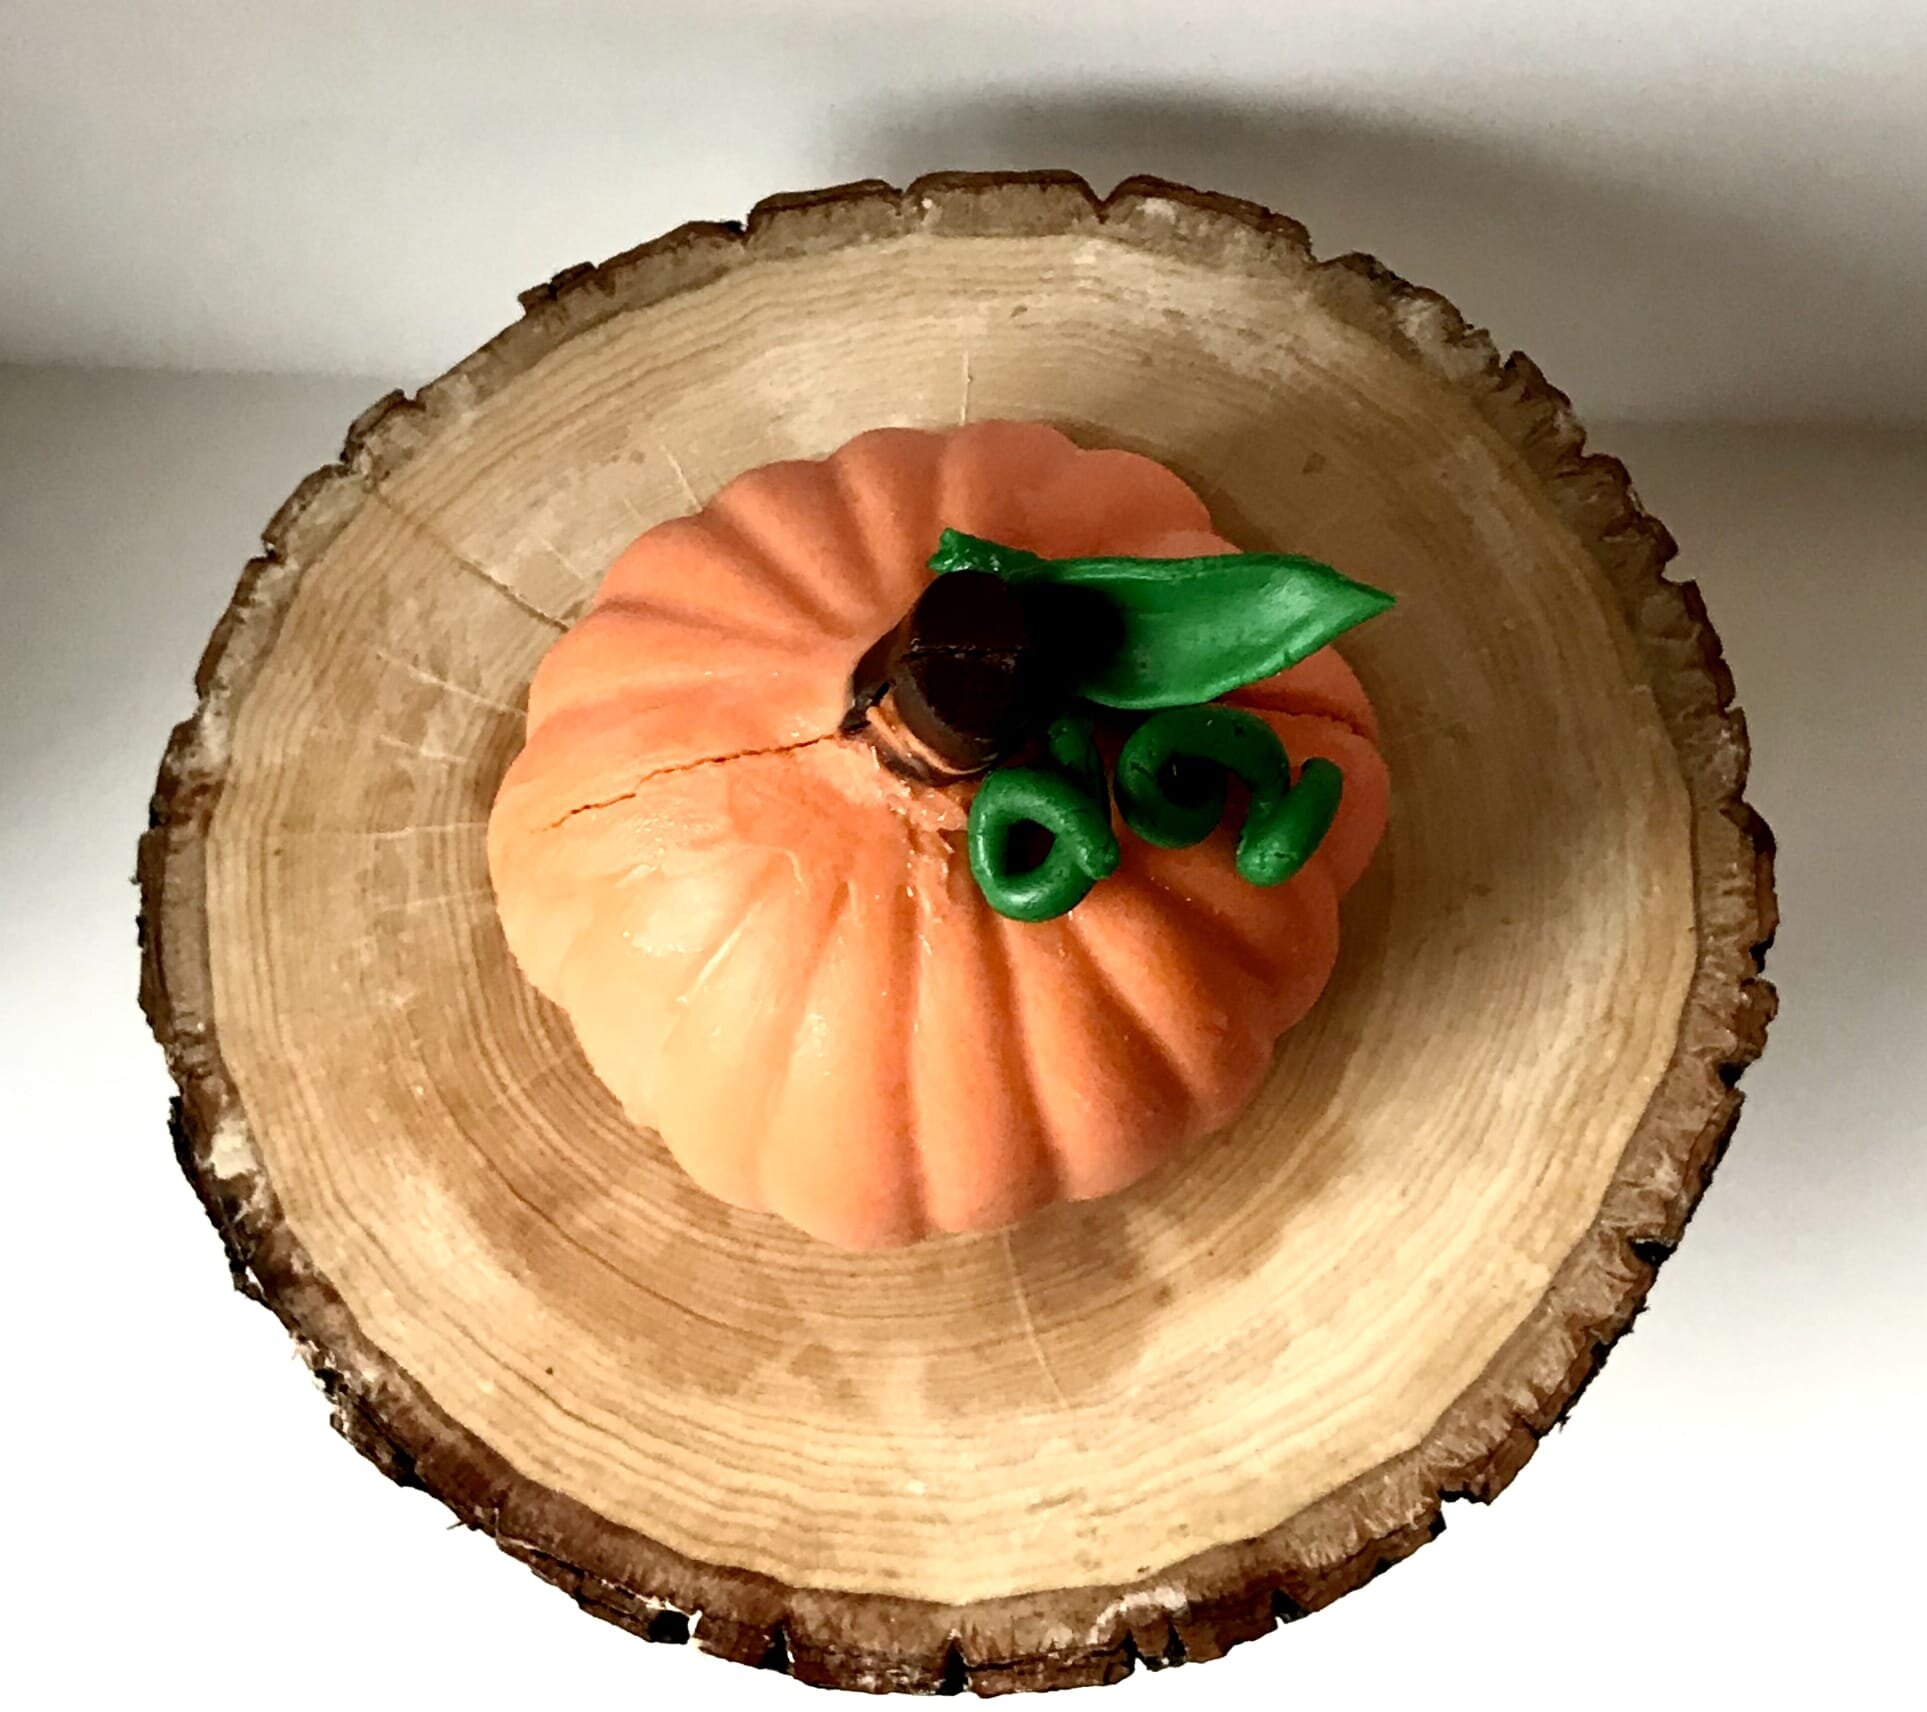
*Disclaimer: This post contains affiliate links. To learn more, please go here.This pumpkin is no ordinary pumpkin. It's a pumpkin mousse dessert! A chocolate pumpkin that's filled with a creamy deliciousness that will have you replacing the old basic pumpkin pie this year.It's a pumpkin chocolate shell that's filled with a creamy pumpkin mousse with little drops of chocolate ganache and sweetened cream cheese. This dessert is pure heaven in every way for a family event this fall. If you can't find the 3D pumpkin mold, than use a different mold. I'm sure there is a 3D turkey that would be so cute for Thanksgiving!In this dessert I added in some extras as mix-ins. I made a quick chocolate ganache and just cut up a few mini chunks of cream cheese. Now you don't have to use these exact mix-ins I used. You can use chocolate chips, pecans, caramel pieces, and even some ginger cookie chunks too! Make it yours!
[mailerlite_form form_id=1]

Above are some products that I personally use and recommend for this recipe and to have for everyday use. Essentials for making this dessert is the pumpkin mold and the coating chocolate. If you use regular chocolate you won't get that color to make it look like a pumpkin and could bloom.
________________________________________________________________________
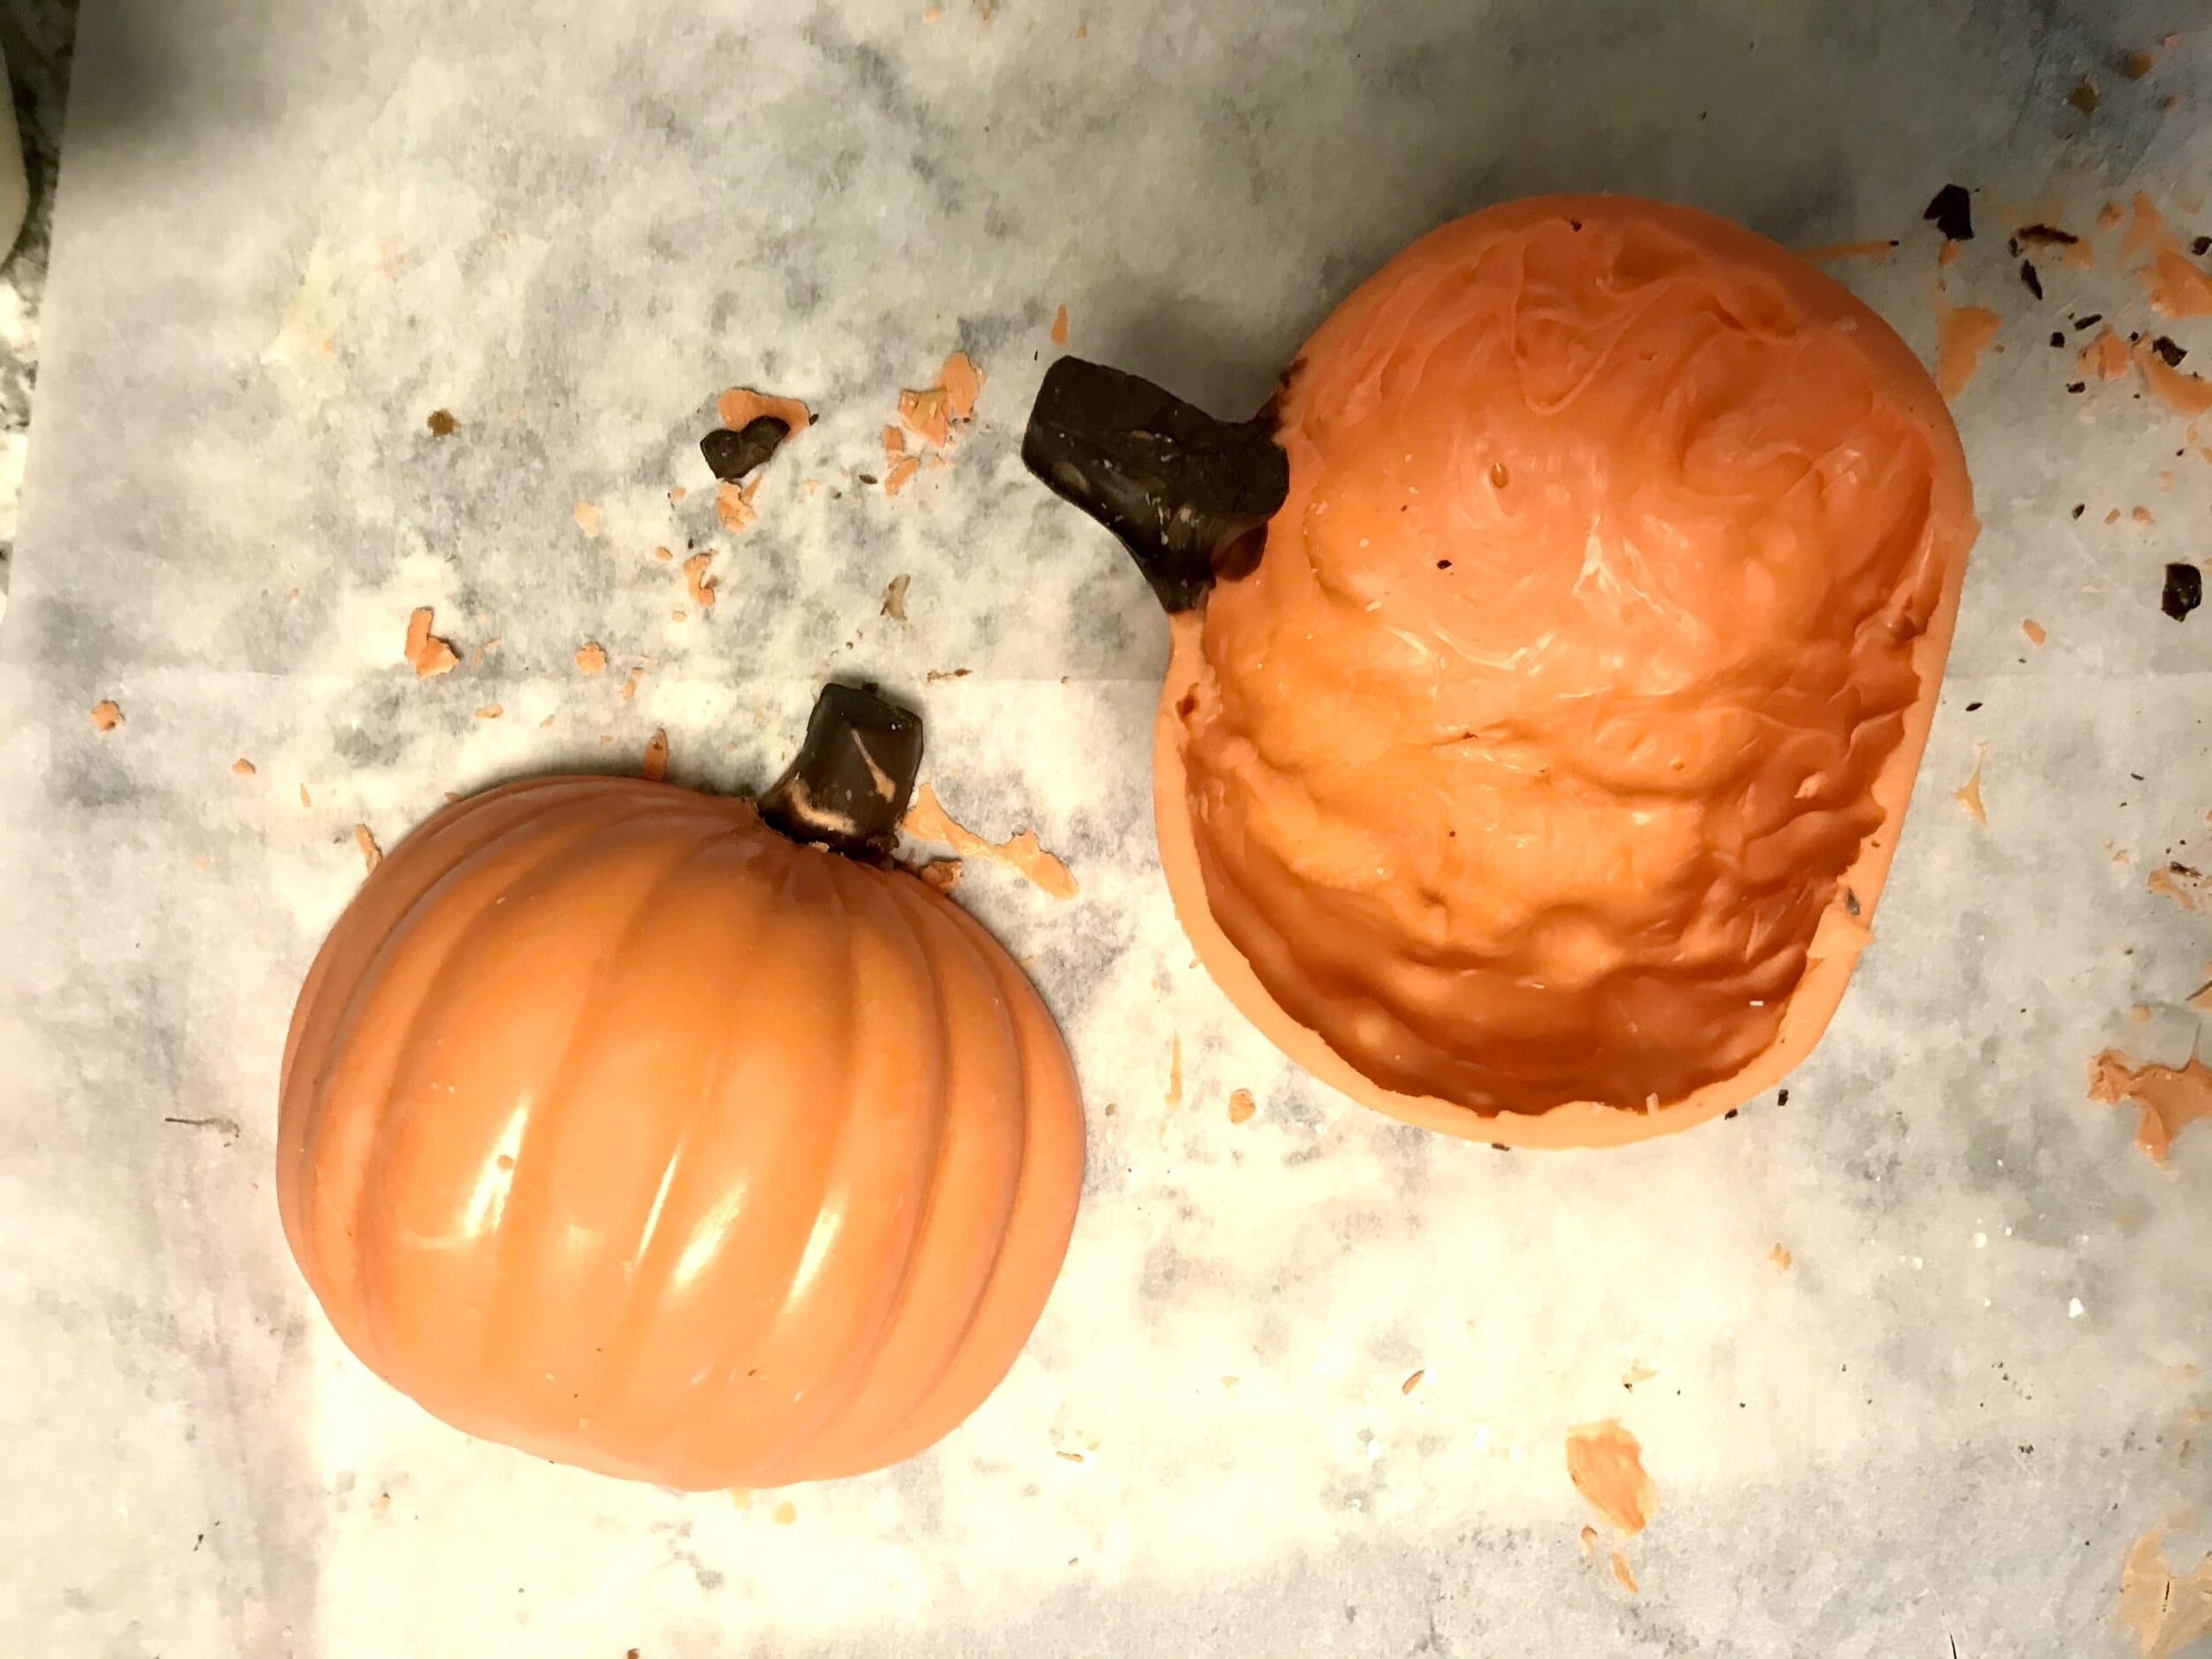

pumpkin mousse dessert
an adorable pumpkin chocolate shell that's filled with pumpkin mousse, chocolate ganache, and cream cheese.
chocolate shell
- pumpkin mold
- orange candy melts
- brown candy melts
pumpkin mousse
- 1/2 cup milk
- 1 tsp vanilla extract
- pinch salt
- 4 egg yolks
- 1/4 cup pumpkin puree
- 1/3 cup brown sugar
- 1 tsp cinnamon
- 1/2 tsp ginger
- 1/4 tsp cloves
- 1 1/2 tsp gelatin
- 1 tbsp water
- 1/2 cup heavy cream
fillings
- ganache, cream cheese, chocolate chips, nuts, caramel pieces, etc...
chocolate shell
- start by taking the orange candy melts and melting it. fill the pumpkin part of the mold and let it sit for about a minute. invert the molds to let the chocolate fall out to create the chocolate shell. scrape down the sides to create that even edge. take the brown chocolate and melt that and fill in the stem part of the pumpkin. i found it easier to have that as a solid part and not inverting the mold to let the chocolate drip out. let the chocolate set. i find it easier to put it into the freezer to pop the chocolate shells out.
pumpkin mousse
- bloom the gelatin in the 1 tbsp of water and set aside. in a bowl, combine the egg yolks, sugar, pumpkin puree, cinnamon, ginger, and cloves. meanwhile, bring the milk, vanilla and salt to a simmer. once hot, slowly temper into the yolk mixture. do this by pouring a little amount of the hot milk into the yolks and whisking together. keep doing this until all of the milk is added to the yolks. place the mixture over a double boiler and heat until it reaches 140 degrees F. and then stir in the bloomed gelatin. place the mixture into a bowl and wrap with cling wrap and put in the fridge overnight, or until firm.
- whip the heavy cream until stiff peaks form. add in the firm and chilled pumpkin mixture and whip until fully incorporated. place into the fridge until ready to use.
assembly
- start by taking both parts of the chocolate shell and add in a thin layer of the pumpkin mousse. sprinkle in some of the fillings you have chosen and continue to layer each component.
- don't overfill the chocolate shells, you want to be able to seal it without having any of the mousse exploding out of the sides.
- melt a little of the orange candy melts that you have leftover and pipe a thin line along the edges of the chocolate shell. carefully take both parts and carefully put them together to get the 3D pumpkin.
- use a little bit of green fondant to create the vines and leaves for the pumpkin and glue on with a little more of the orange chocolate.
- keep refrigerated until ready to serve.
Spicy Skull Cakes

[wprm-recipe-jump]
*Disclaimer: This post contains affiliate links. To learn more, please go here.These spicy skull cakes are fun with a lot of oozy edible blood dripping off them. I had a great time pouring the glaze over these mini cakes for a dramatic effect. My mom got me this cake pan last year and I never got the chance to use it at all. This year I finally was able to use it and I'm so glad I did! I had so much fun making these guys and pouring the glaze on top. I find that the glaze on top makes it a show stopper and perfect for a halloween party dessert center piece.Not into spicy food? That's ok! Just adjust the cayenne pepper to how you can handle it or just completely take it out. You can even add in some mini chocolate chips into the batter too if you'd like! It's not even necessary to use the skull cake pan (as fun as it is) but you can make them into cupcakes instead. If you decide to make them into cupcakes, just remember that the time will need to be adjusted in the recipe. If you bake them for that long they will become over baked or even burnt.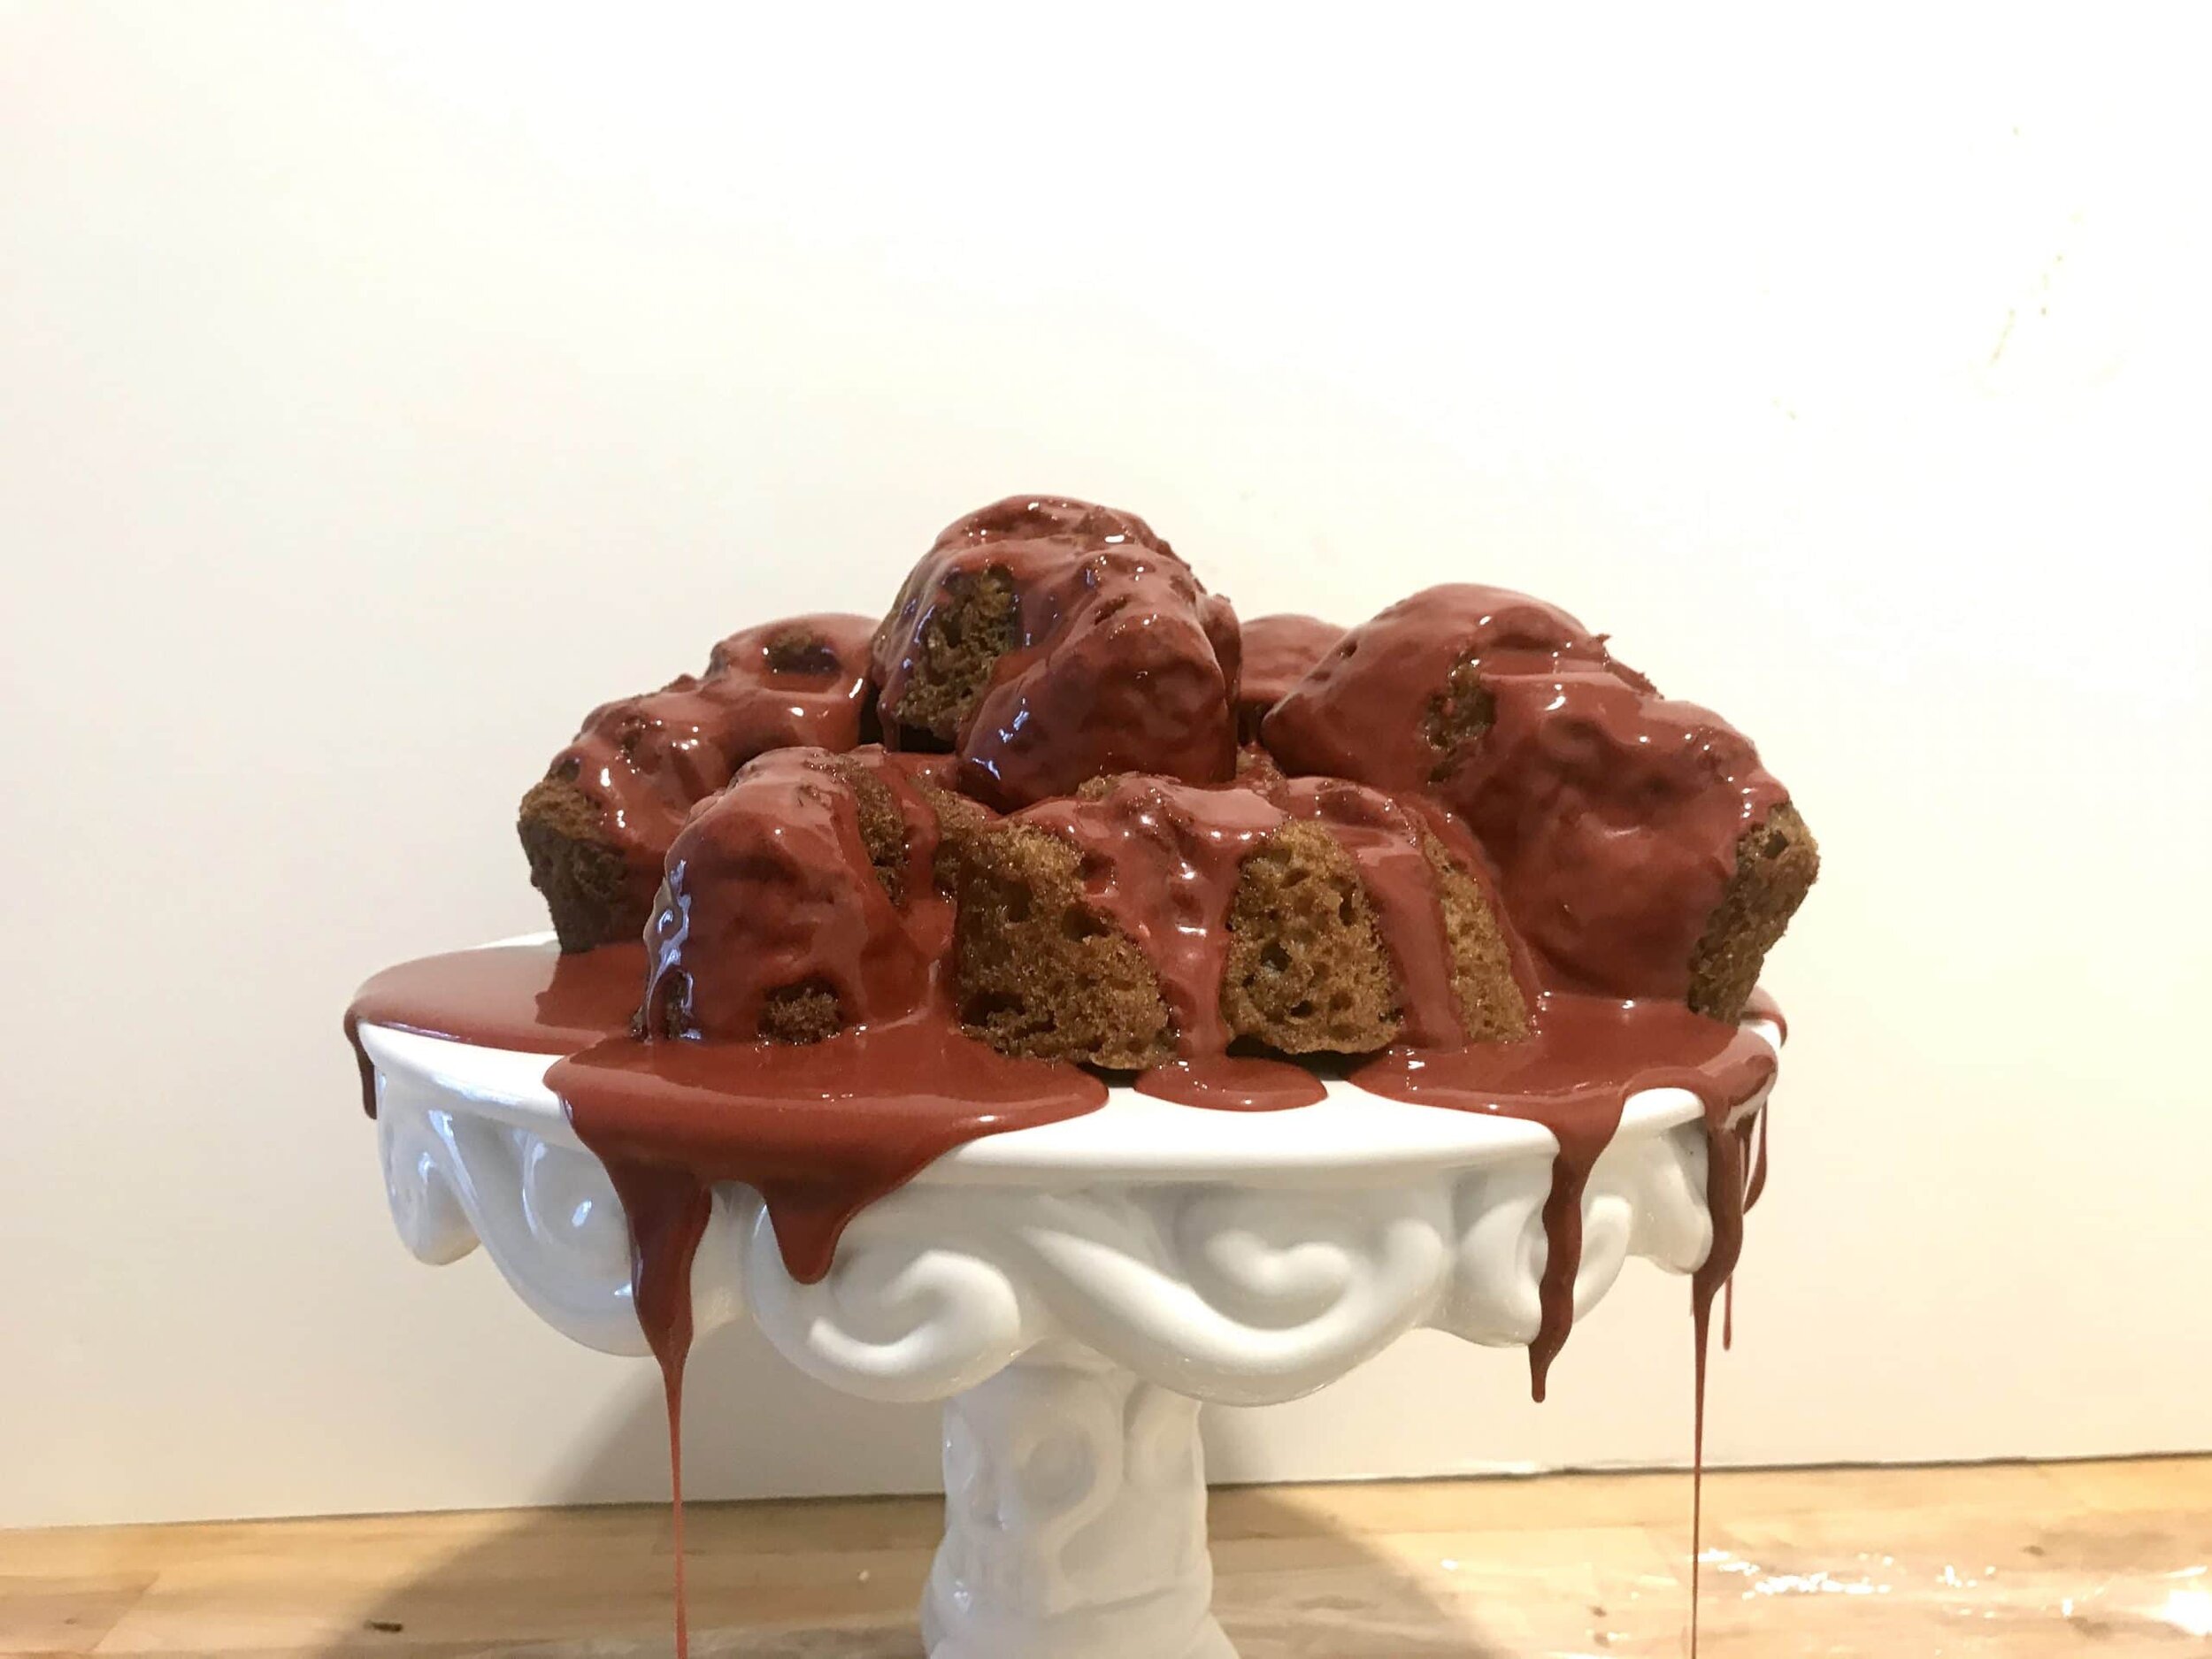
[mailerlite_form form_id=1]
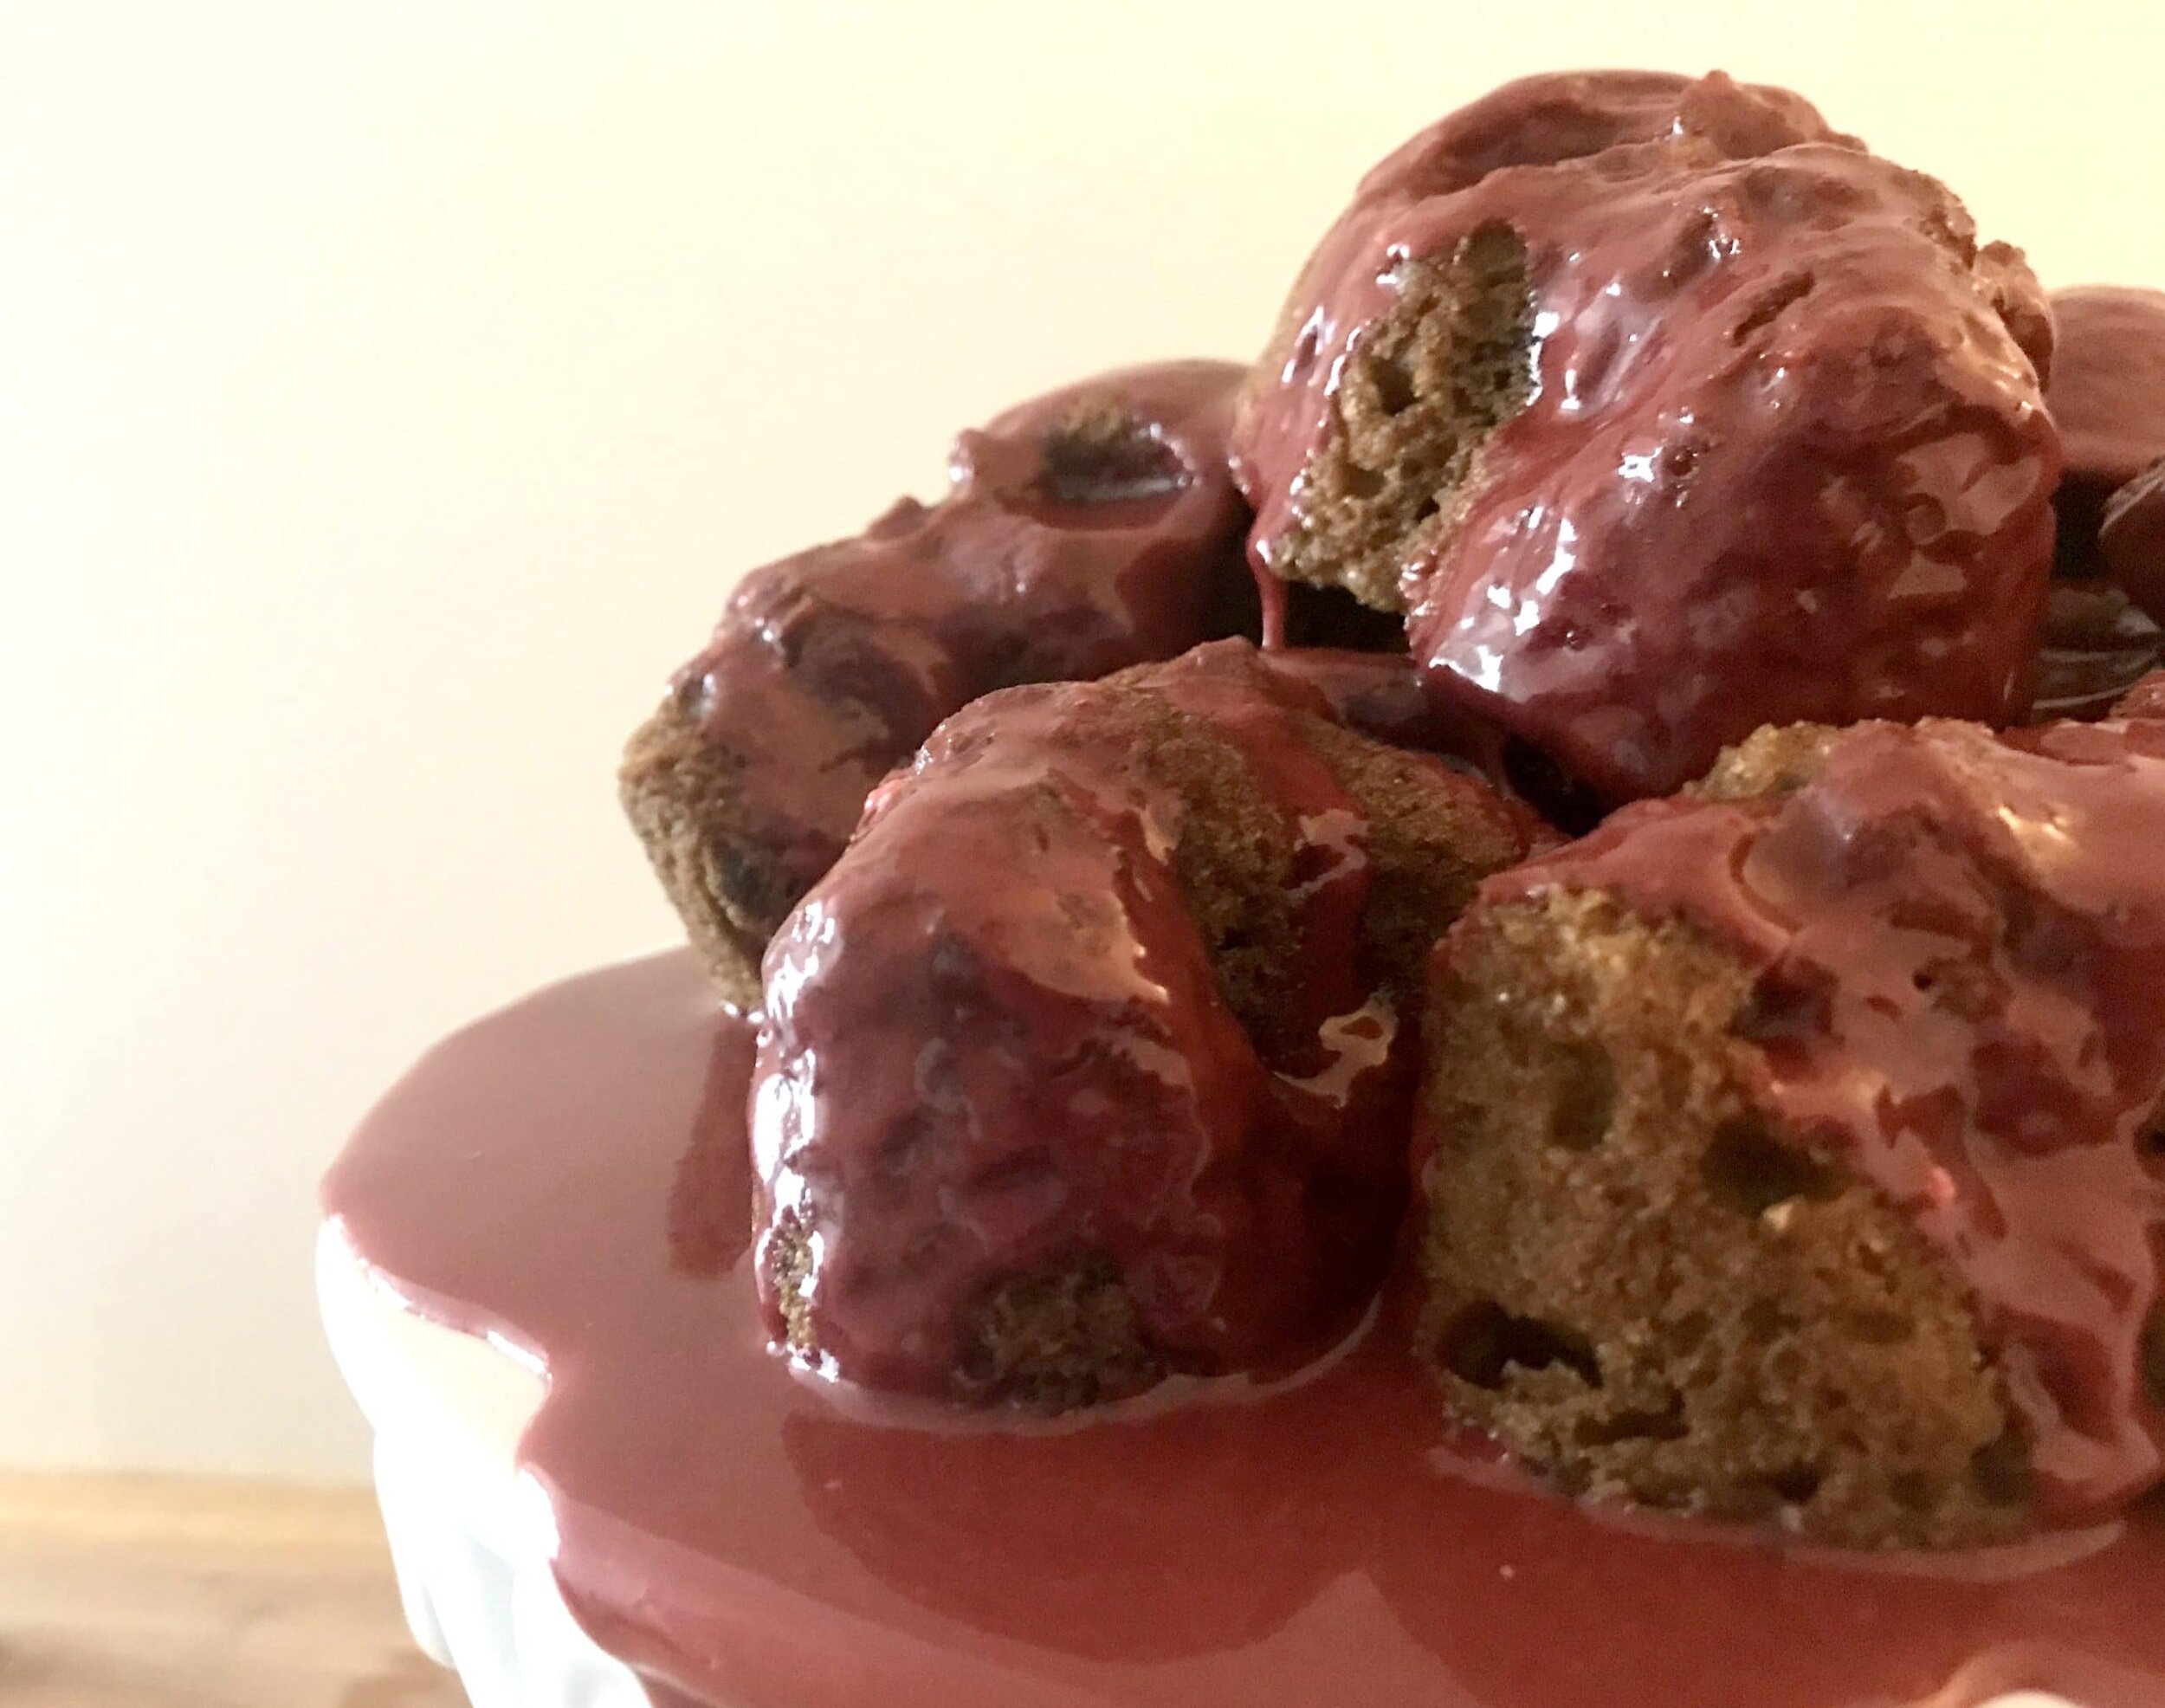
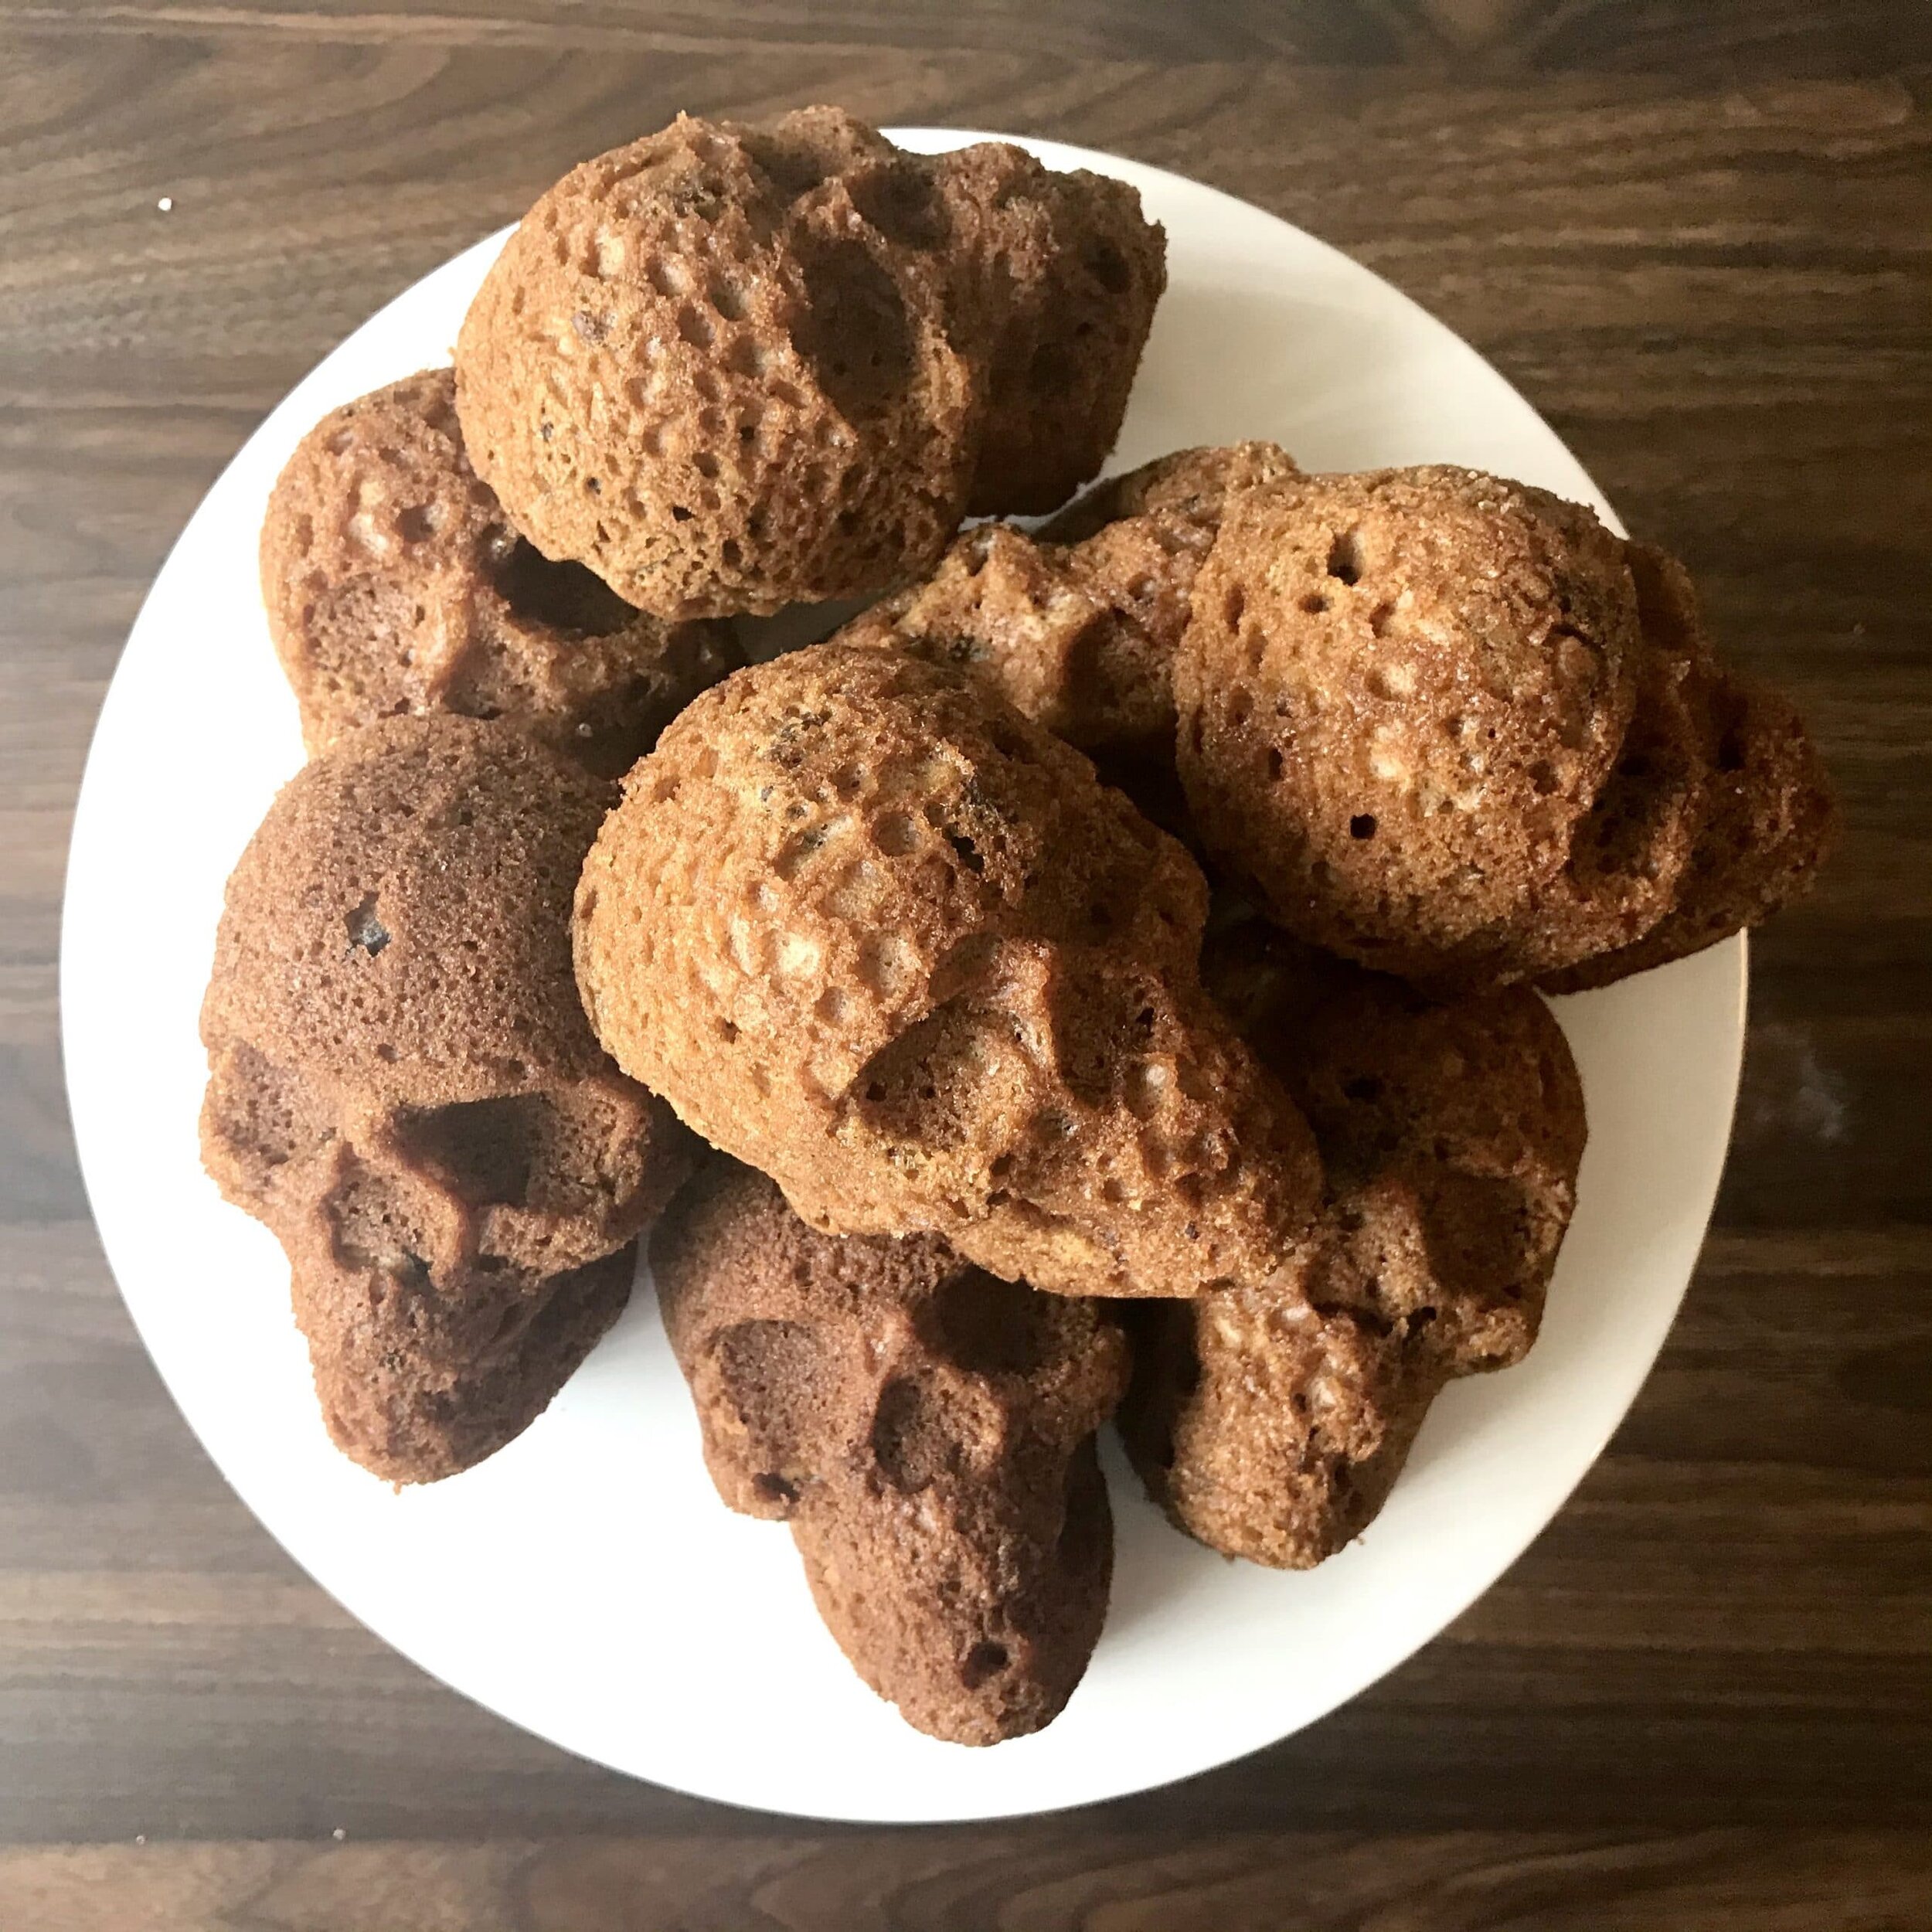
Above are some products that I personally use and recommend for this recipe and to have for everyday use. To make these spicy skull cakes I highly recommend getting the mini skull cake pan. It gives the cakes so much detail and just adds that fun halloween aspect to it.
_________________________________________________________________________________
spicy skull cakes
fun spicy cakes in the shape of skulls that are covered in a bloody red glaze
cake
- 1 3/4 cup all-purpose flour
- 2/3 cup brown sugar
- 1 1/2 tsp baking soda
- 1/2 tsp salt
- 1 tsp cinnamon
- 1/2 tsp cayenne pepper
- 2 eggs
- 1/2 cup vegetable oil
- 1 tbsp vanilla extract
- 3/4 cup milk
- 1 cup pecans (roughly chopped)
glaze
- 2 cup powdered sugar
- 1/4 cup light corn syrup
- 4 tbsp water
- 1 tsp vanilla extract
- 1/4 tsp cinnamon
- pinch cayenne pepper
- red food color
- black food color
cake
- preheat the oven to 350 degrees F and spray the skull cake pan. in a large bowl, combine the flour, brown sugar, baking soda, salt, cinnamon, and cayenne pepper and mix until incorporated. in another bowl, combine the oil, eggs, vanilla, and milk and whisk together. pour the wet ingredients into the dry and mix until fully combined. fold in the chopped pecans. scoop the batter into the pan and bake for 18-20 minutes or until a toothpick comes out clean. let cool for 10 minutes before removing from the pan.
glaze
- place all of the ingredients into a bowl and mix to combine until smooth. add in a tiny drop of black food color and enough red until you get the desired color that resembles blood. pour over the cakes.
Alien French Macarons
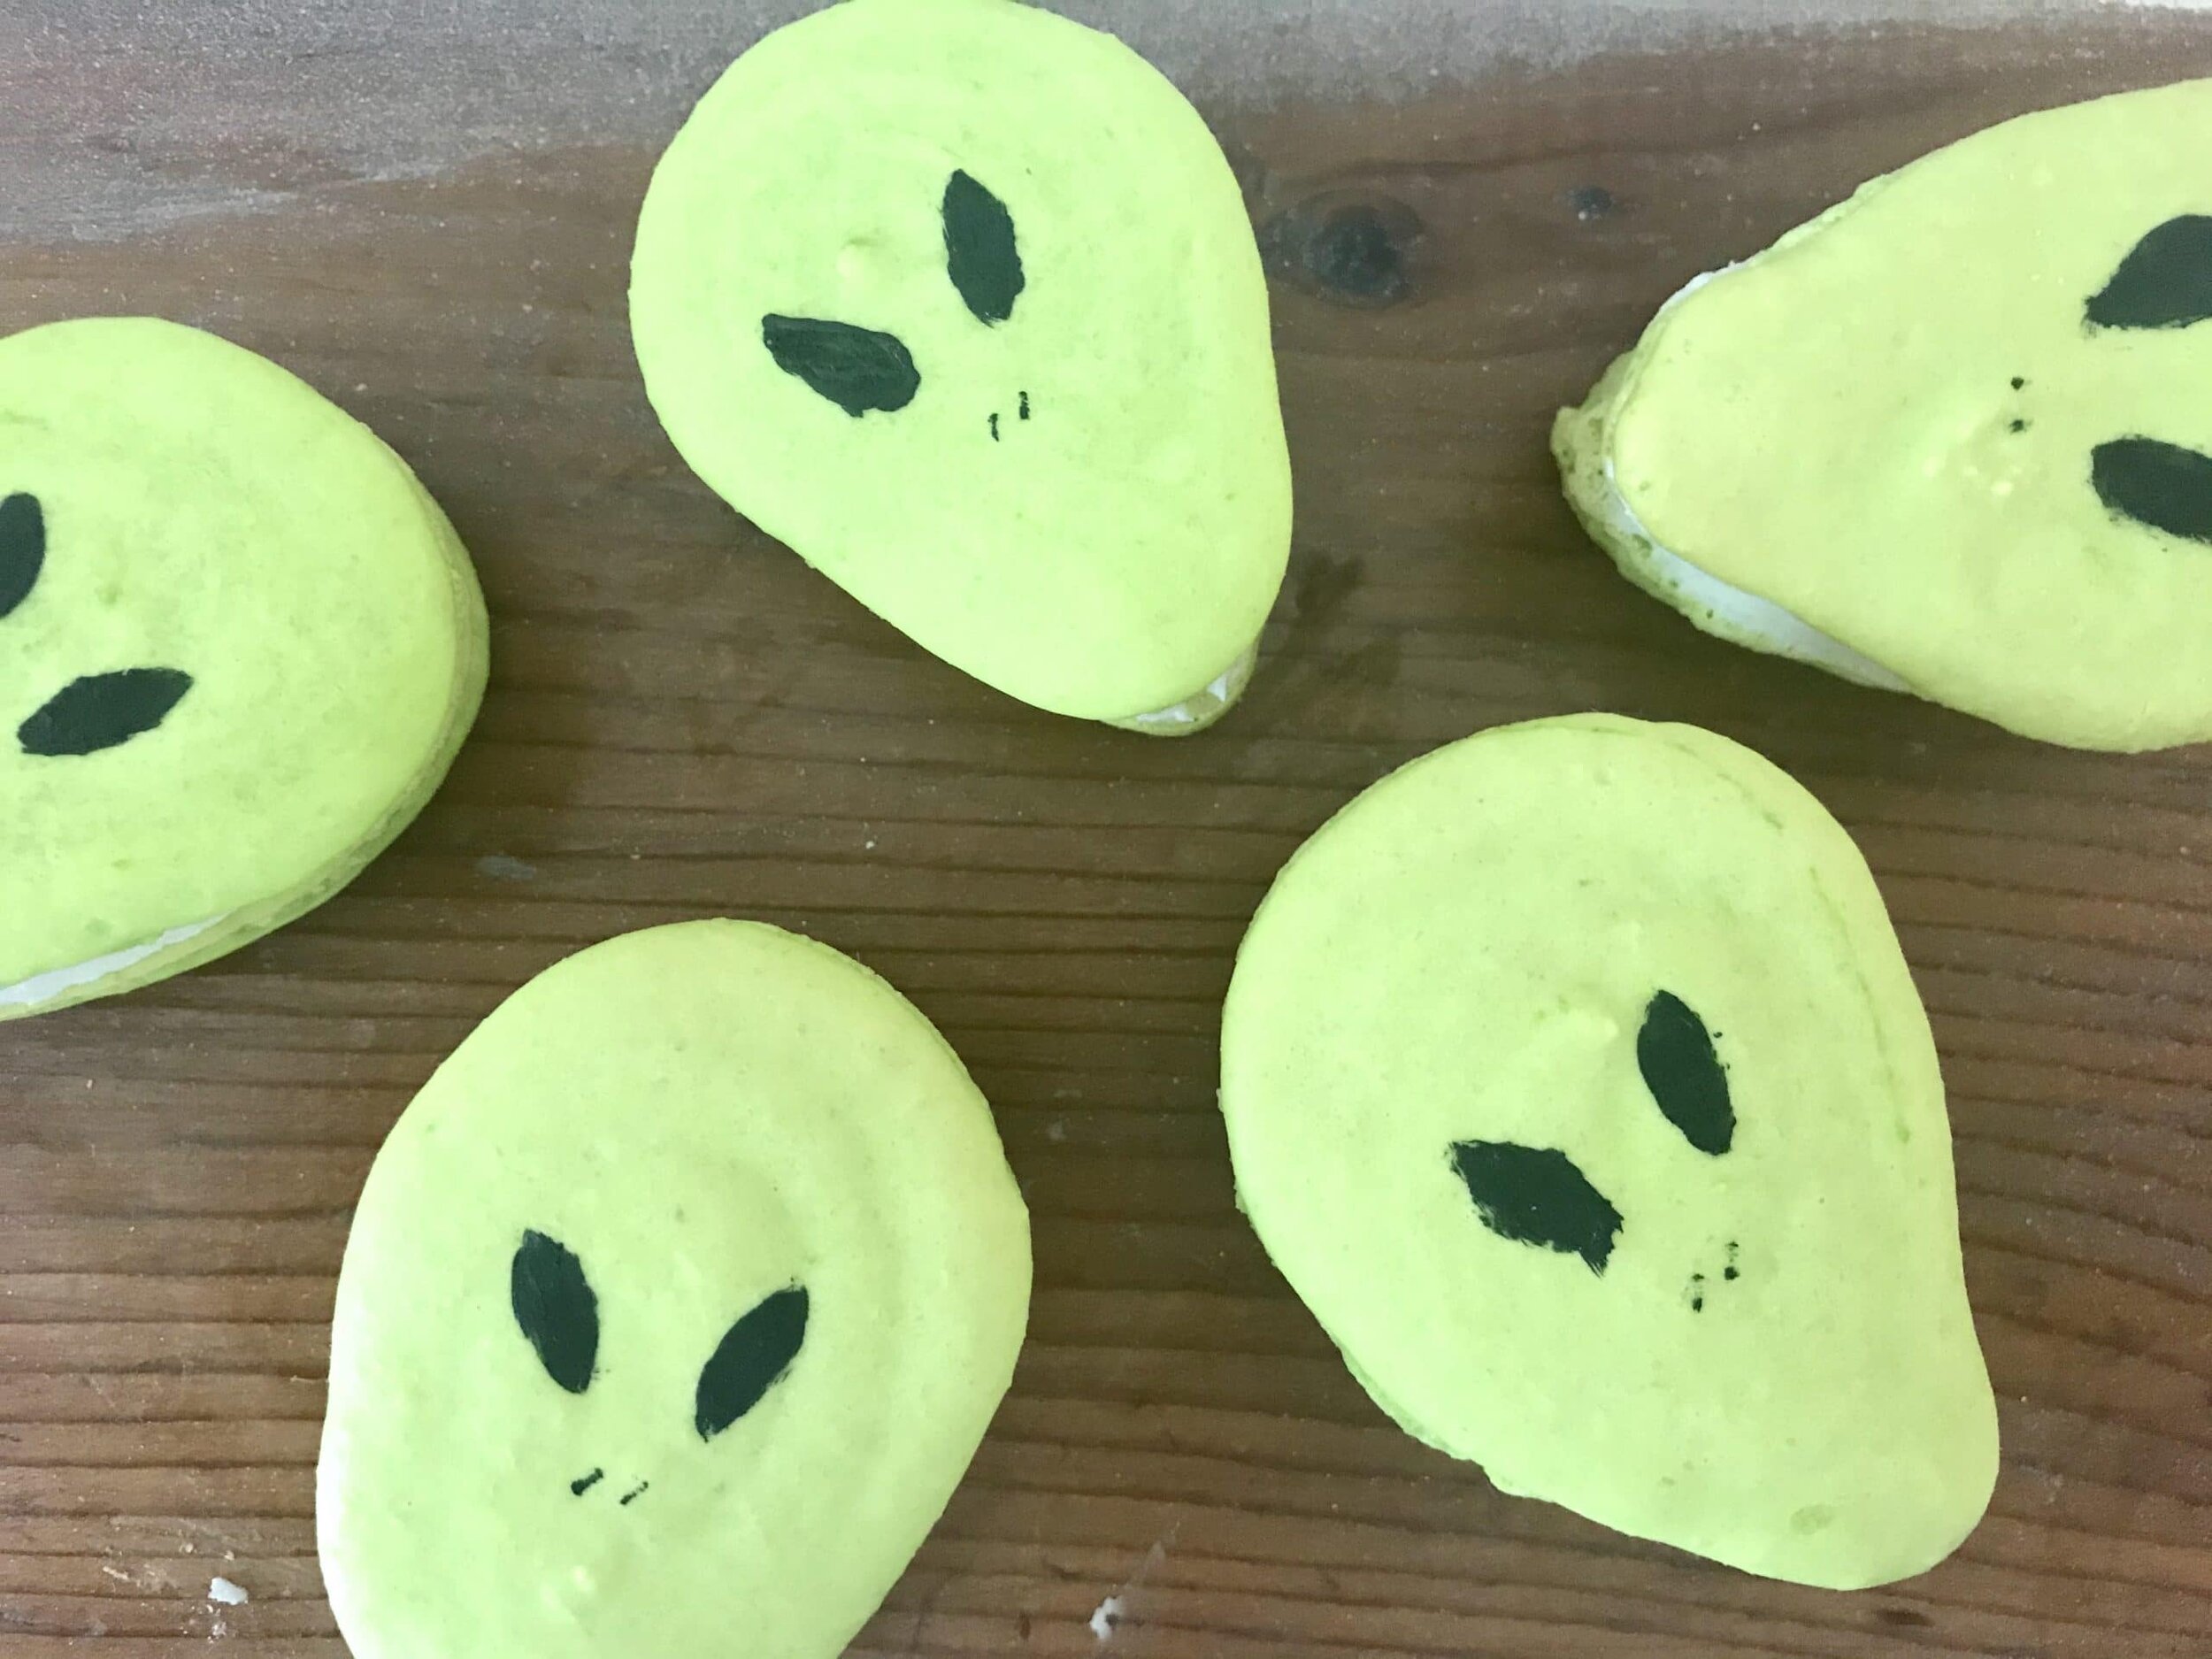
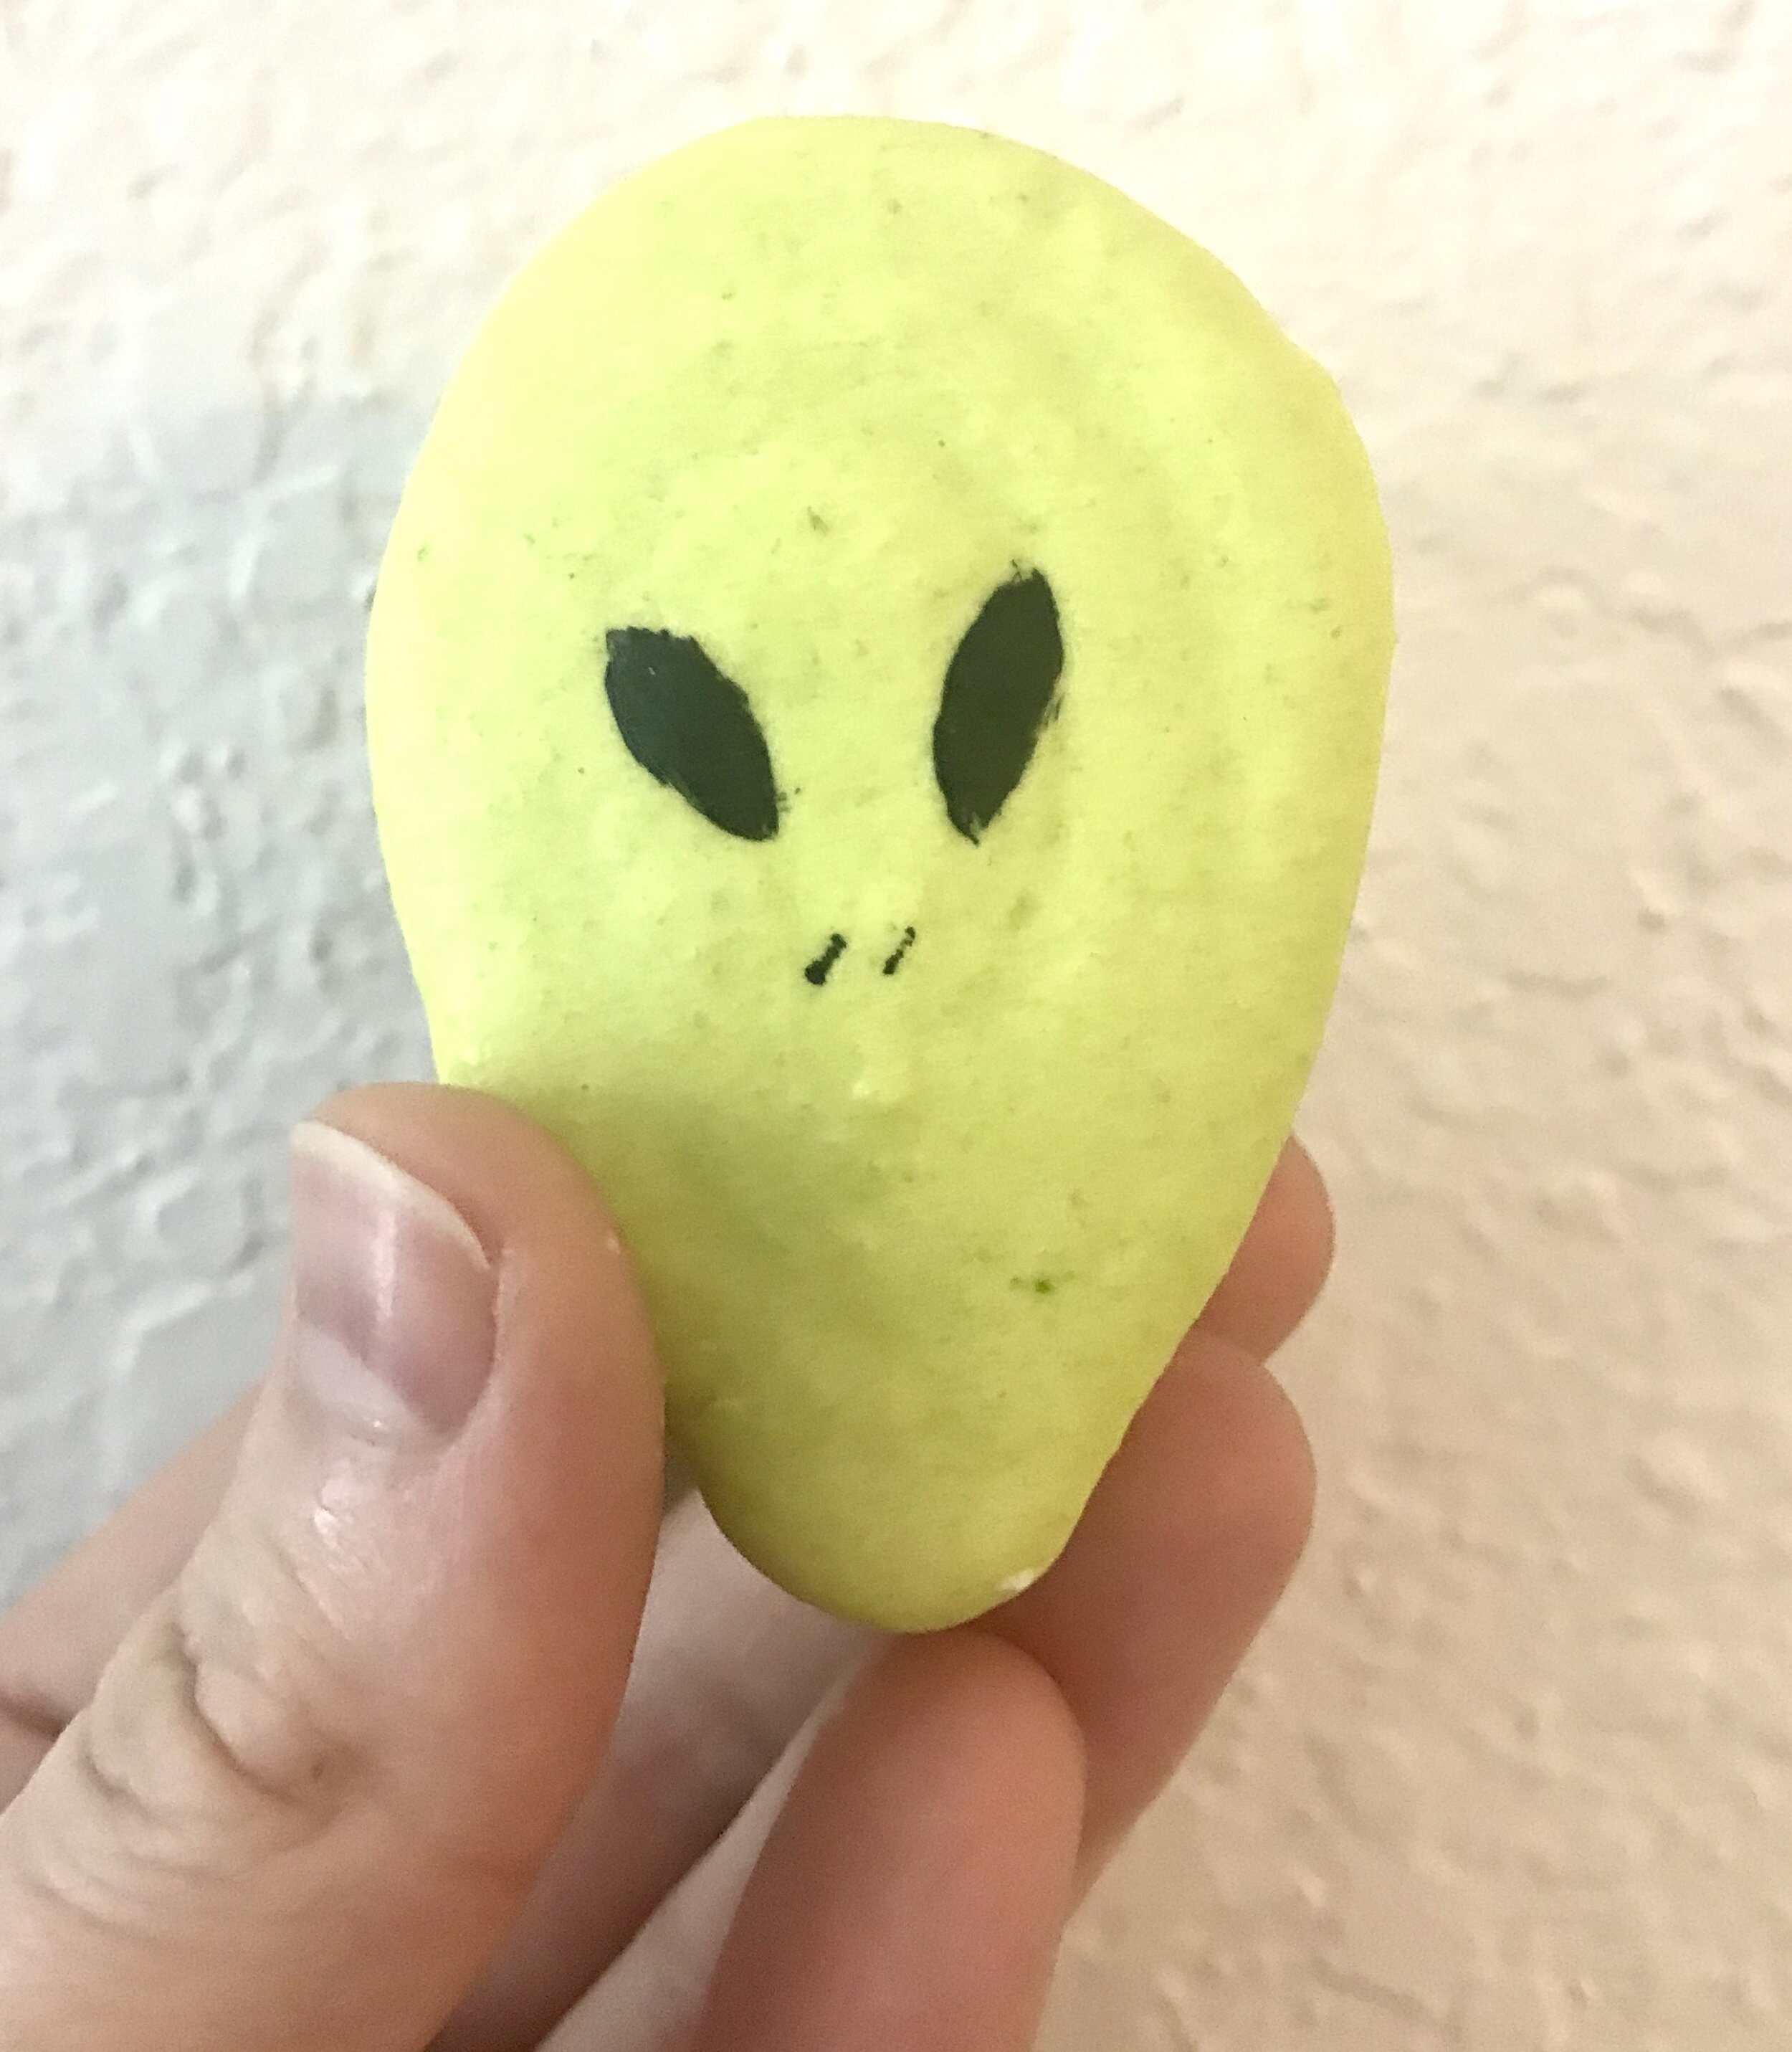 *This post contains affiliate links. Please read disclosure to learn moreJust a real quick and basic alien french macarons. Cute little alien faces that are sandwiched with lime buttercream. they're so cute for halloween and they are delicious too. It's not necessary to make them into little aliens if you don't want to or to even use lime buttercream either. You can make them into a basic french macaron or even try and make your own design!Just know that making french macarons can be temperamental. They don't like humidity and you have to whip the egg whites just right. Another important part is to make sure that you let the batter dry before baking. This is a crucial step! If you don't follow it than the macarons will end up as pancakes.
[mailerlite_form form_id=1]
Above are some products that I personally use and recommend for this recipe and to have for everyday use. One thing that I highly suggest getting when making french macarons is a silpat. A silpat is a reusable parchment paper and it's such a great investment. I find it easier to use a silpat versus parchment paper when making french macarons because it doesn't move around but it also makes it easier to remove the cookies too.
_____________________________________________________________
alien french macarons

delicious french macaron cookies sandwiched with a lime buttercream that look like cute little aliens
french macarons
- 3/4 cup almond flour
- 1 1/2 cup powdered sugar
- 3 fresh egg whites
- 1/3 cup granulated sugar
- pinch cream of tartar
- food coloring
buttercream
- 1 stick salted butter
- 2 cup powdered sugar
- 1/4 tsp vanilla extract
- 1 tsp lime zest
- 1-2 tbsp lime juice
french macarons
- preheat the oven to 300 degrees F. whip the egg whites and cream of tartar until foamy and gradually add in the granulated sugar. whip until stiff peaks form then add in the food coloring. in a large bowl, sift together the almond flour and powdered sugar. gradually fold the egg whites into the dry ingredients. put the batter into a piping bag and pipe onto a sheet pan that is lined with a silpat into the shape of a teardrop (parchment works fine). bang the pan really good on the counter to release any air bubbles and then let the macarons sit to dry, about 30 minutes, or until it doesn't stick to your finger. you can test by lightly patting the tops, if it sticks then let it sit a little longer. once dry, bake for 16-20 minutes or until the bottoms of the macarons don't stick and come off the silpat clean. paint alien faces on with black food gel.
buttercream
- place all of the ingredients into a bowl of an electric mixer fitted with a whisk attachment and whip until light and fluffy, about 2 minutes.
Boosey Ghost Cream Puffs

[wprm-recipe-jump]
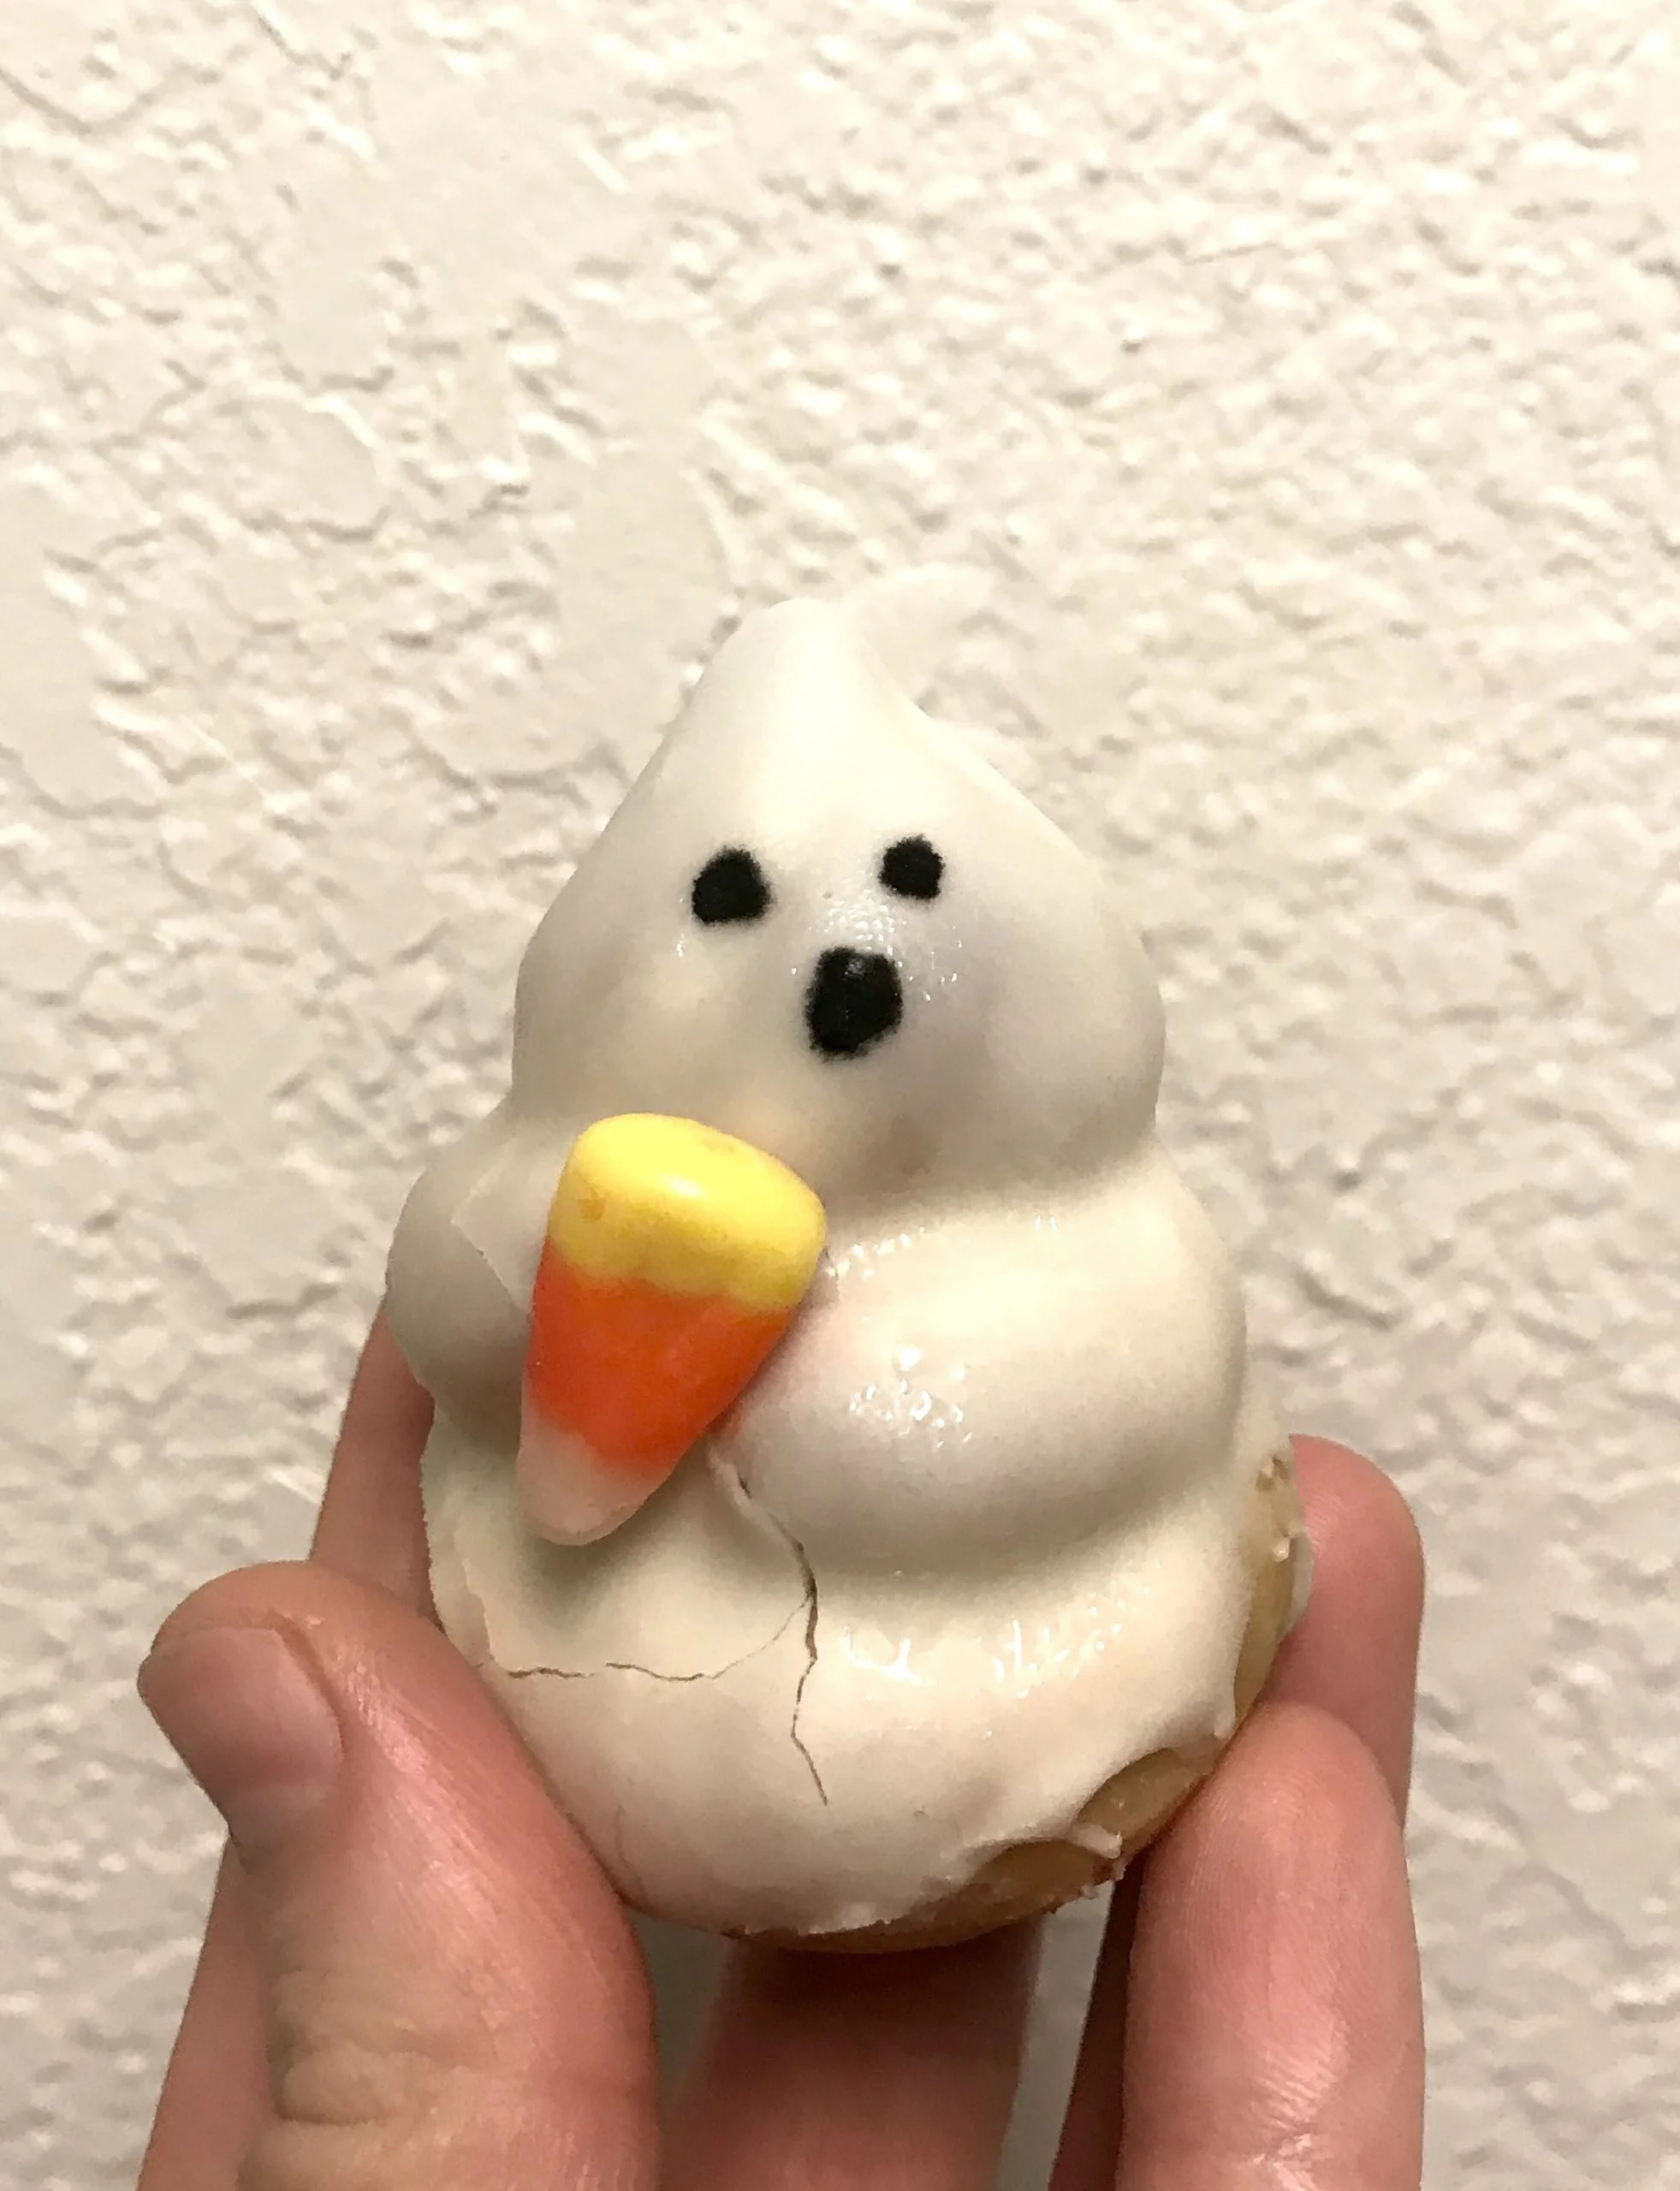
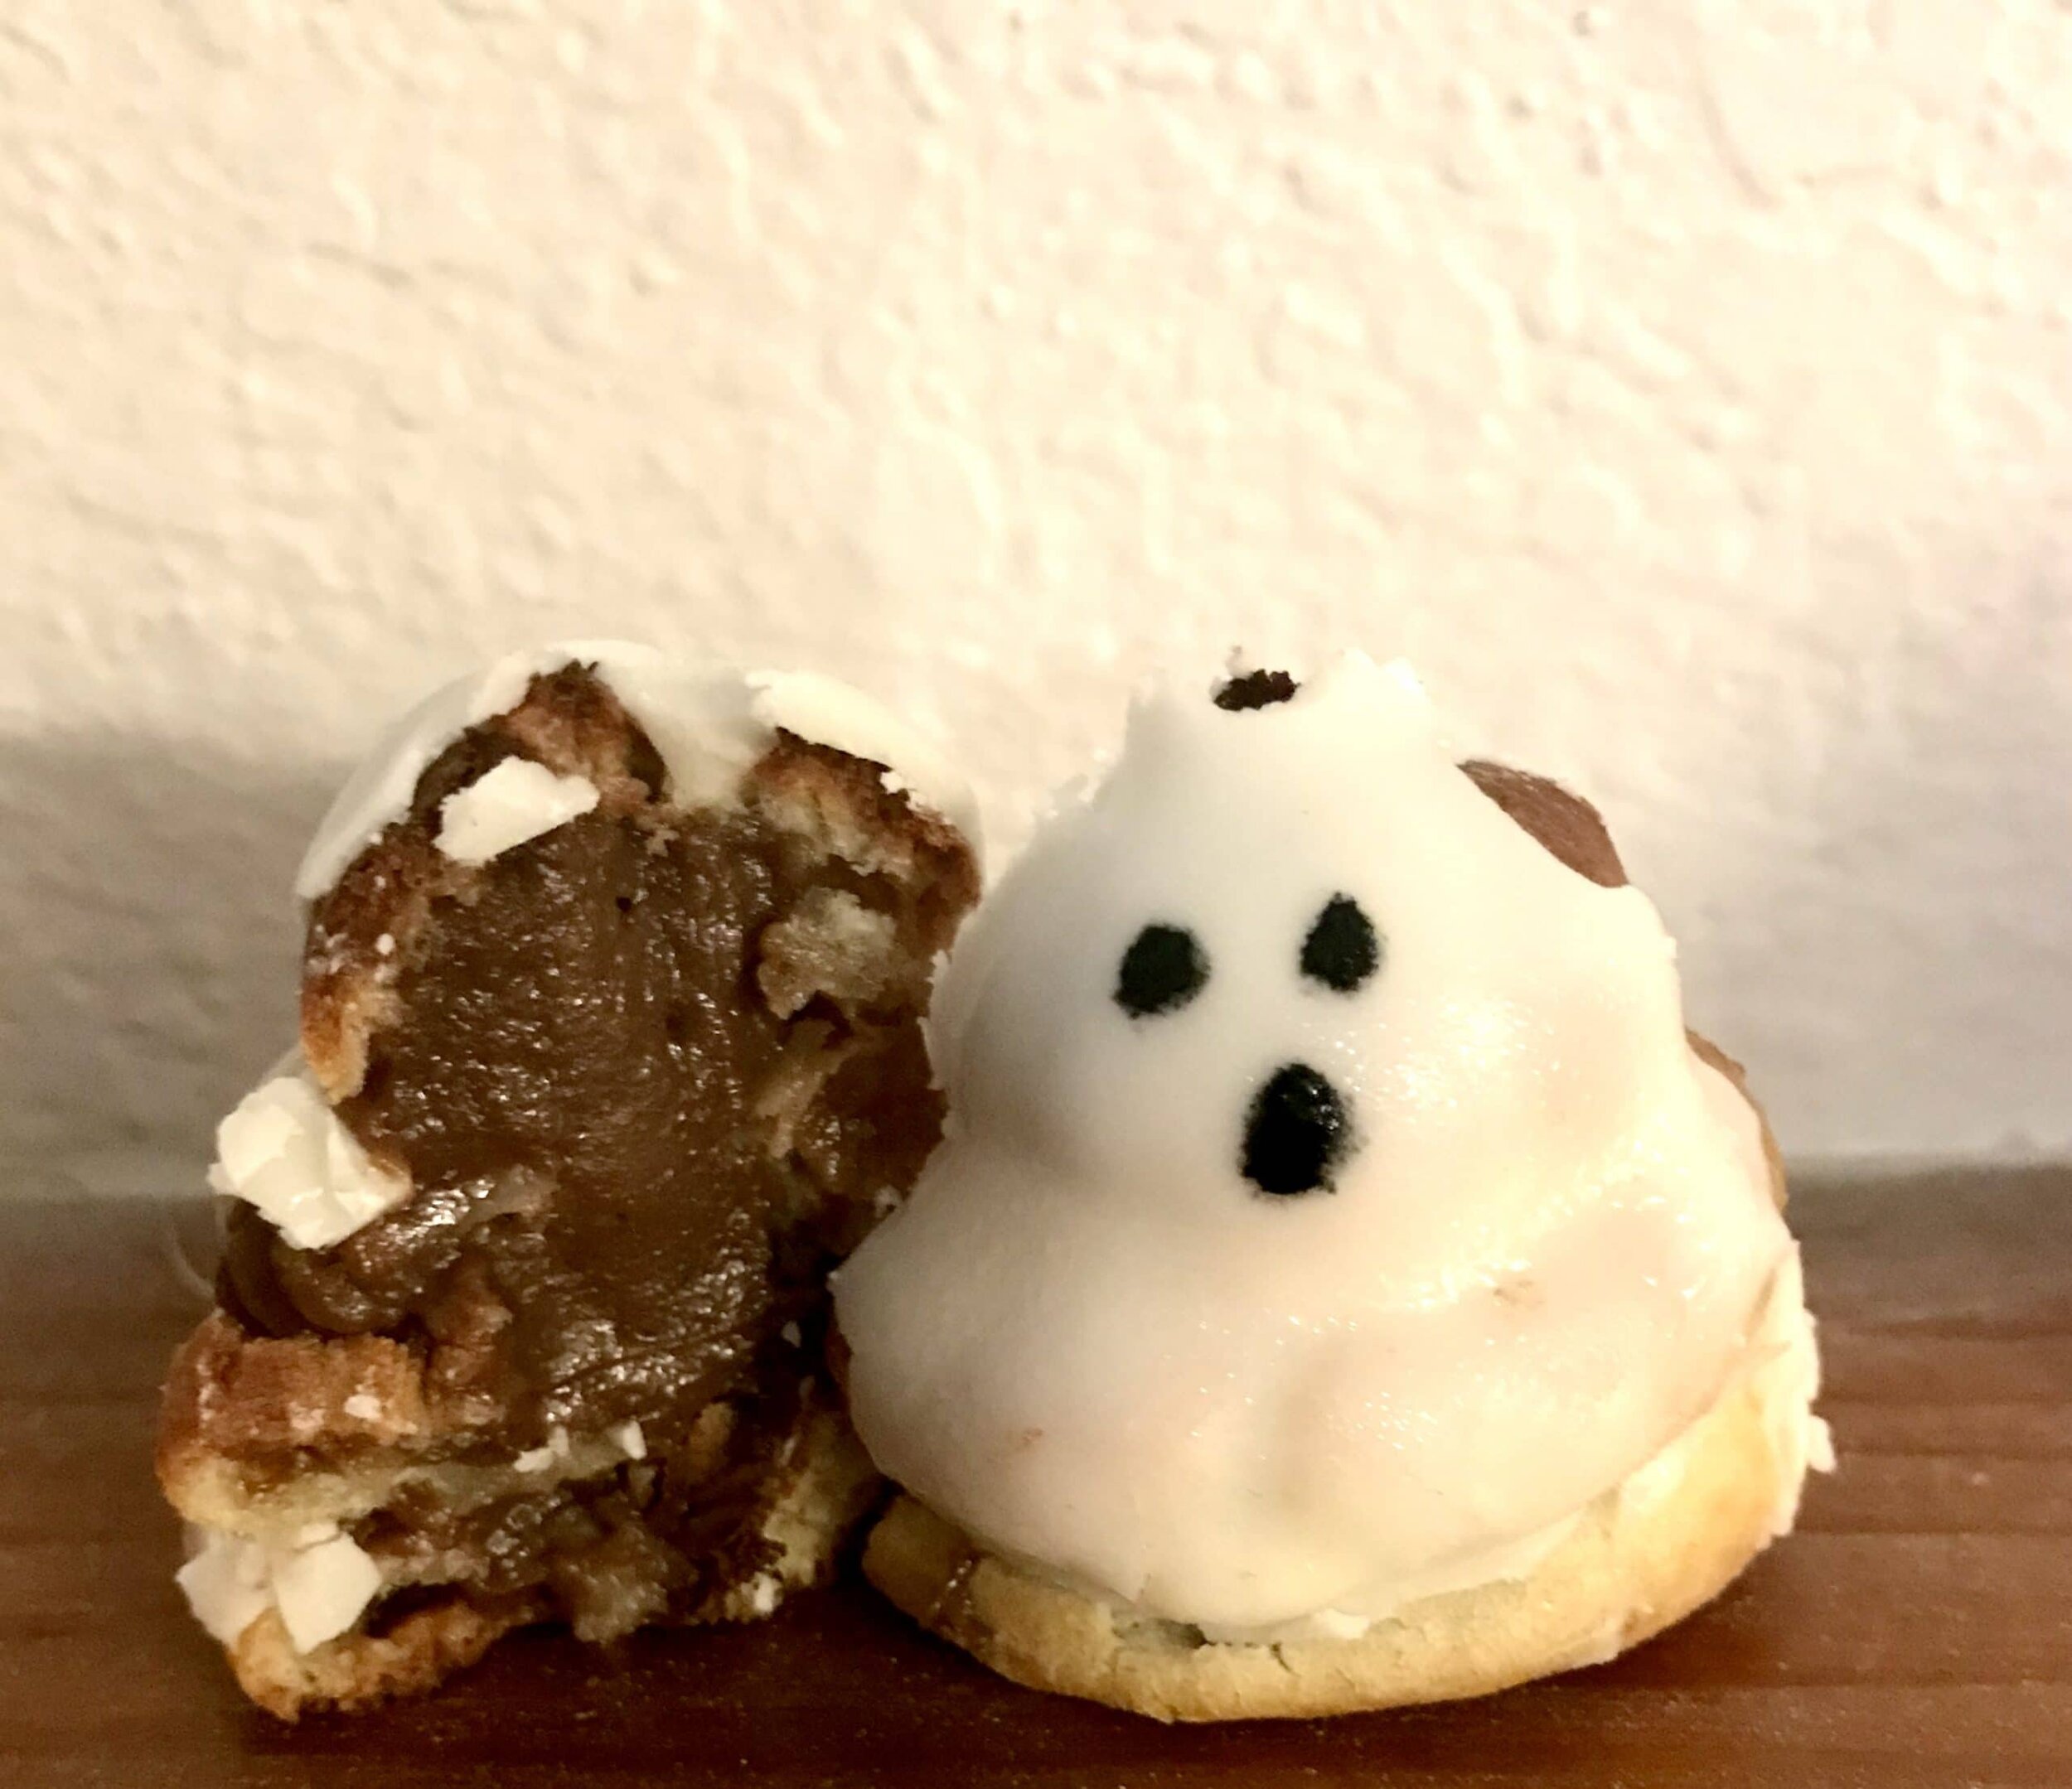
*Disclaimer: This post contains affiliate links. To learn more, please go here.These are an adult only kind of treat. A fun little halloween treat that is filled with alcohol and chocolate that is so delicious and rich in flavor. Plus it's super cute! Now these guys are only for adults. I'm sure if you were to make these and you have kids around that they won't be too happy about that. So if you want to make it kid friendly, just use coffee instead of kahlua. I know it will still be a bit too adult still with coffee but it won't have alcohol in it. On the plus side, if your kids don't like coffee than that means more for you! Or you can just find a different pastry cream recipe.Each cream puff is filled with a chocolate kahlua pastry cream, more strong on the kahlua part too. They are dipped in white chocolate and a scared little face painted on each one. These will be a hit at any halloween party this october! I also discovered that the cream puffs made it look like the ghosts had little arms too, so I added in a little piece of candy corn or whatever you can think of, for them to hold on to!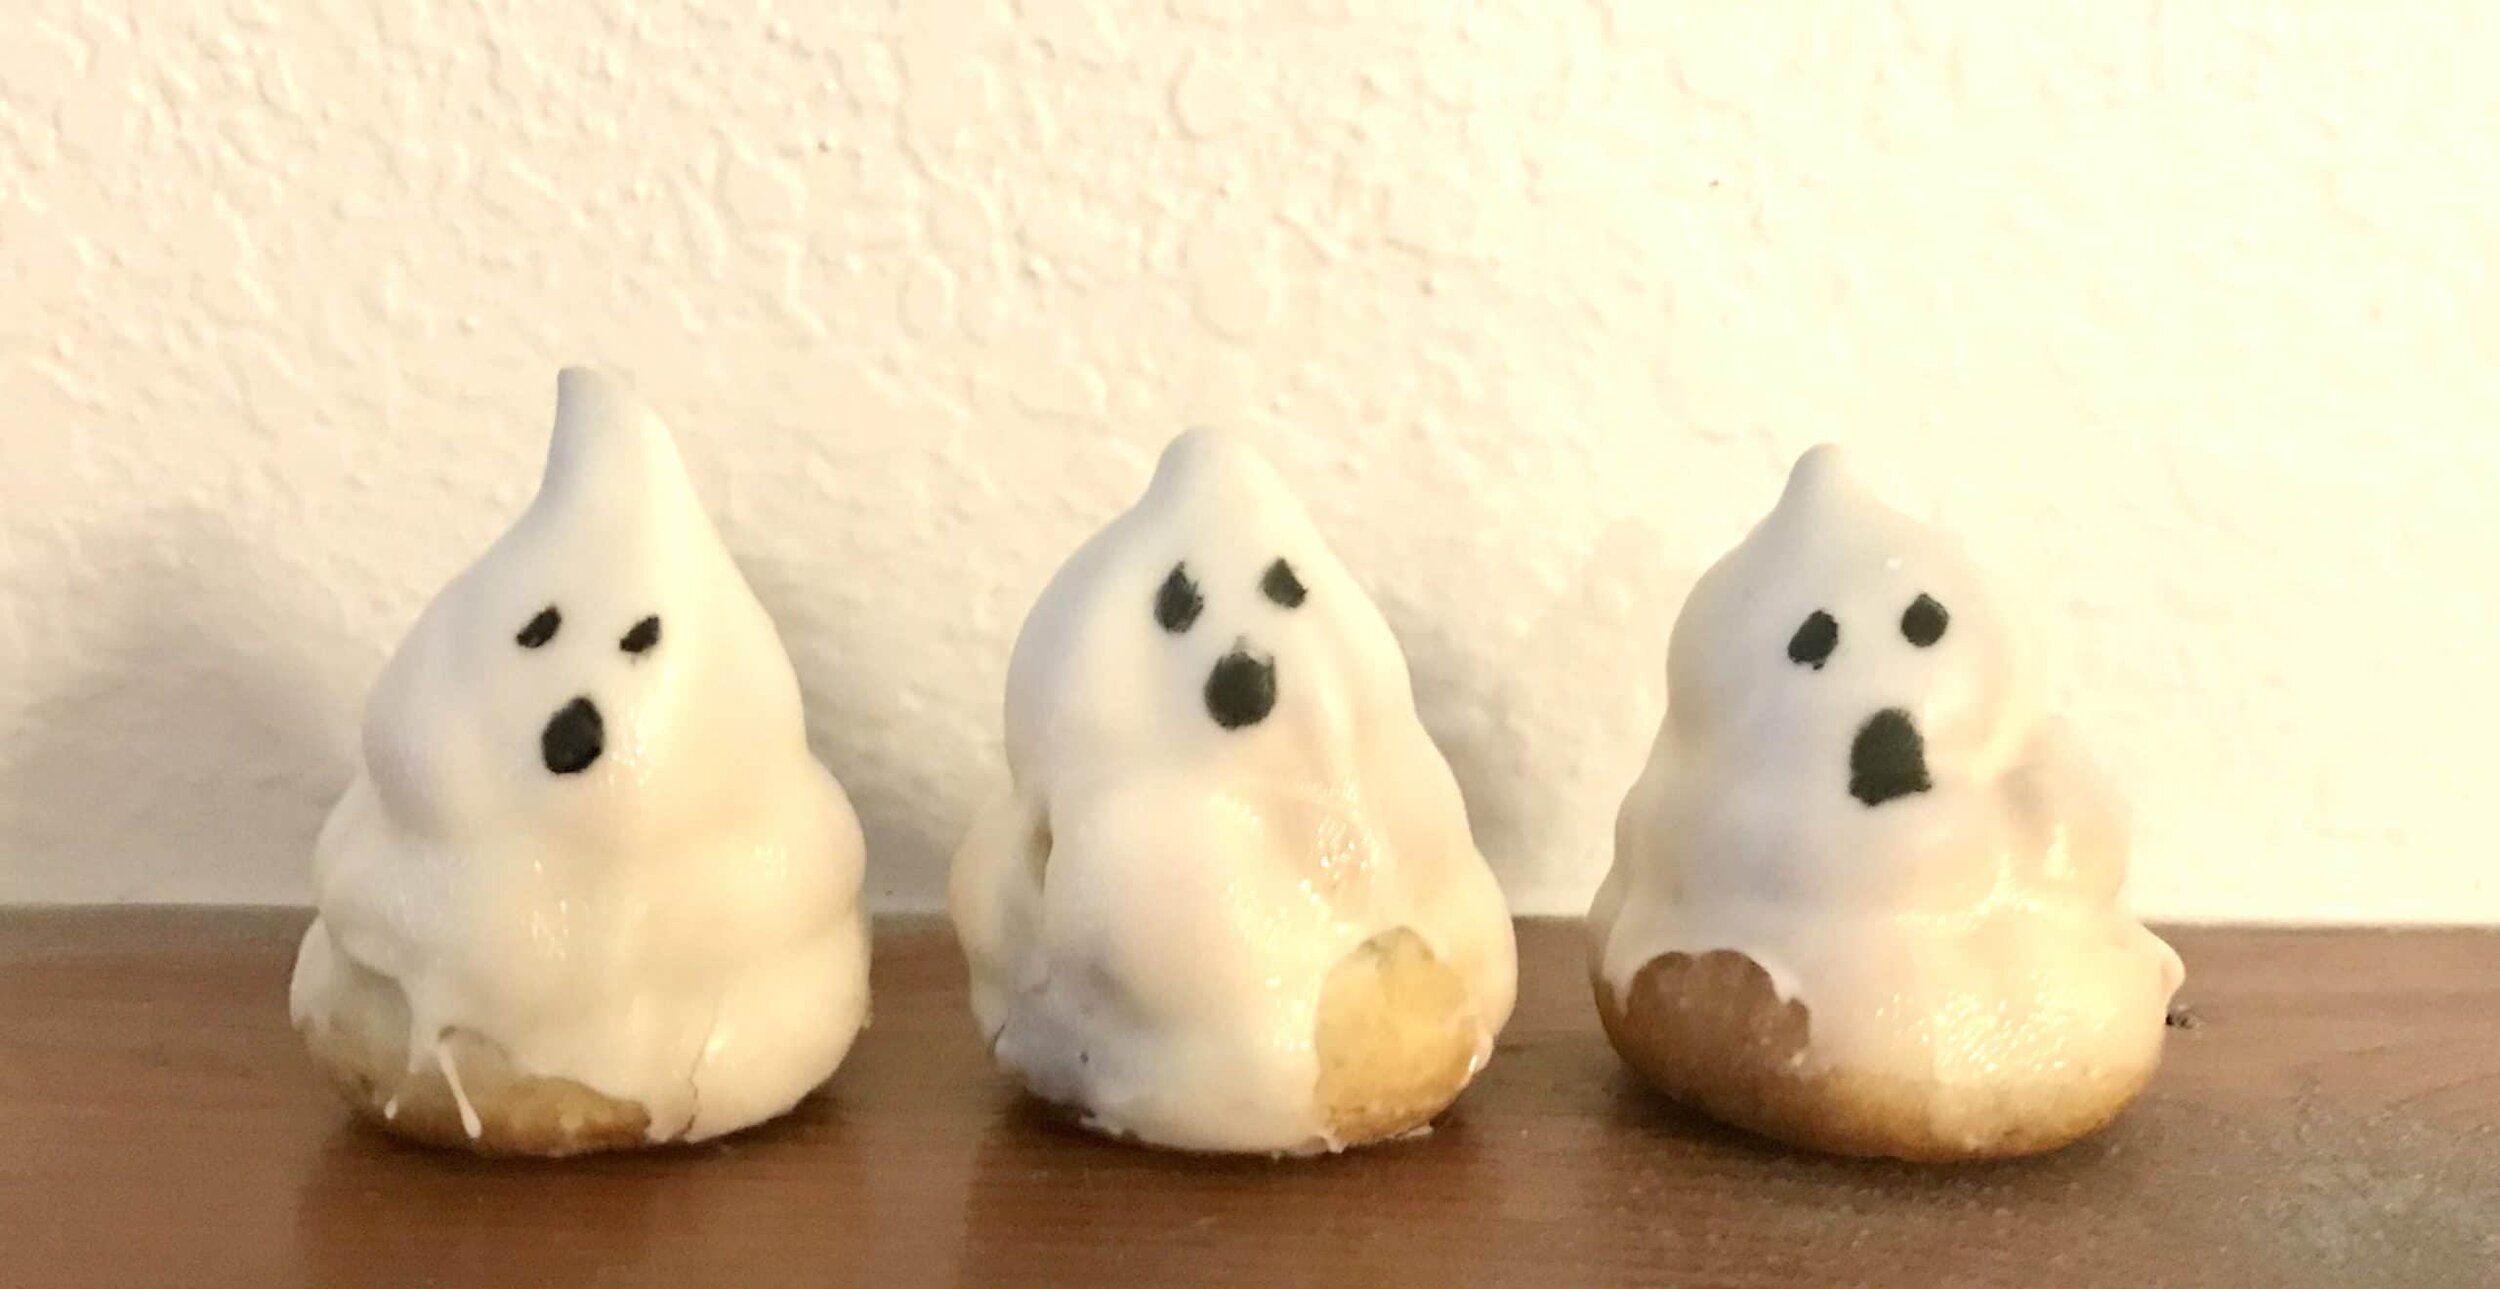
Above are some products that I personally use and recommend for this recipe and to have for everyday use. An important part I find that helps a lot when making cream puffs is to have the filling pipping tip. It's so handy, especially with these little ghosts. These cream puffs have a few layers on the inside that you have to poke through; that's what makes the filling tip work so well with these little ghosts.
_____________________________________________________________________________________________
boosey ghost cream puff

a cute cream puff that is filled with a Kahlua pastry cream and dipped in white chocolate.
pate a choux
- 1 cup milk
- 1 tbsp granulated sugar
- pinch salt
- 1 stick unsalted butter
- 1 cup all-purpose flour
- 4 eggs
pastry cream
- 1/2 cup kahlua
- 1 1/3 cup milk
- 6 egg yolks
- 2/3 cup granulated sugar
- 4 tbsp cornstarch
- 2 tsp vanilla extract
- 4 tbsp butter
- 1/2 cup dark chocolate
assembly
- white chocolate coating
- black food coloring
pate a choux
- preheat the oven to 400 degrees F. in a small pot, combine the milk, sugar, salt and butter. heat up on medium high heat until the butter is melted and fully incorporated into the milk. once the milk is hot, add in the flour and mix until a dough forms and a film starts to appear on the bottom of the pot. place the dough into the bowl of an electric mixer fitted with a paddle attachment and mix for about 2 minutes to let the steam out. slowly start to add the eggs and mix until completely incorporated. put the dough into a piping bag with a medium sized round tip. on a sheet pan lined with parchment, start piping out little ghosts. i did that by thinking of a snowman, starting big on the bottom and adding another smaller mound on top with a nice peak for the ghost's head. bake for 20-25 minutes until nice and golden brown. the tips will be darker, if you don't want the darker or don't care for the ghost shape, then just dab a little bit of water on your finger and pat the tips down gently.
pastry cream
- in a bowl, whisk together the yolks, sugar, cornstarch, and vanilla. place the kahlua and milk into a small pot and bring to a simmer. once at a simmer, slowly add in a little of the milk a tablespoon at a time to the yolk mixture, mixing at the same time. add back into the pot and whisk continuously until thick. remove from the heat and add in the chocolate and butter and continue mixing until everything is fully combined. place plastic wrap directly over the pastry cream to prevent a skin from forming and put into the fridge to chill.
assembly
- start by putting the filling tip into a piping bag and then adding in the chocolate pastry cream filling. fill in each cream puff, making sure that it fills the whole thing by using the filling tip and starting from the very top of the cream puff and slowly dragging it down and out to ensure it's completely full.
- once each cream puff is full, place into the freezer for about 30 minutes to make it easier to dip in the chocolate. while the cream puffs are chilling, start melting the chocolate. dip each cream puff into the chocolate and let the excess drip off. when the chocolate is completely set, use the black food coloring to make the eyes and mouth.
Butterbeer Cupcakes

[wprm-recipe-jump]
*Disclaimer: This post contains affiliate links. To learn more, please go here.I love harry potter. It was a childhood favorite of mine, and still is! I've read the books a couple of times and watched the movies so many times I can't even keep track. Have you been to the harry potter universe at orlando? I've been wanting to go there so badly to just and try all of the food. Especially a nice glass of butterbeer. But since I can't go I made these butterbeer cupcakes instead.I think that some people have different ideas of what butterbeer tastes like, but for me it's the basic butterscotch and cream soda combination. So these cupcakes have a cream soda cake that is filled with butterscotch! Go here to see a video of these cupcakes being made! Also check out my favorite cookie recipe that features harry and the gang!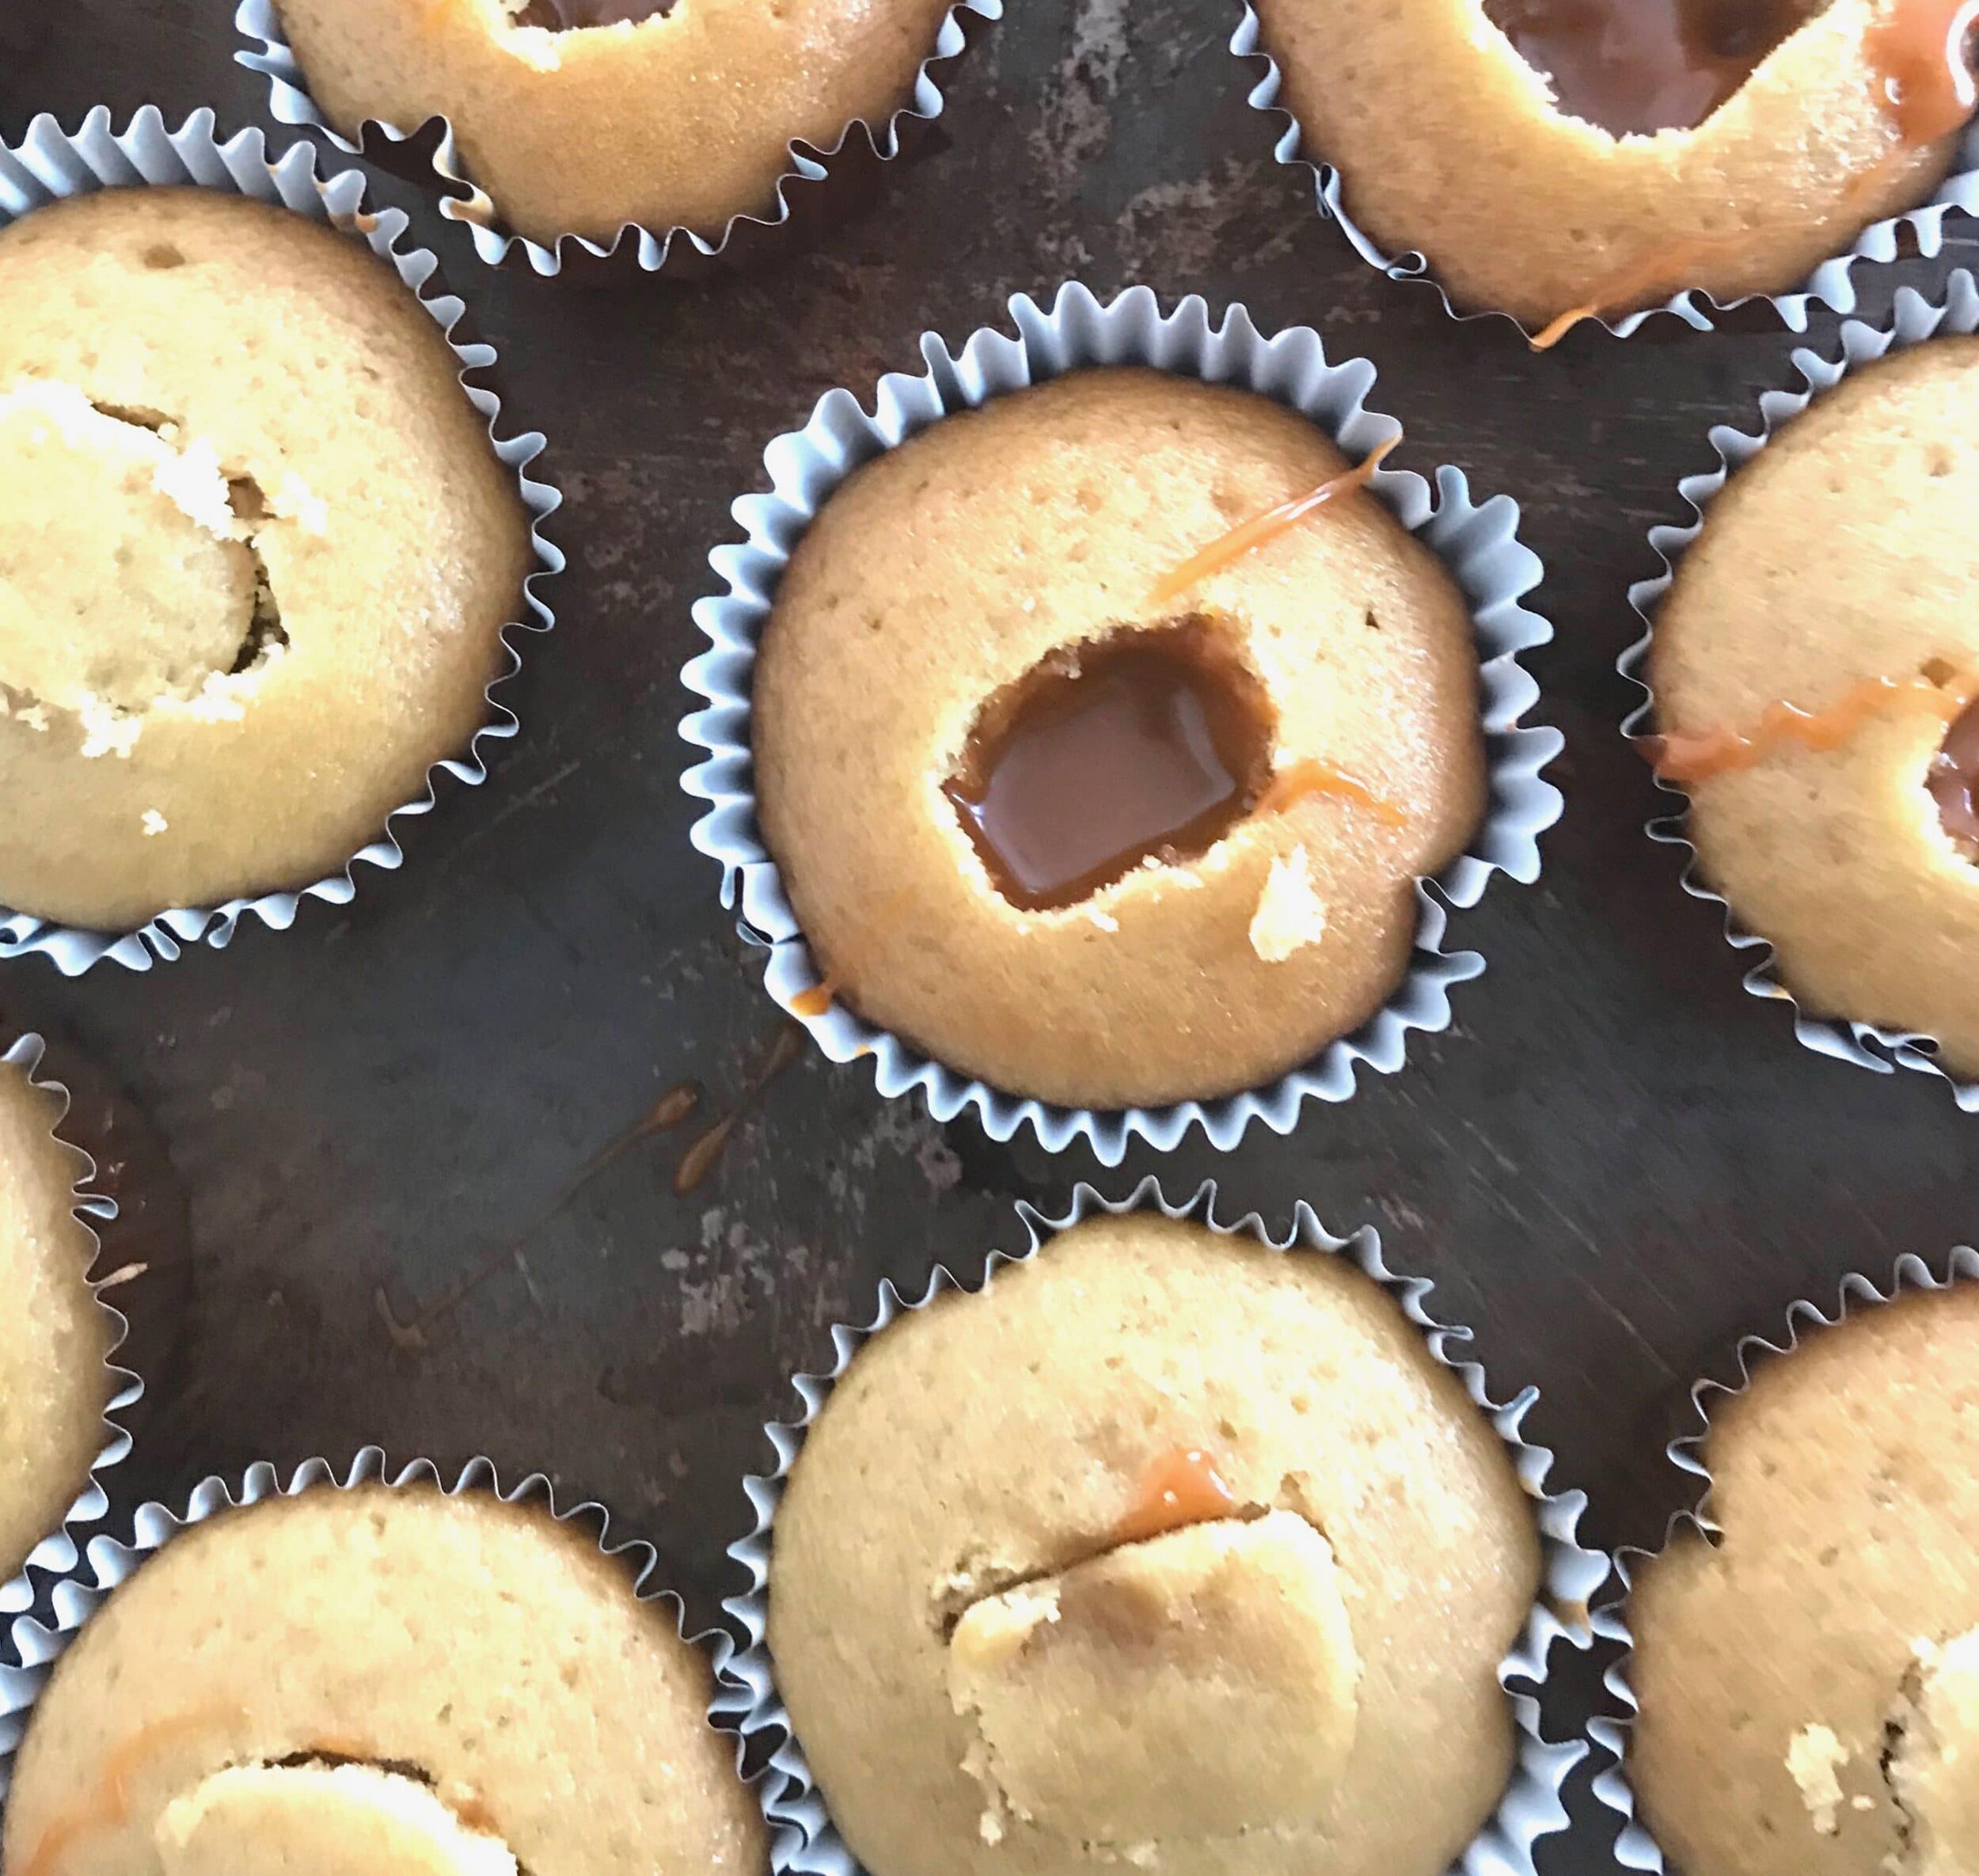
[mailerlite_form form_id=1]


Above are some products that I personally use and recommend for this recipe and to have for everyday use. One of my favorite things that I have many of are the BlueQ oven mitts. They aren't just really funny and a great statement piece for your kitchen, but they are great quality too!
____________________________________________________________________
butterbeer cupcakes

a moist cupcake made with cream soda that's filled with a butterscotch ganache and topped with a sweet simple buttercream
cupcakes
- 2 cup all-purpose flour
- 3/4 cup brown sugar
- 1 tsp baking soda
- 1/2 tsp baking powder
- 1 tsp salt
- 1/2 cup vegetable oil
- 2 eggs
- 1 1/2 tsp vanilla extract
- 1 1/2 cup cream soda
ganache
- 1 cup butterscotch chips
- 3 tbsp heavy cream
buttercream
- 3 sticks salted butter
- 4 cup powdered sugar
- 2 tsp vanilla extract
- 1-3 tbsp cream soda
cupcakes
- preheat the oven to 350 degrees F and line cupcake pans with liners. in a large bowl, combine the flour, brown sugar, baking soda, baking powder and salt and mix until incorporated. in another bowl, combine the oil, eggs, vanilla, and cream soda and whisk together. pour the wet ingredients into the dry and mix until fully combined. scoop the batter in the cupcake pan and bake for 12-15 minutes or until a toothpick comes out clean. let the cake cool for 10 minutes before frosting.
ganache
- place ingredients into a bowl and microwave until smooth.
buttercream
- put all of the ingredients into the bowl of an electric mixer fitted with a whisk attachment. start slow and then gradually increase the speed. whip on high until light and fluffy, about 3 minutes.


